Introduction
Hi! My name is Leslie and I’m a 3D Character Artist at Pixel Toys. I’m relatively new to the games industry and started doing 3D about three years ago. I mostly taught myself about making 3D art and enjoy continually learning to improve my craft.
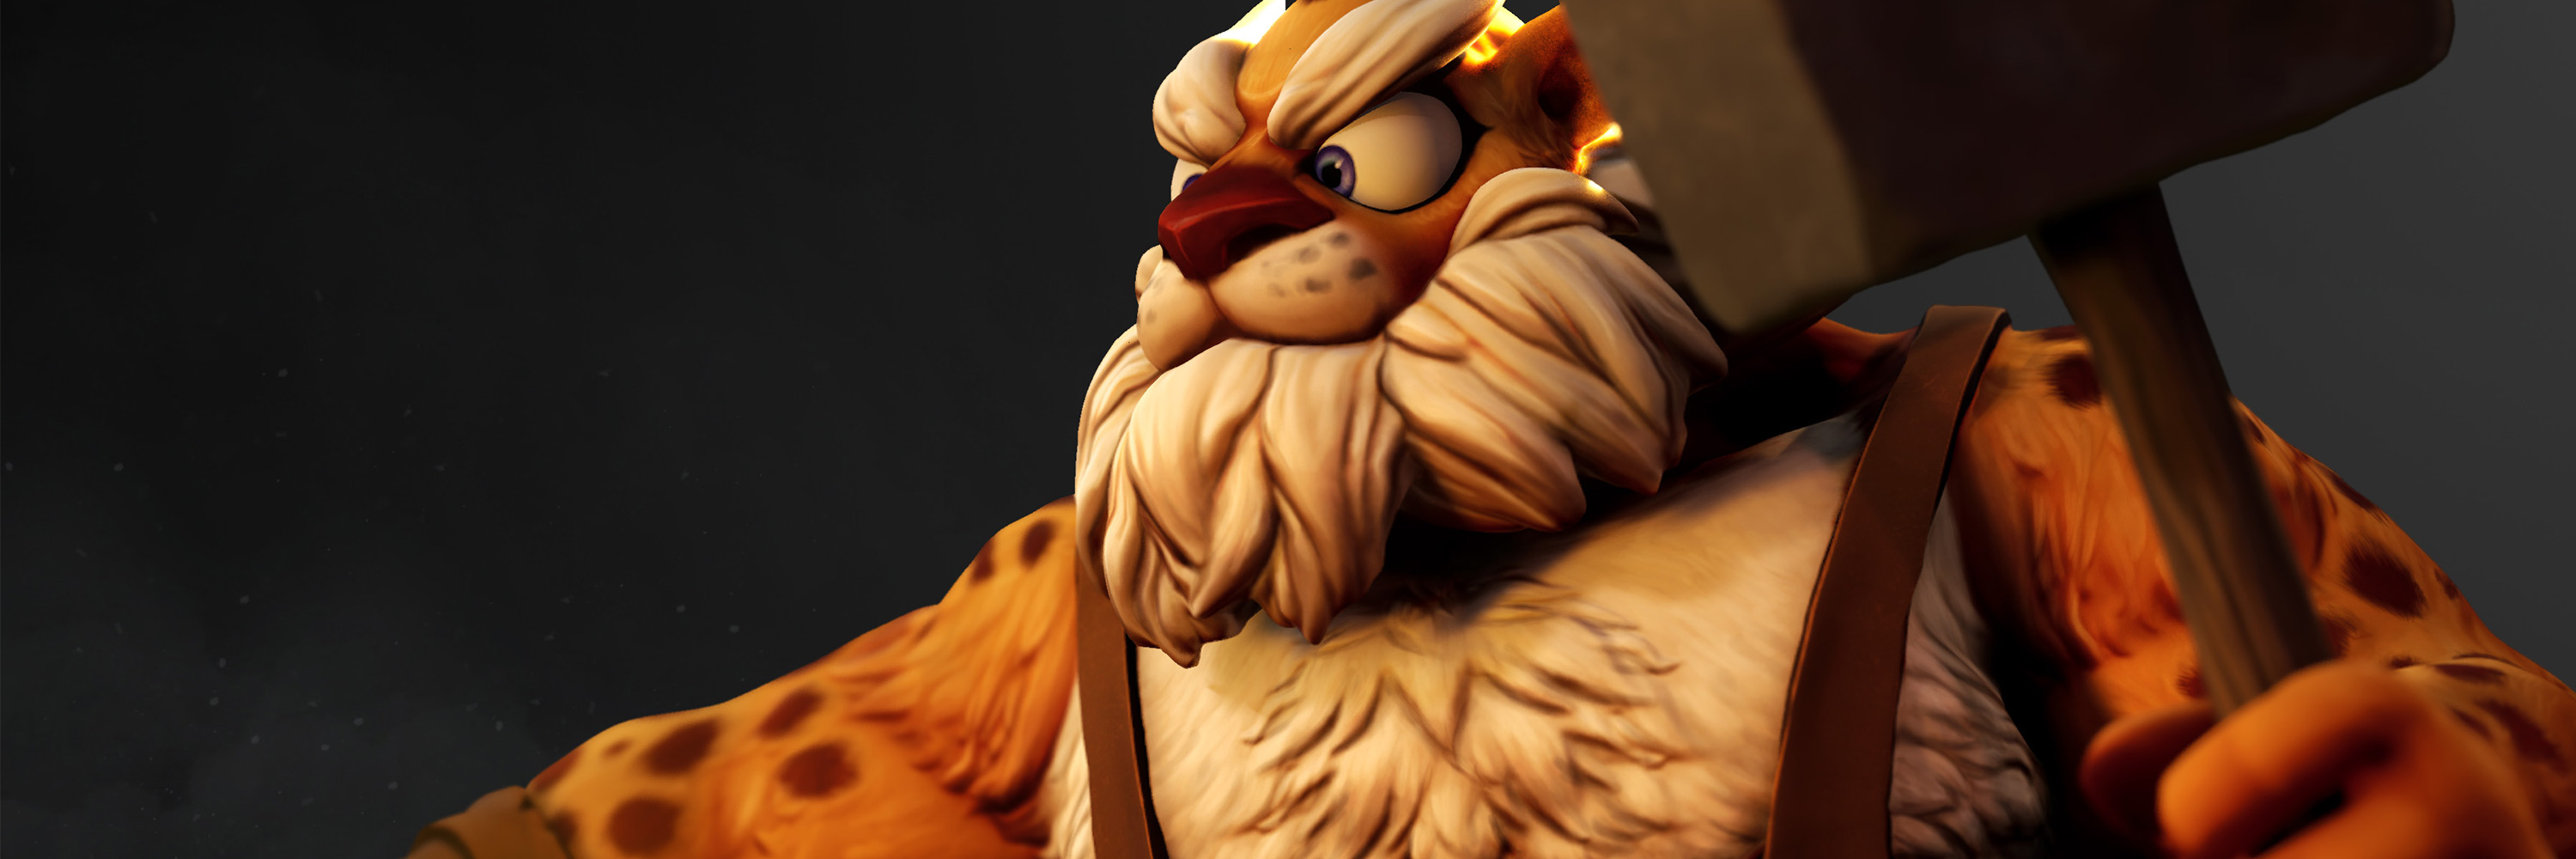
Aldebrand was created for the StylizedStation Medieval Marketplace Gauntlet, where the task was to create a diorama of something or someone that would fit the theme. I also recently started streaming on Twitch and wanted to use this project as a way to motivate myself to stream on a regular basis.
Inspiration
I wanted to create a character that had a lot of personality for this challenge. I was really inspired by Andrey Baulov’s concept for the Leopard Blacksmith, which had a lot of character in its design.
I also wanted to work on creating hand-painted textures and was inspired by the styles used in League of Legends as well as the overall Blizzard style and wanted to use those as a basis for this project.
Tools Used
- Sculpting: ZBrush
- Modelling, UVs, Posing: Maya
- Baking: Marmoset
- Texturing: Photoshop, Substance Painter
- Rendering: UE4 and Sketchfab
Sculpt
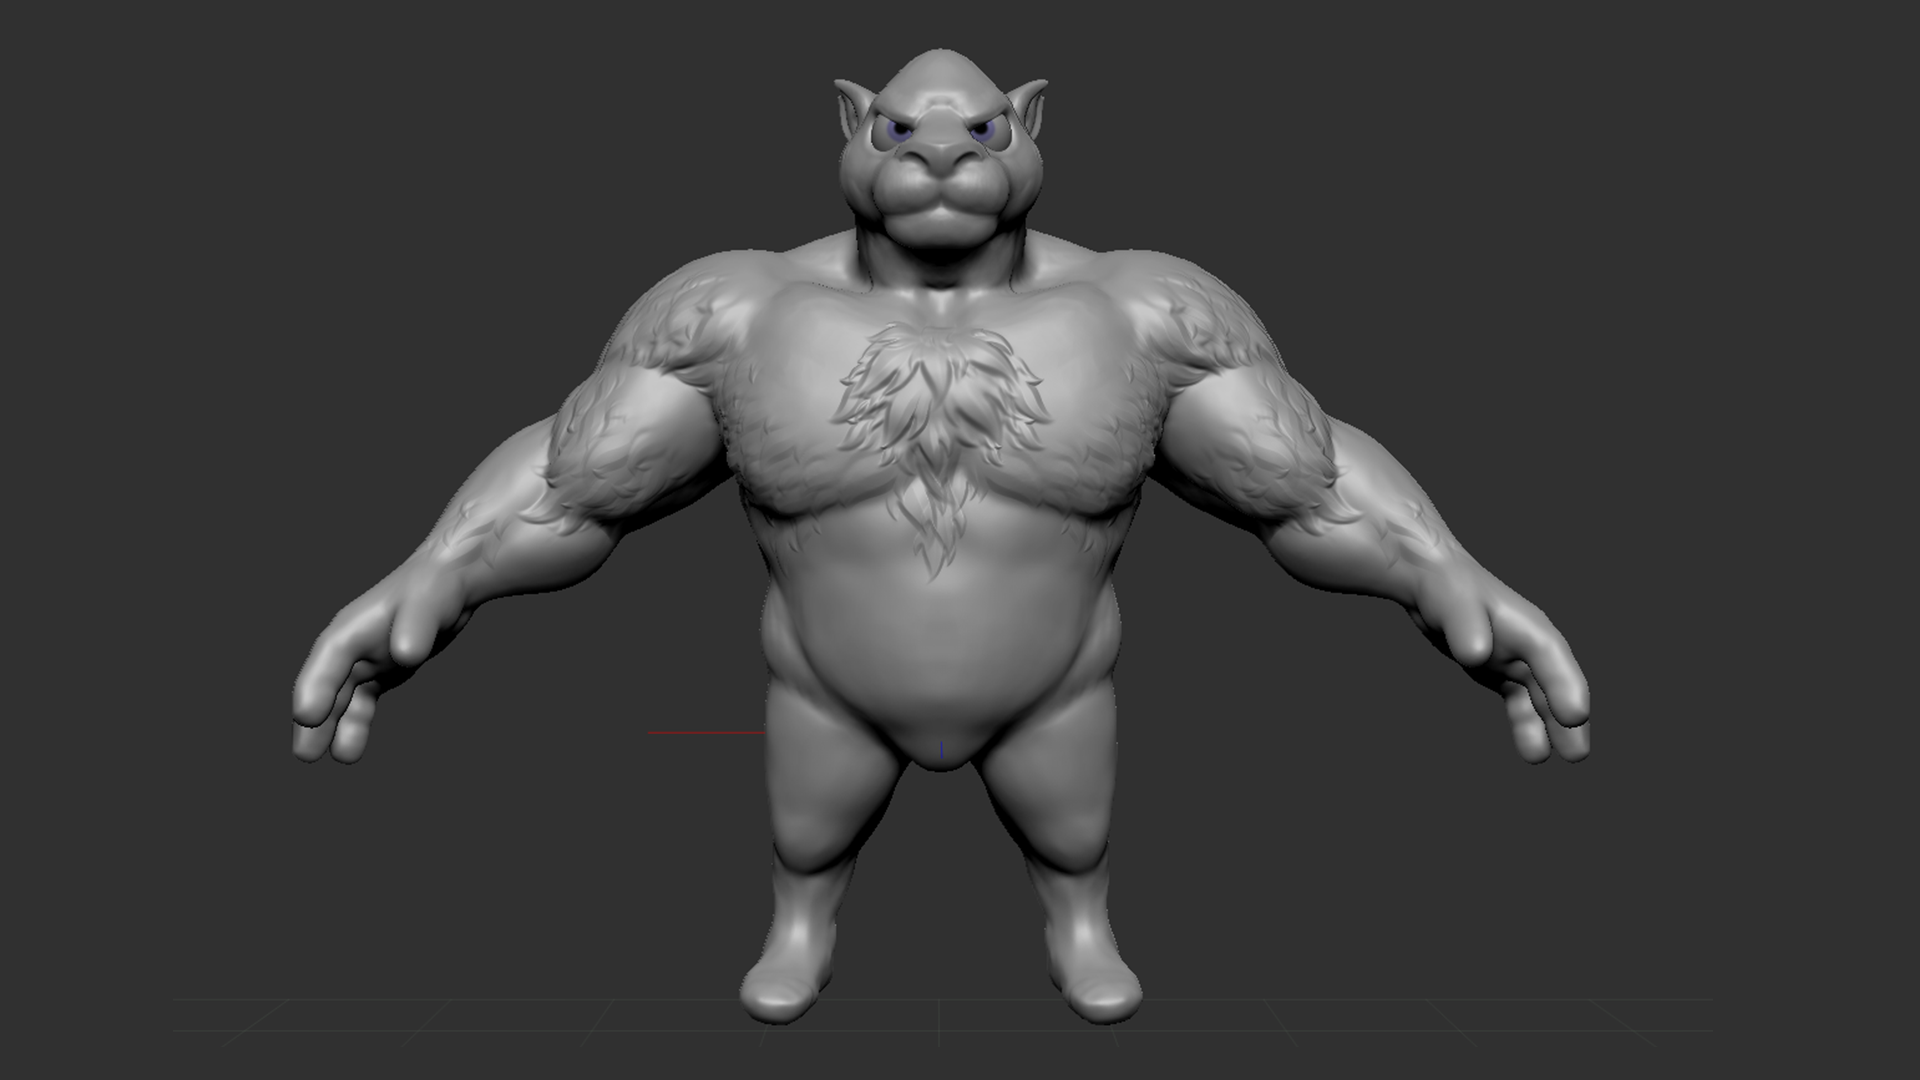
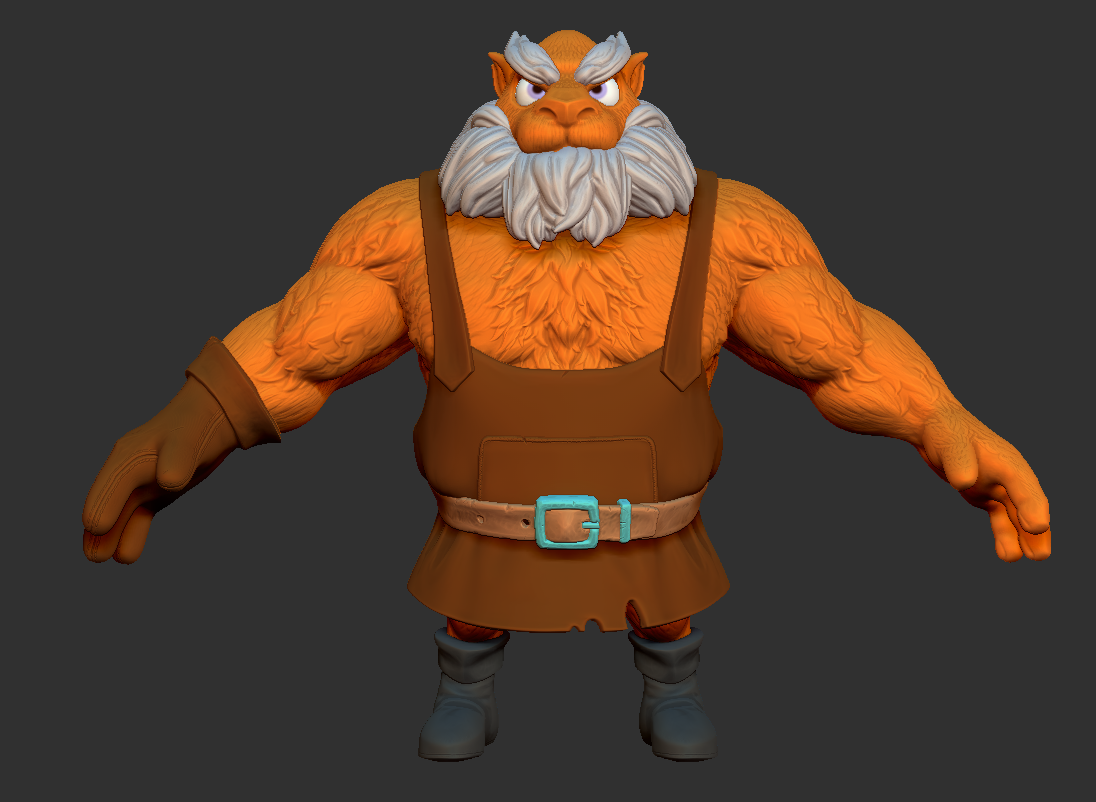
I started by using a human base mesh and remade the proportions so that they fit the concept. I chose to exaggerate the torso to create an inverted triangle shape so that the character had a very top-heavy look to emphasize his strength.
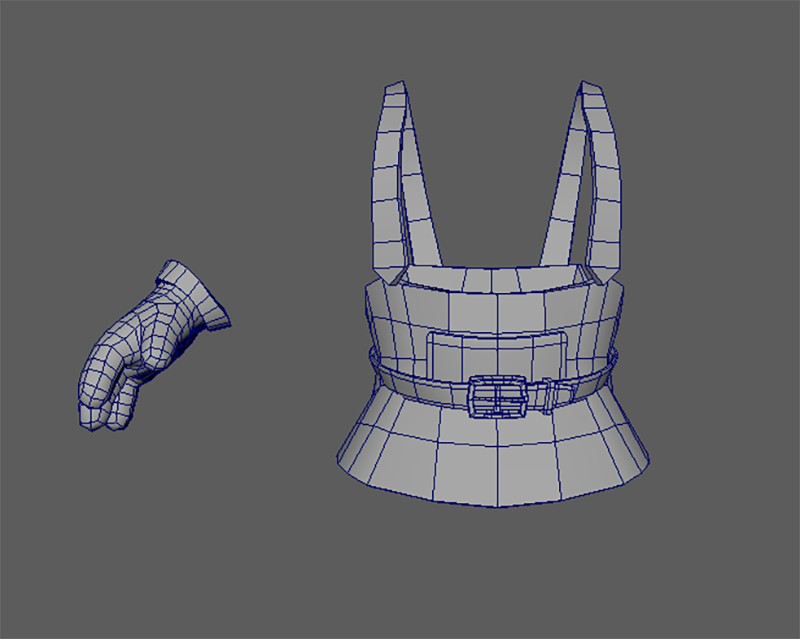
Once the base mesh was done to a certain level, I started to block in the various parts of the character using proxy meshes. For the clothes, I used Maya to create a rough low-poly mesh that would be used as a base for the sculpt in ZBrush.
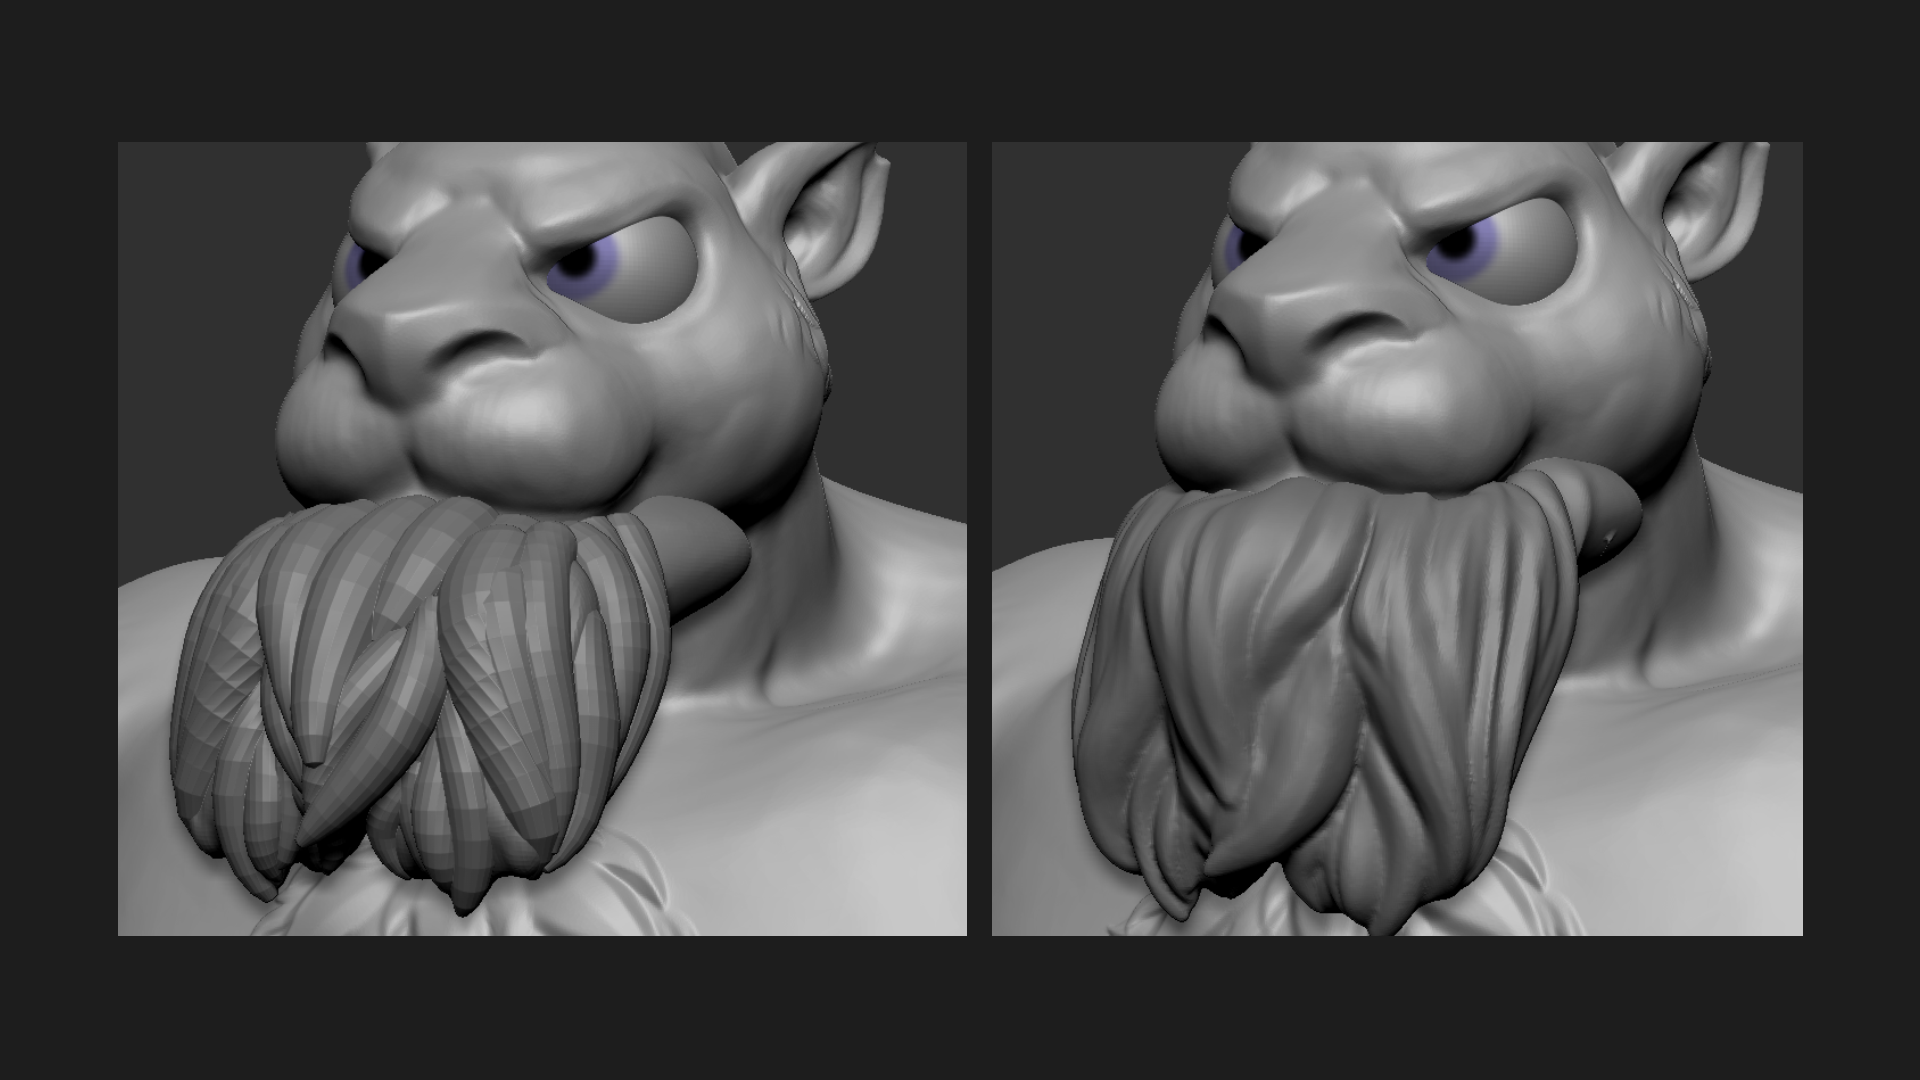
For the hair I used a sphere to block out the base shape of the beard and eyebrows. I then used a modified Curve Hair brush to create the various strands. These then got Dynameshed and I added additional creases using a custom Pinch brush.
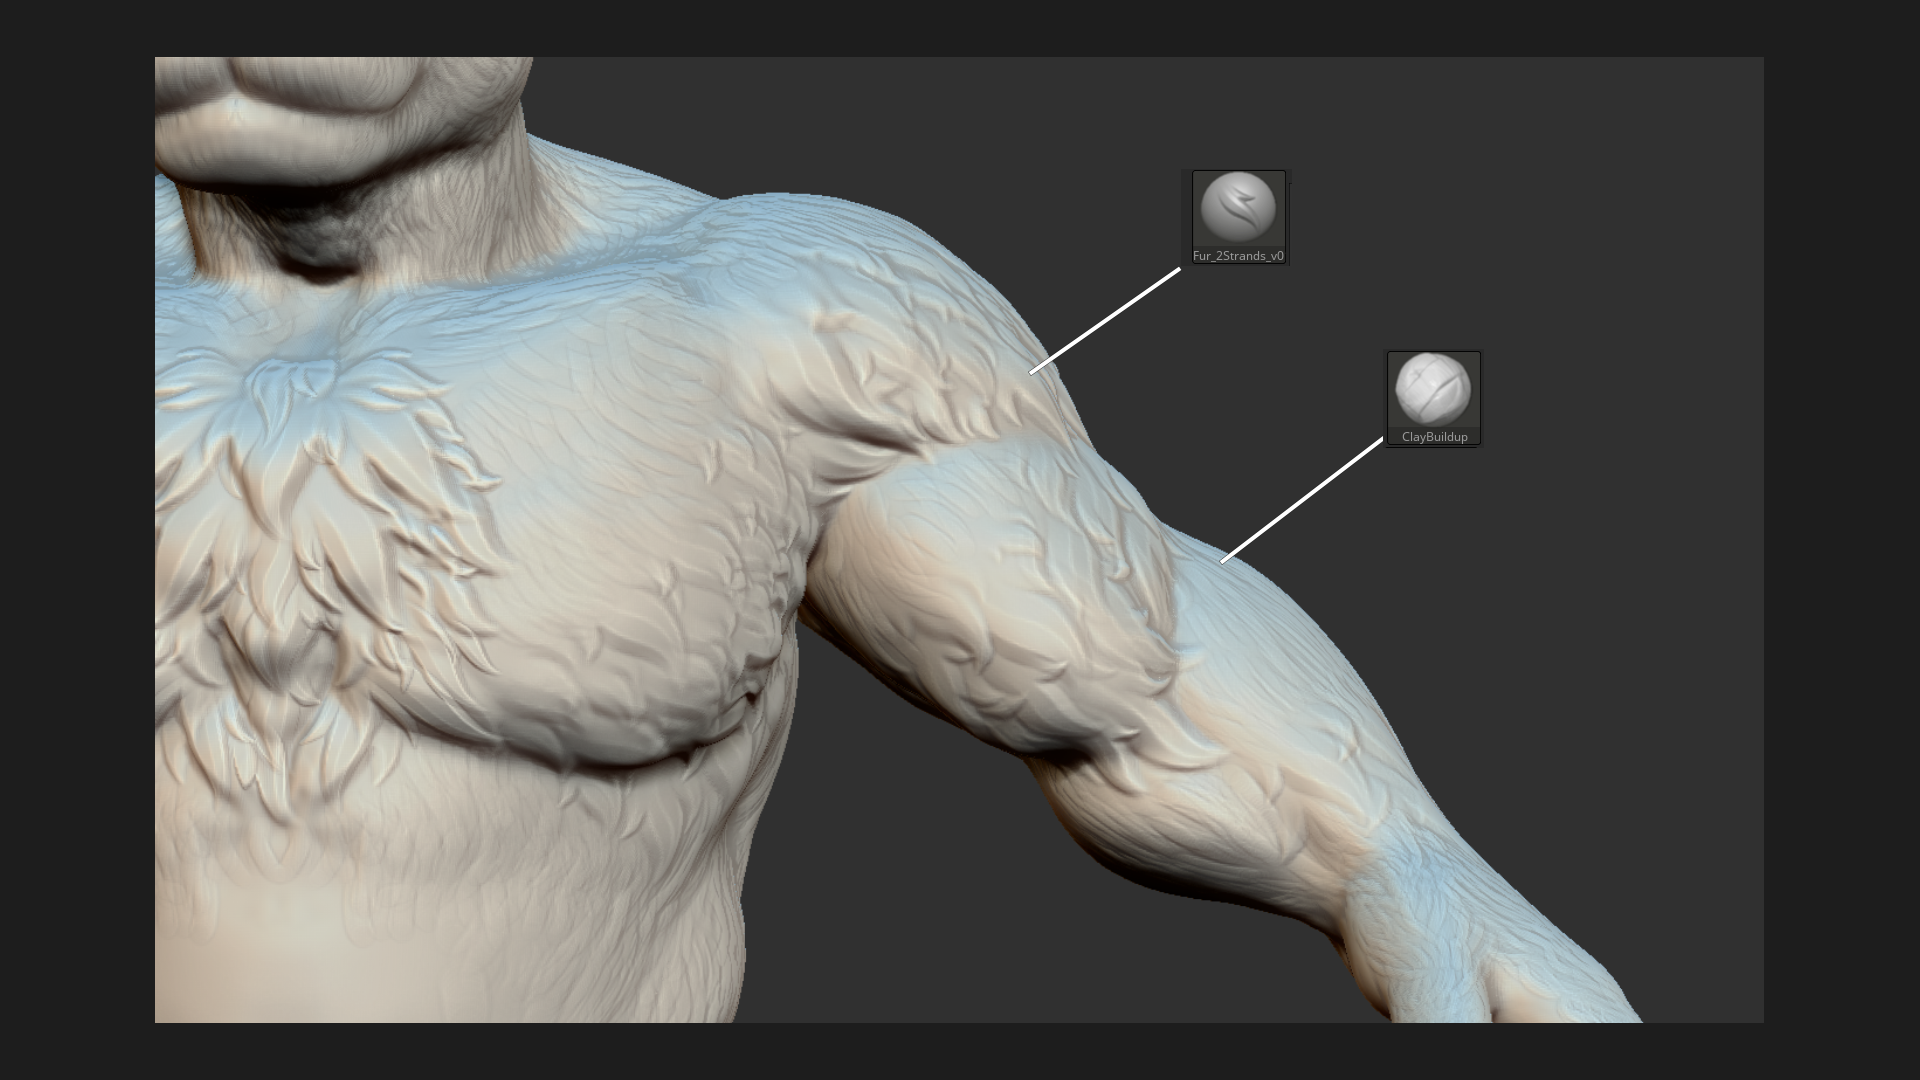
I wanted to add some sculpted fur detail on the base mesh to make it more like actual fur rather than leaving it flat. I used a mixture of a Fur brush pack along with the Clay Buildup brush to achieve the texture I wanted.
For the clothes, I worked in steps to build up detail: first, I created the overall shape and used booleans to create cutaways such as the parts at the front of the apron. Second, I added cloth folds using a mixture of the Standard brush and my custom Pinch brush. Lastly, I added the seams.
Once I was happy with the sculpt, I set up unique polypaint colours so that I could use them as an ID map later on when texturing.
Props
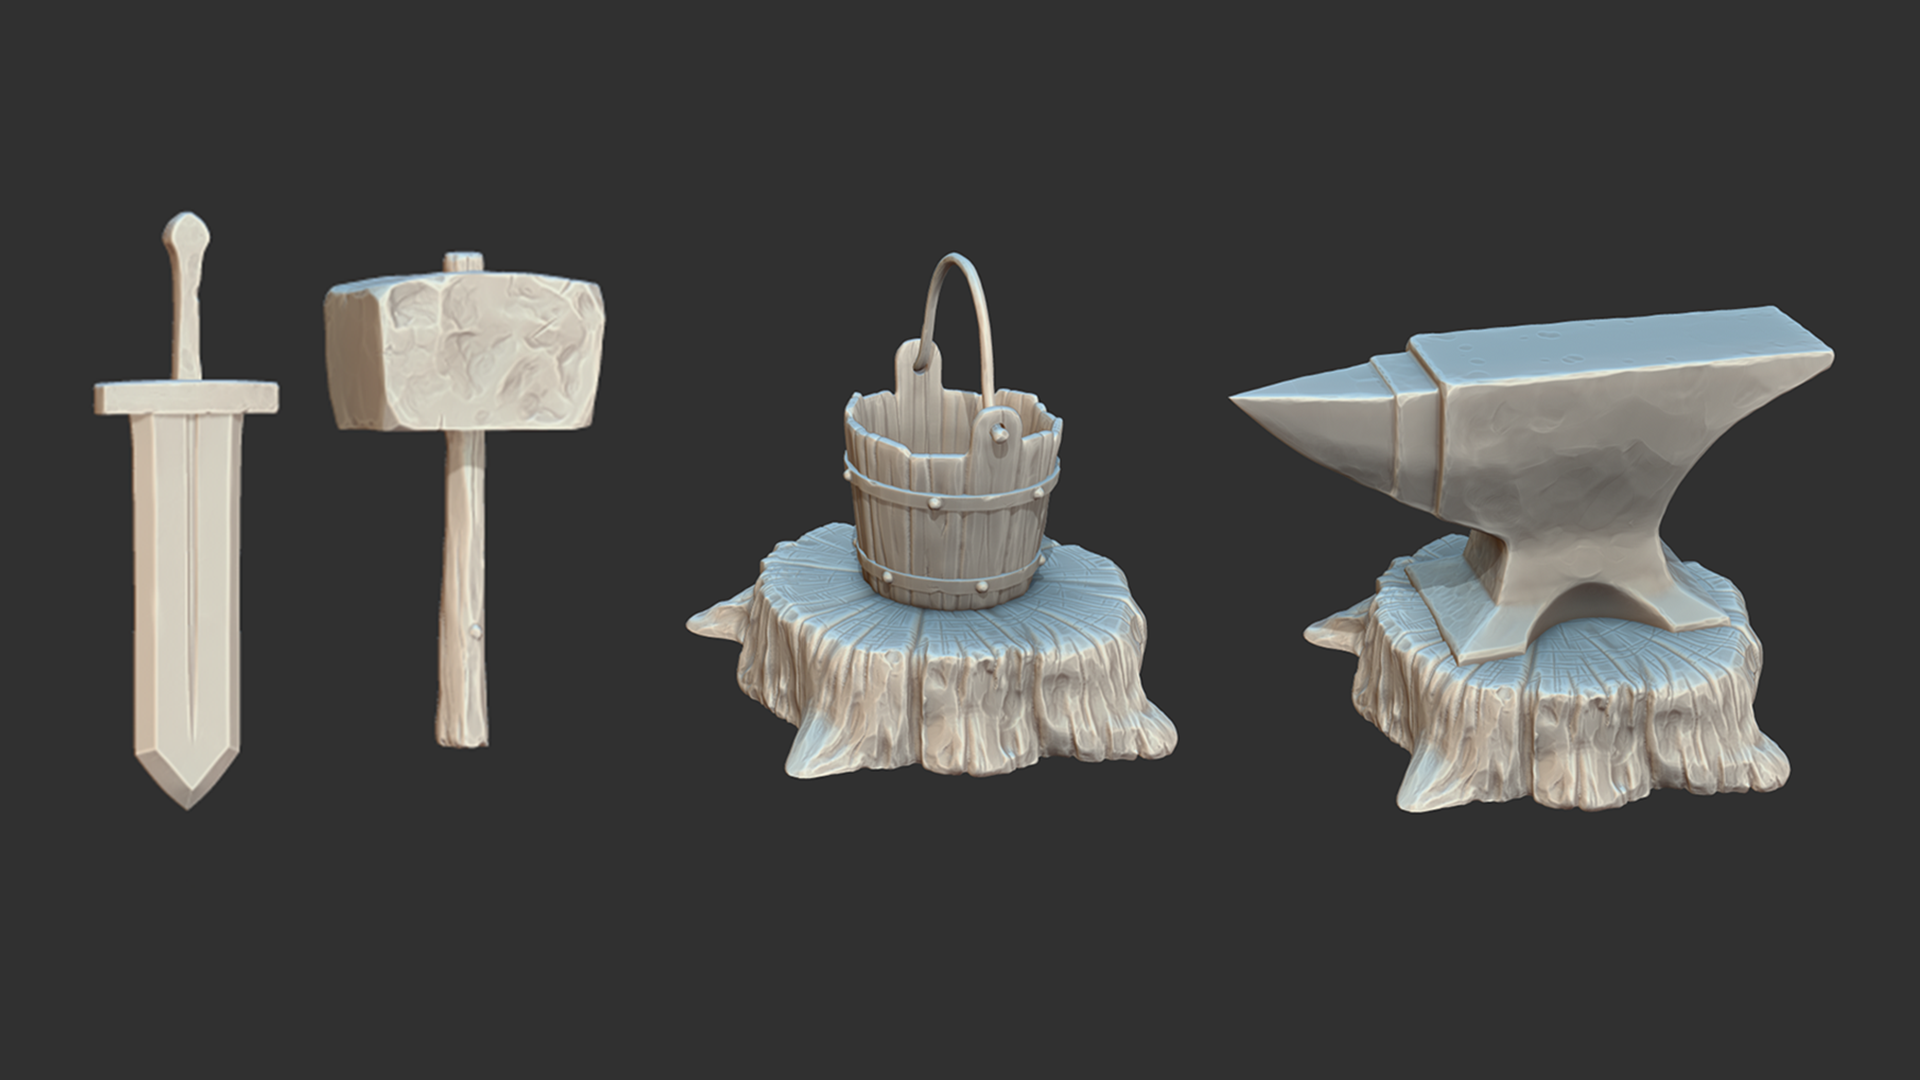
For the props, I used Maya to create a rough proxy mesh and then used this as a base for the sculpt in ZBrush.
To create the stylised look across all the models, I used a variety of different brushes: for the metals, I mainly used the Orb Flatten, Trim Dynamic and hPolish brushes along with using the Clay Polish function. The wood parts used a mixture of these brushes as well as Clay Buildup and the Orb Cracks brush.
Retopo
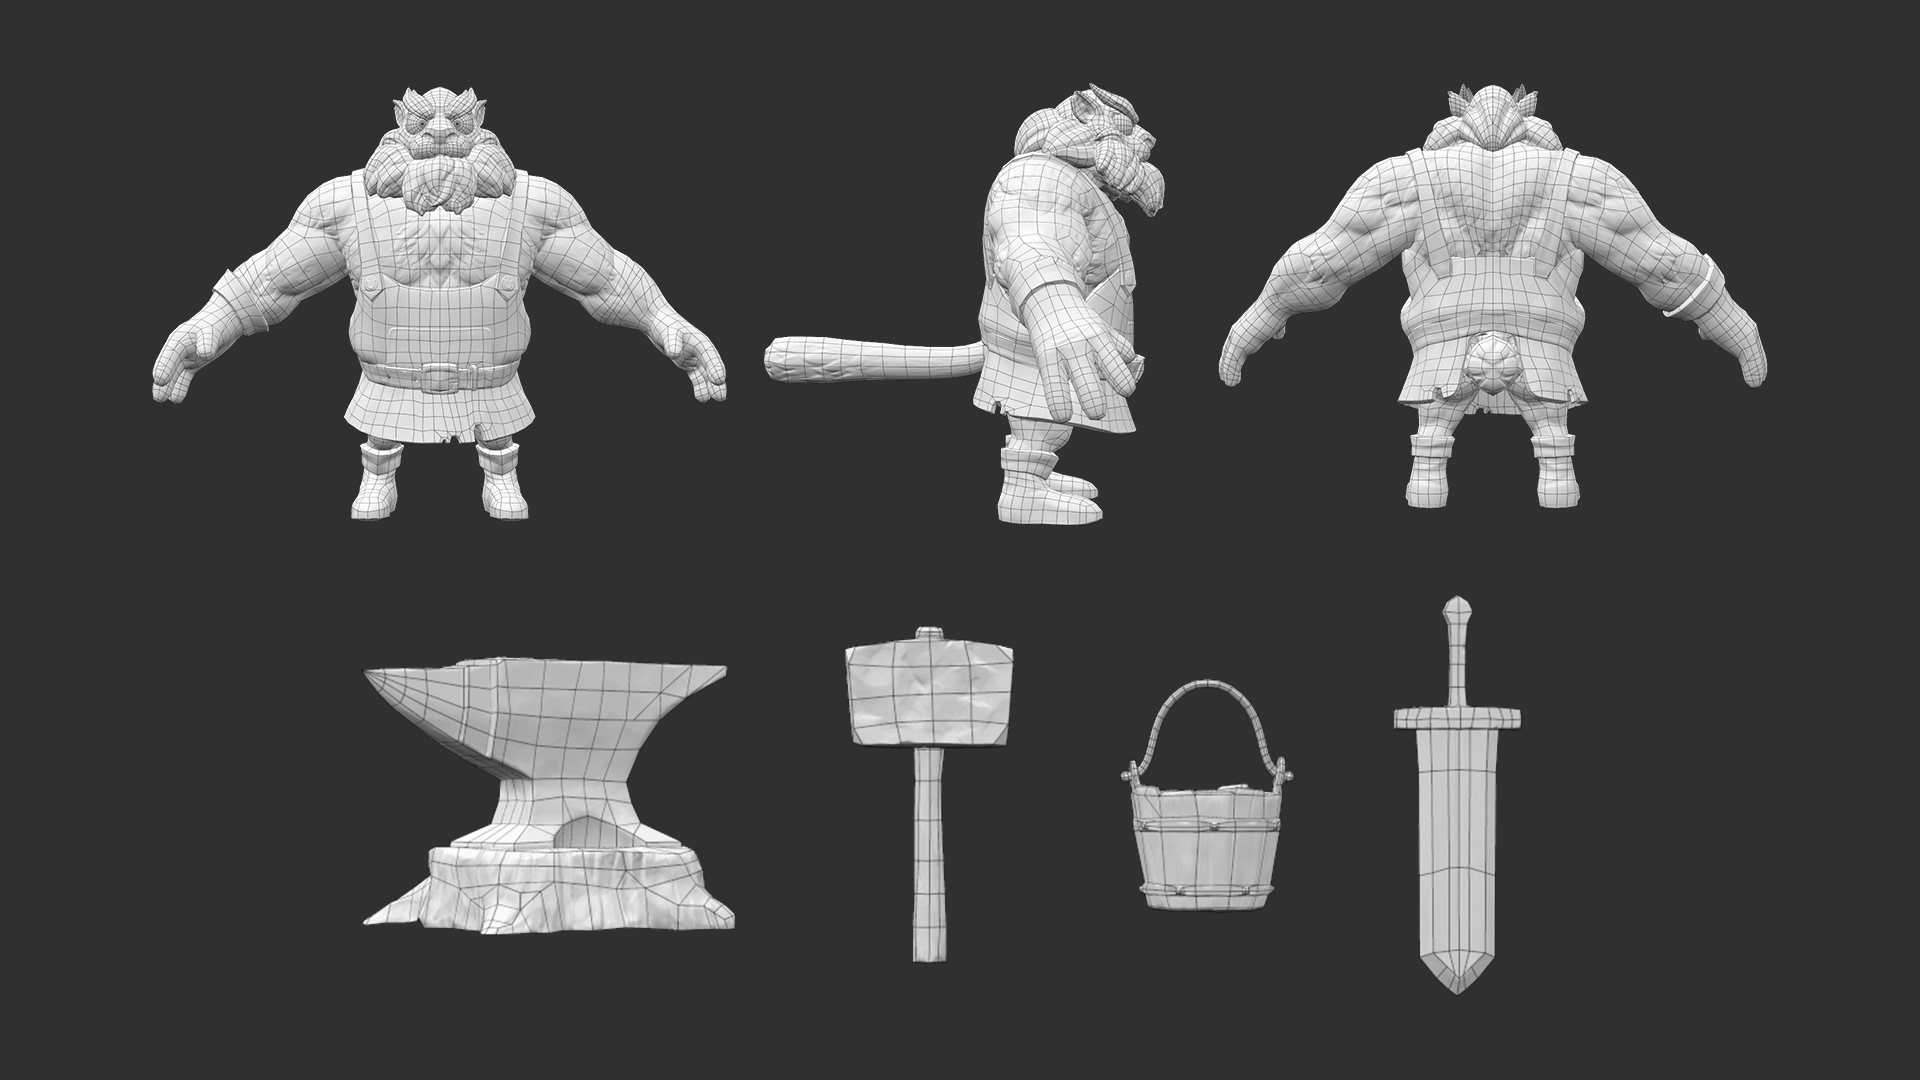
To create the low-poly character, I used Maya’s Quad Tool. I exported a version of the high-poly mesh that had been merged together, dynameshed, and decimated to use as a base for the retopology.
For the character, I did my best to follow good practices for creating appropriate edge loops around the areas of high deformation such as the elbows, shoulders and fingers so that later when I come around to skin the model, these areas would deform nicely.
I merged the clothes and front of the beard into the main part of the mesh because it would make the UVs more optimal as more space would be dedicated to parts of the mesh that would be seen. Also, it would make deforming the character later a lot easier as I wouldn’t have to worry about parts intersecting each other.
UVs and Baking
For the UVs, I wanted to make one texture set for the character and one for the props. This meant I had to maximise the space that the mesh would use. Areas that were symmetrical, such as the arms, shared a UV space.
When it came to baking the character, there were hardly any issues as the character didn’t have a complex shape to bake down to. There were a few areas where the normals were not bending the correct way; to resolve this I split the respective quad into two tris so that the normals would flow in the correct direction.
Texturing
When creating the textures for the character, I set up the project to use the Dota 2 Shader as it gave a good base for testing the handpainted textures with the normal maps enabled.
Generally, to create a base for texturing, I use the SoMuchDiffuse Smart Material. I then build on top of this using various other paint layers to achieve highlights, shadows, and general variation. This usually is a highly iterative process and is where I tend to experiment with colours to best achieve the look I want.
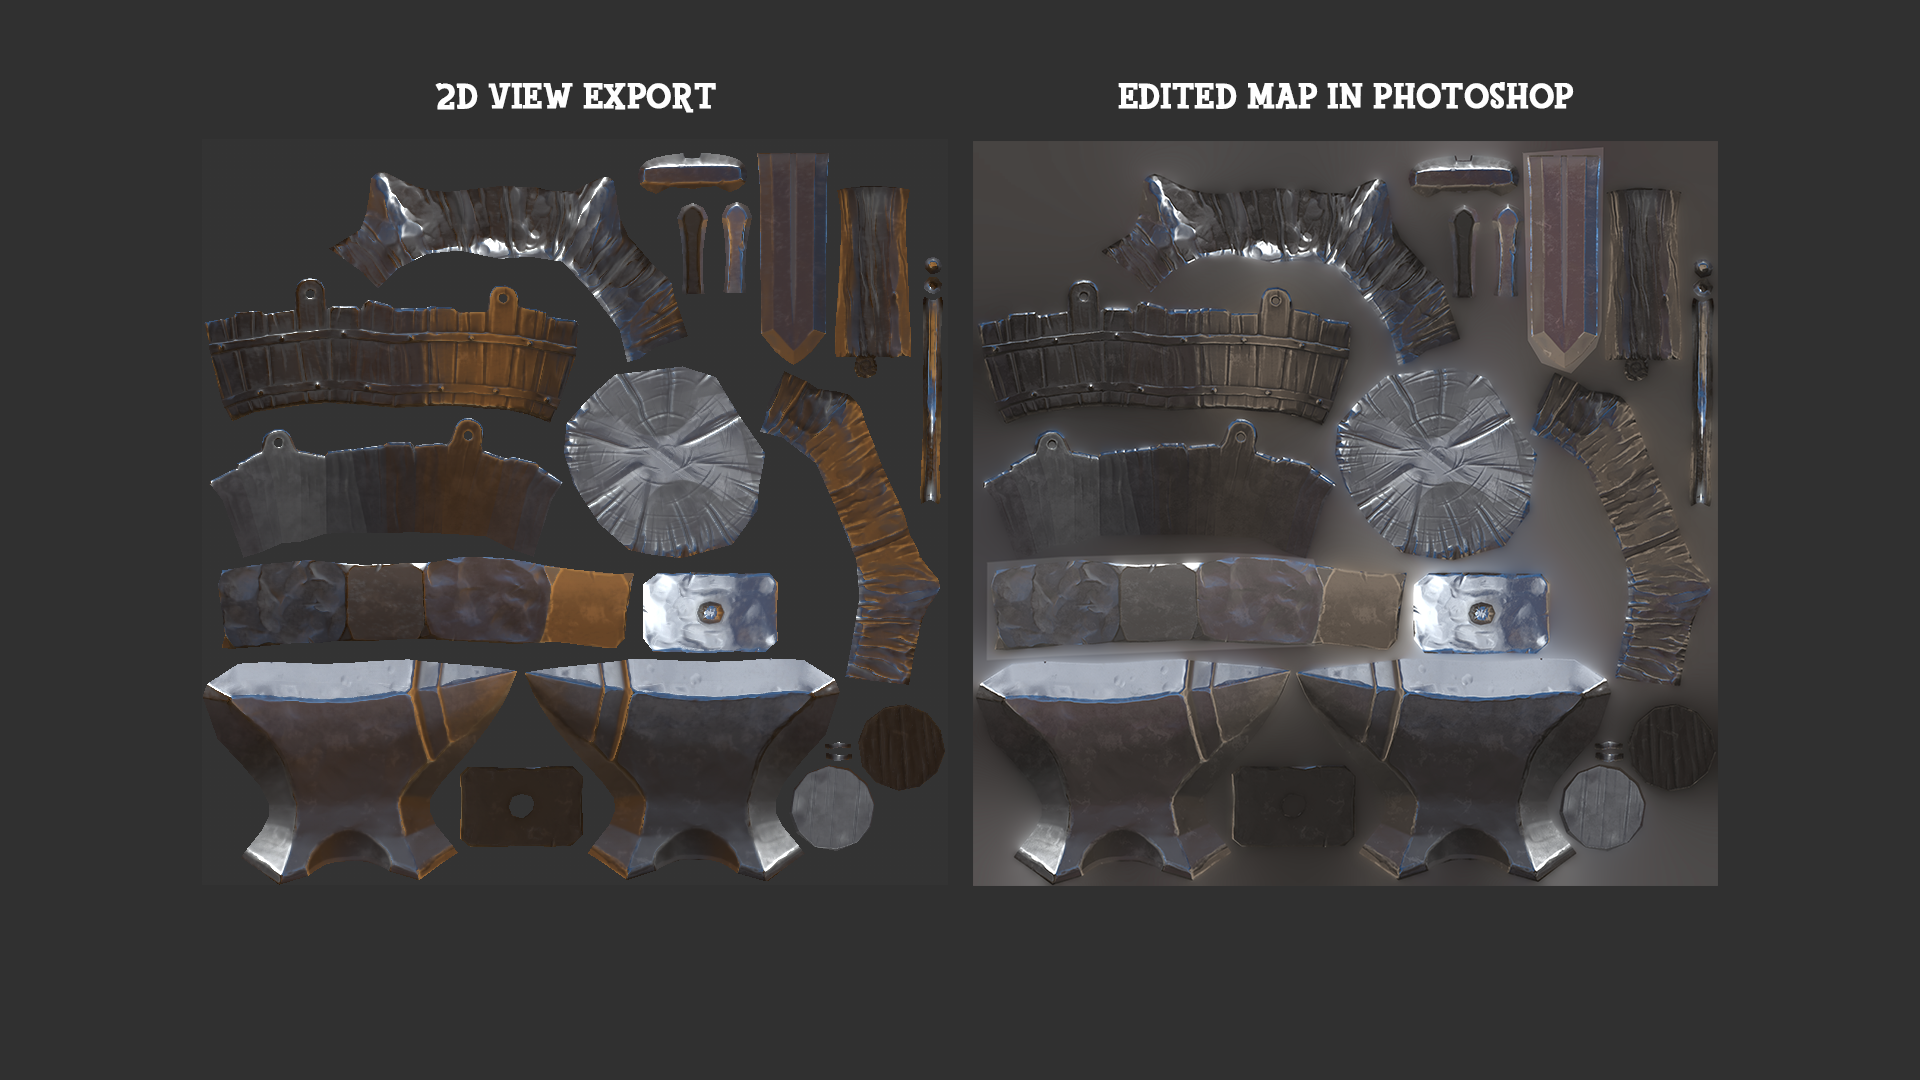
I use a slightly different technique when creating the metal base for hand-painting: I create the metal first using a PBR workflow and export the 2D view from Substance Painter. It is important to use an interesting HDRI that can give a variety of different reflections across the material for this method to work. I then alter the exported map so that the lighting is more neutral and less directional. This is then used as a base for the metal sections which I then paint details on top of.
Renders
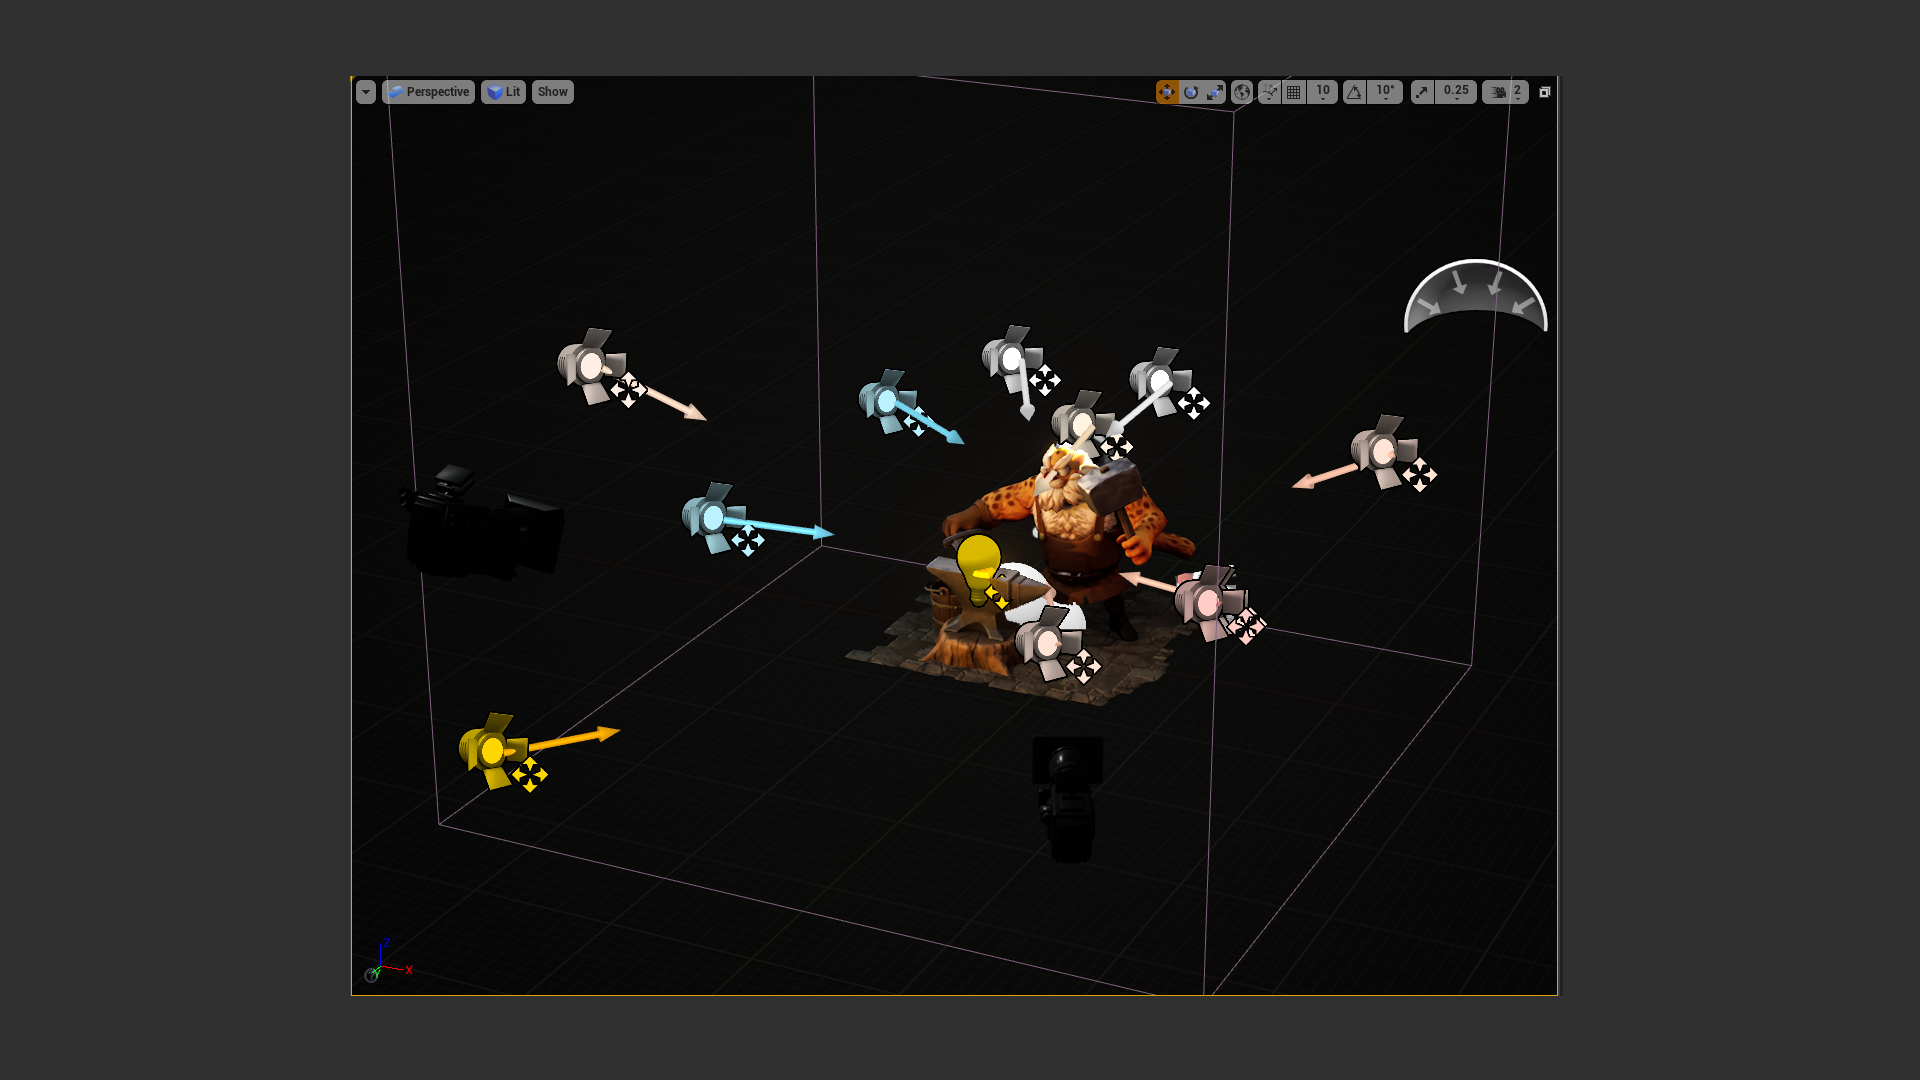
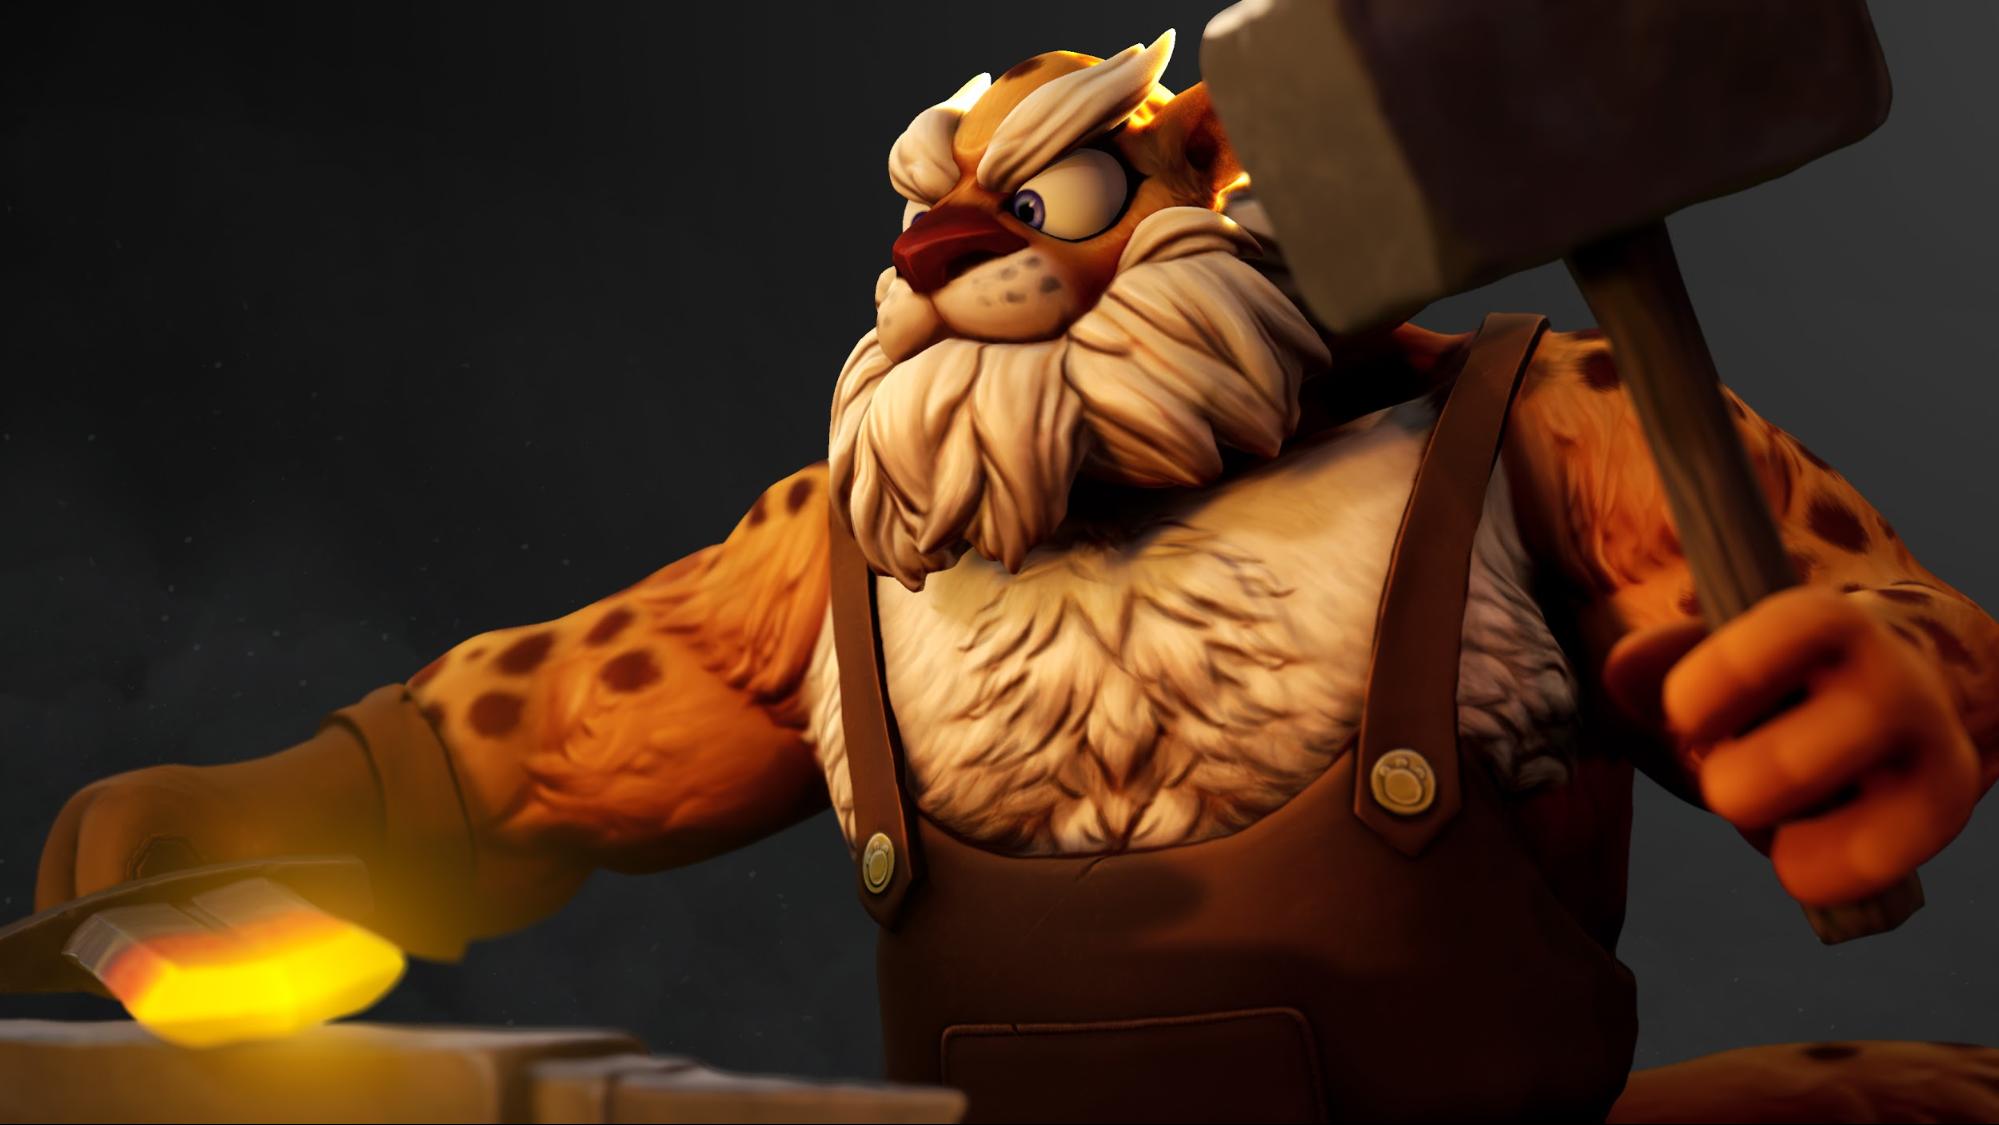
I wanted to use UE4 to create my renders. I used a general 3 point lighting setup to achieve the overall lighting, with a warm light coming from below to replicate the light from a forge.
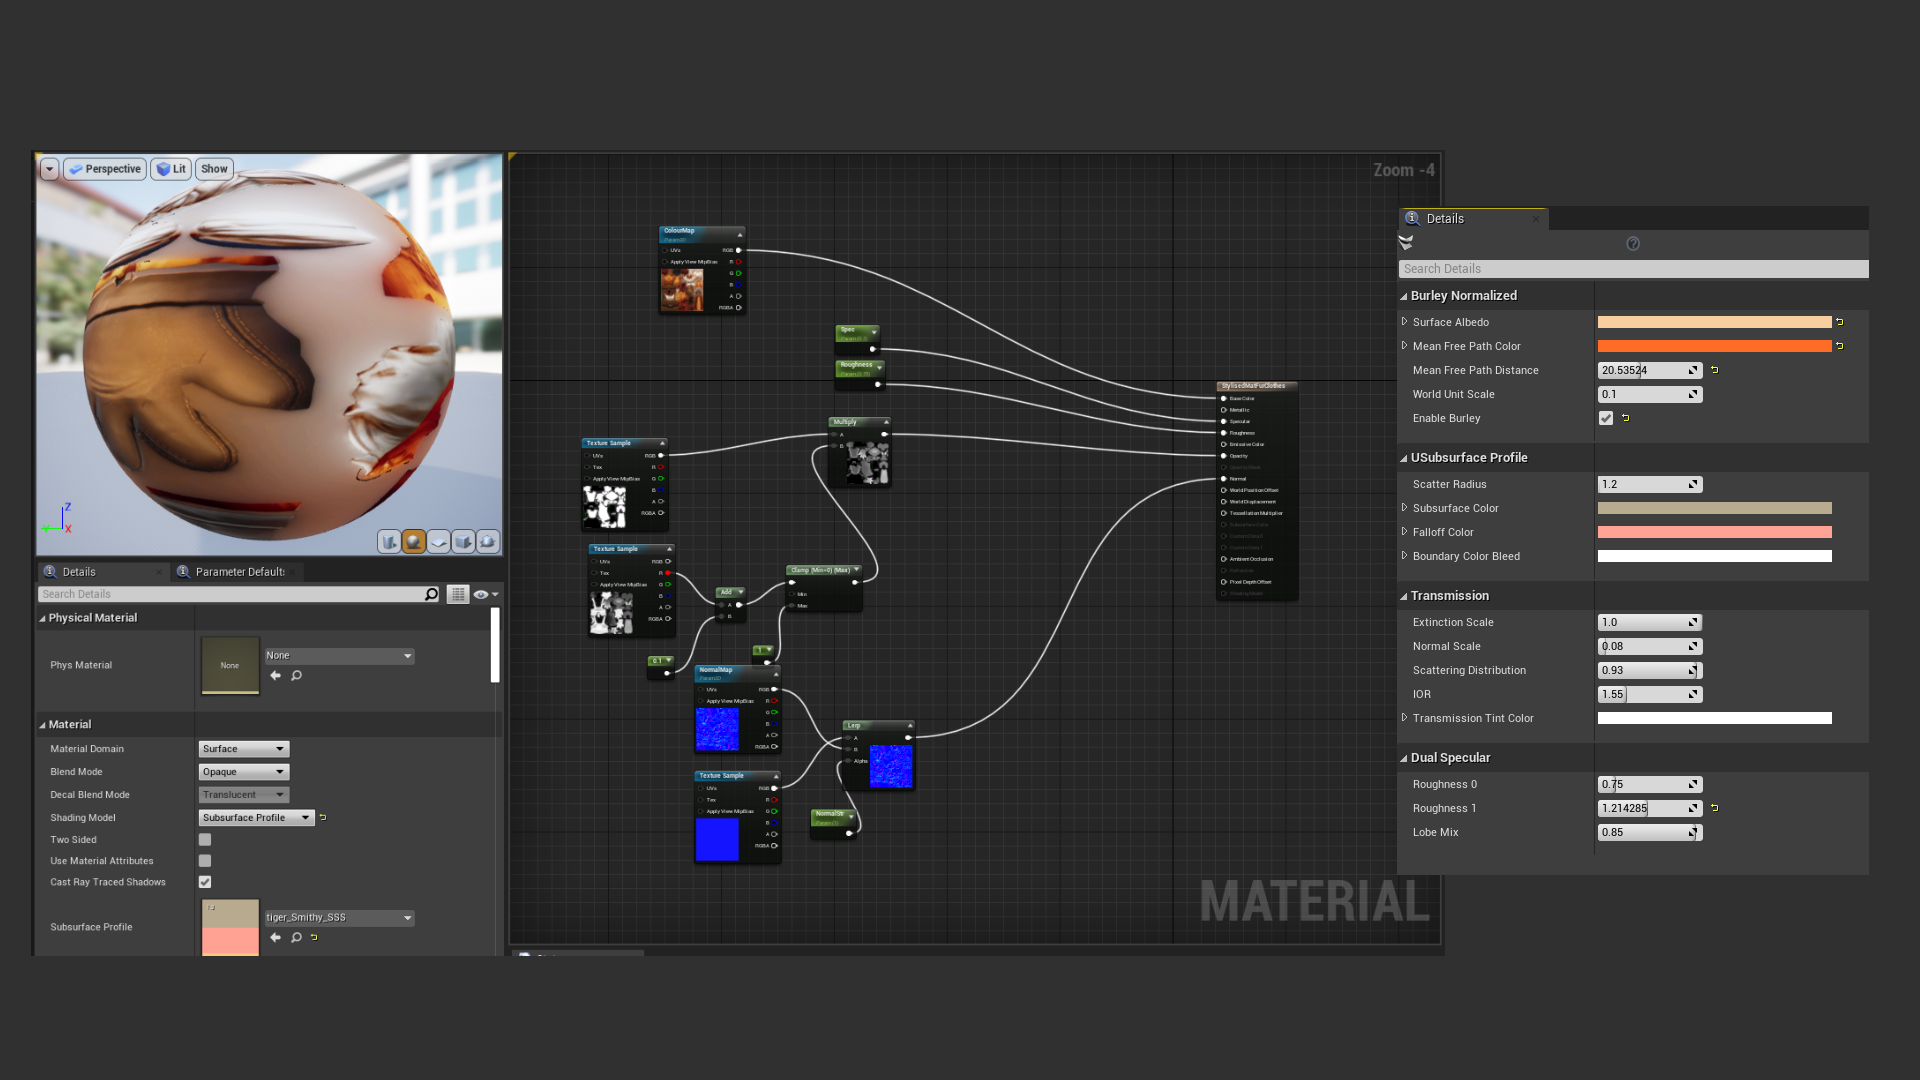
For the shaders, I used a subsurface profile shader for the body and a default lit material for the props. I had to create a mask to only have the SSS affect the fur and not the clothes. I added a Fresnel across all the materials to fake extra reflections.
Sketchfab Prep
In Sketchfab, I tried to recreate a similar look to the renders from Unreal. I used a Subsurface material for the base character so I could add some softness to the fur and set up the rest of the materials using a Diffuse/Normal Workflow. I used the Classic Renderer, as it gave the closest look to the renders and then I added some post-processing to balance the colours and shadows.
Here is the character on Sketchfab:
