Hey people! I’m Anaïs Sánchez, 3D Artist and Illustrator from Barcelona, Spain.
I have been a video game fan and an art lover since I was a child, but I had never considered joining the two things and working on it. As fate would have it, I am currently working in the video games industry making illustrations for new characters and sculpting them. I also work making assets such as props, environments, etc.
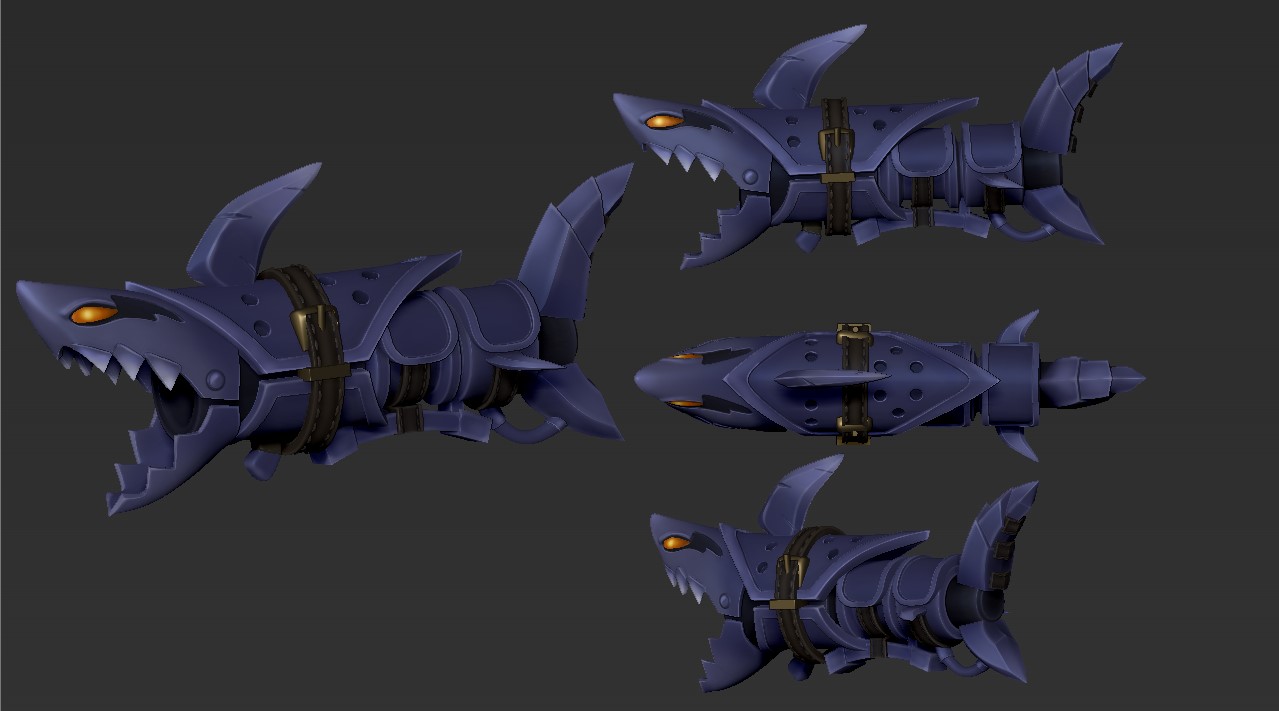
I am currently studying for a master’s degree taught by David Barruz and when I had the challenge to make a chibi version of a character, my first idea was to make my favourite, crazy character from the video game League of Legends: Jinx, The Loose Cannon.
The Concept
When I design a character, I have to make a study of it; turn it around, facial expressions, hands, the details of the body or the clothes, and finally poses, so that I can define the personality and its aspect.
The most important part of this step is determining the style of the character or object, for example a realistic style, cartoony or something intermediate, so that I can make sure that all the objects follow the same artistic style. In this case I chose the cartoon style to make Jinx very expressive.
As Jinx is an existing character, I only had to find some references and create a cartoon style for her.
Modelling
I use ZBrush for my character models. The way I shape the general form is through “ZSpheres” and afterwards I refine them in a “PolyMesh 3D” and I give it detail until I see that the shape is mostly the same as the concept. I organize and clean the mesh carrying out a “ZRemesh” and after that I begin to subdivide more to make the model smooth and give it the maximum detail.
As the character wears clothes, they can be extracted from the body by masking the parts that we are interested in (for example, masking the legs to get the trousers) and doing an “Extract” for modeling later. After that, it is possible to do a “ZRemesh” to get a low poly of these new pieces of clothing so that we can reorganize the mesh.
At this point the quantity of polygons is not very important because the subdivision is useful to get the maps from the high poly. The most important thing is to give the maximum detail.
Once I have made the character I switch the subdivision to a low level and I export the model in .OBJ format to open it later in 3D Coat.
When the project is loaded in 3D Coat, I retopologize the body, clothes, eyes and hair.
When the retopology is done, I import the character into Zbrush to make a “Project” of the copy with some details that I have done before. At this point, I have the character with a good geometry and with the maximum details of its high poly version.
Textures
With the character done and its low poly version ready, I open the UVs in order to texture it properly.
I usually use Substance and Photoshop for textures, but in this case I want a handmade painting result, so I use Zbrush and Photoshop. I know that there are better programs to get a “handmade painting style”, such as 3D Coat, but Zbrush gives you the freedom of painting on the mesh even before making the retopology and at any point in the process (that is what I usually do to get an idea of the colour composition).
Poses
This is the most fun part of the process, because I can play with the character as if it were a mannequin and try poses until I find the best. The poses are very important because they give extra information about the character, like his/her attitude or personality.
As Jinx is a crazy and powerful girl, she needs an energetic pose. What could be better than her, laughing on top of a cannon?
To undertake this process in Zbrush I use “Transpose Master” that allows me to build a rig made of ZSpheres.
Normally I work with layers of Zbrush for this process because in each layer I can record a pose of the character, so I can alternate between them until I decide which pose I like the most.
Export
The last thing to do is prepare the model for export into Skecthfab. As I want to preserve the volumes of the highpoly, the first thing I do is to decimate all the pieces but keep the UVs. I do this so that I can keep the textures and the volumes in a low poly with the resolution of a high poly.
Sketchfab
Once I have the model uploaded, I start to place the textures and make decisions about the materials (if they have specular, roughness, etc). Then I prepare the scene with 2 or 3 points of lights and post processing filters such as SSAO (ambient occlusion), sharpness, chromatic aberrations, vignette, bloom and tone mapping (adjust exposure,brightness, etc ). I always try to create a composition that brings out the best of the character. Here is the result!
https://sketchfab.com/models/0d7152ebe0b544aebe51ffa1dad6bbf6
Since I discovered that there is the possibility of uploading 3d models to the web and visualizing them in real time, I have not stopped uploading everything I do. Thanks to Sketchfab I can show the models that I have made (even on a mobile phone) as if they were renders. It is easy to test various lighting compositions, materials and post production effects very quickly.
It also helps me a lot when I have to sculpt models for clients, at any stage of the process I can upload a model and easily show it to my client with a link.
I have to express my gratitude to the Sketchfab team for giving me the opportunity to write about my work. I also want to congratulate them for creating a platform so friendly and intuitive.
I hope that my experience helps you and If you want to ask me anything or want to get in touch, write me an email! You can see more about my projects on these sites too:
Sketchfab / Artstation / Instagram / LinkedIn
Thank you for your interest in reading this post 🙂


