Hi, I’m Mauro and I’m a 3D Real Time Generalist and Character Artist from Turin, Italy and currently I’m a freelancer. I’d like to introduce myself a little better, so I’ll just start from the beginning. I’ve graduated at IED, International Institute of Design in Turin, equivalent to Master’s degree in Digital and Visual Design, with full marks. I’ve worked many years in this field and continued studying design, graphic, illustration, video, direction, and in particular, digital and installation design.
However, I have always taken great care to my greatest passion: video games. I’ve always been a games enthusiast. During the past 5 years my main occupation has been to work as 3D Real-Time Generalist for VR Application and Game Industry, specializing in characters and assets on Unity and Unreal Engine.
To improve my skills I decided to do a personal project, complex enough for testing out my competence.
BRAINSTORMING
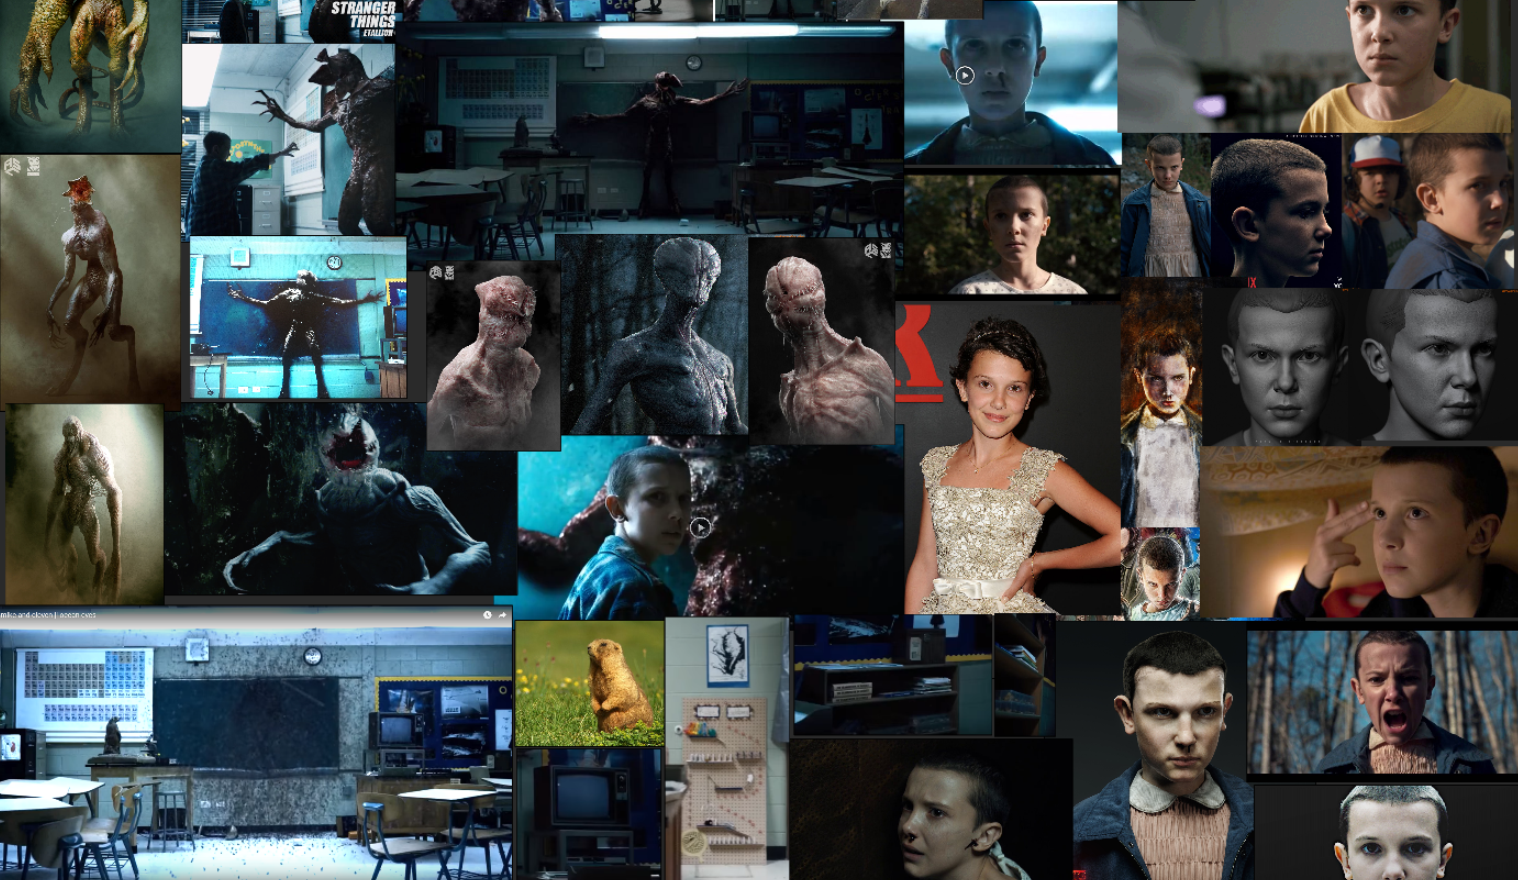
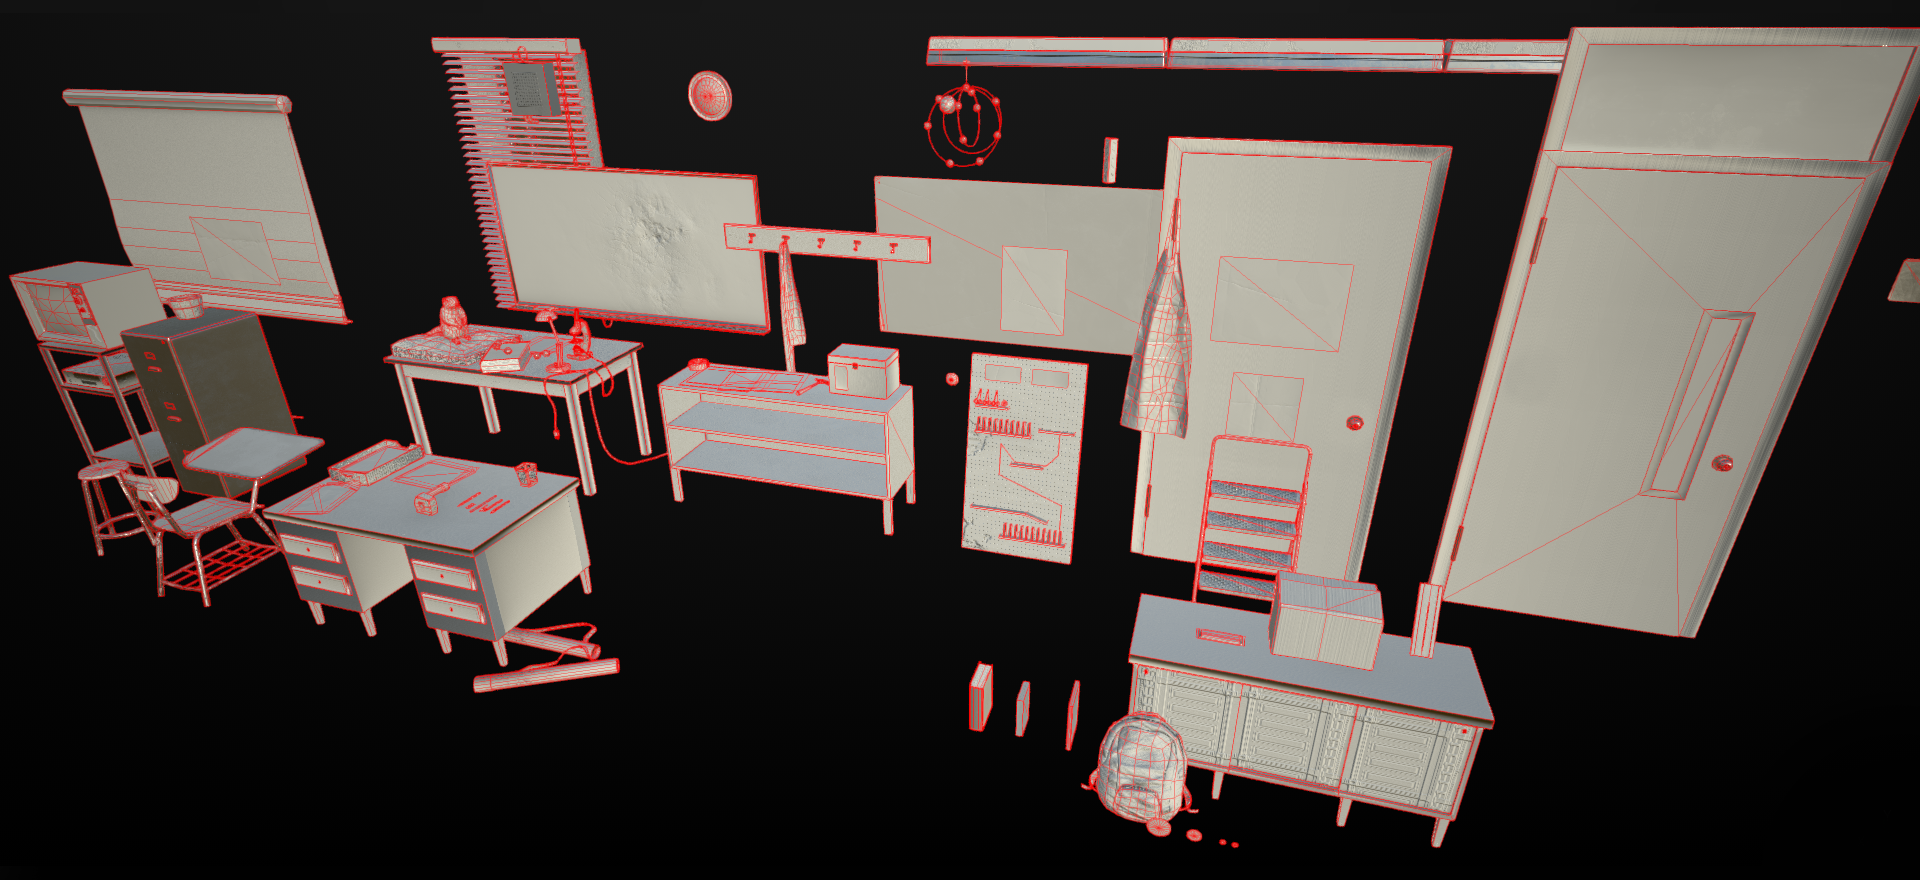
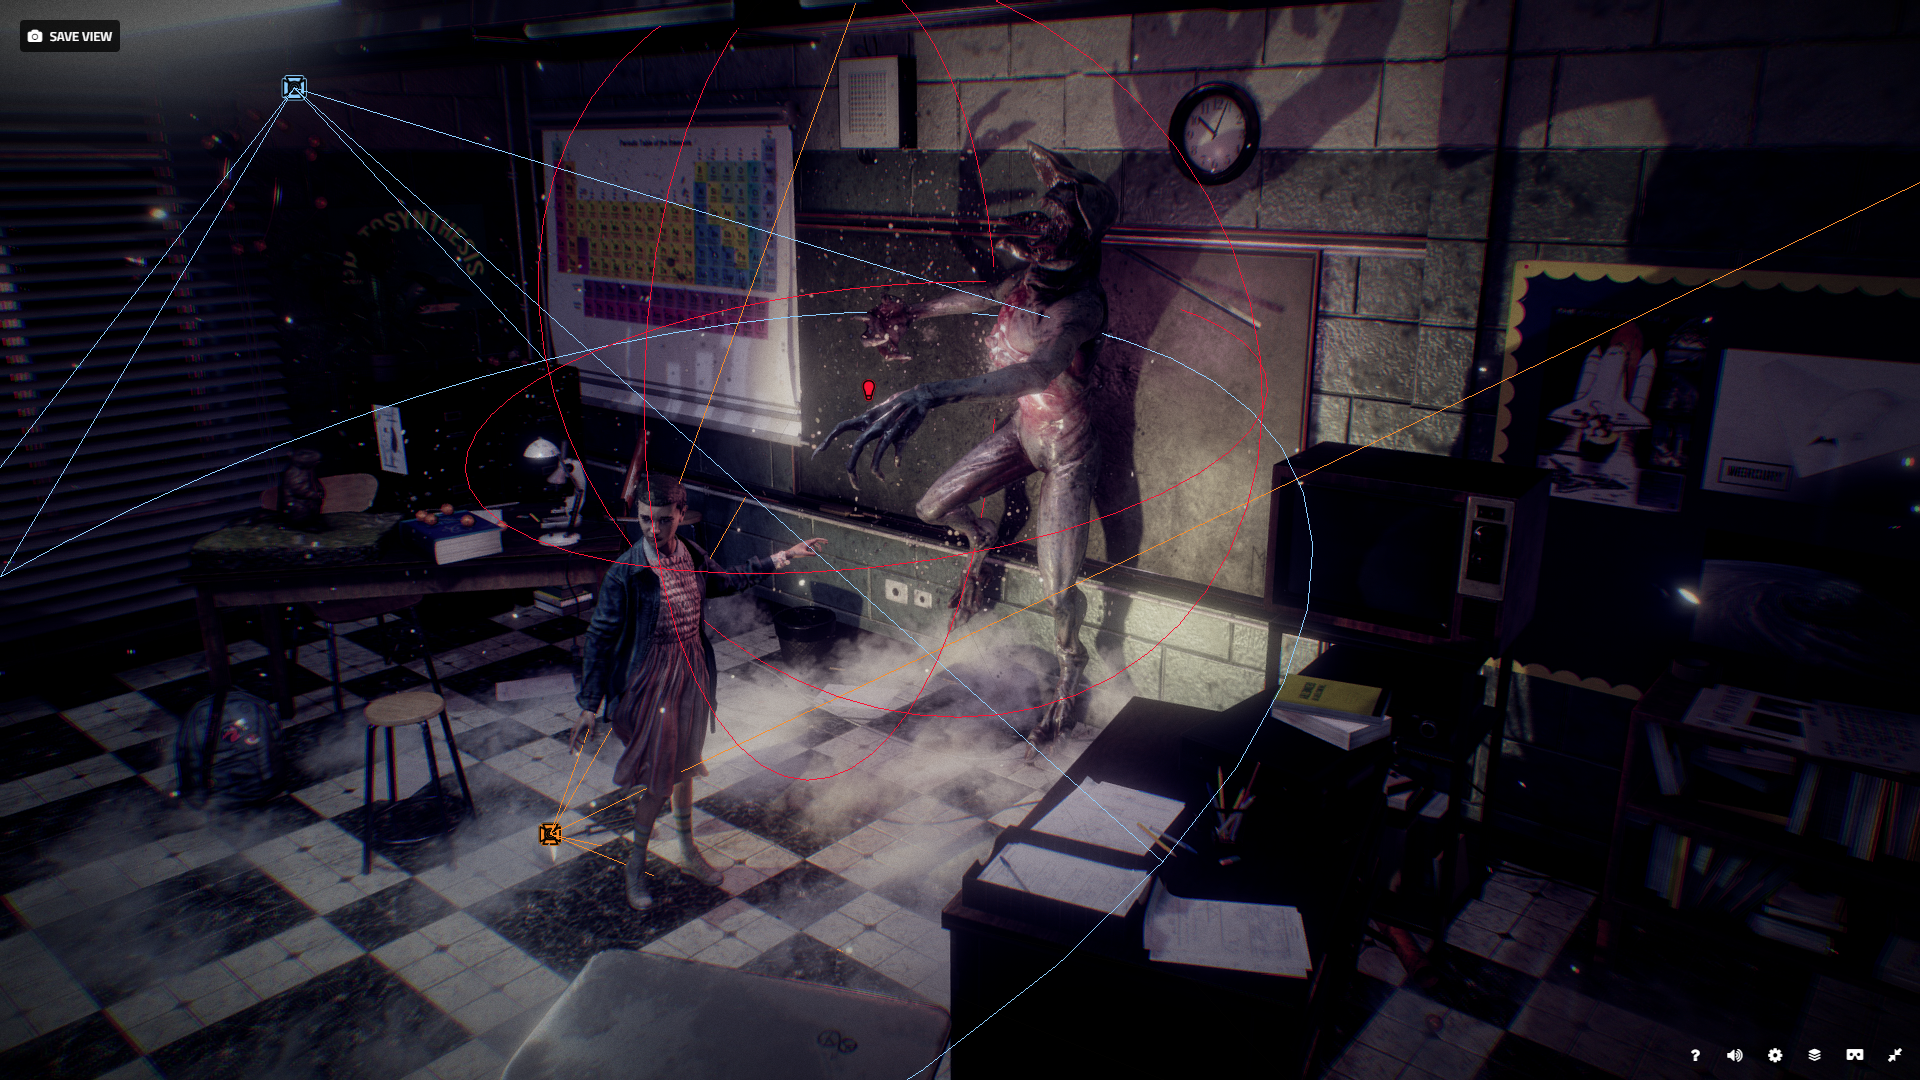
Last Memories of Her is an homage to the Netflix’s original series, Stranger Things. I wanted to recreate the emotional moment when Millie Bobby Brown’s character, Eleven, sacrifices herself to defeat the Demogorgon in order to save her friends. This series really got me, both for the story and the 80’s atmosphere. In order to recreate this particular piece, I started by tracing a detailed real time game assets pipeline, with every element included in the scene, and how to achieve the desired result. I started to collect the more references I could find, from film frames to the actress portraits. For the Demogorgon I gathered some original concepts and various artist’s reinterpretations. Before starting such a complex pipeline I find useful to first browse for resources, and I spent quite a time searching tutorials and creating alphas, mesh, materials and everything else you may need to be prepared on in order to save time and efforts later on. I started building the first mockup by having a list of all the objects in the classroom, and how and where to place them, by drafting the pose scheme, and by creating the room volume. Keep in mind to check and be sure about every step of your pipeline. Find answers to questions like how big you can go with the poly count or with the number and resolution of texture sets. To me, it was crucial to be sure about the optimization and compatibility with Sketchfab, and for it I’ve done a number of tests and tried various techniques to be sure to maximize the ending result.
MODELING
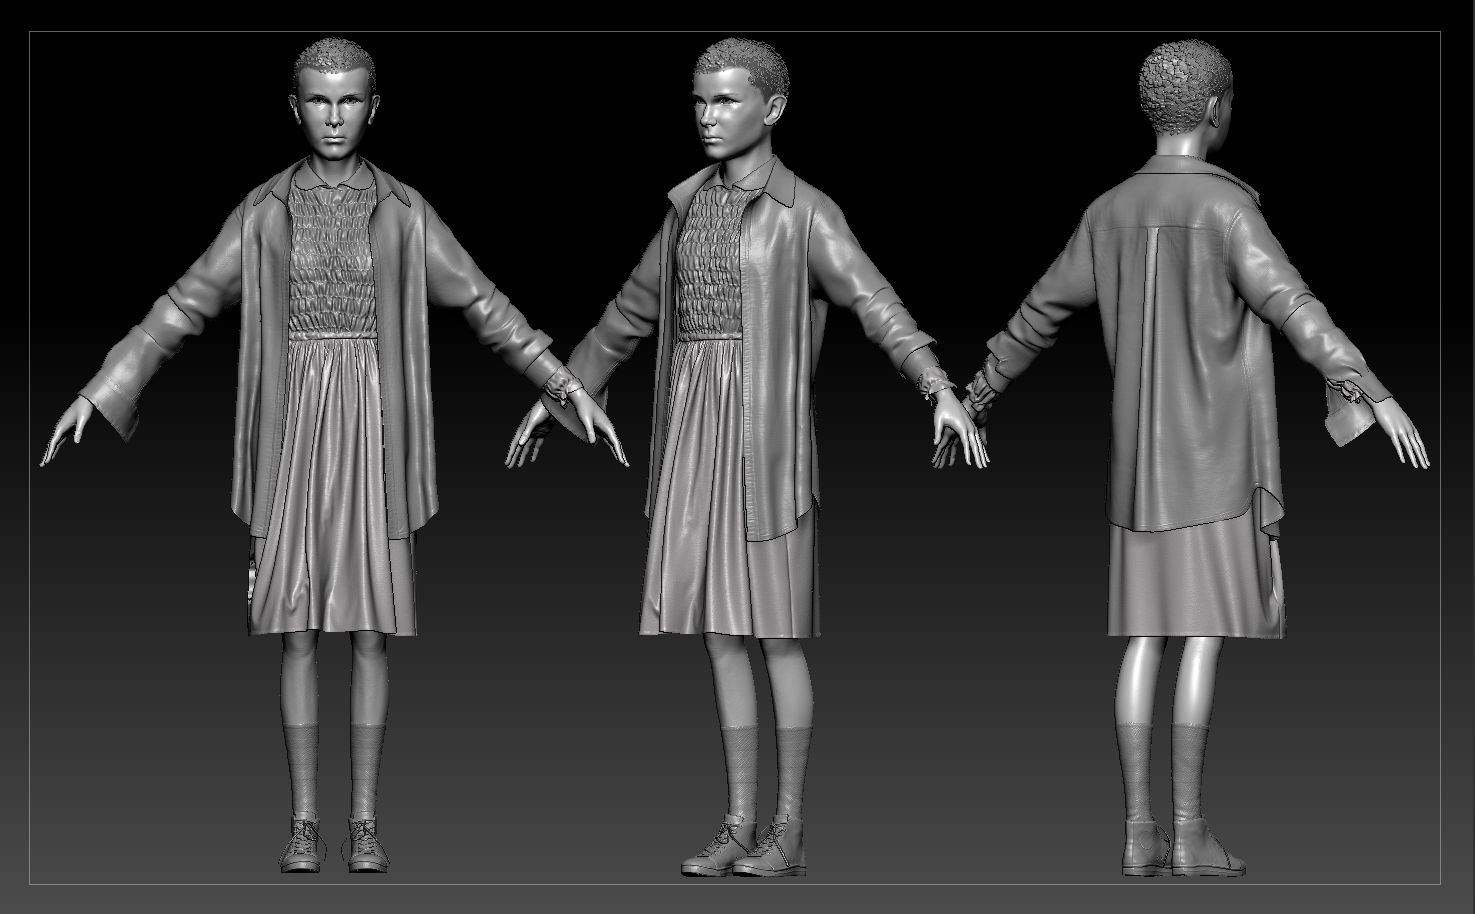
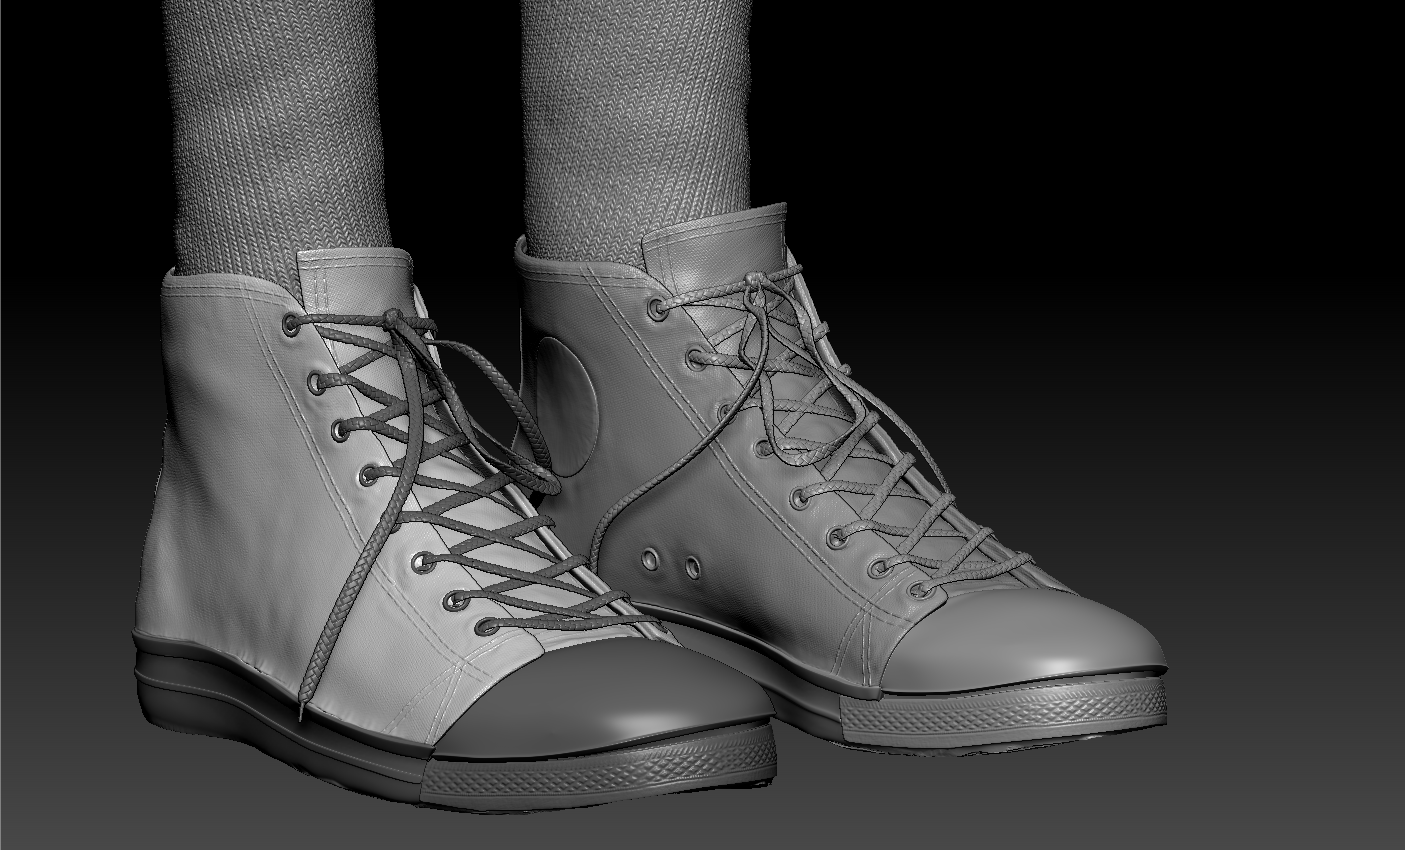
Sticking to my pipeline, I started to shape the main character. The first step was to create Eleven’s clothings in Marvelous,and then I used them as base for the high poly sculpting, made in ZBrush.
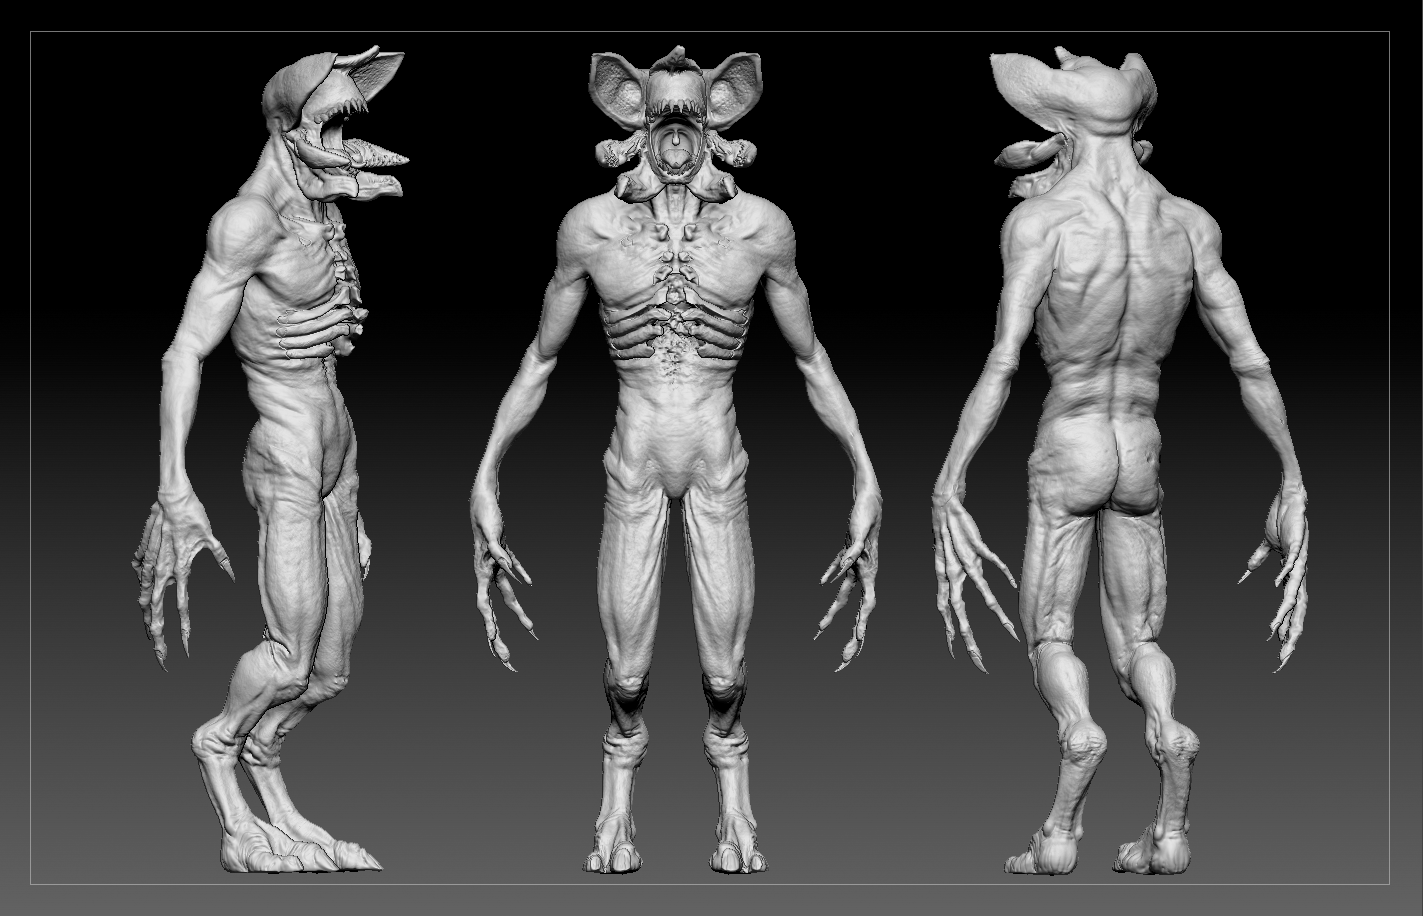
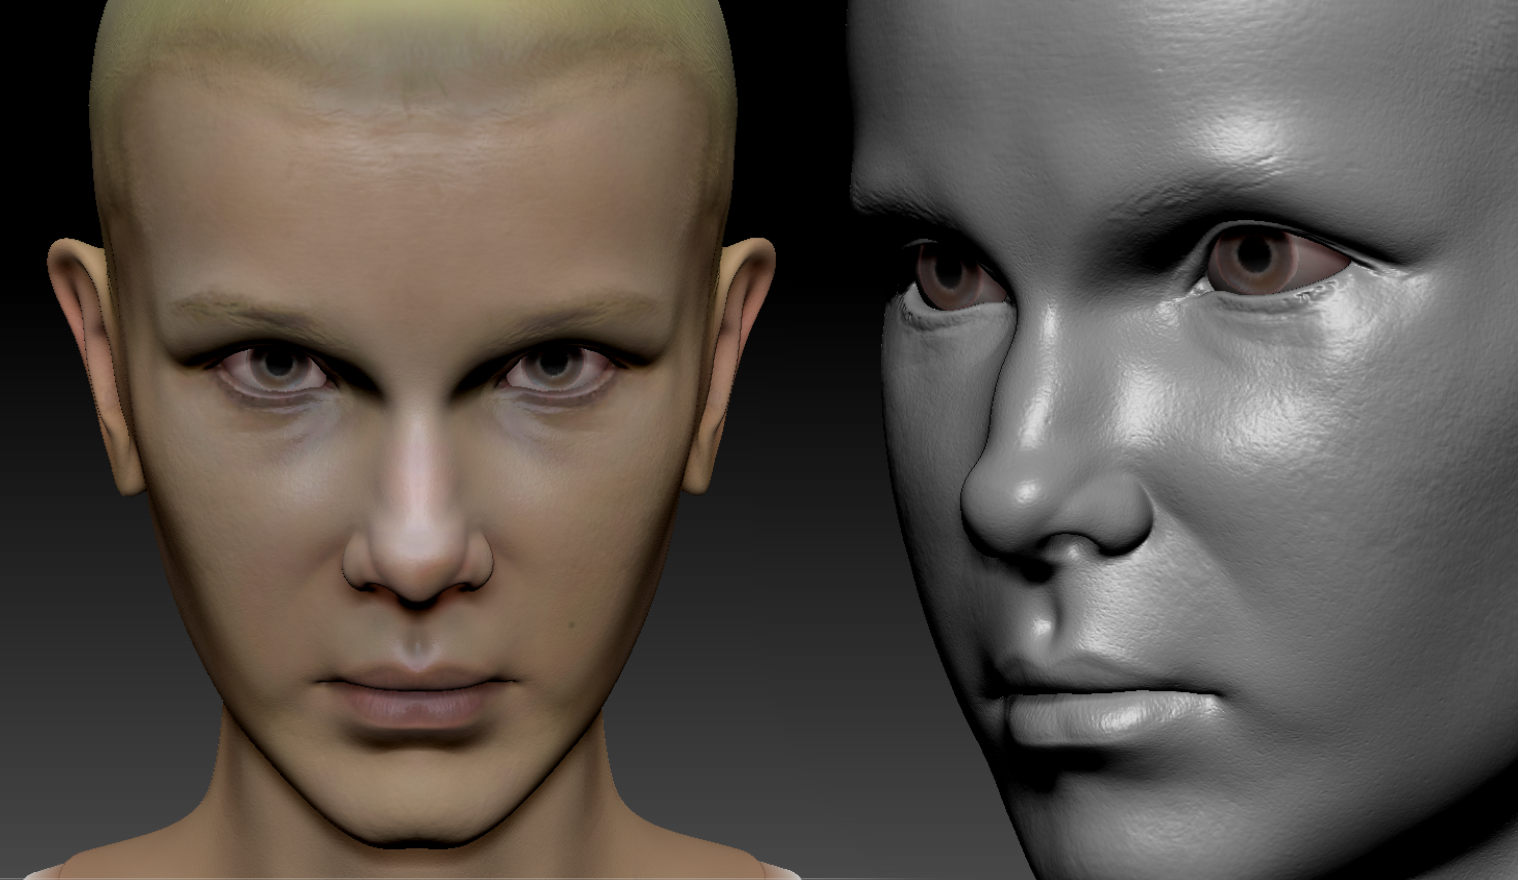
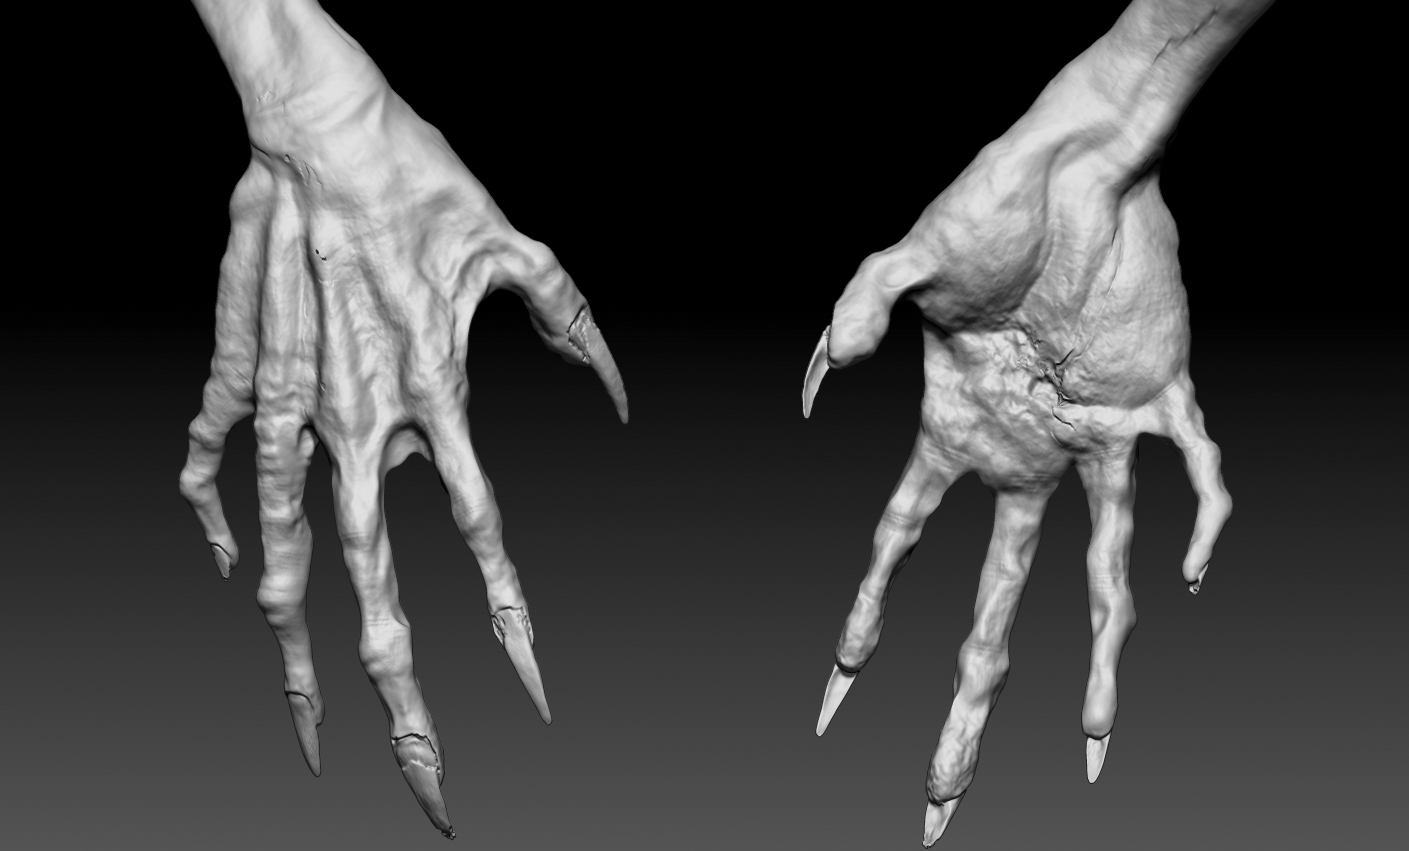
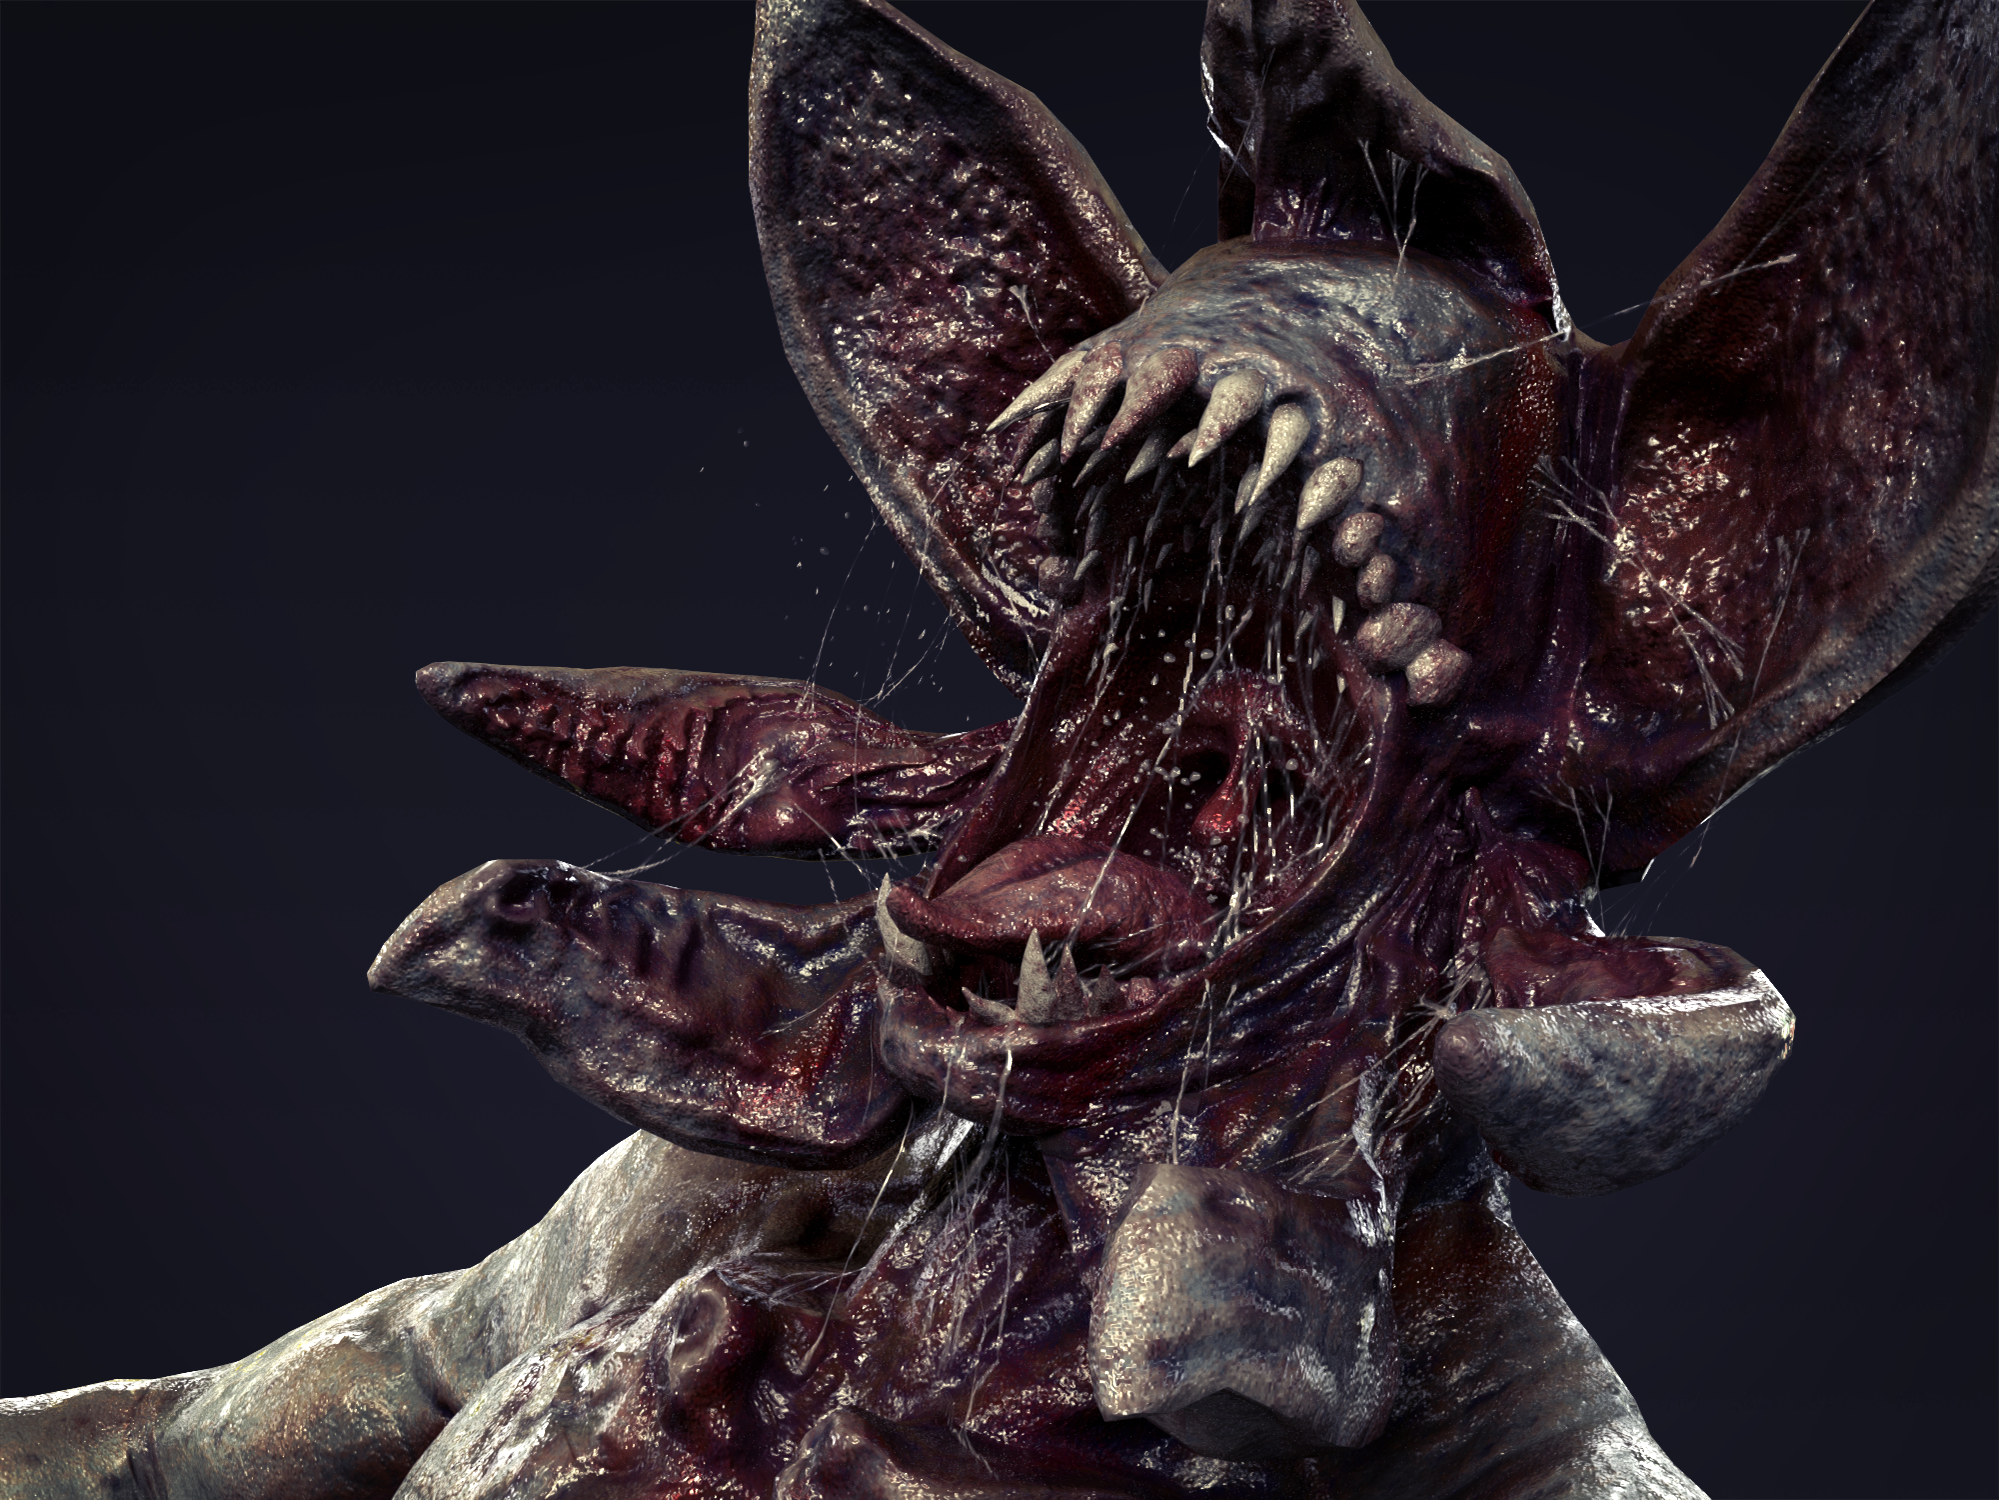
After that I modeled the face and the body, and I spent a lot of time refining details, from skin pores to different fabric surfaces. Regarding the Demogorgon I wanted to redesign him but it was also absolutely important to preserve a defined overall shape.It may sound trivial but, for this step, always prepare a good silhouette for your creature.
At this point, I’ve done a quick retopology in ZBrush, I fixed some issues in Maya following the “arbitrary mesh pipeline”.
Just a little tip here: because the native Marvelous topology isn’t optimized, be sure to pay an extra attention to the retopology of those garments. It will save you so much time in the future and give you better results.
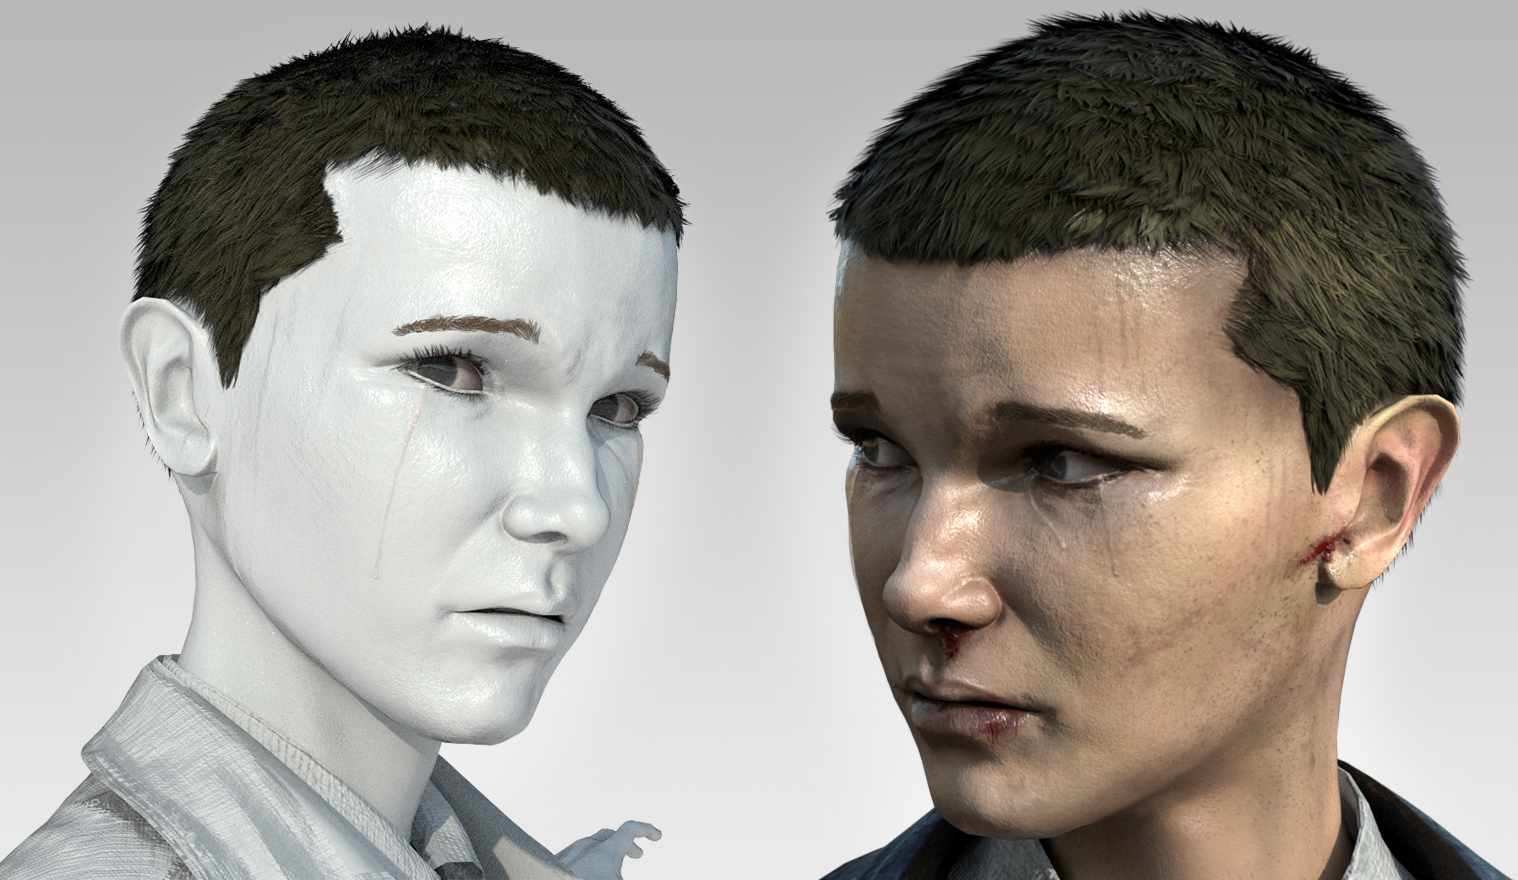
At last, I proceed to develop a believable saliva for the Demogorgon and compose Eleven’s hair and tears using mesh planes. I soon realized that the only way to have a realistic shaven hair was to place manually the 80% of the total amount of mesh planes used, and this step took me quite a long time.
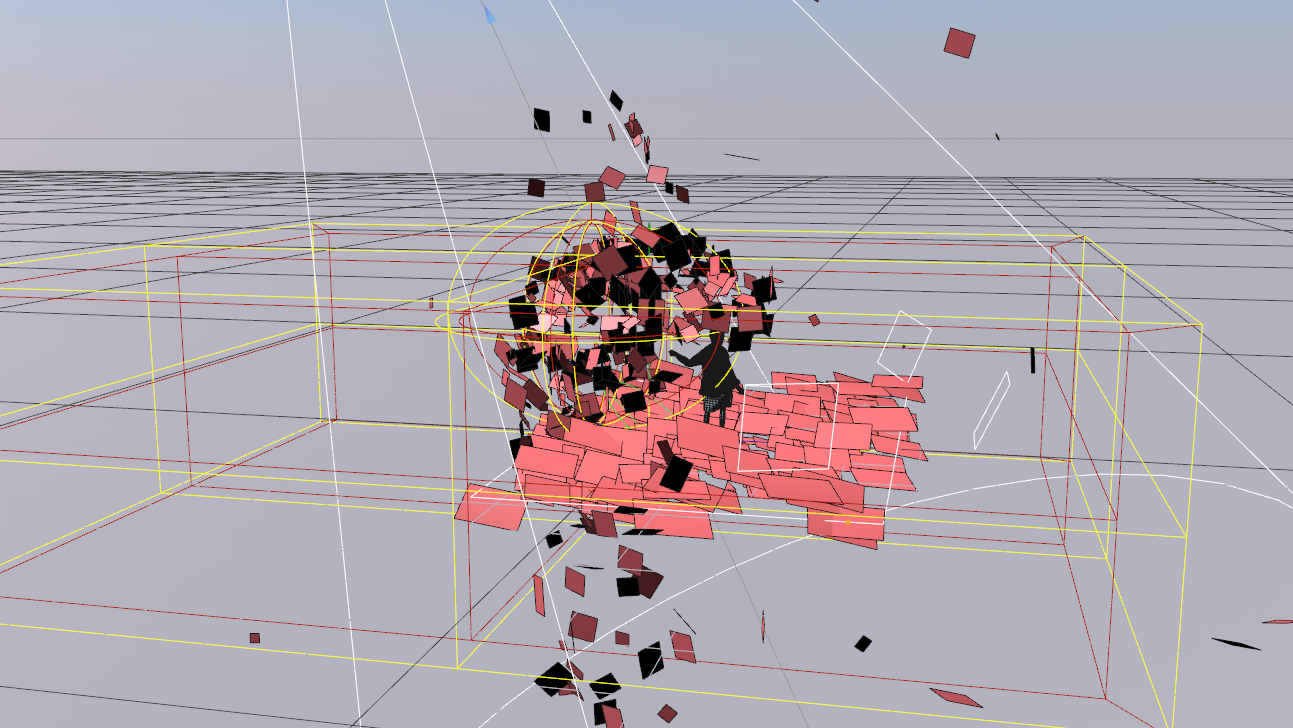
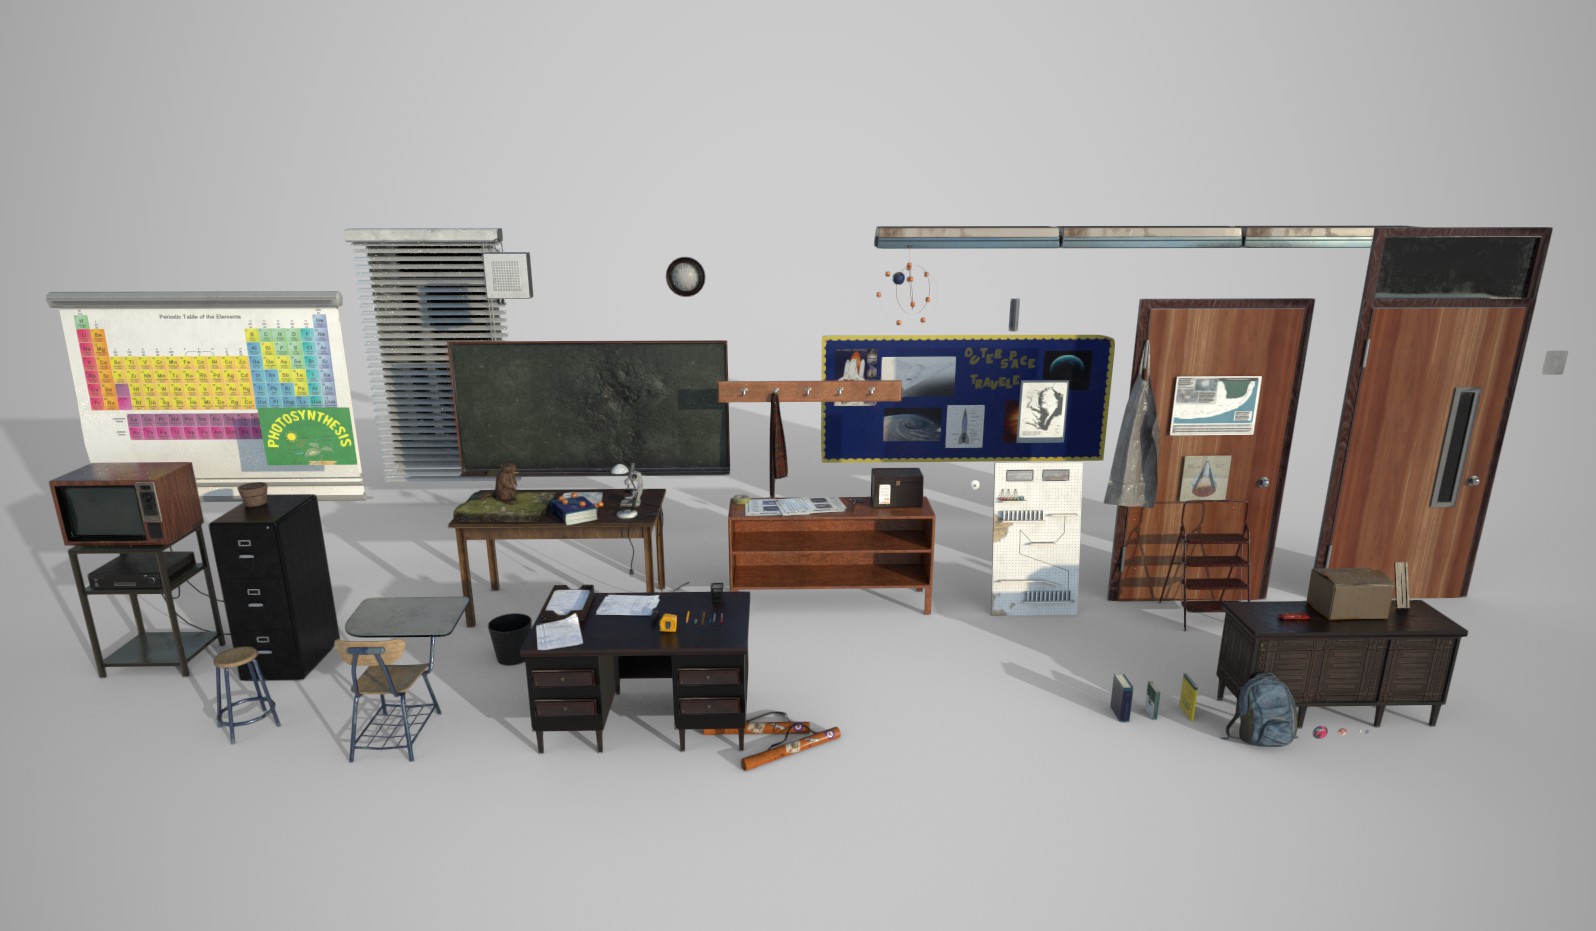
As to the environment I followed the exact opposite procedure: first I modeled every element in low poly, smoothed everything out, and then I’ve created the details for the objects in high poly with ZBrush. It has been quite a challenge figuring out how to achieve the right look for dust and fog. Eventually I used Cinema 4D by placing some particle emitters and attractors, shaping the output. I’ve also fancied to experiment SpeedTree, and so the plant near the window is made with this useful software. Every piece of cloth or fabric you can see in the scene has been done with Marvelous Designer and simulated with it.
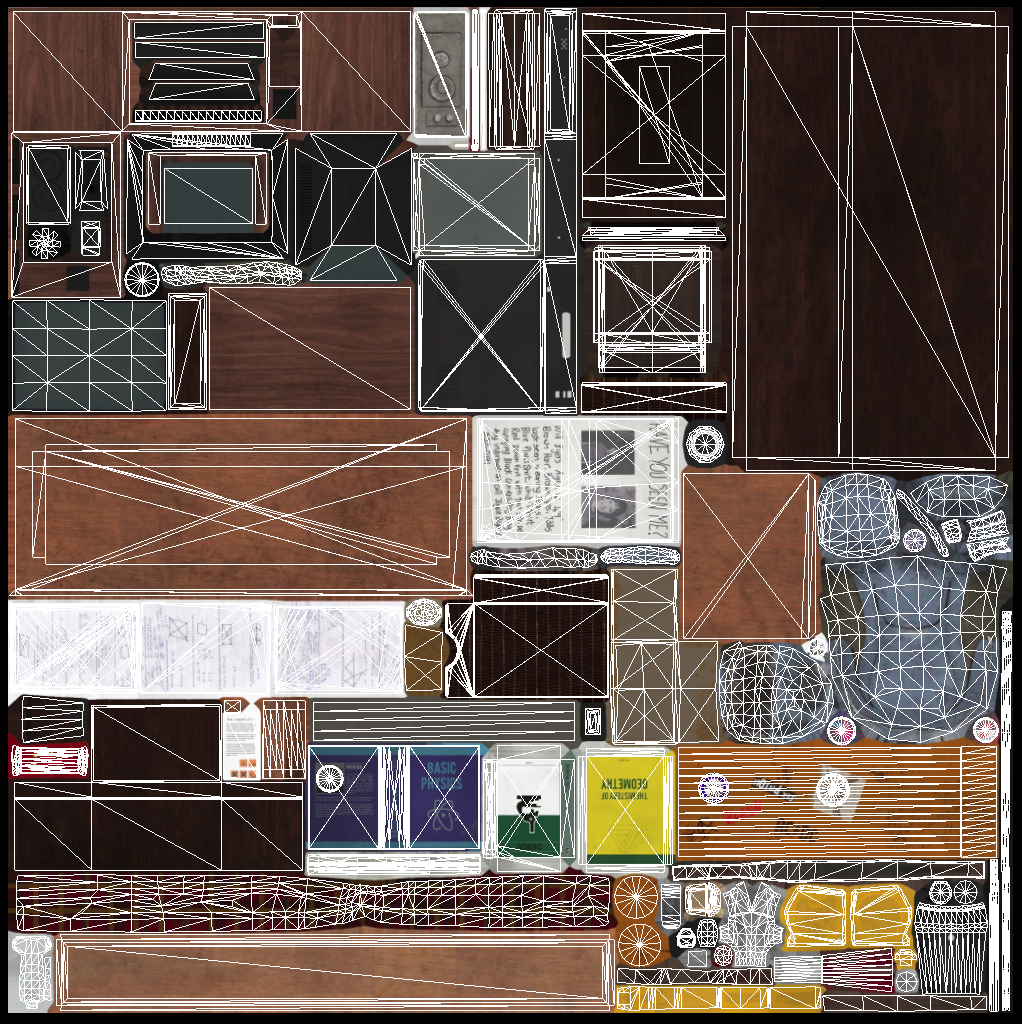
Before making the UV, I’ve grouped together the meshes in order to create 7 different UV set and proceed with UV mapping the elements. Here it comes the frustrating part, texture optimization. It takes practice, patience and time, but if you want to create a complex scene, you have to be meticulous and learn some tricks, like overlap similar UV parts, be very conscious about the empty space and always try to balance the texel density following visual importance. Be careful using reversed UV, because sometimes can be useful and sometimes can lead to an undesired result.
SETUP
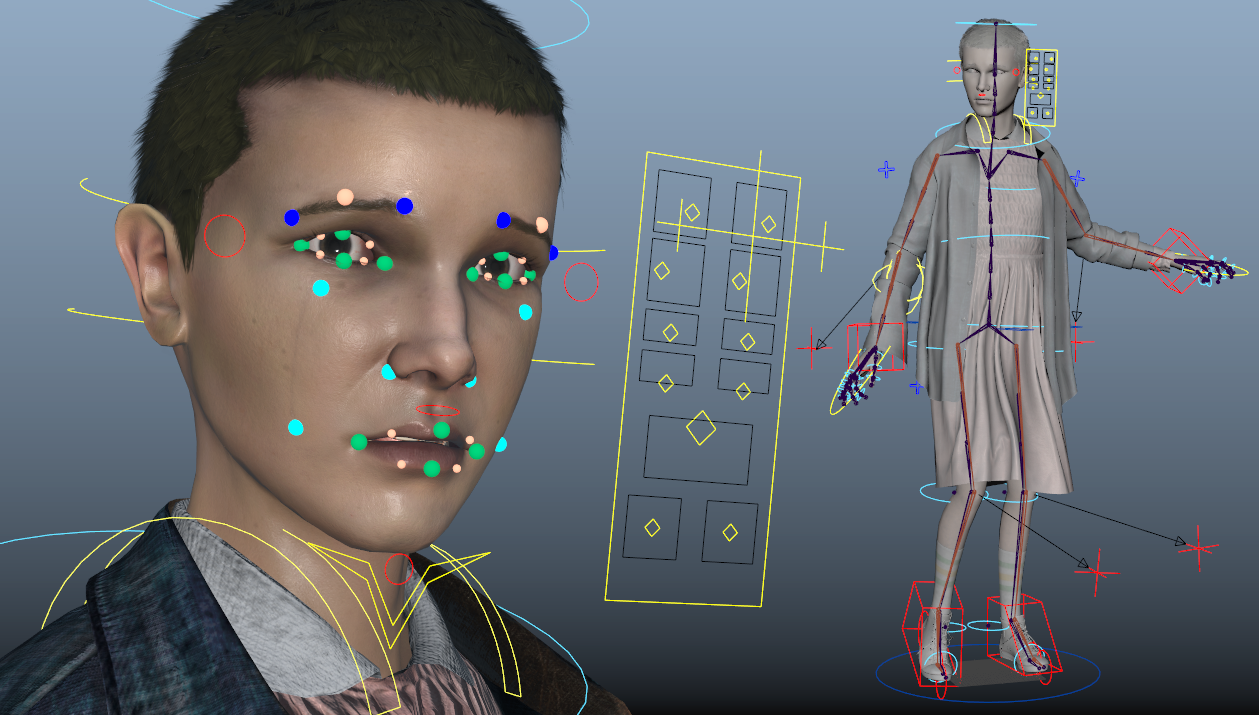
For the Rig, Setup, and Posing of the characters, I relied on Advanced Skeleton, Maya Automatic Rigging Tools. It is a bit tricky at the beginning, but it’s a very powerful and complete tool for biped rig and face control. That’s also a useful tool to create blend shapes for expressions. The posing part needed to be emotional and to follow a narrative direction, and so I’ve composed it imagining how it would have looked on Sketchfab annotations.
The environment instead is the result of a lot of fun I had messing up with the various objects around the classroom, focusing on dynamic poses even for static elements. For the particles and the fog I imported everything from Cinema4D to Maya for creating a unique scene and go to the next step.
TEXTURING
I already did several tests, but the final export file has been done only when I was already sure about the final posing, and assigned different materials for each UV set and then exported every mesh in .fbx for Substance Painter.
The materials are composed of 6 channels: diffuse, normal, roughness, metallic, opacity, emissive. A total of 35 maps, each of 8192 px, optimized in 7 sets for all the scene. While baking the high poly pay attention to UVs with reverses faces and meshes with soft or hard edges. I then used the polypaint from ZBrush for the characters’ diffuse effects and I used some smart material from Substance Share for texturizing the classroom.
When every texture is ready and all of them are in a single scene, I exported everything for real-time render on Sketchfab. In order to avoid adding weight to the file, I exported the classroom’s maps at 2048 px and the characters at 4096 px.
REAL TIME RENDERING ON SKETCHFAB
I very much enjoyed how the work has been made easier by introducing Sketchfab in my pipeline. Using substance painter as exporter for Sketchfab, it automatically upload each map directly on the website.
I manually replaced only Eleven’s Normal and AO maps with two different wrinkle maps for face expression, and both are 8k resolution for better details payoff. The new features for material, the translucent option, works great. The way in which the light reacts to Eleven’s skin now looks awesome.
For the lightning I had in mind something different from the original. I’ve created a set of 3 spots using Eleven’s pattern colour as theme, placed in order to achieve a late ‘80s look. The first one, the blue light, has been positioned facing from above Eleven, adding drama to the scene. The Yellow light has been used, instead, as a fill light for her, and as the frontal light for Demogorgon, and the direction of it, from bottom to the top, contributes creating interesting shadows. The Red one works as support for the Demogorgon’s emissive and as backlight for Eleven, which works perfectly with the SSS Material. Finally, adding some post effects, I’ve reached the perfect cinematic atmosphere.

I used the annotation tool for leading the viewer through the room using storytelling and direction, and that helped me give more drama to the scene.
Last but not least, the audio it’s super important for the drama, and I appreciated so much the 3D sound effect. The awesome tune you can hear is inspired by Stranger Things OST and it’s called “Underneath” by Rick Lancaster.
FINAL CONCLUSIONS
I think Sketchfab is a super useful tool for artists and developers, and for sure, following a well structured pipeline, it’s perfectly possible to create incredible looking scenes. For future projects I surely want to increase the quality, the complexity and the emotional charge of my works. I definitely have to practice more with other techniques I hardly managed to fit in this project, like blend shape, light animation, dynamics and other little sophistications to increase the atmosphere.
Thanks for have followed me through this Art Spotlight, and a special thanks goes to Sketchfab team, for giving me the chance to talk about my work, and to my girlfriend who supported me and helped me in many steps of my pipeline.
For every question or job opportunity, do not hesitate to contact me:

