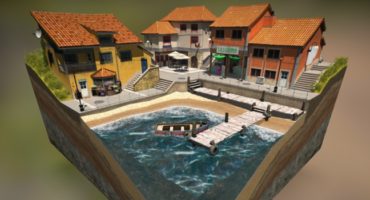
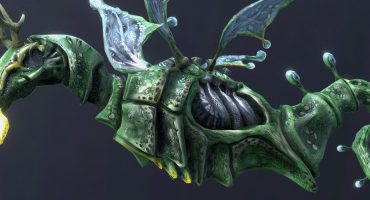
About me
Hello! My name is Sidi Abderrahmane Bouam, but I mostly go by the name Abdou Bouam. I’m 23 and I recently graduated as a senior technician in the maintenance of computing and automation equipment. I have been creating 3D art as a hobby for more than 7 years, and right now I’m trying to make it more than just a hobby.
I’m interested in game design and development. As part of that, I’m learning to use Unity and everything it takes to direct a game, which includes concept art, 3D art, level design, animation, game logic and programming, shaders, optimizations, realtime rendering, music and audio design…etc. Of course I can’t master everything, so my main focus is on 3D art and programming and having fun while doing so!
I started seriously back in 2013, when I forced myself to use Blender because it was the only 3D modelling software that worked on Linux, but I quickly fell in love with it and I have been using it as my main tool since then, even when I eventually had to switch back to Windows.
About the artwork
I had some free time and I was comfortable enough with my art and wanted to participate in a serious challenge, so I joined the Weekly CG Challenge and the topic was “Artificial intelligence”. I knew that many artists would create humanoid robots and I wanted to create something more unique, so I started with the basic idea of a living cat and a robot cat meeting each other.
I used Blender for 99% of the work.
The creation process
I started by sculpting a cat to be used as a base for both the living and the robot cat. I used many reference images to get the anatomy, especially for the head. It has a lot of flaws now that I’m looking back to it.
I didn’t have a clear idea of the robotic cat design, so I grabbed the same mesh and used the clay strips brush in Blender, and after a few trials I got the following result.
I was ready to start the actual modelling, which is mostly retolopogy on top of the sculpture and detailing over that. I used non-destructive modelling as much as I could in order to make adjustments later on. I started with the base surface, using the snap tools and a few applied Shrinkwrap modifiers. When I was done with that, I added the following modifiers in this order: Mirror, Solidify, SubSurf, Booleans.
I did the same thing with the body and I kept all the different objects separate for easy creation and editing.
The time was limited, so I had to find quicker ways to do this. I made a few models that aren’t very complex when you look at them individually, but when used in repetition they quickly add a lot of detail.
When I started creating the main scene, I started with the retopology for the living cat, but I quickly realized that I wouldn’t have time to do that, especially because each test render would take 4 hours or more and at least 12 hours for the final render with my current laptop. I just went ahead with the highpoly sculpt and posed it, then manually fixed small glitches. I created a hair particle system for it and used vertex colors for it.
With the deadline coming closer and closer, I had to adjust my sleep schedule in order to sleep when the computer was working on the test renders. At this point I wasn’t done with the robotic cat yet, so I used only a proxy mesh. Another trick I used to save time was using procedural texturing whenever possible, like the raindrops and the scratched metal. This saved me a lot of UV unwrapping and baking time and gave me the option to edit the model how I wanted. The downside to this is that it’s harder to create and control, and it still requires UV unwrapping and baking to be viewed in real-time applications or software other than Blender.
In the end I had 110 different objects and over 1.4 million triangles for this model alone.
Here you can see the progress and the final rendering of the entry.
Setting the model up in Sketchfab
I was skeptical at first about the performance of WebGL on a web browser, especially for a service like Sketchfab that offers a high quality PBR rendering with many post process effects, but I realised I was wrong when I uploaded it. That’s over 1.4M triangles displaying correctly with a good performance, even on my laptop that only has low-end integrated intel HD Graphics.
The import process was straightforward: I clicked on the upload button and uploaded a compressed 7-zip file containing the model. When it was done, I went to adjust the materials and I was pleased with how easy the process was. I especially liked how you could simply click on a part of the mesh and it selects its material for you to adjust. The PBR workflow made it very easy and quick to create materials.
My favorite Sketchfab effect is the Screen Space Reflection; it really adds another level of realism with the additional reflection. The difference is very clearly shown in the following GIF:
In addition to that, I used depth of field, bloom, sharpen and vignette.
Closing thoughts
This project was really interesting and challenging, not only because of the limited time and hardware, but also because I tried many new techniques and received a lot of helpful critiques from friends and other artists. Despite this not being amongst the winning entries or even the honorable mentions, I felt very satisfied with the end result and more inspired by others’ entries, and I’m looking forward to participate again when I have time.
I would like to thank the Sketchfab team for picking my works and for offering me this opportunity to write about it, keep it up!
I hope you found this interesting to read. If you have any questions feel free to contact me and I’ll get back to you as soon as possible.
ArtStation / Twitter / Instagram / LinkedIn / DeviantArt / Abdou’s Store


