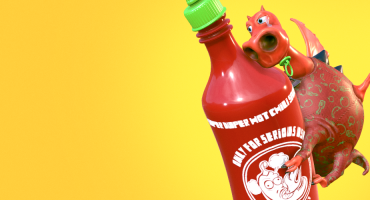
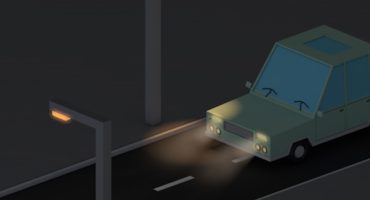
Hi everyone! I’m Bruno Ortolland, I’m a 3D Artist from Paris, France. I graduated in 2010 from Supinfocom Arles France, where I co-directed the short film Hambuster. I currently work as technical supervisor at Cube Creative on the TV series Kaeloo created by Rémi Chapotot and Jean-François Henry.
My main technical field is lighting and compositing for pre-calculated 3D animations and my usual toolset to work with is a combination of 3ds Max, V-Ray and Nuke.
But I could never totally let go of sculpting and asset/character creation. I consider myself a very knowledgeable, but lazy hobbyist in 3D sculpting. In the last few years I got really interested in Open Source tools and the opportunity to use them professionally, so I learned Blender mostly in my free time.
When the SculptJanuary 2018 challenge came, I saw an opportunity to perfect my skills in sculpting, Blender, and not procrastinating too much. I was also a very long time lurker on Sketchfab, so I wanted it to be the main medium to show my sculpts for the challenge!
Workflow
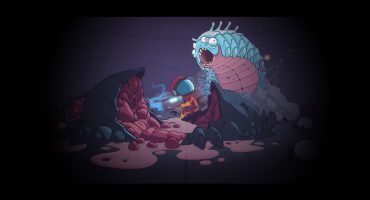
I had a base theme to work with for the 19th day of the SculptJanuary challenge: it had to be a “Lovecraftian” creature. Shamefully, I haven’t read any books of H.P Lovecraft. But I knew the character of Cthulhu, mostly via the internet meme where you have those very cute tiny tiny octopuses menacing: “I’m Cthulhu, destroyer of worlds!” So creating a cute baby Chtulhu was my goal. I basically went to Google Image and searched “cute cthulhu” and gathered cool pictures in my browser tabs.
For SculptJanuary I had very little time due to my day job. I had this very strange process where I first gathered cool references for inspiration, and then did the sculpt without looking at them again. As I had to do things very fast, only the aspect of my references that I memorized influenced the sculpt. We could call that stylization through forgetfulness.
Usually I start my sculpts with just subdivided cubes and spheres, and fix basic proportions with Dynotopo and Snake Hook brush in Blender. Then I look for planes and curves and I try to get a good flow of shapes. In 3D it’s hard to stay consistent in the level of detail of the whole sculpt, but it’s crucial if you want to keep an overall look.
Throughout my sculpt process in Blender, I regularly missed the Dynamesh tool from Zbrush with the clay mode… I love it, because it helps a lot when you are searching for shapes and volumes. So I had a raw workaround – it’s a combination of decimation, subdivision and remeshing that sort of kept the principal features of my mesh with a bit of simplification and smoothing of the rest of it.
When my sculpt was done, I used the decimate modifier in Blender to get an acceptable polycount for uploading it onto Sketchfab. I used the automatic unwrapping from Blender to get UVs for my mesh. It’s a good solution when your mesh topology isn’t really clean and you want to go very fast, but sadly it’s a lot of wasted space on the UV layout sheet.
For the shading and textures, I was looking for a sort of “clay” look, with fingerprints and imperfections, so I set up a very basic shader with a fingerprints normal map and a basic pointiness setup in the color slot. In the end it looks more like brushed plaster than anything else, but I kinda like it.
The lighting setup is just a basic cyclo for the background and the floor, a direct sun light and a small colored area light to heighten the shadows.
As I’m a complete beginner with real time shading and I wanted to keep the same look for my next entries of the SculptJanuary challenge, I decided to bake all the textures and lighting of my entire scene. This way, I could use the very easy Shadeless mode setup on sketchfab and just load my textures even if they were big and get the exact same result I had with precalculated rendering… with the ability to view it in 3d!
I had the ability to further push the look of my scene by masking the undesired parts of my cyclo, and use its diffuse color value as background for a seamless integration. Then I used all the post-processing options! I used almost all of those very carefully, but there is SSAO, grain, sharpness, chromatic aberrations, vignette, bloom and tone mapping! By the way, the filmic mode when using tone mapping is awesome!
Thank you for this spotlight on my work and the opportunity to write about it, and thanks to all the Sketchfab community and its endless sources of inspiration!
Feel free to reach me on my Sketchfab, ArtStation, Website, Twitter, Linkedin , Vimeo.


