About me
Hello everyone!
My name is O_Hitsuji (handle name of course). I’m a surveyor in Japan.
My first experience with 3D scanning was in photogrammetry using a UAV. Since then, I have become immersed in 3D scanning.
In this blog, I’ll deal with the following 3D models.
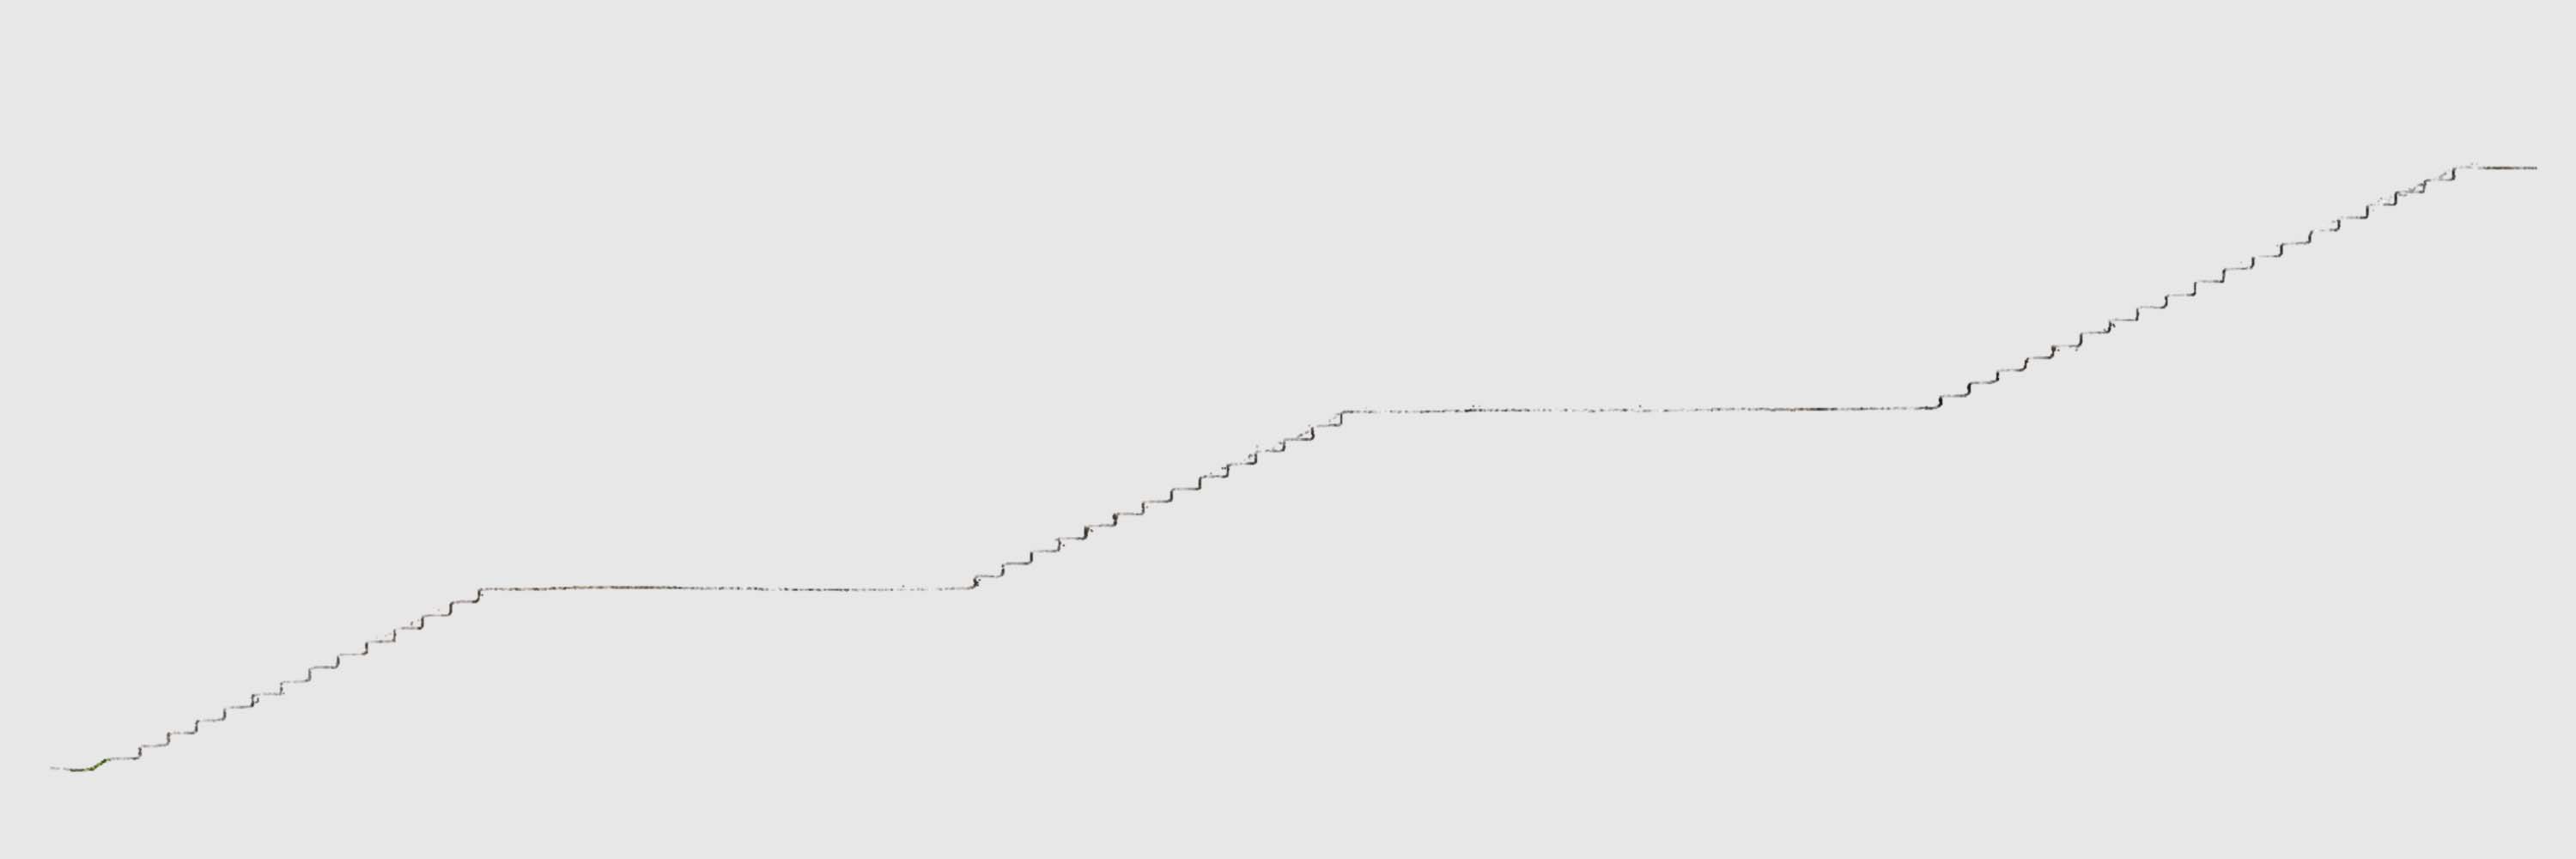
By reading this article, you will learn how to extract line drawings from scanned point clouds on your iPhone 12Pro or 13Pro to get visual effects as if printed on paper.
The accuracy of the measurement is not crucial here. I only want to get an excellent visual effect. It also makes for a very lightweight point cloud, which is helpful when sharing via the web.
Inspiration
To scan the point clouds, I used the iPhone 12ProMax LiDAR scan.
It has been over a year since the iPhone got LiDAR. In that time, an ever-increasing collection of 3D models has filled my hard drive. This is because the iPhone is always at hand and the scanned models do not need any post-processing for reconstruction like what’s offered by photogrammetric software.
I’ve been enjoying scanning almost every day since I got my iPhone 12ProMax.
The tools I used
- SiteScape – Scanning
- CloudCompare – Viewing and editing
These tools are free to use.
SiteScapeAI is an easy way to acquire point clouds. It is simple to use with a simple UI. There is also a feature that is useful for point cloud alignment, as we will see later. You can find more information on how to scan in the SiteScape User Guide.
I guess many people know about CloudCompare because it is very famous. It is easy to use and I recommend it to everyone who works with point clouds.
Scanning
Fortunately, it was a cloudy day when we scanned this model. This is one of the conditions to get a good 3D scanned model.
Scanning a large area with iPhone LiDAR often results in a distorted model. To mitigate this, I usually divide the scan area into several parts. By splitting the scan into smaller parts, it is easier to correct it later.
Also, SiteScapeAI has a limit to the amount of data that can be captured in a single scan, so it may be necessary to split the scan.
Editing
Start editing after you have transferred the file to your PC via iTunes. Drag and drop the copied PLY file to CloudCompare.
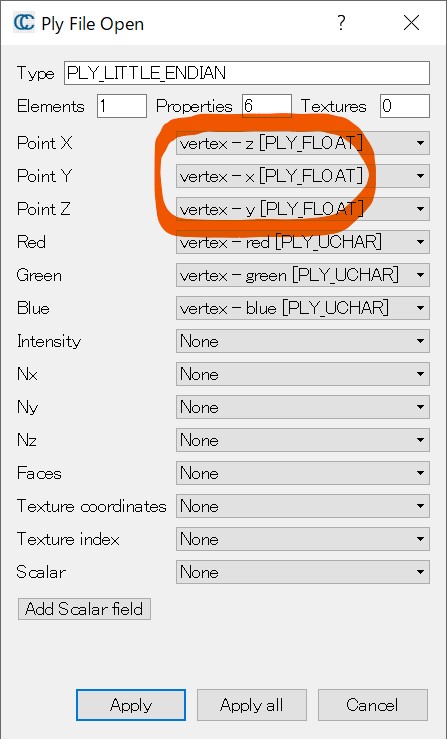
In CloudCompare, I want the Z-axis to point upward, so I set the import settings as shown in the image above.
Noise reduction
Usually, point clouds scanned by LiDAR contain a lot of noise.
CloudCompare can remove some of the noise by using the SOR filter. Let’s start with that.
In addition, many of the processes within CloudCompare can be batch processed. You can save time by selecting multiple point clouds and batch processing them.
Fine registration (ICP)
Once the point cloud with reduced noise is obtained, adjust the position of the divided scanned point clouds.
When using SiteScape’s back-to-back scanning feature, we will get the point clouds almost aligned just by importing them into CloudCompare. You can find more details about the feature in the SiteScape User Guide.
Thanks to this feature, the amount of time required for alignment can be greatly reduced. You do not have to do the alignment if you find this sufficient. However, there will likely be a slight misalignment, so align better to get an excellent visual effect.
The alignment process may require several hours in some cases. Don’t feel obligated to spend all this time aligning the scans! If you still want to do the alignment, you can find the steps in the following video.
Make the grass
There are a few objects that are difficult to scan. One of them is vegetation. If we are lucky, we can recreate it, but most of the time, the vegetation zone will be blank.
Of course, I can leave it as it is, but this time I tried to plant a lawn using CloudCompare’s duplicate tool. I copied the parts that looked good from the areas where plants were scanned successfully.
To duplicate a lawn, first cut the lawn with the Segment tool, and then duplicate it like a stamp with the Clone tool. If the original vegetation is tilted use the Level tool to make it horizontal.
Recreating missing objects
Besides plants, objects that are far away are also difficult objects to scan. Usually, objects that are more than 5 meters away cannot be scanned.
In this case, I was able to scan from the top of the stairs, so I could capture the exterior lights. I only captured one side of the lights, but it was no problem. I just copied the other half as if it were a mirror. I think the fascination of point clouds is that this kind of roughness is acceptable. If the same thing were done with a 3D mesh, a bit more work would be required.
The three exterior lights in this model were reconstructed by duplicating one of the exterior lights that could be scanned.
The roof of a building is another object that is difficult to scan for the same reason as outdoor lights. It would be nice if you could use a selfie stick or something, but it makes scanning difficult since you can’t see the iPhone screen. This time I didn’t use a selfie stick but used photogrammetry to reconstruct the roof from a photo taken with my iPhone from the top of the stairs. However, in this model, the roof was lost due to line extraction, so I omit the details. If you are curious, please check the roof on another model.
Merge
Now, the parts are ready. Merge them.
It is good to keep the point cloud before the Merge so that you can go back to it if something goes wrong. This is why my CloudCompare files are always large.
There’s nothing complex here.
Smoothing & Subsample
The scanned point cloud is very dense. In this case, the merged point cloud was 28 million points. This is unwieldy as it is, so we will reduce it. It is difficult to show all the many ways of reduction here, so I will just show the method I used.
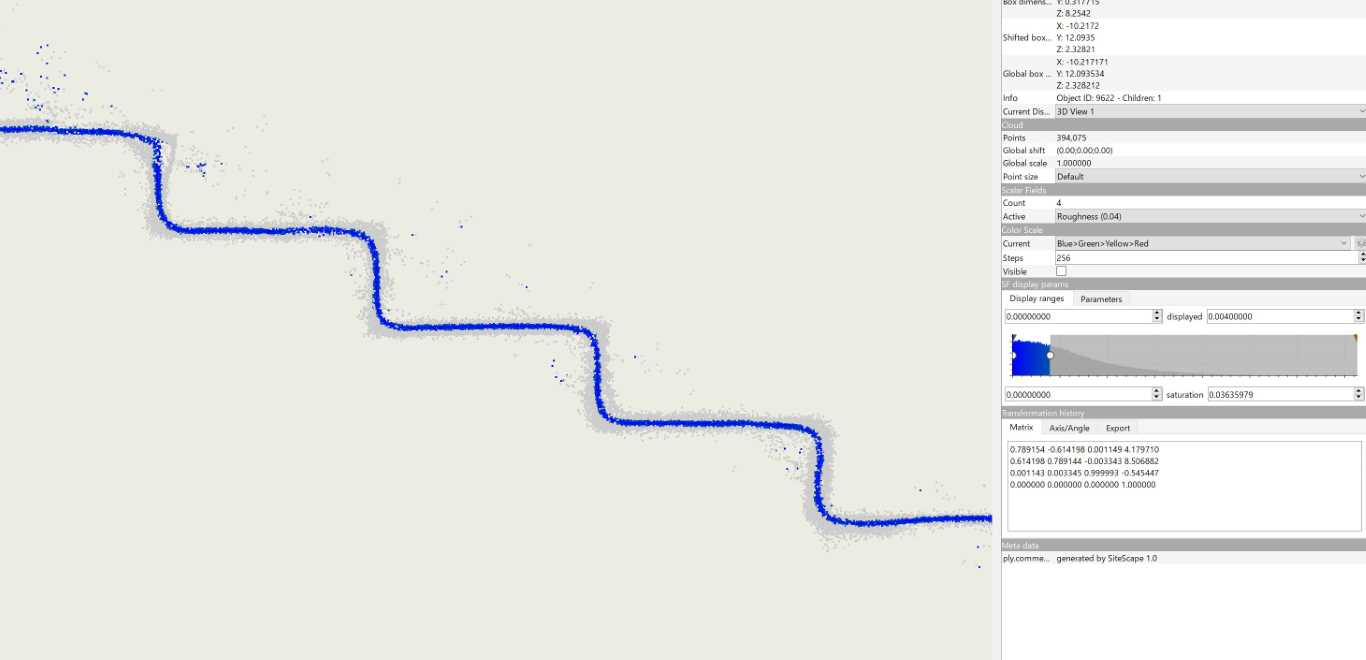
Let’s use the Roughness item in Compute geometric features. This allows us to smooth the point cloud while maintaining its appearance.
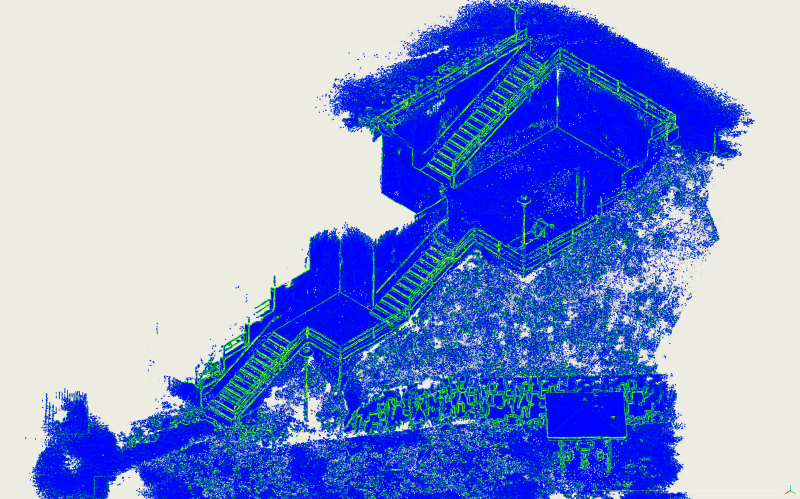
 The image is the result of computing Roughness with a value of 0.04 for the local neighborhood radius. The blue lines are emphasized.
The important thing here is to set the value of the local neighborhood radius. In this case, a value of about 0.04 worked just fine. You can play around with this value. As far as I can tell, a low value extracts fine features, but with more noise. The opposite is true for higher values. However, if the value you entered is too high, CloudCompare will crash. Be careful!
After calculating the roughness, move the SFs slider to export it at the right point. In this case, it is 0.004, but it should be about right.
There is not much difference in appearance, but the point cloud size has been reduced significantly.
We also need to deal with noise to extract a clean line drawing in the subsequent step.
As already noted, the size of the point cloud has been greatly reduced by filtering by roughness, but it is still unwieldy. For the next step, we will use the Subsample tool to reduce it further. There are several menus. I prefer to use the Octree reduction. In this case, I used a value of 11. Now the size of the point cloud is reduced from 20M to about 3M.
Line extraction
Now it is time to extract the lines.
The point clouds scanned by iPhone LiDAR do not have normals, so calculate this first.
I prefer to use the Hough Normals Plugin. It estimates normals relatively well, even for noisy point clouds.
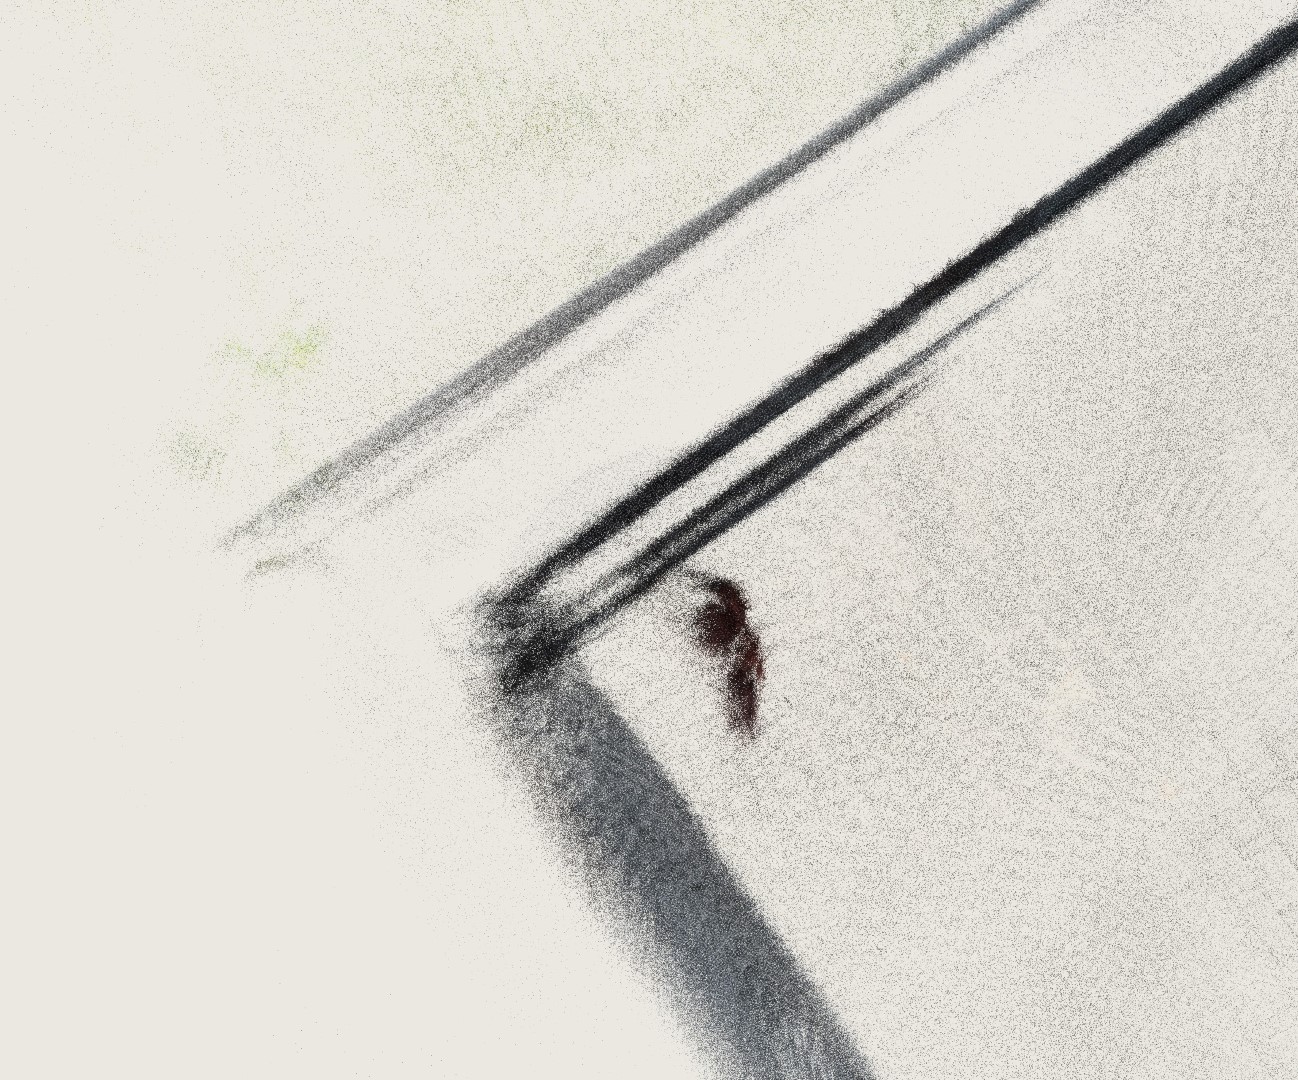
 Image of the point cloud with the HSV color colored from the normal direction calculated by the Hough Normals Plugin.
Next, use RANSAC shape detection. This is not required, but I like to use it because it allows me to draw more features. The default settings are fine.
After running it, the point clouds will be divided into several pieces.
For all of the divided point clouds, run the 1st order moment from the Geometric Features menu. I usually use a value of around 0.05 for the local neighborhood radius in this case.
Also, you can check all of the checkboxes in the Geometric Features tool and compare the results. Then you will find that you can also use other tools, such as 2nd eigenvalue.
After merging the resulting point clouds, adjust the SF values as desired and export them.
The exported point cloud will retain its original color, but it is not appropriate for a line drawing, so replace it with a single color of your choice by using the Color tool.
Sketchfab Upload
Now, let’s export it in .ply format from CloudCompare to upload it to Sketchfab!
I have found that deleting unnecessary SFs will reduce the file size. You can also compress the file using 7-zip or other methods to make it even smaller. The size of the upload should be as small as possible.
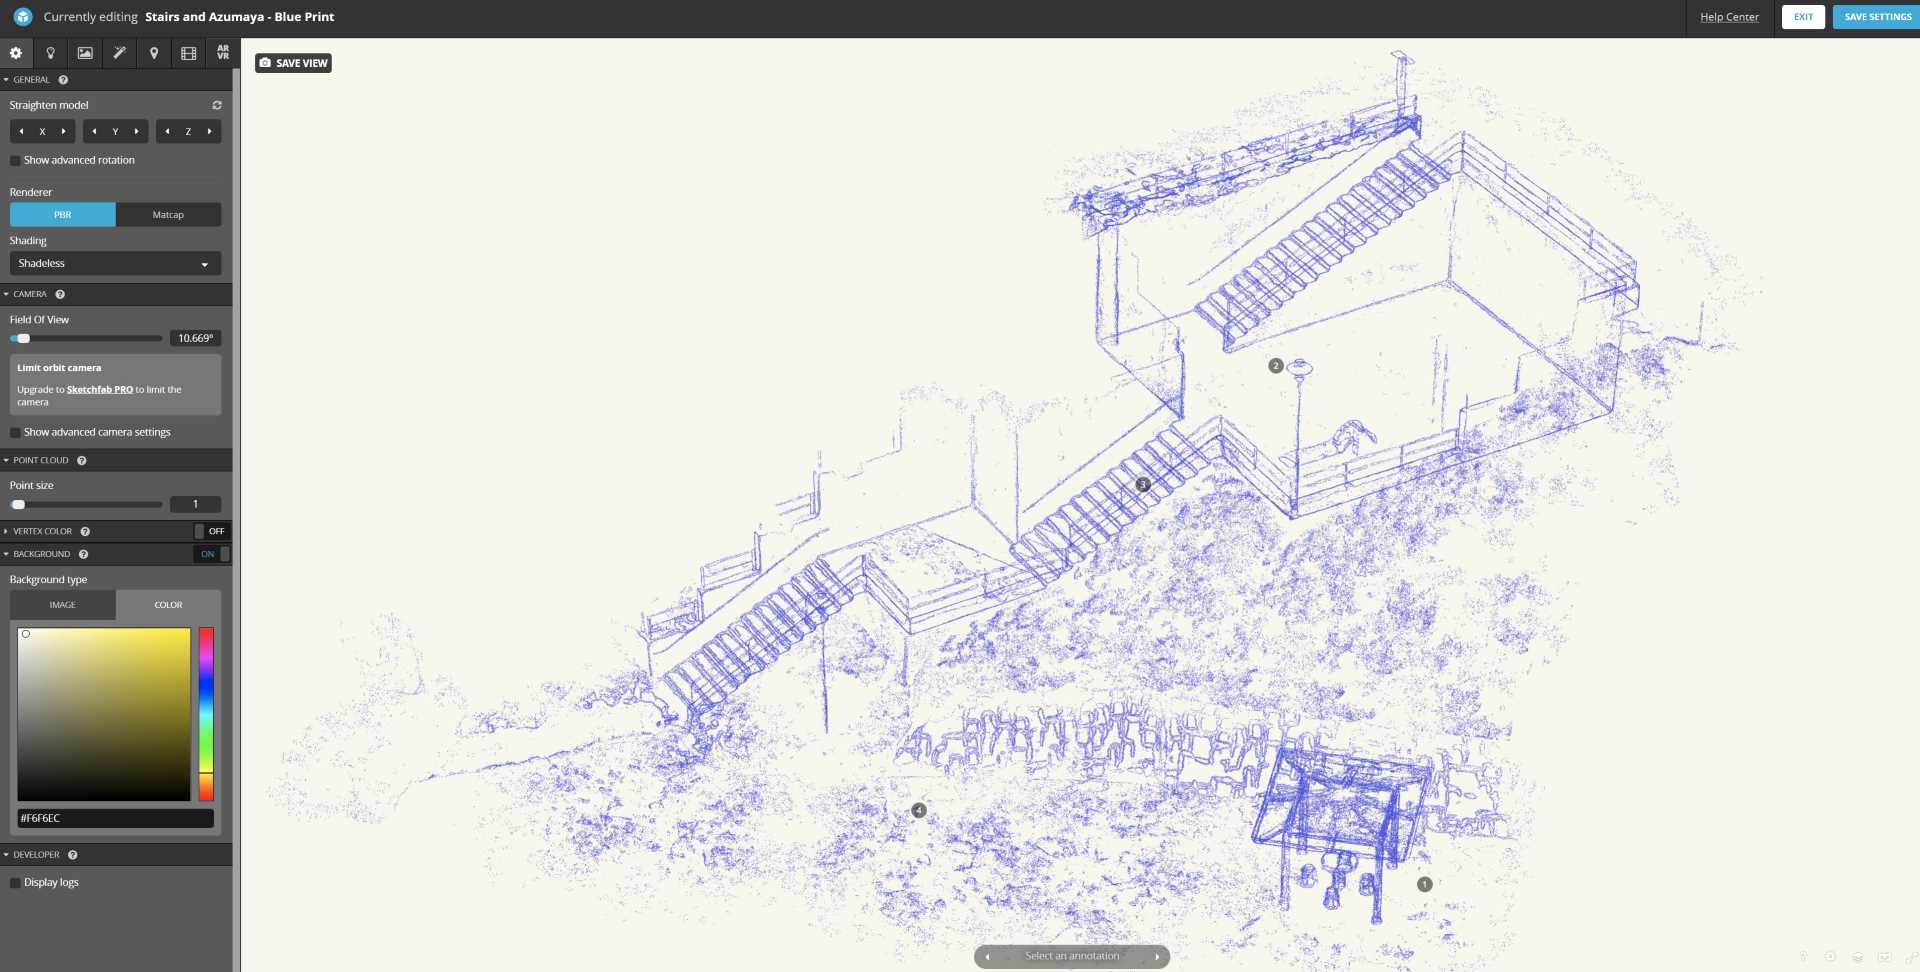
Sketchfab’s shader
Use the shaders in Sketchfab that are available for point clouds.
Since the point cloud model for this project is very simple, I don’t use too many items. I prefer to use the following settings.
- Point size – It is more photorealistic to set the size of the point cloud to as small a value as possible. However, if you make it too small, blank spaces will be noticeable.
- Background – I like the background color to be a paper-like color. It is better to have a slightly yellowish or bluish color than a pure white one.
- FOV – If we get as close as possible to the parallel perspective, it will look like a drawing. Yes, this is because the concept of this project is to create a blueprint drawing.
- Color – If the point cloud is not a line drawing, I prefer to increase the saturation of the point cloud RGB color to the extreme.
Doing so makes the image look more like a colored pencil drawing. It can be adjusted in tone mapping.
The result can be seen in another version of the point cloud model:
Conclusion
Well, how was it?
I do 3D scans almost every day and use the resulting 3D models to try out many different tools. Every time I try something, I notice something new. It’s a lot of fun. What I have written in this blog may be out of date tomorrow. Also, someone might publish a great workflow. I hope readers will enjoy 3D scanning and all that it entails.
