Intro
Hi! My name is Gaëlle Perrée. I am a junior technical artist based in Paris!
I’m currently working at Ikimasho, a VR game studio, on our first game Star Shaman.
I really recently graduated from a video game master’s program at Isart Digital Paris, after getting a graphic design degree.
Inspiration
After finishing a big final project for school in which I focused on character animation, lighting, and shaders, I felt like I had gotten a bit rusty in regards to asset development, from modeling to texturing.
So I wanted to get back to the basics. I started a complex character animation, from 2D concept to animation and FX but the scope of the task demotivated me.
That’s when I stumbled on Gloria’s art on Twitter.
?️ Wishing Machine: Gelato Dreams ?️
The Wishing Machine is a magical vending machine that stocks whatever the user wants/needs most at that moment, kind of like the Mirror of Erised. It's summertime so Ducky is really craving for some good gelato ? pic.twitter.com/ZhBgo40o8l— gloria? (@goldfishkang) June 26, 2020
I instantly fell in love with her Wishing Machine design, colors, and the little duckie.
Plus, since I started working in a VR studio, I really wanted to try handpainted, unlit texturing, as I had only done PBR (physically based rendering) texturing before.
It was the perfect opportunity.
I immediately asked her if I could make it in 3D and, right after she said yes, I got to work!
3D Modeling
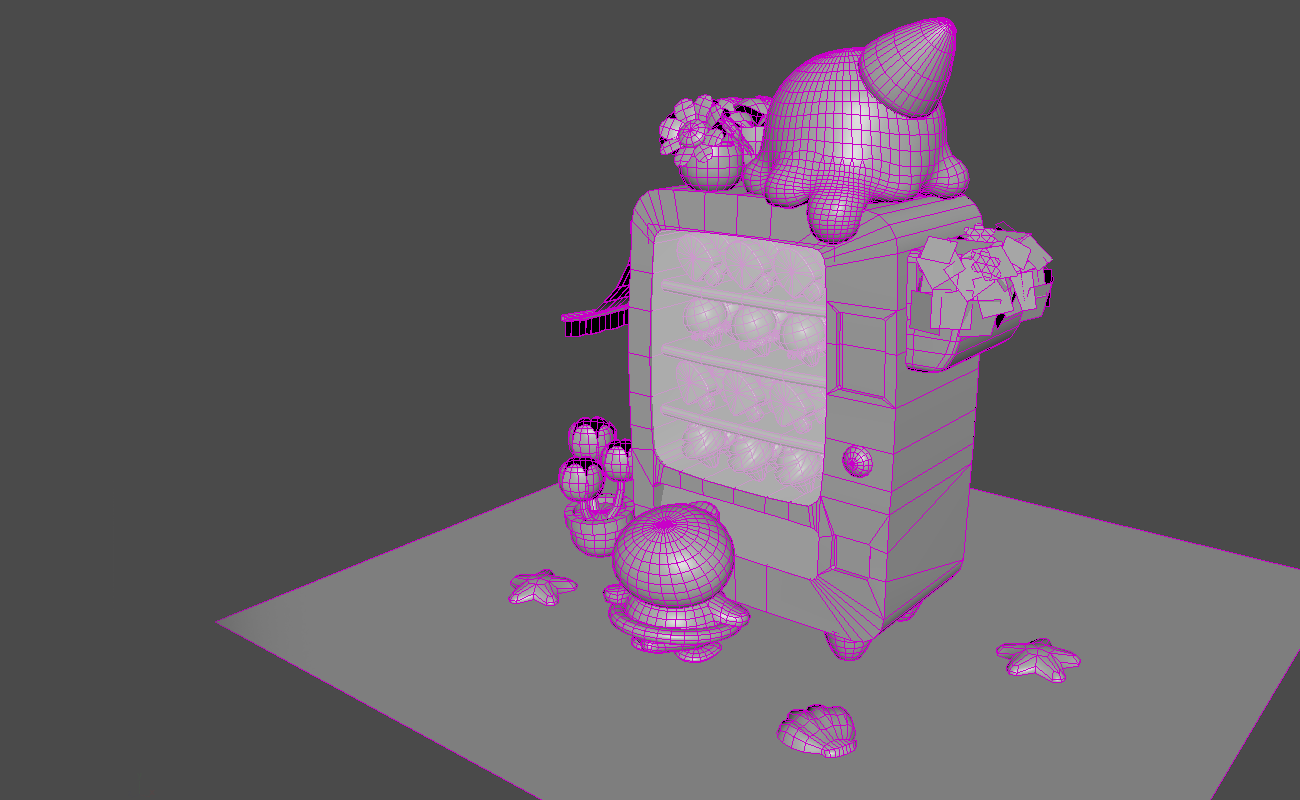
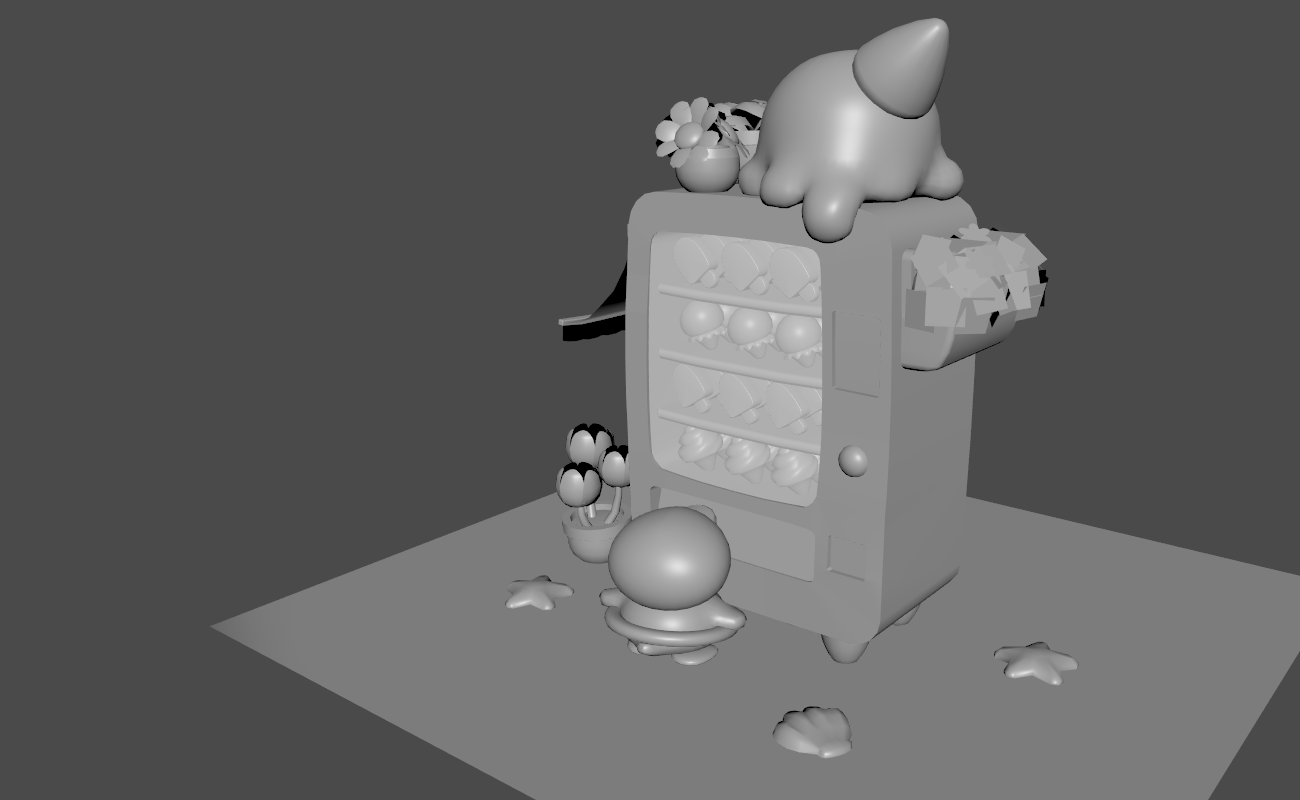
I work with Maya 2018. Most of the modeling was done over the course of three evenings.
I would start by blocking out the vending machine in the same orientation as the 2D art, then turn it around to make the volumes look nice from the other angles.
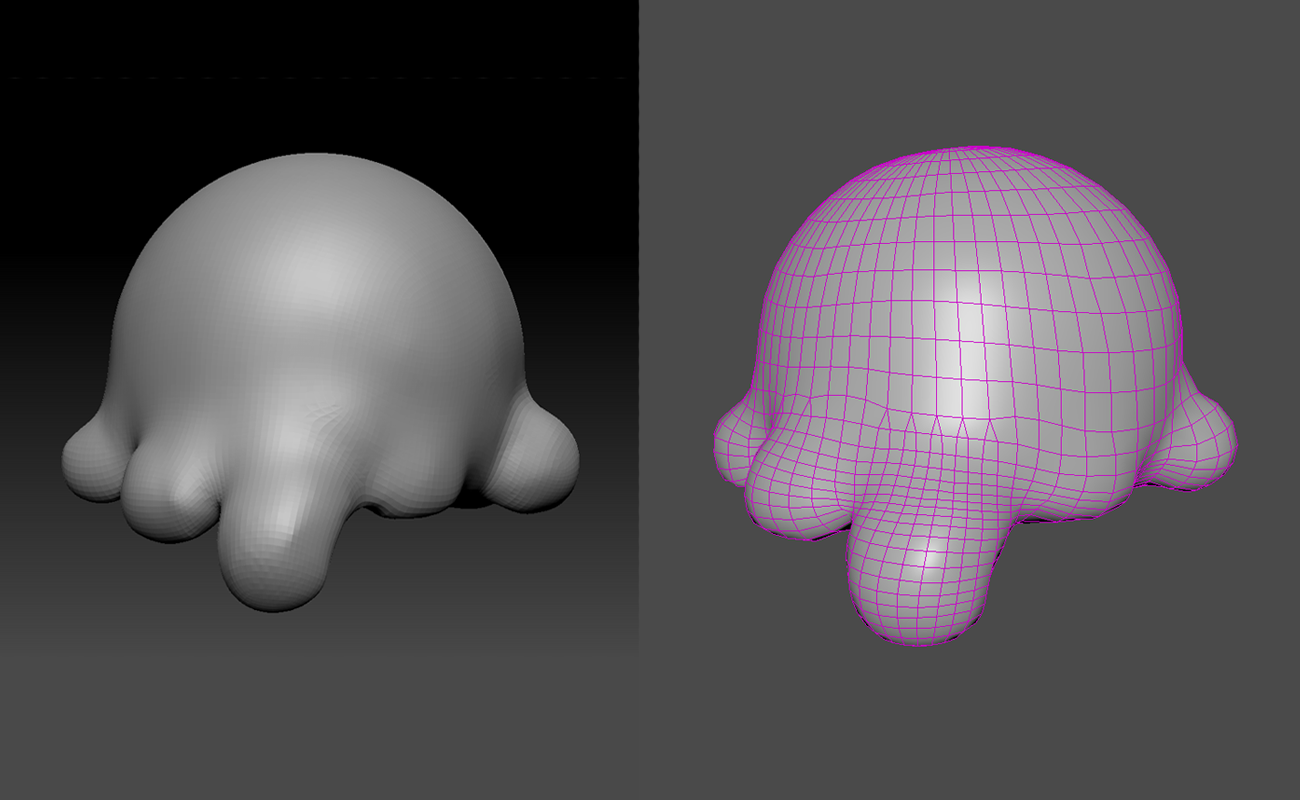
I decided to jump into ZBrush to do the Ice Cream Squid because I knew the soft organic look would be faster to achieve there. Then I returned to Maya to do the retopology. It was my first time trying manual retopology and it was so much quicker and easier than expected. I’m really glad I took the opportunity to try it.
Texturing
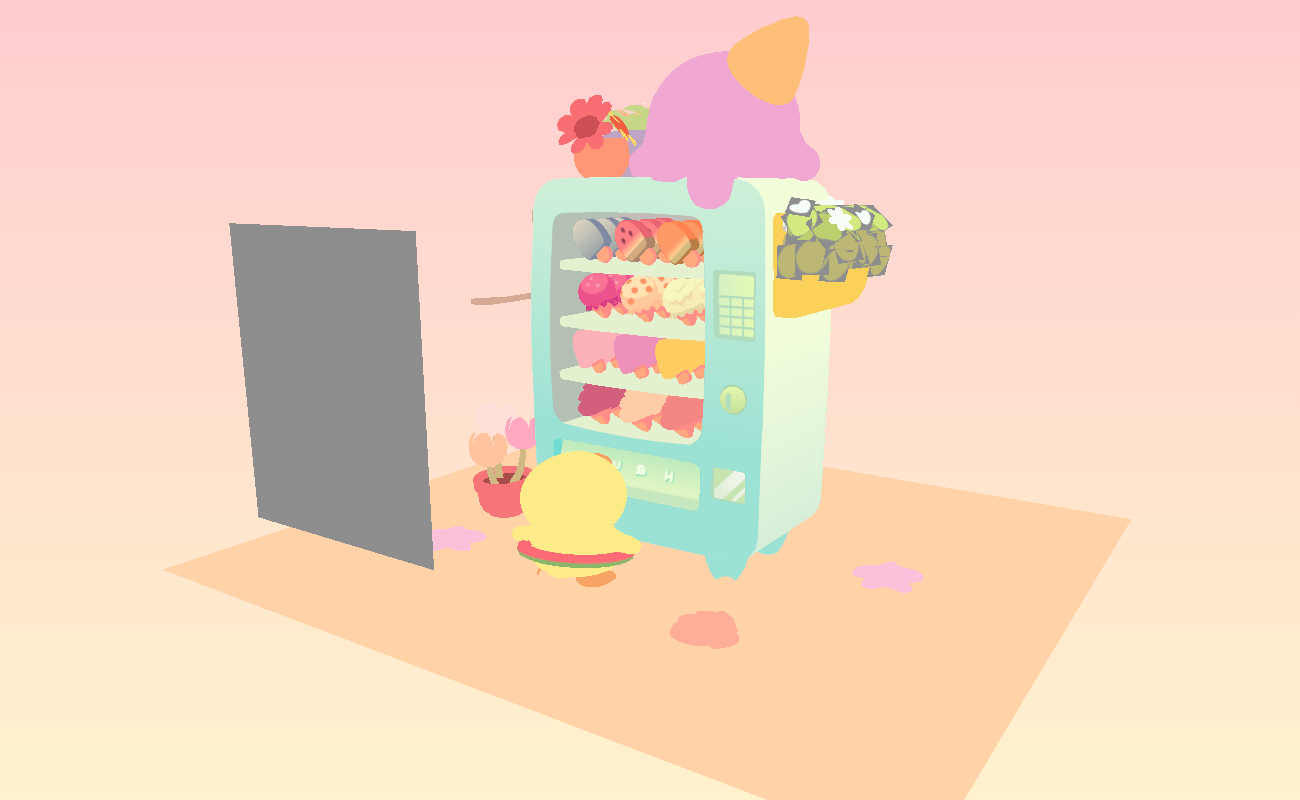
Most of the texturing was done in Substance Painter. I only worked with the base color channel, so I could get an unlit look, and the opacity channel.
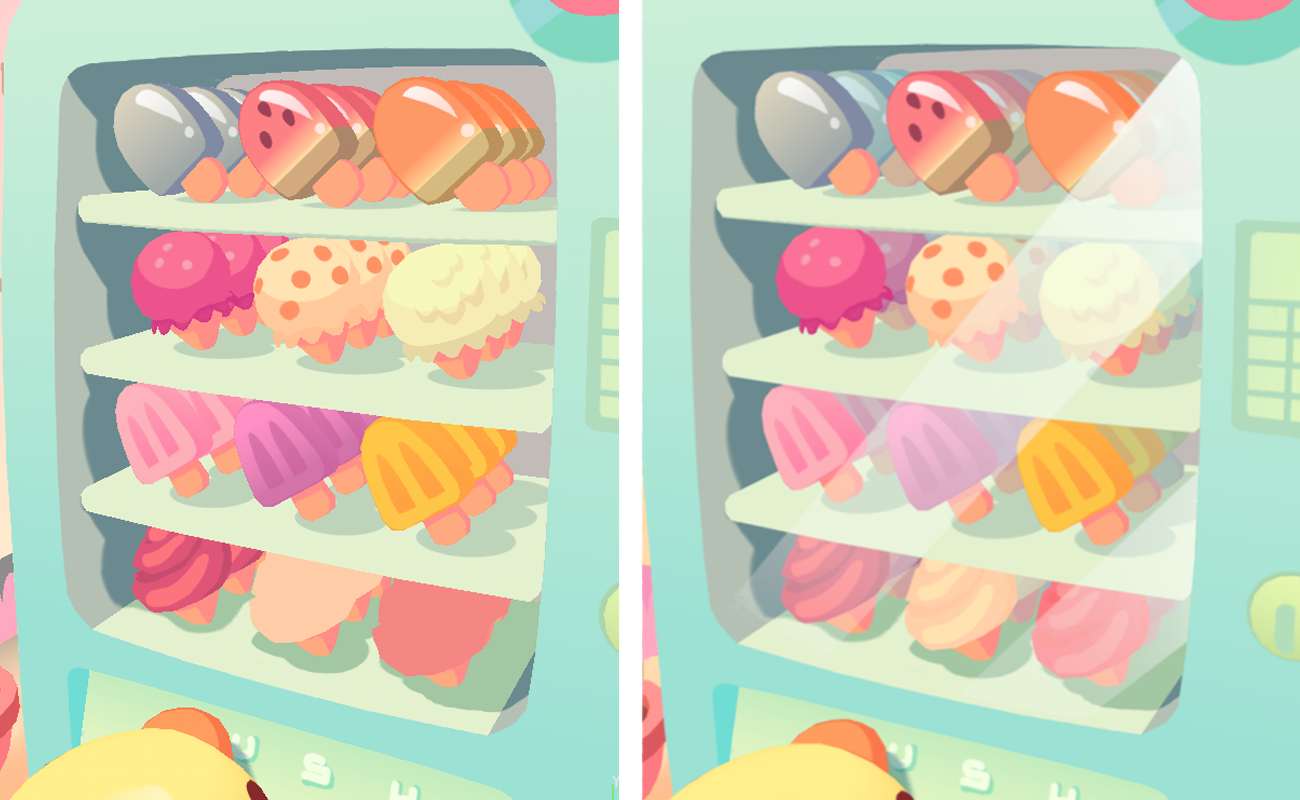
The issue I had was that Substance does not let you see base color and opacity at the same time. It wasn’t that much of a problem so I decided to keep going that way. However, I knew I would only see the true end result in Sketchfab.
The modeling turned out to be faster than expected. The texturing, however, proved to be much slower than I thought it would be.
My challenge (that I gave myself) was to capture, as best as I could, the original coloring process. It took me some time to get it right, and it proved to be time-consuming on really small parts.
However, it was really quick on big elements.
I started by setting the scene’s background color to match the 2D art, then blocked all the base color.
Then I went mesh by mesh to add the details. I kept the shadows for the last step.
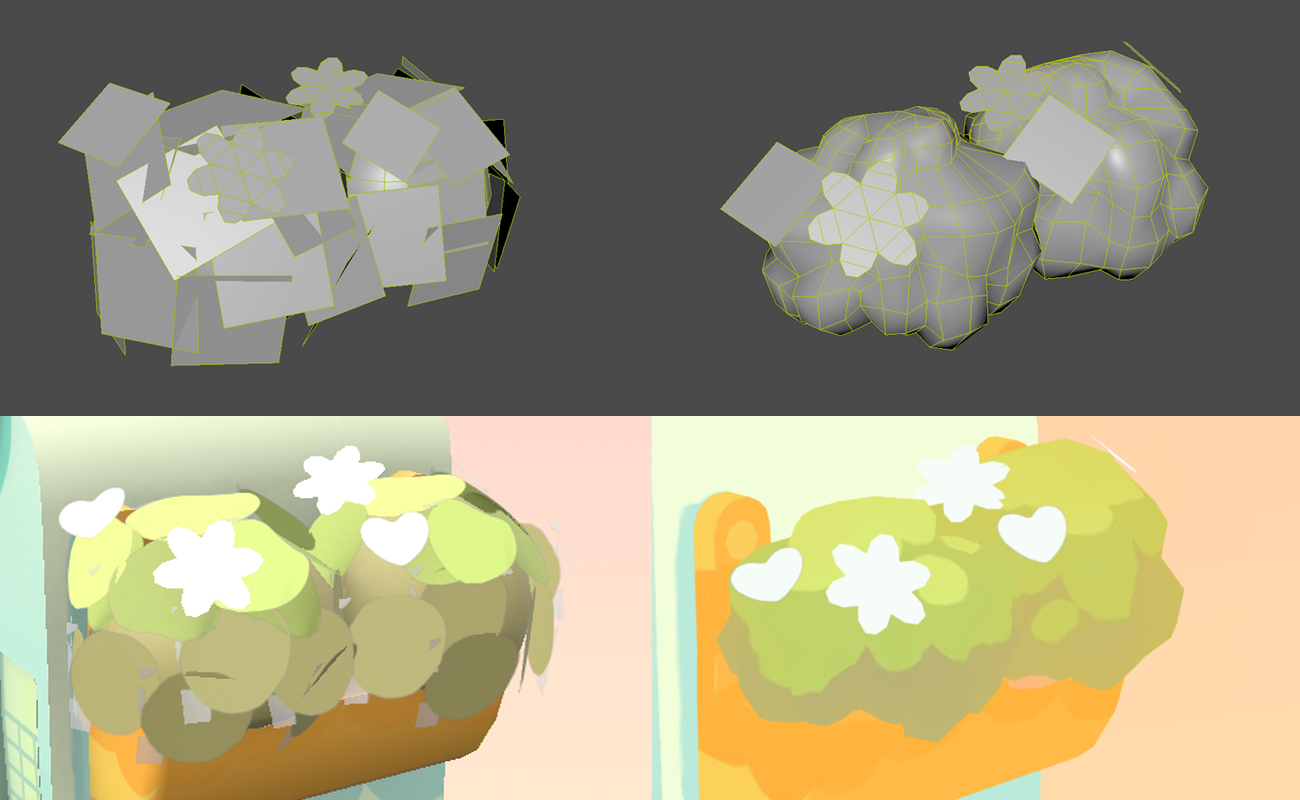
It’s during this step that I realized the bushes did not match the look of the rest of the assets.
I had started with a technique that I use for low-poly realistic-looking bushes.
It turned out to look really bad. The shapes were too simple to hide their construction.
So I made the decision to start them over. I’m really glad I did.
Never be afraid to redo parts that you feel don’t fit the rest of the elements, especially if you can estimate how long it would take to remake them, and how good you can make them look in this time.
During the modeling step. I decided I would only texture one of each ice cream in Substance, as each row is the same.
After texturing, I returned to Maya, moving each row’s UV into the empty spots I had planned.
I then went into Photoshop to duplicate the texturing. And then I added a multiply layer to give depth.
Sketchfab
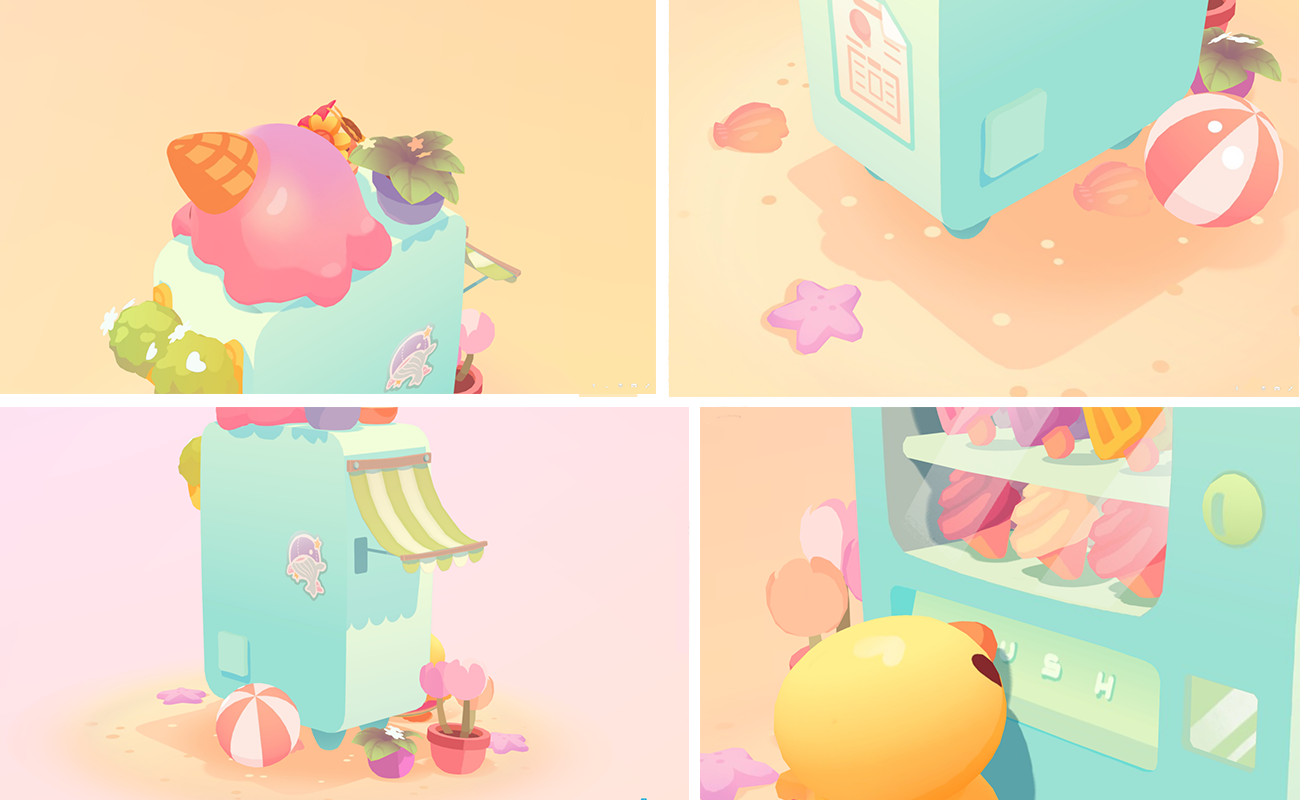
It was finally time to see the end result in Sketchfab!
I had a bit of back and forth at this step. I fixed some effects that were too opaque or not opaque enough. I also added the clouds that I had textured in Photoshop.
The unlit setup was far easier than I thought it’d be. It was so cool finally seeing it coming together!
I loved that I could re-upload my model every time I found a small mistake without having to re-upload all the textures. I added a turntable animation afterward to make gifs and showcase the model easily.
Conclusion
Overall, I made this scene over the course of a month, in 10 evenings.
I went really slowly, took time to try a lot of new techniques, and, most importantly, took time to redo everything that really rubbed me the wrong way.
It’s always a good idea to do a relaxing, stress-free project, with no finished product goal (it’s the journey that matters (─‿‿─ ) ).
And really take the time you need to create something you’ll really enjoy.
Good luck on your future projects ٩(。•́‿•̀。)۶

