We’re happy to share this guest tutorial from the team at Agisoft PhotoScan detailing the steps you need to go through to take advantage of their brand new de-lighting feature available in the 1.4.0 Pre-release. These tutorials were originally published on Agisoft’s own site here and here.
Glossary:
Delighting
Delighting is the process of removing shadows and highlights that have been ‘baked’ into a 3D scan at the time of capture – i.e. the shadows on one side of a rock as the sun hits the other side. Delighting a 3D scan means that you can import it into other lighting environments (Sketchfab, game engines, VFX pipeines) where it will look as it should, instead of including highlights and shadows from the the environment it was captured in.Ambient Occlusion Map
An ambient occlusion map calculates how exposed each point on a model is to ambient lighting, or to put it another way describes how much ambient light does not reach cracks, crevices, creases and other hard to reach areas of a model. It can be used help PhotoScan calculate better de-lighting of 3D scans.
Part One: Creating an Ambient Occlusion Map with xNormal
We’ll first start off by learning how to calculate an ambient occlusion map for a textured model using xNormal. The model must be textured to provide uv-texture co-ordinates per model vertex, as xNormal will generate an ambient occlusion texture with the same UV map.
1. Firstly you should download and install xNormal from here (Windows only we’re afraid!).
2. Export your model in .obj format (in PhotoScan this can be done by selecting File > Export Model and selecting the .obj format).
3. Launch xNormal.
4. In “High definition meshes” with right click -> “Add meshes” and choose your .obj file. Alternatively just drag and drop from your file browser window onto the list:
5. In “Low definition meshes”, right click -> “Add meshes” choose the same .obj file. Again you can also drag and drop your file:
6. In the right part of “Low definition meshes” table, enable the “Match UVs” checkbox:
7. Configure baking options like Output file (where the ambient occlusion map will be saved and with what file name) and Size (how large your map will be in pixels) and press Generate Maps:
8. Waiting for result make take some time proportional to the specified texture size:
9. Once the map is generated – close the window. You can use the texture saved to the Output file destination from step 7.
This is the model textured with resulting ambient occlusion map (original model by Francesco Fassi):

Pretty neat, and here’s what you can do with this texture map…
Part Two: Delighting in PhotoScan
Now we’ll learn how to delight the original colour texture automatically with PhotoScan Professional software. The tool aims to smooth out light and dark sides of an object model as a result of average lighting in the original scene. Optionally ambient occlusion shadows can be removed too (this is where the ambient occlusion texture map is required). Please note that delighting of strong shadows is not supported.
Applicability
Generally, removing shadows and recovering lighting-neutral color while preserving texture features is impossible – at least because of ambiguity between the dark texture produced by shadows on surface and dark texture produced by dark regions of the surface. But in practice in many cases heuristics based on some assumptions can provide good results.
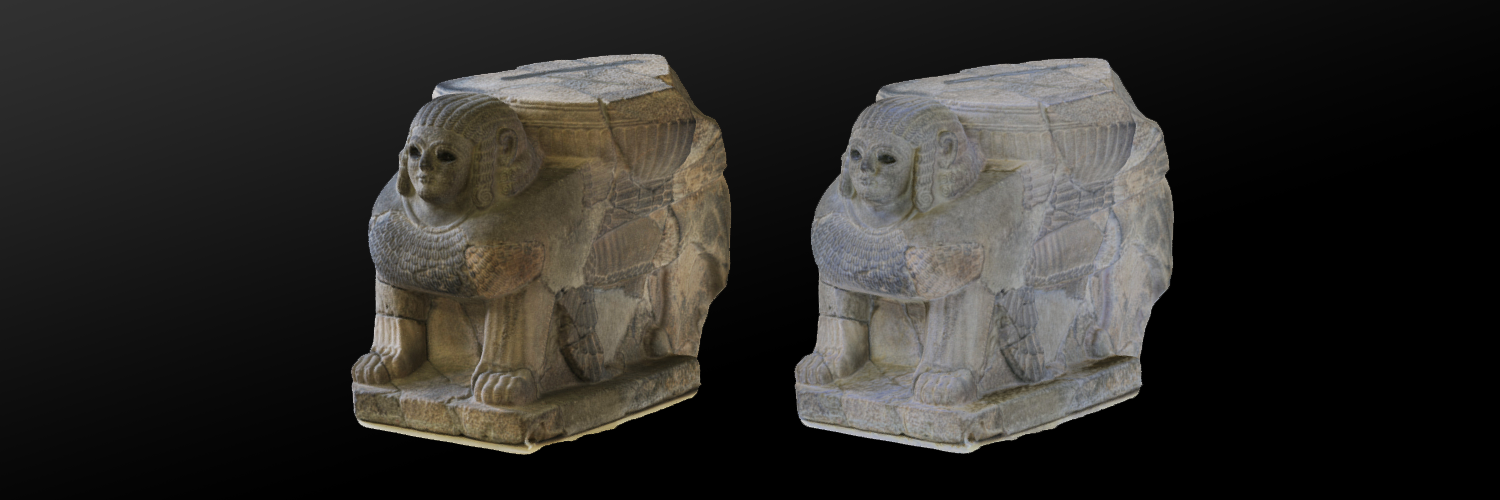
The texture delighting tool smooths out dark and light sides of object model and can additionally light up surface areas that were found to be too dark with respect to ambient occlusion map (original model by Francesco Fassi):
- Original model
- Delighted in single color mode
- Delighted in single color mode with respect to ambient occlusion map.


If you want to delight external textured model – you can create empty project, add a new chunk with the Add chunk button in the Workspace panel and then import the textured mesh with Tools -> Import -> Import Mesh.
2. Duplicate model
To be able to compare delighted texture with the original one afterwards, you should preliminary duplicate the model and then delight only the second one. To duplicate the model, right click on 3D Model -> Duplicate… -> Yes
3. Remove lighting
Use Tools -> Mesh -> Remove Lighting… (yes it’s that easy!)

- Color mode: use Single color if the model is homogeneous (like marble statue or rock), and use Multi color if scene presents a combination of colors (like marble statue on black rock).
- Presets: preset configures advanced parameters for some special cases. The only special case supported for now – Aggressive preset, it is adjusted for delighting of rocks, but still sometimes can lead to artifacts.
- Ambient occlusion map: optionally you can now load your ambient occlusion texture map into PhotoScan and the tool will try to recover ambiently occluded areas on the model.
Delighting result (Single color mode, default preset, with ambient occlusion texture map):

Delighting result (Multi color mode, default preset, with ambient occlusion texture map):

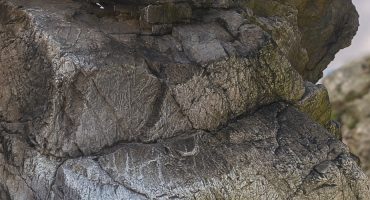
Finally, some examples:
Thanks Agisoft! We hope you found this tutorial useful – if you create some de-lighted scans with this technique be sure to upload them to Sketchfab and add the tag agisoft-delighting.


