About
My name is Andrei Ionuţ APOPEI, I’m 32 years old, and I’m currently working as Associate Professor Dr. in the Department of Geology, “Alexandru Ioan Cuza” University of Iasi (Romania). My interests in geology and informational techniques, applied to a wide range of problems in the field of geoscience, had finally been refined enough to realize that one or two major topics are not enough for me. Currently, crystallography, mineralogy, ore geology, vibrational spectrometry, and GIS are the scientific fields that best fit my interests. For more information, you can find my scientific manuscripts on my ORCID profile.
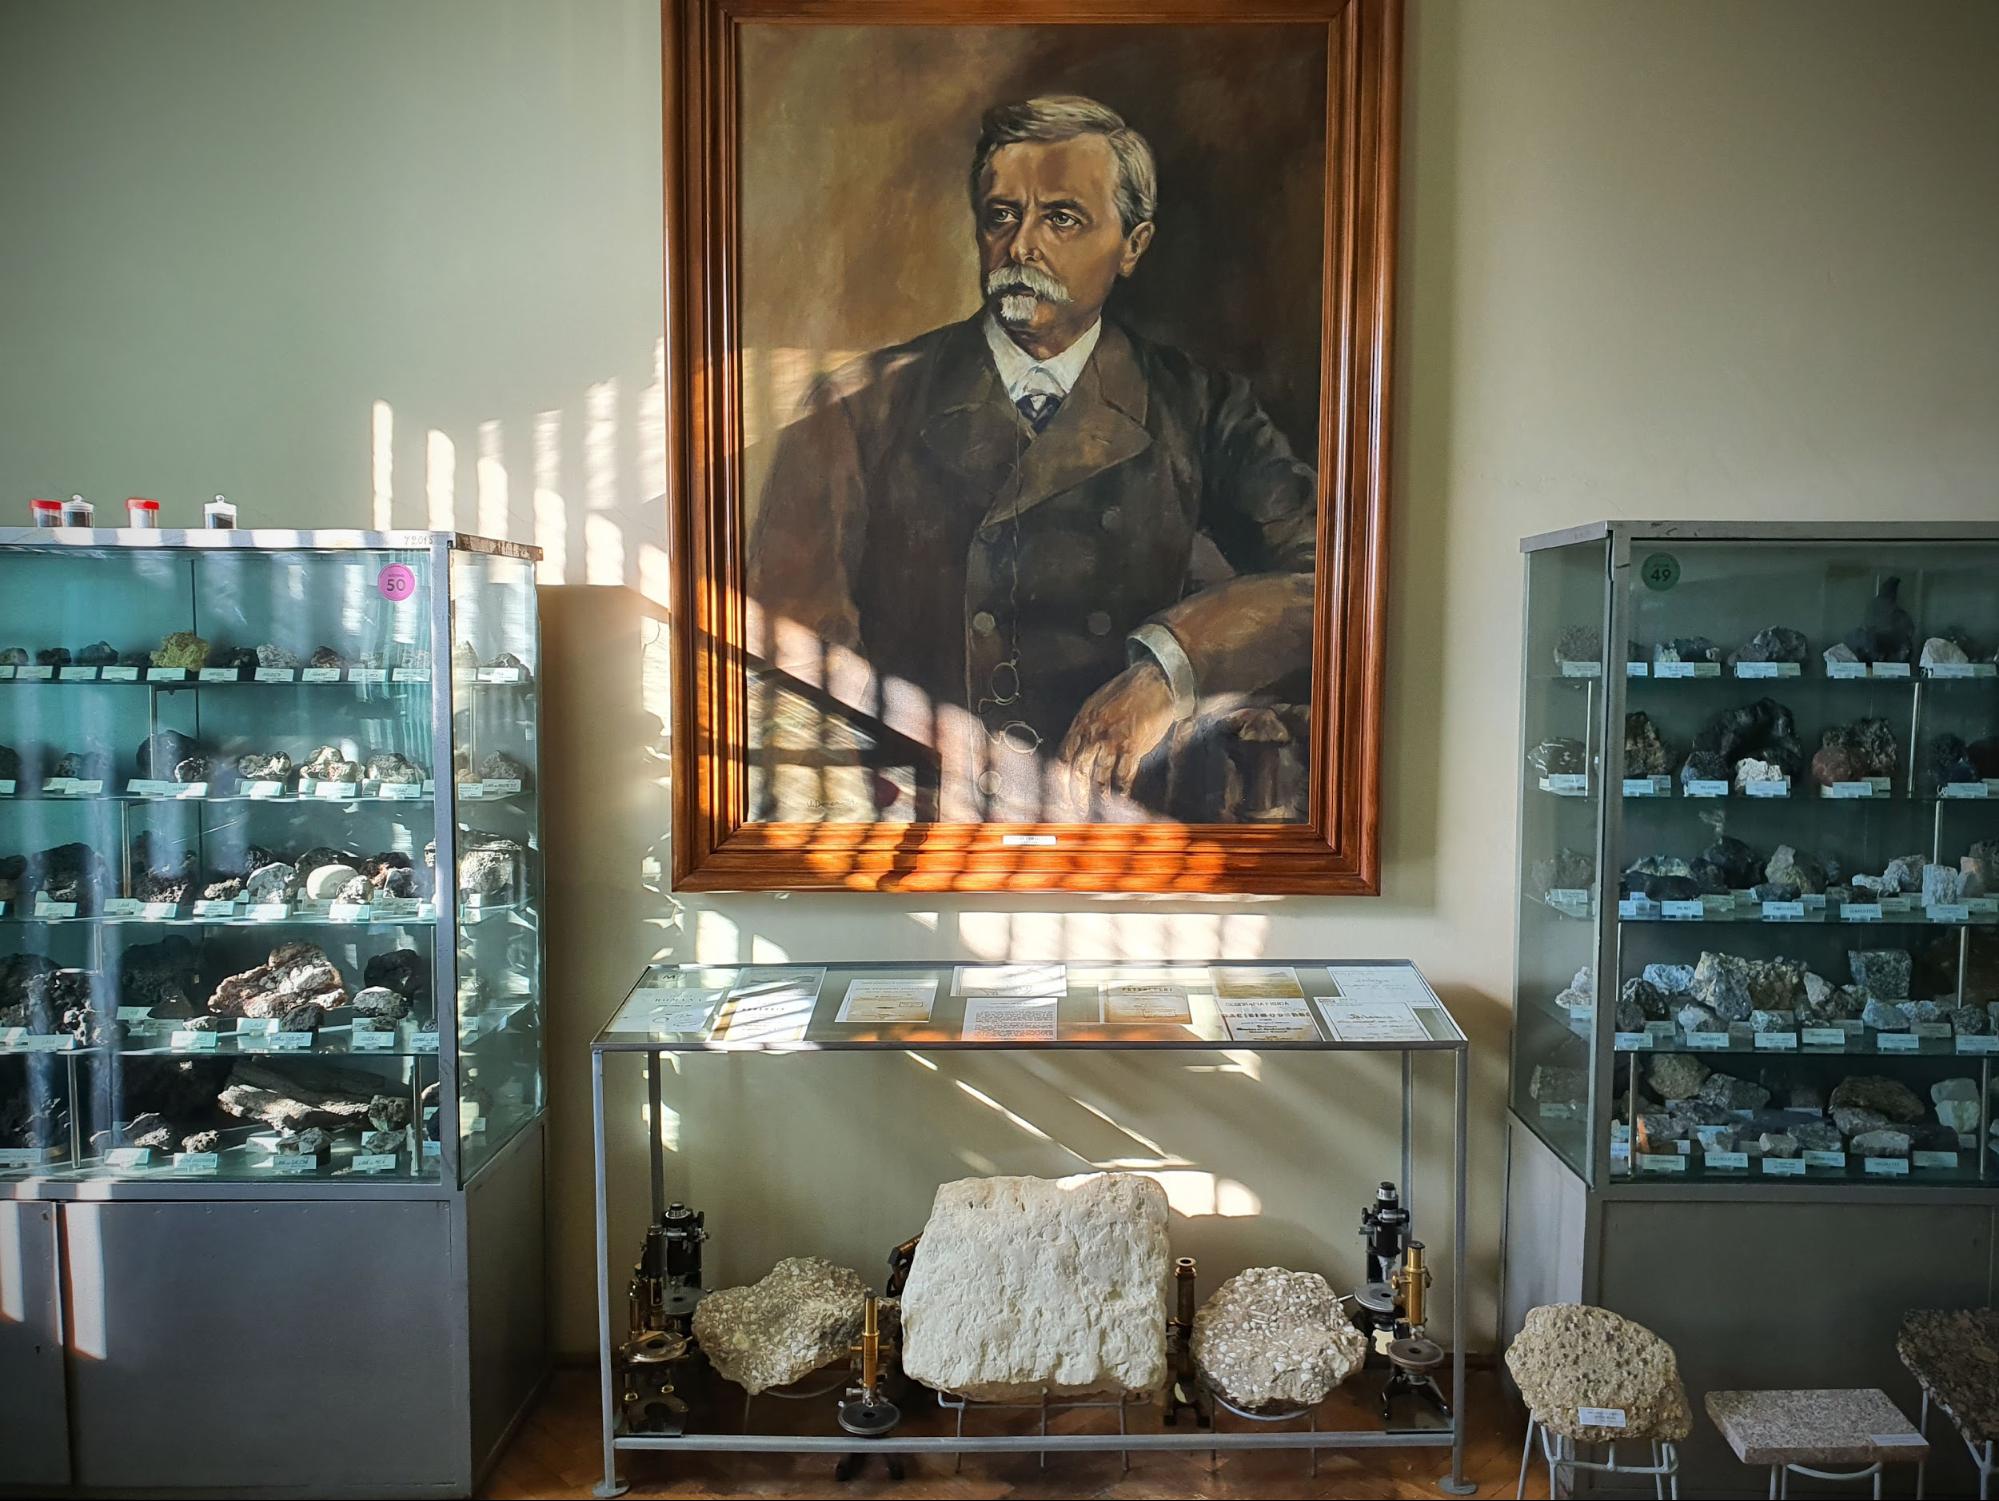
In addition to my teaching activities, I’m the scientific curator of the Museum of Mineralogy and Petrography “Grigore Cobălcescu”, Department of Geology, “Alexandru Ioan Cuza” University of Iaşi. The museum has more than 25,000 samples of minerals, gemstones and rocks from all over the world, and only 6,500 are currently indexed in the database. Most of them come from the territory of Romania. The oldest samples belong to the Krantz collection, purchased by Prof. Grigore Cobălcescu in 1888 from Dr. F. Kranty, Rheinisches Mineralien-Kontor, Bonn, Germany. The main website and the database are in Romanian, but can be easily translated—the English version is currently under construction.
Outside my teaching and science hours, I dedicate my free time to software and game development, some web projects, CGI, macrophotography and some electronics projects. A few years ago, I developed my first 3D adventure game (Gold Rush Miner – Gold Prospectors), dedicated to all regardless of their age, from children and students to old geologists or prospectors.
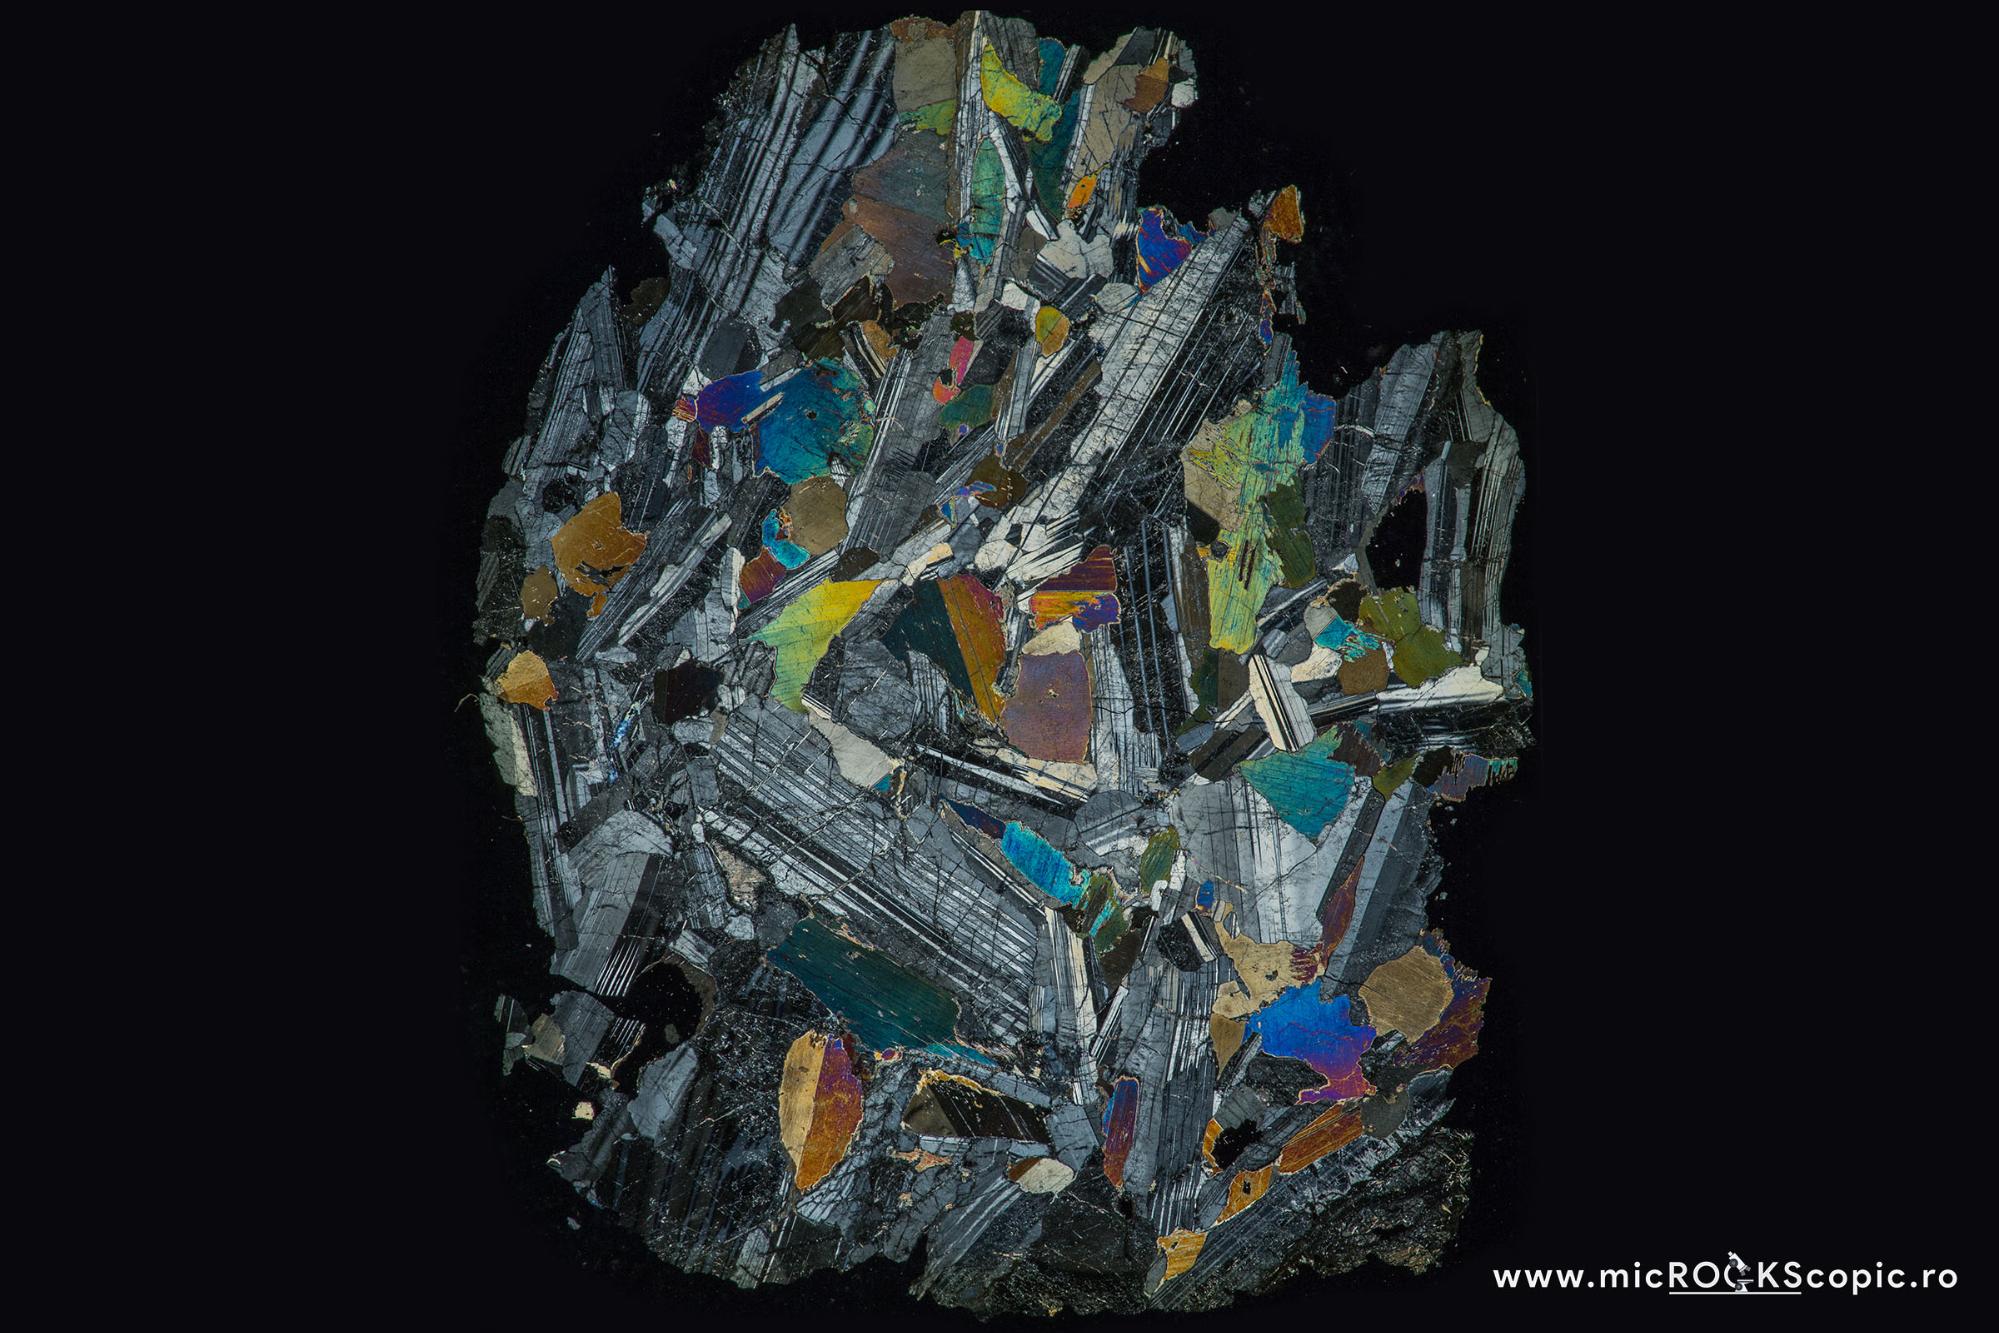
Another web project with interests in geology, more specifically in Mineralogy and Petrology, is micROCKscopic.ro, which contains a large thin-section collection of minerals and rocks under the petrographic microscope. For example, a small portion of this gabbro will appear in the petrographic microscope as follows:
Taking this project to the next step, I developed a virtual microscopic zoom-in capability that allows you to zoom between 1–40x.
The Museum of Mineralogy and Petrography “Grigore Cobălcescu”
Grigore Cobălcescu (September 22, 1831–May 21, 1892), the first professor of Geology-Mineralogy-Paleontology in Romania, was the one who laid the foundations of the didactic and scientific collections of minerals, rocks and fossils in Romanian university education.
Geological samples are used for different purposes, from simple hobby collections to scientific research and teaching material, exhibition and museum objects. Beyond these purposes, the involved geological samples represent a part of humanity’s heritage.
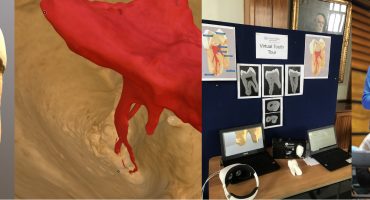
The 3D reassessment of the collection will be done for educational and scientific purposes. Furthermore, in a framework in which teaching practice is a dynamic process, predisposed to continuous innovation, the geological collection from the “Grigore Cobălcescu” museum offers an opportunity for teaching innovation, in relation with subjects of the geological disciplines that are taught in the bachelor and master degree programs from the Earth Science domains. The 3D reassessment will also involve the creation of a virtual tour through the collection. The project will begin with the creation of a 3D model of the Museum and its showcases, and finish with the mineral and rock samples.
Museums are changing as science and technology advance. Geological museums throughout history have changed in their conception (i.e., heading towards digitization/digital content) and have gone from presenting a mere collection of knowledge to being one of the best didactic resources at the service of people. According to European Group on Museum Statistics (EGMUS), more than 20,000 museums are listed around Europe, of which only 2,037 belong to the category: Science and technology museums, ethnology museums (according to EGMUS and point 2c from the UNESCO classification), which includes geological museums. In Romania, other museums with Mineralogical content are known: The National Geology Museum (Bucharest), county Museum of Mineralogy “Victor Gorduza” (Baia Mare), the Mineralogical Museum of the “Babeş-Bolyai” University (Cluj-Napoca), Museum of Gold (Brad), and “Constantin Gruescu” Iron Aesthetic Mineralogy Collection. Unfortunately, none of them offer an online virtual tour or even a database with static images and descriptions. Methodologically, geological virtual museums can be an educational resource in which to present motivational virtual activities that dynamize the teaching-learning process and foster creativity and scientific vocations.
Atoms, Minerals, and Rocks
Geologists prefer to see things or to read a book from bottom to the top, from the crystal structure of minerals to rocks, geological structures, and so on. In general terms, a mineral is an element or a chemical compound that is normally crystalline (atoms) and that has been formed as a result of geological processes (implies rocks and structures). So, if we want to know what kind of rock we are holding in our hand, we need to know what minerals participate in the formation of that specific rock. Moreover, considering that a mineral is normally crystalline, we need to know the crystal structure (at least) to validate that mineral. A mineral is usually a solid with an ordered three-dimensional array of ions and molecules in its crystal structure. Of course, these statements are not that simple, and a lot of other information needs to be known.
The workflow for creating a 3D crystal structure of a specific mineral is not so simple, and you need a little background in Crystallography and Mineralogy disciplines, to create and understand the principle of the crystal structure of a certain mineral. Firstly, you need to extract the three-dimensional position of the atoms, which are available on several dedicated websites (for free). Two of them are AMCSD (The American Mineralogist Crystal Structure Database) and COD Crystallography Open Database). The files that store the crystallographic information of a specific mineral are in .CIF extension. The Crystallographic Information File (.CIF) is a standard text file format for representing crystallographic information, crystal system, point group, elements, symmetry info, relative position of atoms, etc. Consider that a mineral by definition has more-or-less constant composition, in many situations, the .cif file will contain other elements than you will expect to find in the general chemical formula. After that, the .cif file will be opened in Jmol, which is an open-source molecule viewer and we can start creating the 3D crystal structure in a mineralogical and didactical spirit, to be easy to explore and understand by students. Recreating the scene via console (scripting) takes up the most time, and for this you need to learn a lot of variables and so on (see Jmol documentation). When the crystal structure looks good, a few more steps are needed before publishing it on Sketchfab: (1) export it in the .vrml format; (2) transfer it to Cinema 4D, and finally (3) some retouches (defining materials and colors, fixing some borders or polygons). It’s a long process, and I know that there are many other solutions (in terms of software and the workflow used), but this is the one I prefer, because you can control anything, starting with the symmetry operations applied to the crystal structure and finishing with the retouching of materials or polygons.

One of the most important laws in Crystallography is the law of the constancy of interfacial angles (or “the first law of Crystallography”) and was firstly observed by the Danish physician Nicolas Steno in 1669. This law (known by many geologists as Steno’s law) states that the angles between the crystal faces of a given species are constant, regardless of the lateral extension of these faces and the origin of the crystal, and are characteristic of that species. This law paved the way for Hauy’s law of rational indices (known also as Miller-Bravais Indices or Miller Indices). Both laws answer the question: how do we keep track of the faces of a crystal? Let’s have in mind that face sizes may vary, but angles can’t. Thus, it’s the orientation and angles that are the best source of crystal form indexing. So, the Miller Index (or Miller indices) is the accepted indexing method. It uses the relative intercepts of the face in question with the crystal axes.
In general, a crystal form is a set of crystal faces that are related to each other by symmetry (set of symmetrically equivalent faces). Example: for the cube, Miller indices in curly brackets or braces such as {100} denote a family of plane normals which are equivalent due to symmetry operations (100), (010), (001) and the negative equivalents (-100), (0-10), (00-1). Several University classes or dedicated books discuss this in detail.
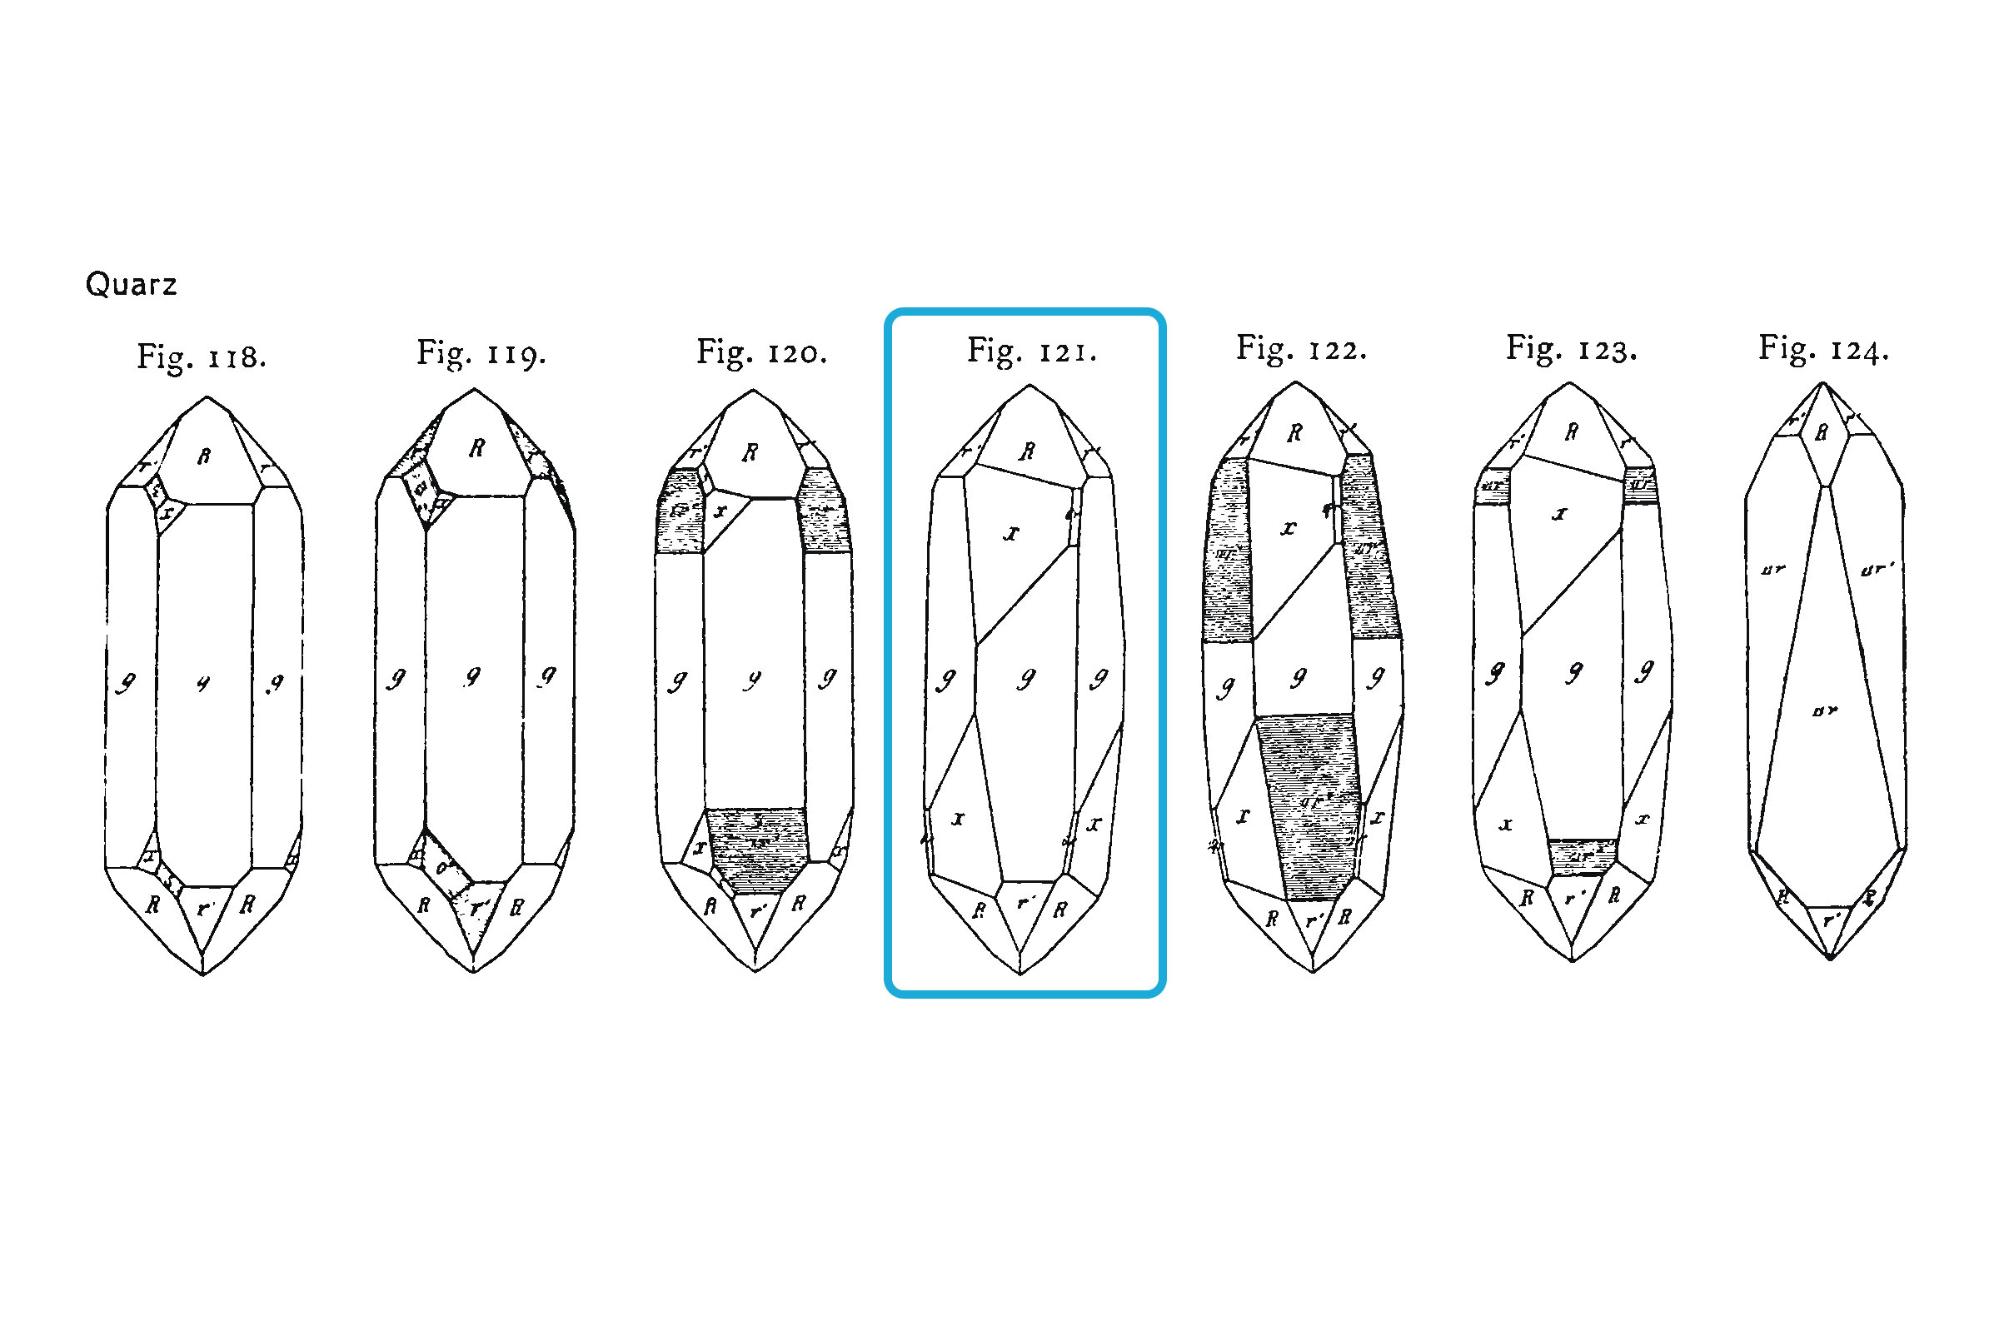
I’ve started this project on the Sketchfab platform, especially for students that take Crystallography and/or Mineralogy classes. By having the 3D models of crystal forms, it is easier to understand the form and the concept behind them. The crystal forms are based on drawings from the “Atlas der Krystallformen” by V. M. Goldschmidt (1913-1923). The Atlas was printed in Germany between 1913-1926, and is composed of 18 volumes (9 volumes with description + 9 with drawings) which contain 23,606 crystal drawings and a short description of each drawing. The workflow for creating 3D Crystal forms is taking these drawings in Cinema 4D and creating a three-dimensional form out of them.
Workflow
My photogrammetry experience began in 2011, in the same year as the Sketchfab platform was launched. With a bridge camera and a lot of improvisation, I’ve ‘successfully’ created two 3D models of two stone axes of the Late Bronze Age from the Moldova region (Romania), that have been studied by Raman spectroscopy to identify the petrographic types, as well as the origin of the raw materials. The 3D models were embedded into the .pdf file by using the universal 3D file format (.u3d). For more details, I attached the following manuscript below: Buzgar et al. (2013) – The composition and source of the raw material of two stone axes of Late Bronze Age from Neamț County (Romania) – A Raman study. At that time, I didn’t know about the Sketchfab platform. The workflow can be summarized in the below video
After a long break from photogrammetry (almost 10 years), I recently started bringing to life the collection of minerals and rocks from the “Grigore Cobălcescu” Museum. This was a good opportunity to deepen my knowledge of the field, to familiarize myself with this technique and eventually to reassess the whole collection. I found a lot of useful information on the Sketchfab blog and by getting in touch with other users from the community.
My current photogrammetry workflow is straightforward, and there is a lot of space for improvements. In brief, I use the following hardware in my process: custom CNC + turntable, camera, tripod, lights, and the key ingredient—minerals and rocks.
The first step is to investigate the sample and to see the main mineralogical-petrological features to estimate the proper number of photos, angles to use, illumination, etc. Also, in this step, the samples must be cleaned of dust or lint particles, especially those samples with flat and homogeneous surfaces.
The second step is to prepare the stepping rotation of the turntable. I must say that this is all custom made, so it’s difficult to reproduce the whole hardware. I have developed a CNC machine (without the milling cutter), that controls 4 × Nema 17 stepper motors at different torque and stepping settings. Three motors are for XYZ axes and one motor rotates the turntable. A CNC stepper motor is exactly what it sounds like. It’s simply a stepper motor that you can use to drive the motion system on a CNC machine. Another advantage of using a custom CNC is that I can play with the torque (some samples are very heavy) and the micro-stepping of the rotor. For example, I can rotate the turntable at very precise degree steps (e.g. 0.5° steps). This is useful for complex samples or even more, for macro-photogrammetry (i.e., photos of a microscopic object, taken with the aid of a microscope). Imagine a mineral that is 1 mm long. If you want to take a shot of that mineral, you need to control the turntable with the precision of a surgeon at the operating table. The stepper motors are controlled automatically by using a custom script sequence in a loop structure (G-code language). A loop in a computer program is an instruction that repeats until a specified condition is reached, and in this case, repeats every X intervals (in degrees) at specific time intervals (seconds that I need to take the photo) until the full rotation is reached (360° or specific). There are many tutorials on the internet, and a lot of low-cost home-made CNC machines based on the Arduino controller. Anyway, more improvements must be taken into account, for example, to sync the stepping of the turntable and the remote trigger of the camera.
-
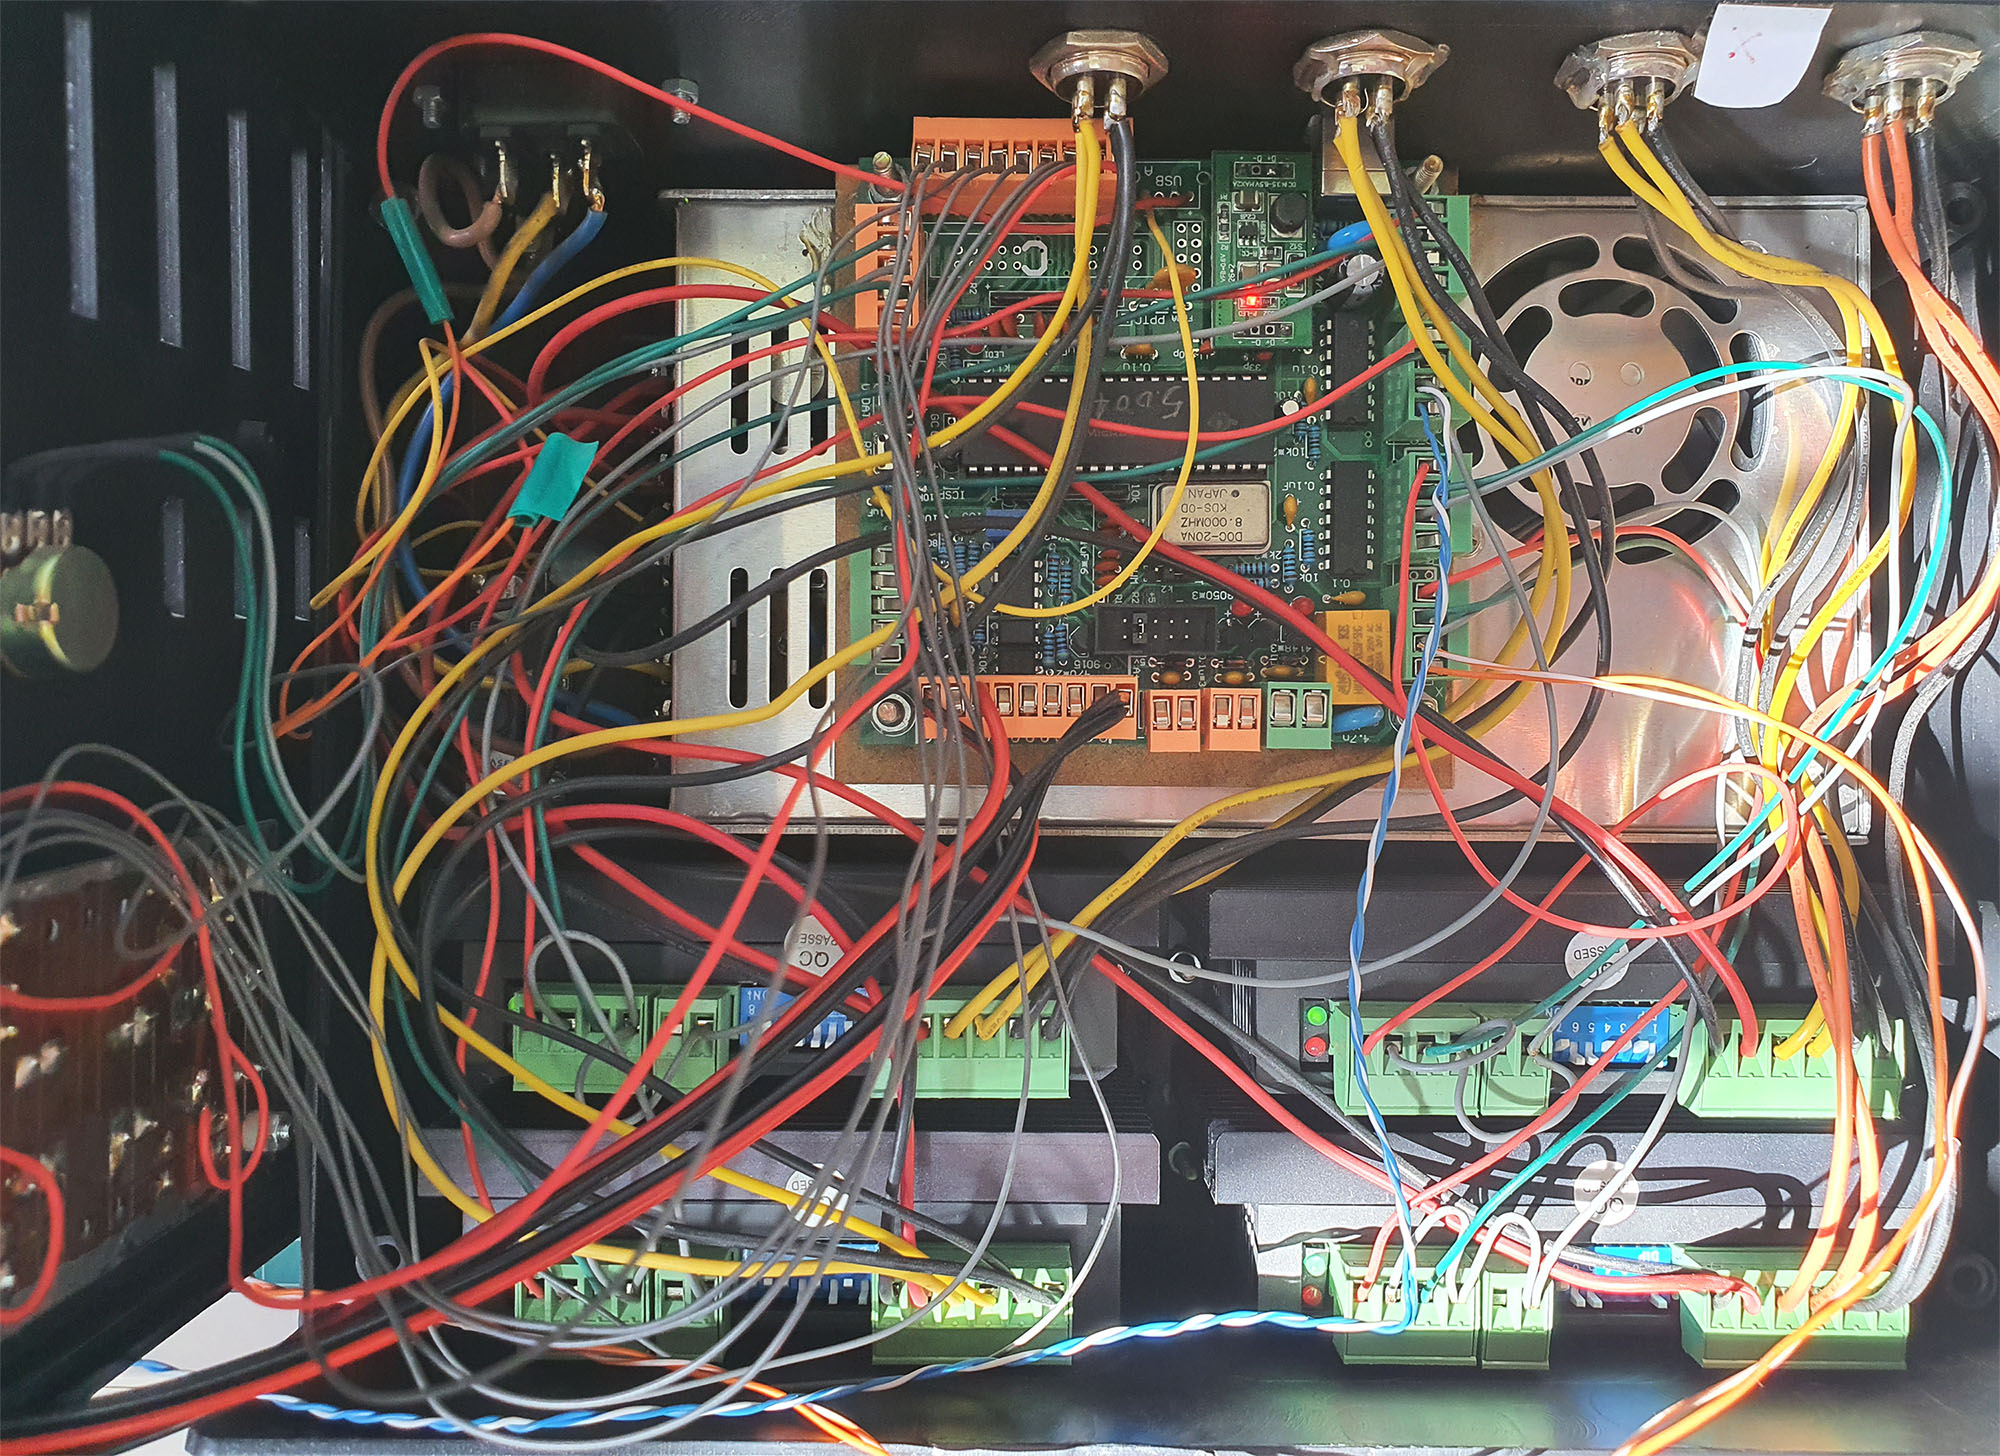
- photogrammetry CNC
-
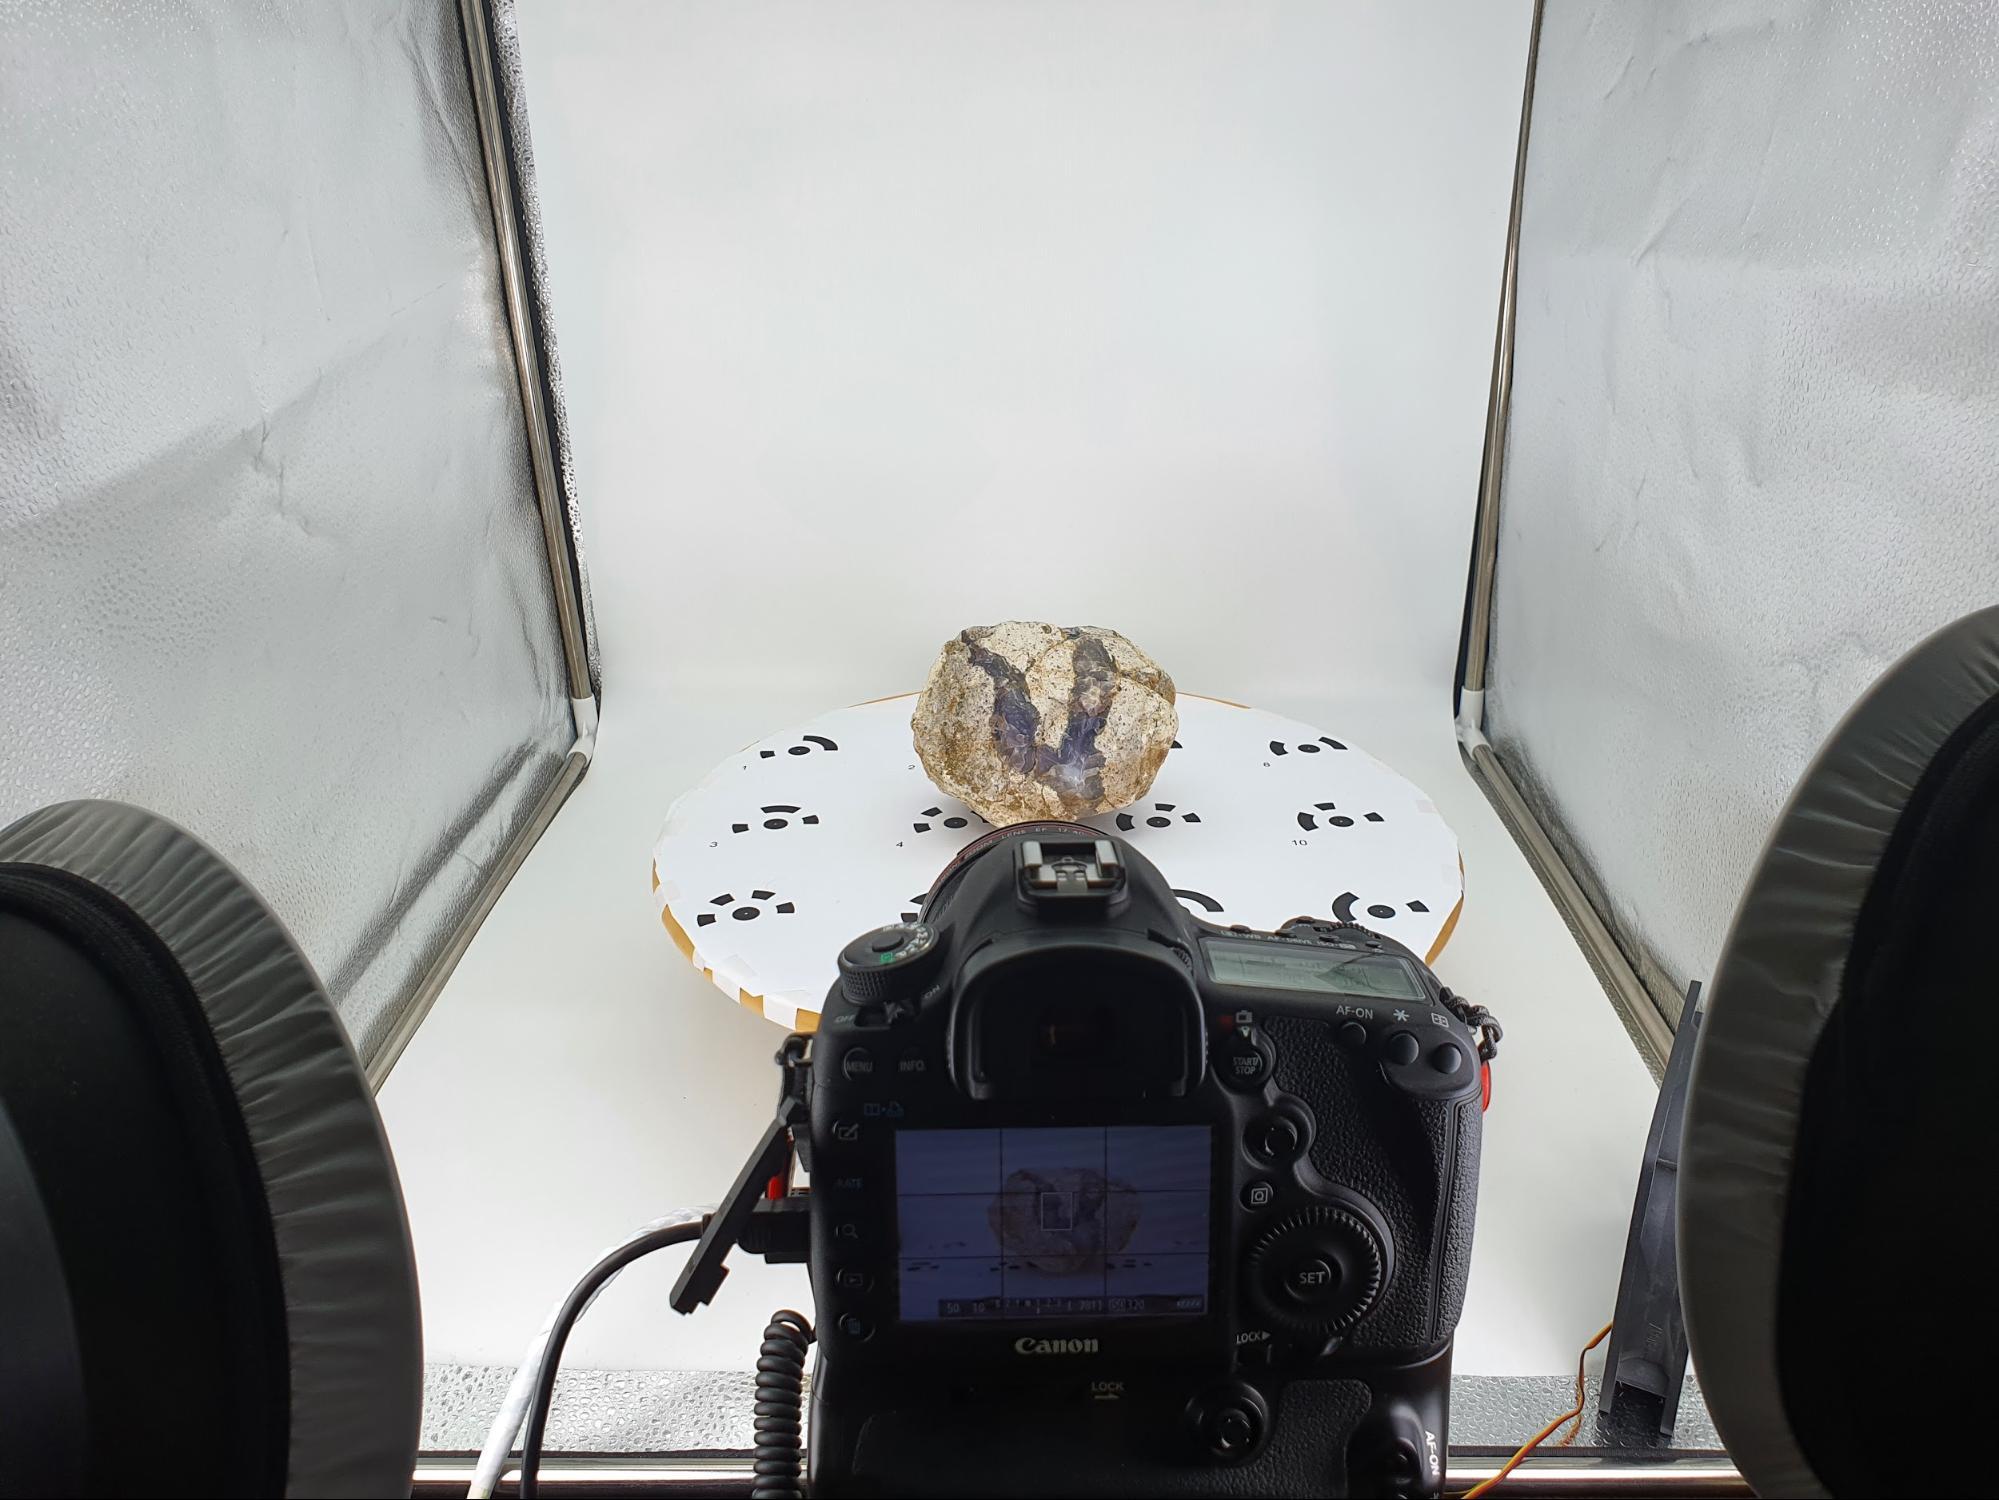
- photogrammetry studio setup
Next, I prepare the scene in terms of lights, sample position, camera settings and position. I shoot 150-200 photos per sample by using a professional camera (Canon 5D Mark III) with a good lens (17-40 f/4 L). I always take pictures in .RAW format, in manual mode and by using a proper illumination (no flashlights but instead I use continuous LED lights). In some circumstances, a polarizer is essential to eliminate some of the reflections on the minerals with a metallic or submetallic luster (e.g. pyrite). Also, a stable tripod is indispensable if you want sharp photos, especially when you go with very low shutter speeds.
The last step of my workflow is the most time consuming because a lot of work needs to be done before a 3D model is available online on the Sketchfab platform. Usually, I prepare the photos in Lightroom, in terms of white balance, contrast, brightness, etc. For the photogrammetry process, I started with Agisoft Metashape software, but found that Meshroom allows a user to set up complex workflows that can all be run at the touch of a button (nodes setup). Many other photogrammetry applications are available (free and commercial), but I recommend eliminating this question from your workflow: which software is better for photogrammetry? Don’t let yourself be run by the software! I don’t insist too much on the photogrammetry workflow settings because from sample to sample these settings change a lot, due to the complexity and the nature of the sample. After the model is finished, I make final adjustments in Cinema 4D before I upload it to Sketchfab. To make the model more educational and appealing for the Sketchfab community, I investigate the mineralogical characteristics, texture and points of interest of the sample to complete the 3D model with annotations and explanations. In this step, I take a few macro photos with a magnification ratio between 1:1 and 10:1 and I embed them in the annotations or within the description panel.
Impact of 3D content in Geoscience
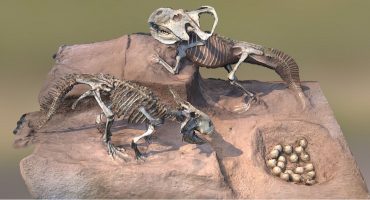
Earth Sciences and Geological Museums’ main purpose is to give prominence to their collections, thus generating knowledge in different forms: scientific, technological, educational, etc. These museums contain the architecture of eternity for Earth Sciences dissemination and fundamental educational tools, besides being a source of leisure and recreation for visitors. 3D digitization is a new trend in museology that has been gaining pace very quickly, enabling researchers, students, and/or philomaths to view museum exhibits and mineralogical specimens in 3D on their computers or mobile devices anywhere around the globe. For more interesting projects shared in the Sketchfab realm, please read the Sketchfab from Home series: Cultural Heritage and Science & Technology blog posts.
Final thoughts and future plans
For me, the Sketchfab platform is like an unexplored territory, offering so many possibilities and resources for 3D educational and scientific purposes. One of the most challenging things that I’m planning to do will be to push the limits of diffraction and to make 3D models of minerals at a higher magnification ratio (greater than 1:1).
Furthermore, 6,521 samples of minerals and rocks are waiting to get a virtual shape and to be available on Sketchfab. I would also plan to improve my workflow by mapping the specular for those samples with a metallic or sub-metallic luster. Moreover, I would like to extend the educational perspectives in geosciences by creating animated 3D models related to Crystallography, Mineralogy, Igneous Petrology, and other disciplines.
Igneous Rocks by Museum of Mineralogy and Petrography, UAIC on Sketchfab
Acknowledgments
Special thanks go to Thomas Flynn, Cultural Heritage Lead & Community @ Sketchfab for helping me to crystallize this project. Thanks are also extended to Abby Crawford for reaching out to me to write this article.
Find the Museum of Mineralogy and Petrography on:
About the author
Andrei Ionut Apopei
Andrei Ionuţ APOPEI is Assoc. Prof. Dr. at the Department of Geology, “Alexandru Ioan Cuza” University of Iasi, ROMANIA. His main fields of teaching, research and publication are Mineralogy, Ore deposits, and Raman spectroscopy.