The Sketchfab 3D Editor’s post-processing settings can take your already awesome model and dial it up to 11. This guide is intended to be a friendly introduction to each of the post-processing settings and how best to use them. For updates and a more detailed look at each setting, visit our Help Center.
- SSR (Screen space reflections)
- SSAO (Screen space ambient occlusion)
- Grain
- Depth of Field (DoF)
- Sharpness
- Chromatic Aberration
- Vignette
- Bloom
- Tone Mapping
- Color Balance
- Anti-Aliasing
Screen Space Reflection (SSR)
Screen space reflection, or SSR, approximates reflections of objects in real-time. When you want to create the impression that a surface is shiny or reflective, this is the filter to choose.
Things to remember:
- SSR is applied on all opaque surfaces and on transparent surfaces—but only if those transparent surfaces use an alphamask or dithered opacity.
- SSR reuses what’s already on the screen, so it’s not possible to reflect anything that’s not already visible. That’s also the reason for the blurry reflections and the quick falloff.
- SSR is expensive in terms of processing, so while we recommend using it, it should be used judiciously or may not be the best choice if you want to optimize viewer performance.
SSAO (Screen Space Ambient Occlusion)
Screen Space Ambient Occlusion, or SSAO, approximates ambient occlusion in real-time. It calculates how exposed each point of the model is to ambient lighting and can be used to improve the look of details.
You can tweak three settings:
- Radius: the size of the shadows
- Intensity: the darkness of the shadows
- Bias: the threshold for SSAO. Low = shadows where there are small differences between depth and normals; High = shadows only where there are big differences between depth and normals.
Things to remember:
- SSAO is expensive in terms of processing, so while we recommend using it, it should be used judiciously or may not be the best choice if you want to optimize viewer performance.
Grain
The Grain filter can be used to simulate the appearance of film grain. You can set it to be static or animated, depending on the look you want to achieve. The setting’s slider controls the opacity of the grain.
Things to remember:
- Animated grain will continue updating even if the scene is not moving, costing GPU resources.
Depth of Field (DoF)
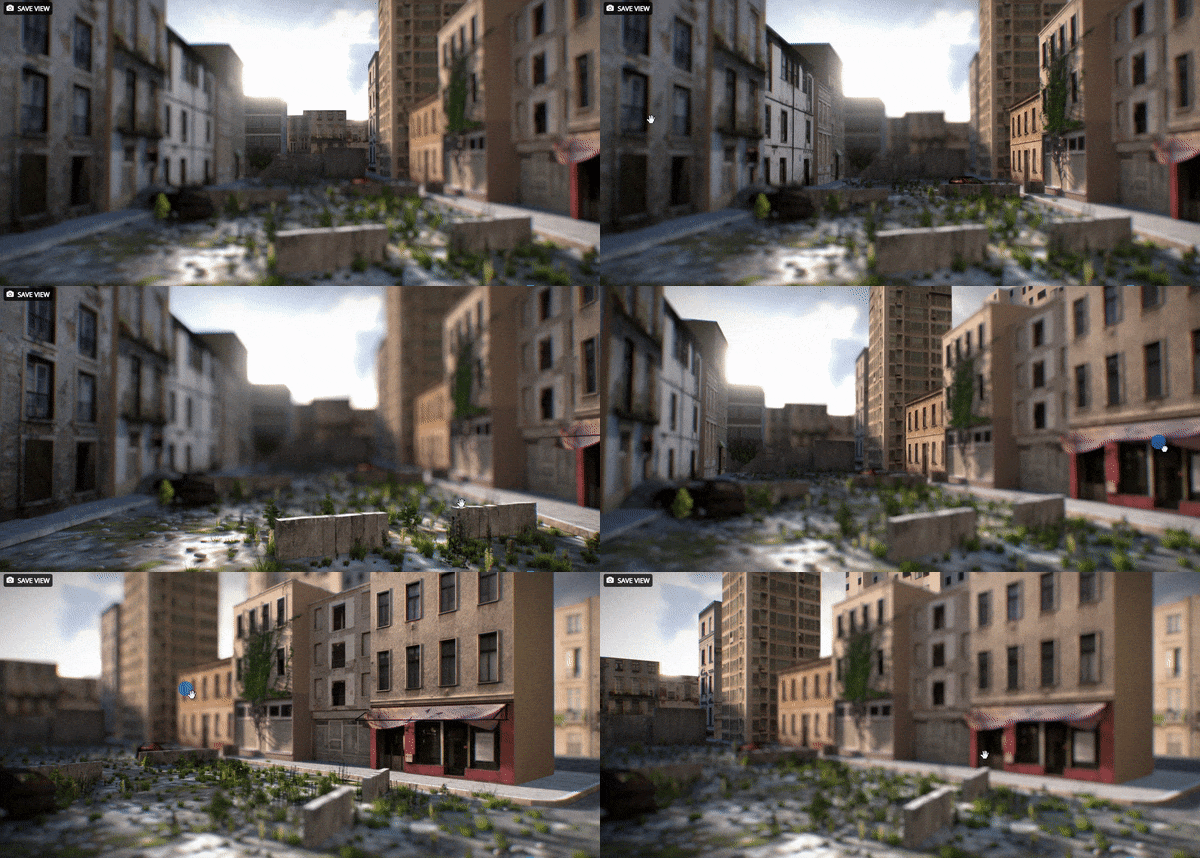
Depth of Field lets you blur your model’s foreground and background in order to simulate a photographic depth of field effect that brings certain areas in or out of focus.
Things to remember:
- Depth of Field is compatible with solid color and HDRI backgrounds, but not with image backgrounds.
- Depth of Field can be very distracting if the effect is too strong, so be sure to try to adjust the settings for greatest effect and effectiveness.
- Depth of Field is expensive in terms of processing, so while we recommend using it, it should be used judiciously or may not be the best choice if you want to optimize viewer performance.
Sharpness
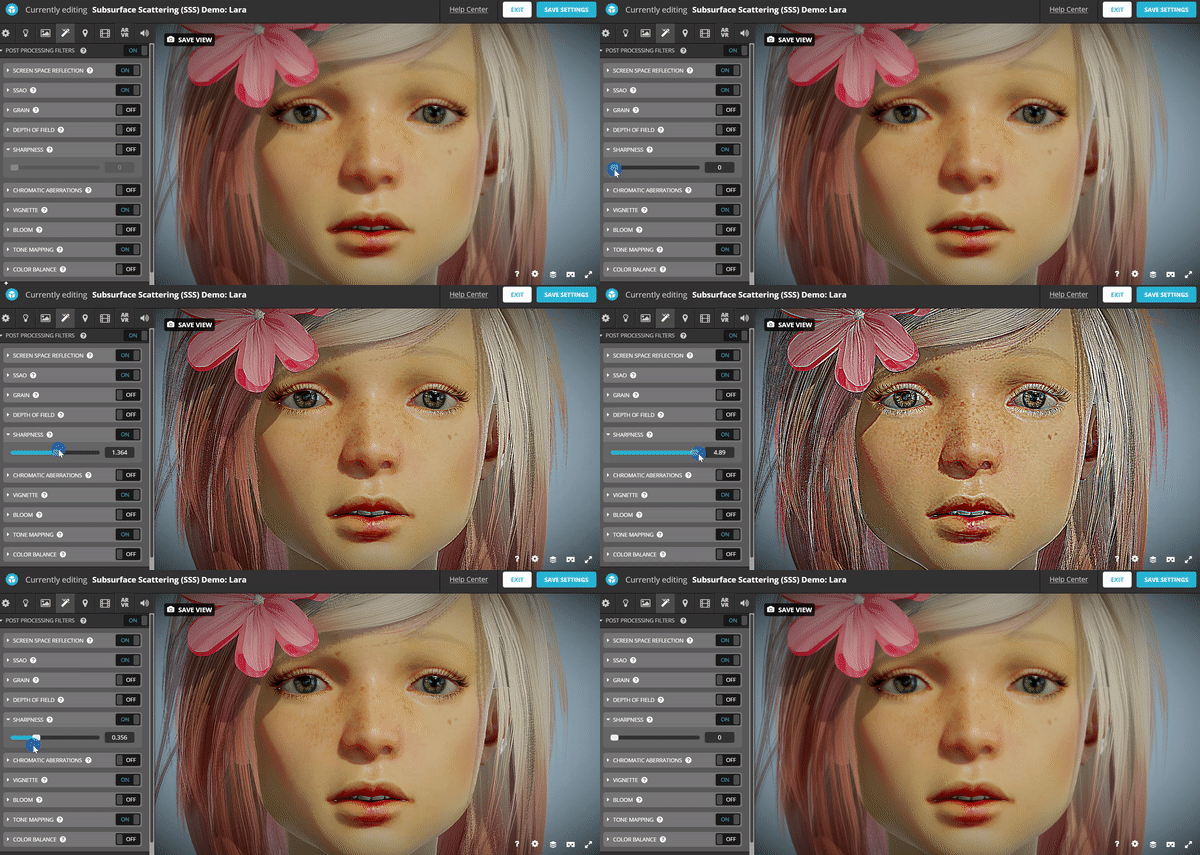
As you might expect, sharpness adds a crispness to details that the unfiltered model might not have. This filter is particularly useful for 3D scans but is widely applicable. We recommend it as one of the 7 essential settings for model uploads.
Things to remember:
- Sharpness is very effective for bringing out details in the textures of 3D scans.
- It’s easy to overdo sharpness and end up having a model that looks noisy rather than crisp. Try dialing down the sharpness from its default setting to assess whether you can get away with less.
Chromatic Aberration
Chromatic aberrations in the photography world are color distortions that occur on images as a result of camera lenses being imperfect. Generally speaking, photographers find chromatic aberrations undesirable. That said, the Chromatic Aberration filter on Sketchfab is intended to help you add a touch of realism to your model by simulating a photography effect.
Things to remember:
- A little bit goes a long way. Too much chromatic aberration can make your scene look psychedelic and, in some cases, make your viewers feel a little nauseous.
Vignette
Another filter that can be used for realistic or creative effect is Vignette. It allows you to darken the corners and outer edges of your scene. This effect can be used to draw viewer attention to the center of your scene or to add a dark, mysterious, or window-like feel to the scene.
Two adjustments can be made to customize your vignette:
- Amount: This slider controls the amount of the viewer space the vignette takes up. The higher the value, the closer to the center the darkness will extend.
- Hardness: This slider controls the fuzziness of the vignette’s edges. A low setting will result in a very gradual transition from the scene’s background to the vignetting, and a high setting will give the vignette a sharp edge that makes it look almost like an overlay on top of the scene.
Bloom
The Bloom filter will make the highlights on your model glow and is a great way to fake an emissive surface. This setting can be used to give your model a magical aura or just a little extra pop.
You can adjust the following Bloom parameters:
- Threshold: This setting determines which parts of a model are affected by bloom. A value of zero applies bloom to all parts of the model, while a value of 1 applies bloom to only the brightest and most luminant parts of the model.
- Intensity: This setting determines how bright the bloom will be. Higher values are more intense (i.e., brighter).
- Radius: This setting determines how far from its source the bloom will be apparent. Lower values have smaller radii and retain more textural detail; higher values have larger radii and result in a much fuzzier glowy look.
Things to remember:
- If you’re using emission on any of your materials, Bloom will amplify the effect.
- Bloom is expensive in terms of processing, so while we recommend using it, it should be used judiciously or may not be the best choice if you want to optimize viewer performance.
Tone Mapping
The Tone Mapping effect lets you adjust your scene’s Exposure, Brightness, Contrast, and Saturation values, just like you might do to a digital photo. Linear, Reinhard, and Filmic methods all calculate those values differently and to different effect. In the model below, we are using Filmic tone mapping, which is generally more saturated than the other methods. To see the scene without tone mapping applied, press play and then press “1” on your keyboard.
Things to remember:
- Tone mapping, like Sharpness, is highly recommended for all uploads. You can use it to achieve a variety of subtle or dramatic effects.
Color Balance
Color Balance allows you to adjust your model’s colors even more but affects your model differently than tone mapping. Instead of adjusting the model’s exposure, brightness, contrast, and saturation, Color Balance lets you adjust the intensity of RGB values for the shadows, midtones, and highlights of your model.
Anti-Aliasing
Temporal Anti-aliasing (TAA) reduces aliasing and flickering when moving the model by reusing and averaging results from the previous frames. It is a good setting to have on for most models, but see below for exceptions.
Things to remember:
- TAA is great at smoothing real-time shadows and post-processing effects like SSAO and Bloom.
- If your scene uses dithered transparency, high specular highlights, or includes grid-like patterns, TAA is a good choice.
- If your scene uses blending transparency, TAA may be a bad choice as it will cause ghosting.
