In the interest of teaching and learning about stylistic choices, Sketchfab user panimala wrote a step-by-step tutorial in the Sketchfab forums about how they create their high-realism, low-poly portraits. We re-share that tutorial so that it can reach a wider audience.
Hi, I’m William, aka Panimala! I have been learning and enjoying 3D modeling in my free time for the past 6 months or so, and I’ve been documenting most of my progress on Sketchfab.
My technique is pretty primitive as I have (yet) very little interest in some of the meatier aspects of 3D modeling (normals, diffuse- and specular maps, highly detailed models, etc). This is quickly apparent after a look on my profile.
I do however still have great interest in 3D creation, particularly humans and female portraits, so I decided to document my process for a portrait here. Hopefully it will be of help or of interest for someone.
My favorite aspect of low poly portraits (or characters in general) is that every vertex carry a lot more information than on a high poly model. For example, to create a more prominent chin on a character, you only have to move a handful of vertices. Making every vertex count on a model is something that appeals to me. Since the time I started out to now, however, I have increased the detail of my base mesh. The process is almost always these three steps:
1st – Modifying an existing mesh
2nd – Drawing the texture
3rd – Posing
1. Modifying an Existing Mesh
I rarely create a face or character from scratch, but rather use one of my previous models as a base. I will often also do slight changes to the mesh even during the texturing phase. Whatever additions I create for these models is often related to the hair or the type of clothing for the person I am creating.
My portrait is called b_kloss, and I’m sure it’ll be evident who the subject is if the name wasn’t revealing enough. 
Sometimes I set up background images within Blender, sometimes not. The thing with setting up background images for human models is that they cannot really be trusted. Things like camera zoom, slight angles and different lenses will often result in a front- and side image never really aligning perfectly. I use background images for this particular portrait as rough guidelines.
I edited the front image to create a certain mood, with closed eyes and heightened eyebrows. The side image I rotated to align with the front images eyebrow – ear height.
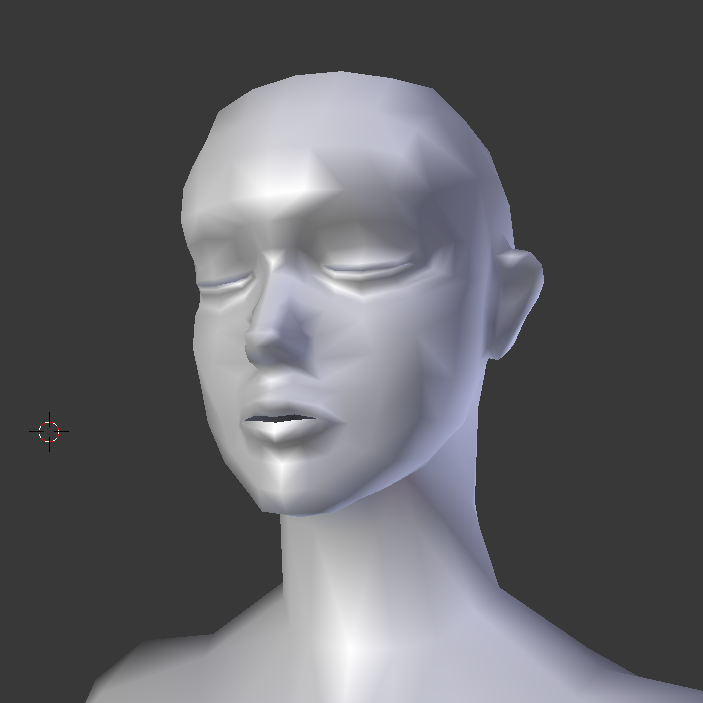
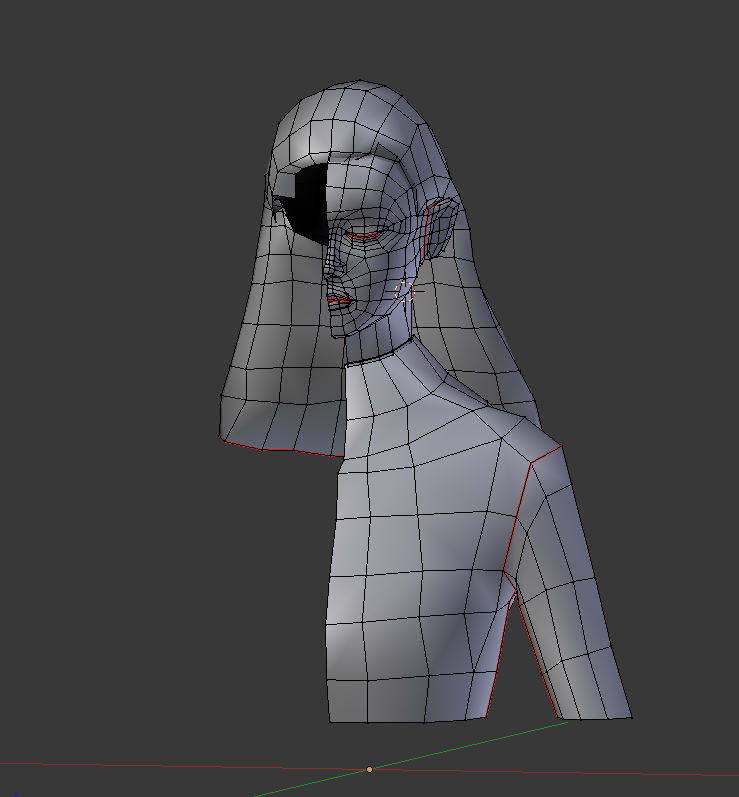
On to the actual model itself, I started with this bust. I removed the eyes and started editing the face until I came to a point where I wanted to introduce hair.
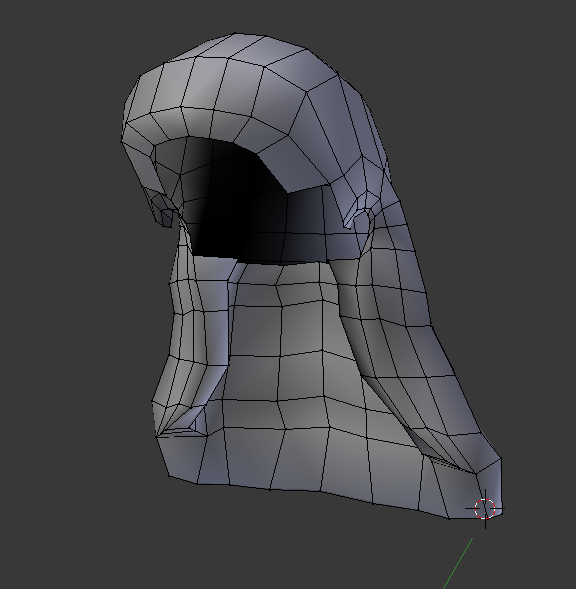
The hair started of as part of the scalp, from which I extruded the edges and then wrapped the edges around themselves behind the neck (hard to explain but I hope you can see what I mean in the image). The hair is the only part of the model that doesn’t have a symmetry modifier, as I want to texture the part where the hair splits further to the right.

This is what the UV map looks like. Hey, it does the job.
I actually use Sketchfab as part of the workflow, since adjusting light and field of view is all at your fingertips, so for me it’s a quick and easy way to preview your model in different ways.
2. Drawing the Texture
I draw using my mouse in Blender. I have a good tablet but I have come to realize that when working digitally I think the mouse feels more direct despite losing pressure sensitivity.
Drawing the texture is not only the most time consuming and challenging part, but also the most enjoyable. With a shadeless model there is a lot of creative expression you can incorporate by creating the shading and light by hand.
I do all texturing within Blender, but sometimes I do some color grading in Photoshop.
I don’t have a reference image for the kind of light I want to achieve, but I want light coming in from the side as that is something that you can do pretty efficiently with symmetric textures.
I start with filling my main parts (skin, hair, clothing) with flat colors, followed by adding some highlights and darker spots.
- I soon feel that the model need eyelashes, so I add them from another model. Thankfully they have their own little texture which is easy to edit.
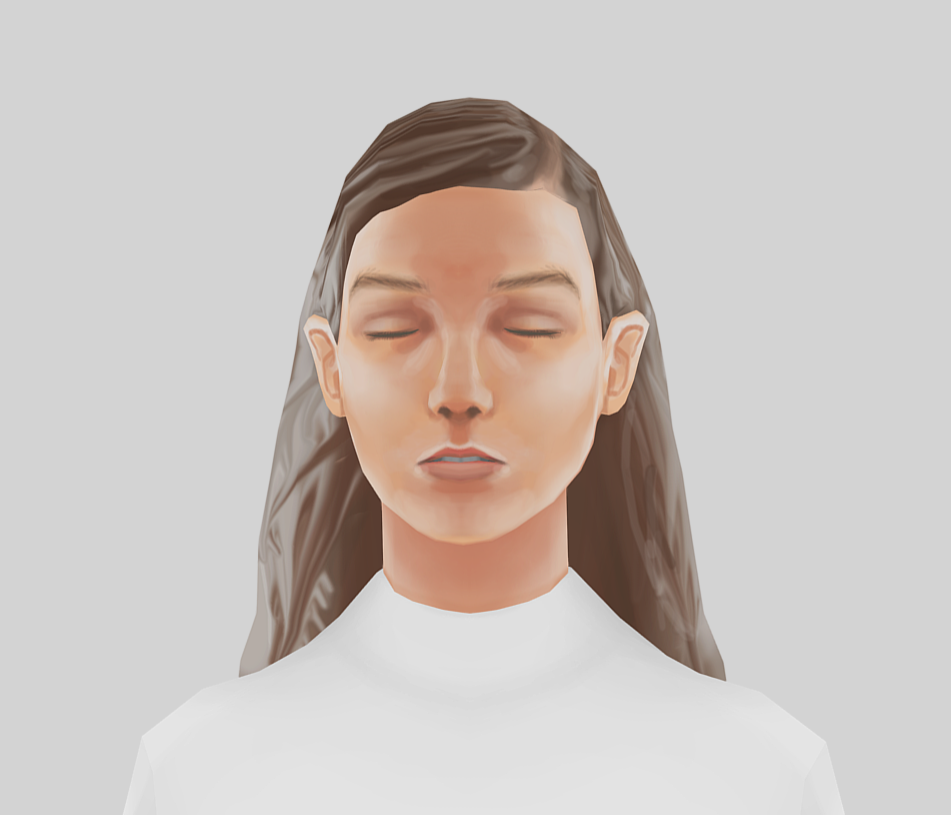
- The hair is just brush strokes of light gray and darker brown which I smudge with a strong brush for the effect you see here. It’s very simple but also efficient with the similar single color backdrop.
- As I texture I also do some changes to the model. Most notable is probably that the eyes are a bit more slanted.
3. “Posing”
Posing a portrait or bust model for me is simply the process of grabbing parts of the model and moving it around a little, since going through the process of rigging only the bust of a character is a waste of time. I will also often do some slight changes to the face, such as having one eye slightly more closed than the other, rotate the mouth a little and so on, just to add some extra humanity. Here is a good time to create a backup!

Before I started posing, I brightened the texture in Photoshop and did a few minor tweaks.

The pose I want isn’t anything dramatic, so I just really move the head and neck, and turn the torso a few degrees here and there. I also put the eyebrows at uneven heights.

Here’s the final result!


