Hello! I’m Laith, a concept and 3D artist who’s just finished up my studies at the University of Hertfordshire. You can follow me on ArtStation and Twitter, where I post most of my sketches. While I’ve been drawing for as long as I can remember, I’ve only been working with 3D since I started uni, so about three years now. I’m massive on anything sci-fi and take inspiration from the games I play as often as I can!
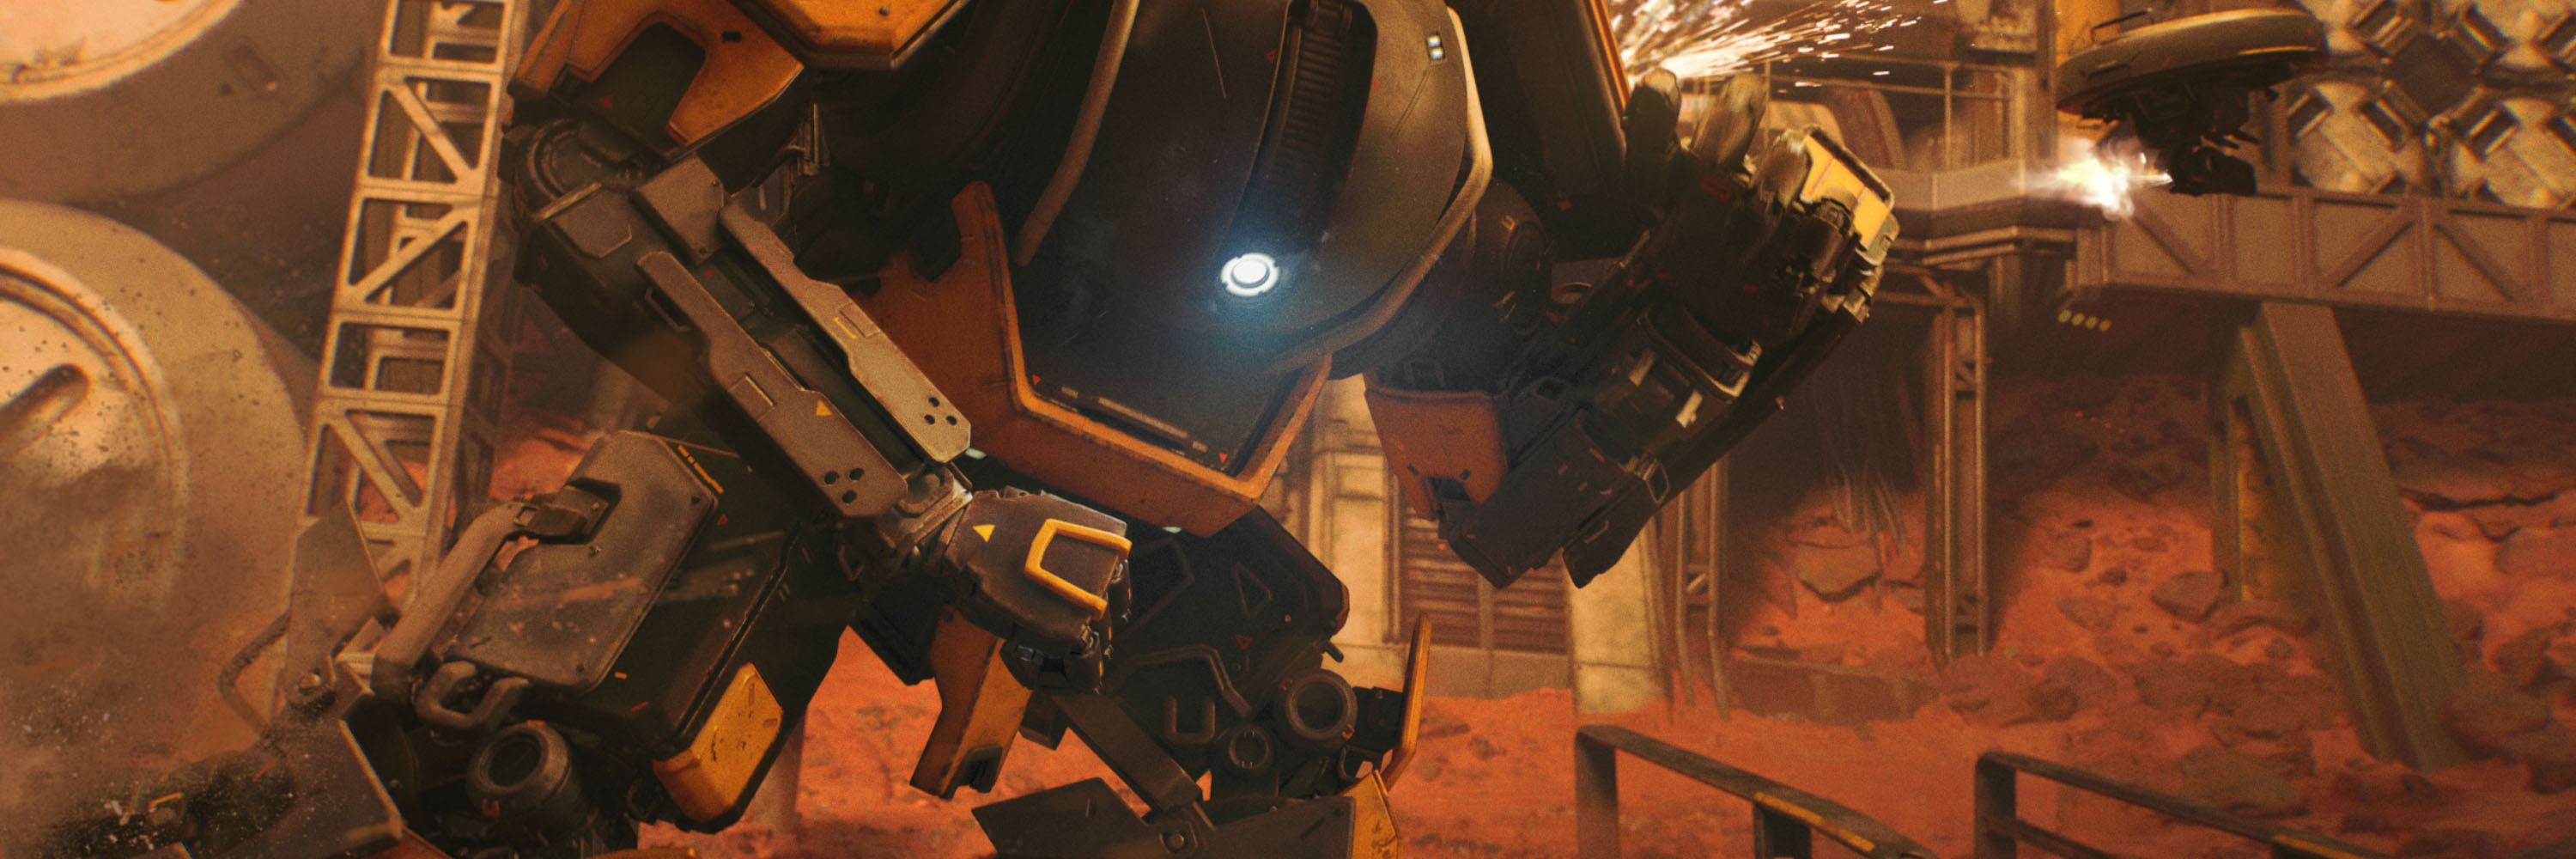
Ganymede here is a character for my final-year university project, Uplink, a sci-fi cinematic rendered in Unreal Engine 4. I took him all the way down the pipeline, starting from the initial sketches all the way to its implementation in-engine. I learned so much from this project and I’m incredibly thankful to everyone that helped me out along the way with it, and unbelievably proud of the team I got to work with. I’m super excited to share my process here!
Inspiration and concepts
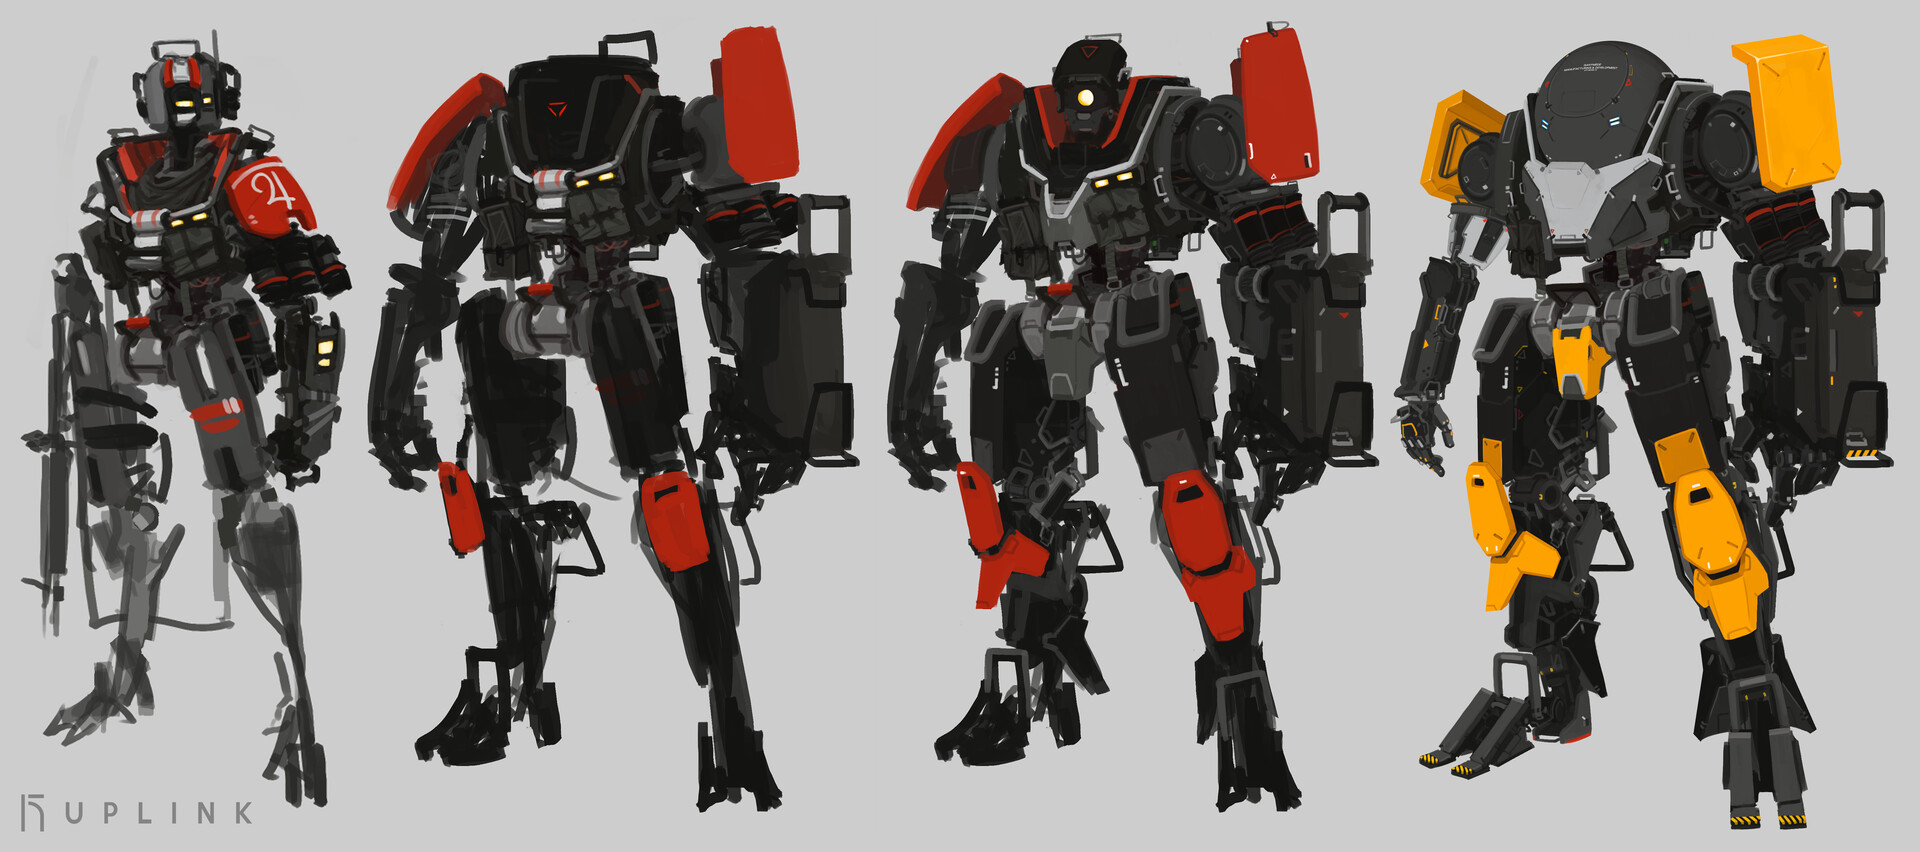
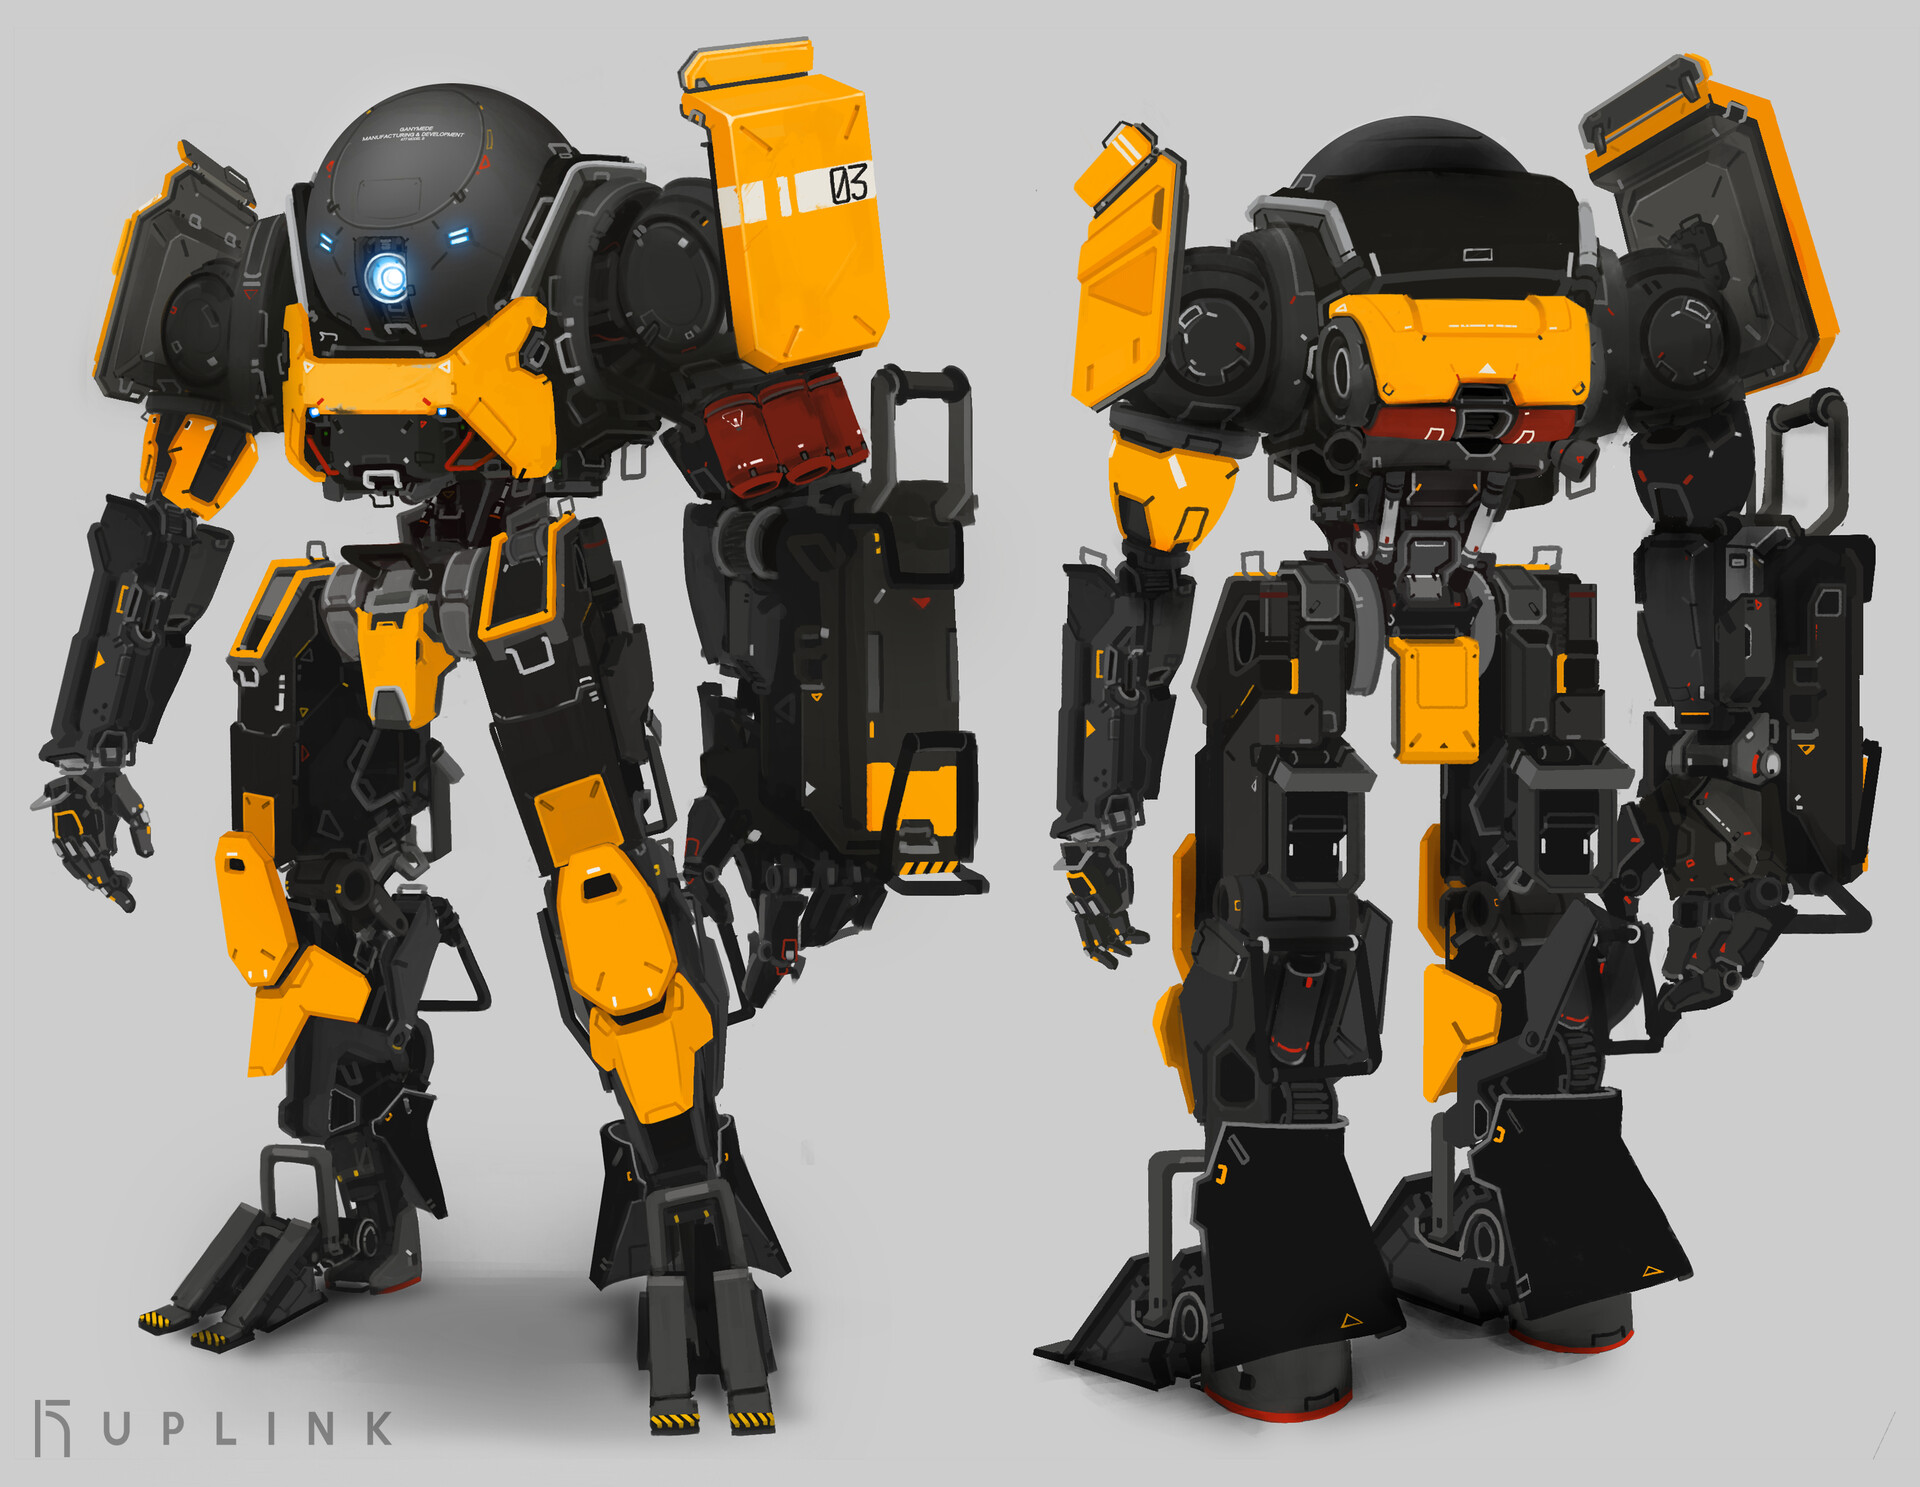
Our project changed a lot in its earliest days—Ganymede started out as a more militaristic machine, but we gradually shifted away from warfare and pushed the setting in a more utilitarian direction. We eventually settled on this construction-gear aesthetic—lots of handles, attachment points, and big yellow panels. Having functioning, exposed mechanical systems within his design was an important factor, as I wanted him to really feel like a working machine with all the pistons and motors on his body contributing to his movement. The works of Yoji Shinkawa and Heng Z on ArtStation were big influences on the mechanical design route I went down, as were the designs of the Titanfall series. I used Photoshop for the majority of this concept work, with a few aspects done in Procreate so I could work while on the move.
I had a lot of fun bouncing ideas off the rest of my team to develop his look, especially in regards to designing his head to make it more expressive. I was initially set on this version solidly integrated with the head, but eventually moved to a free-floating sphere design that allowed the character to move around a bit more.
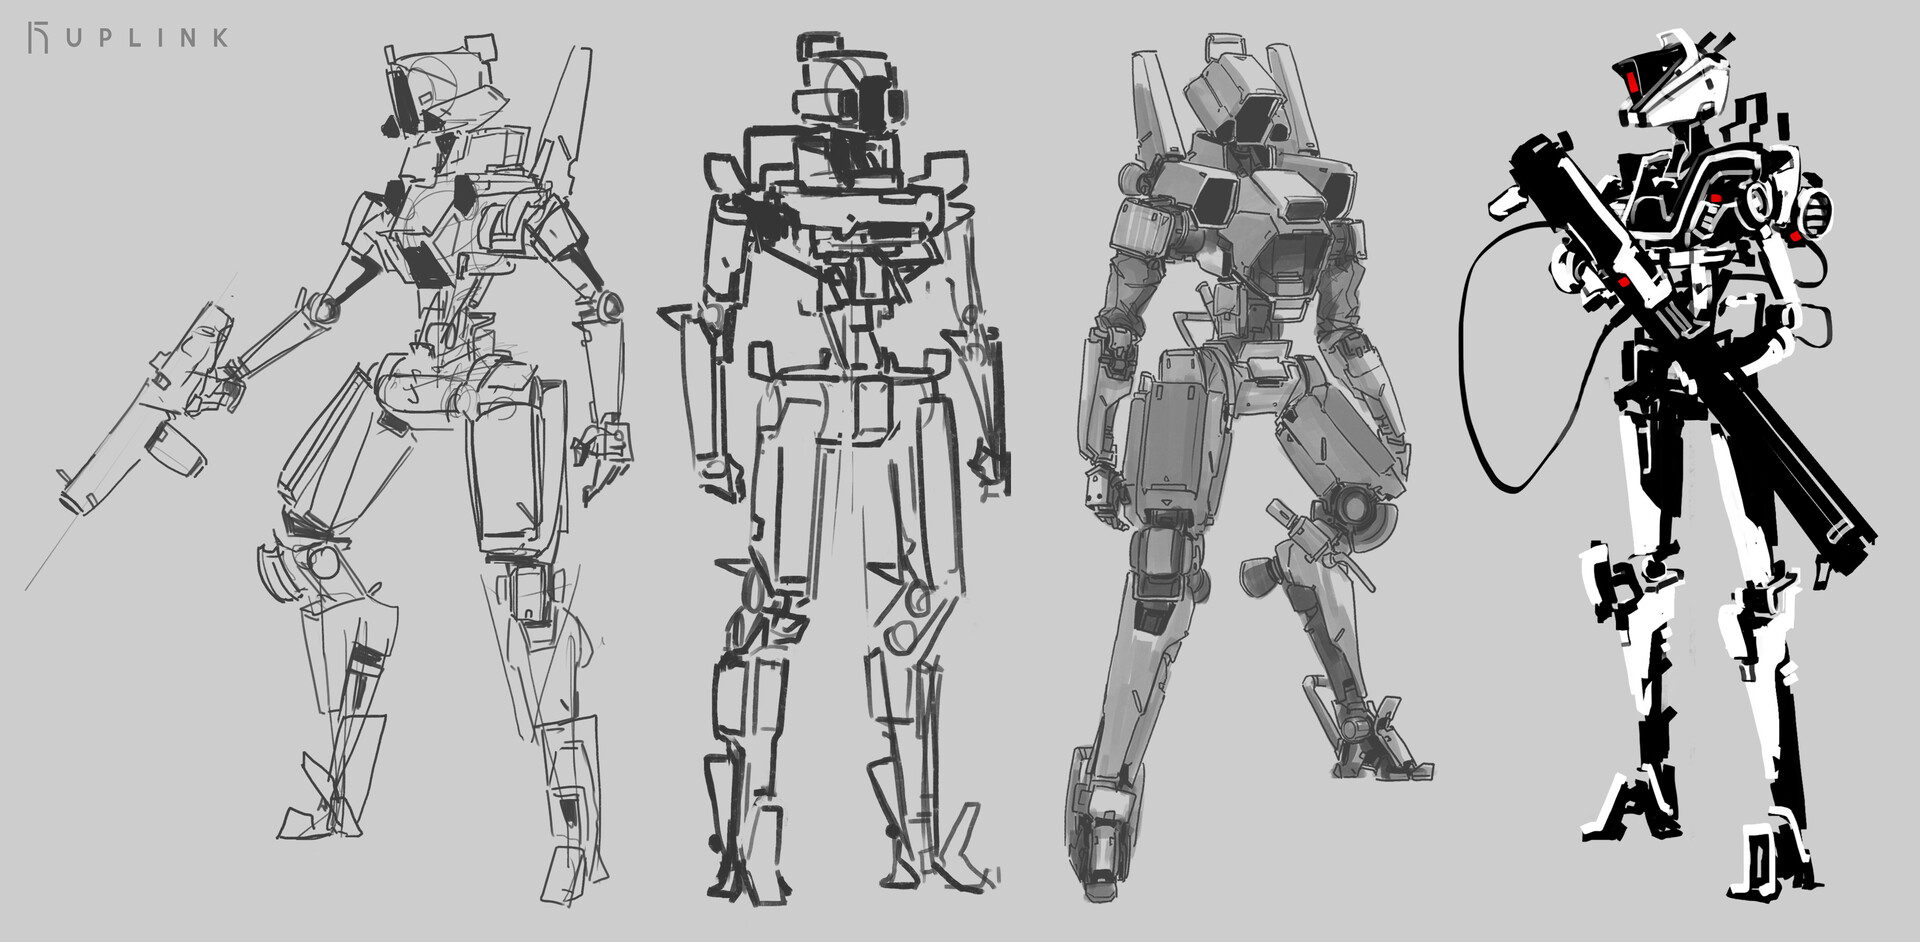
While working on his design, I also produced a number of other sketches to explore the mechanical aesthetic of this setting and establish some common shapes and components that could be shared across multiple robot designs so that they’d seem to have been manufactured by the same company.
His final appearance features more yellow than in the concept and some pieces were changed around to be less like military armour plating and more like a functional piece of construction equipment. I also really pushed the blue eye-on-a-rail look.
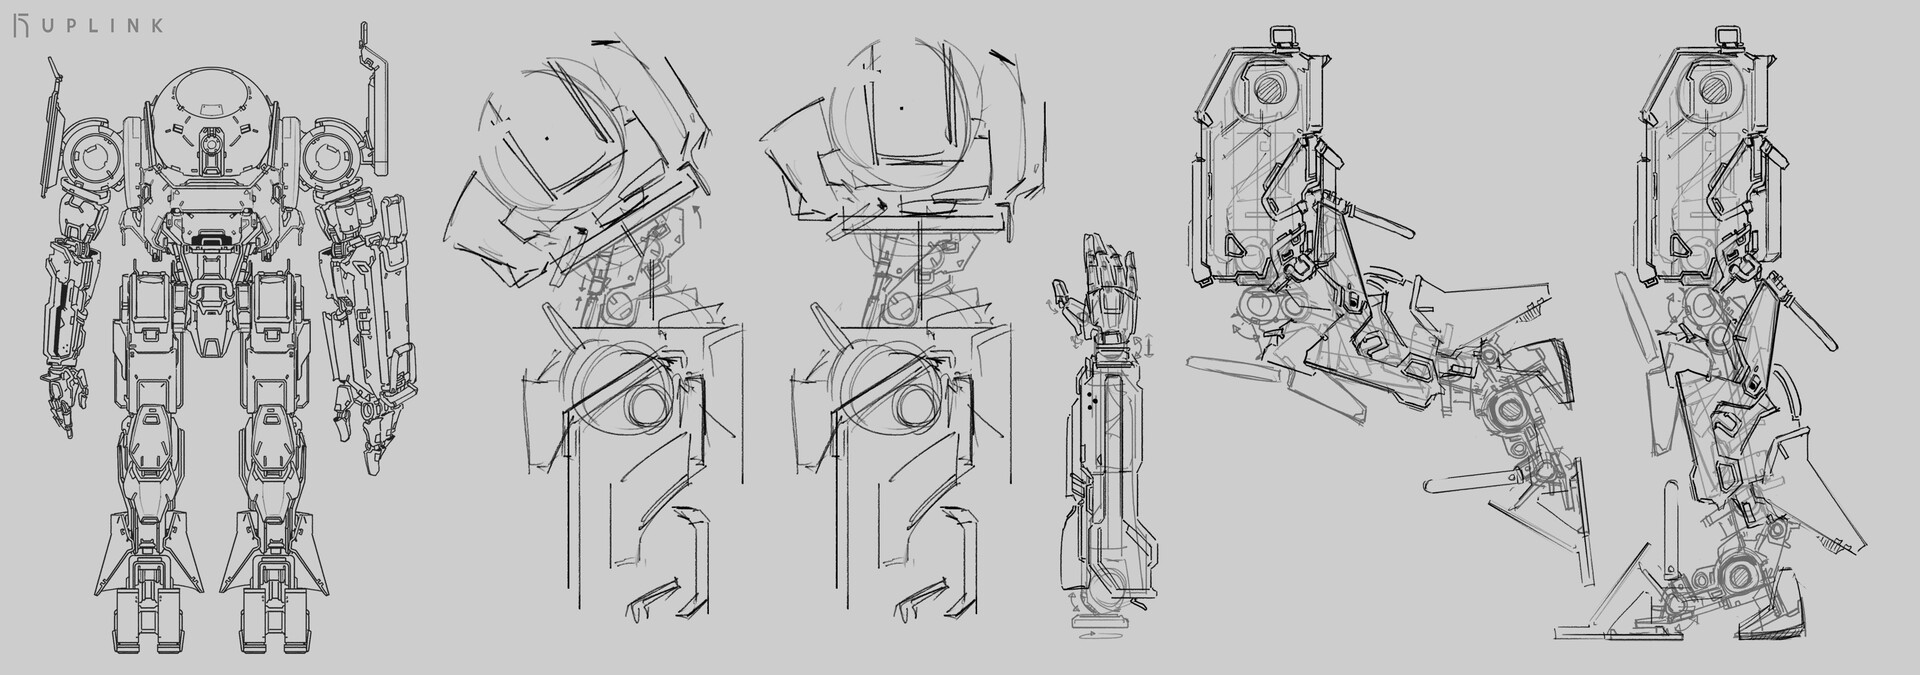
With his final design in place, I made a few sketches that I could use as additional reference in modeling, and that would allow me to understand how some mechanical systems properly worked.
Proxy mesh & rigging
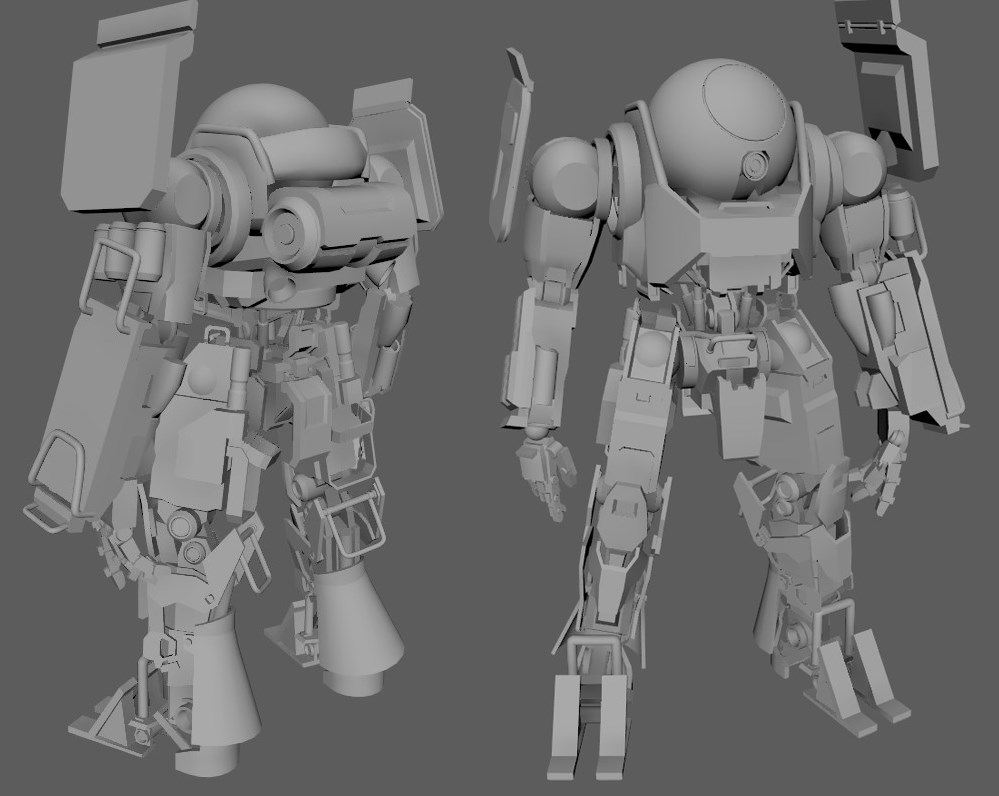
With the concept work out of the way, I moved on to building a basic proxy mesh that I could rig and send off to our animation team. While this proxy lacked any detail, it served to establish the shapes and forms of the character’s moving parts so that animations would continue to function with an updated version of the mesh later down the pipeline. I did all of this modeling and rigging work in Maya 2018.
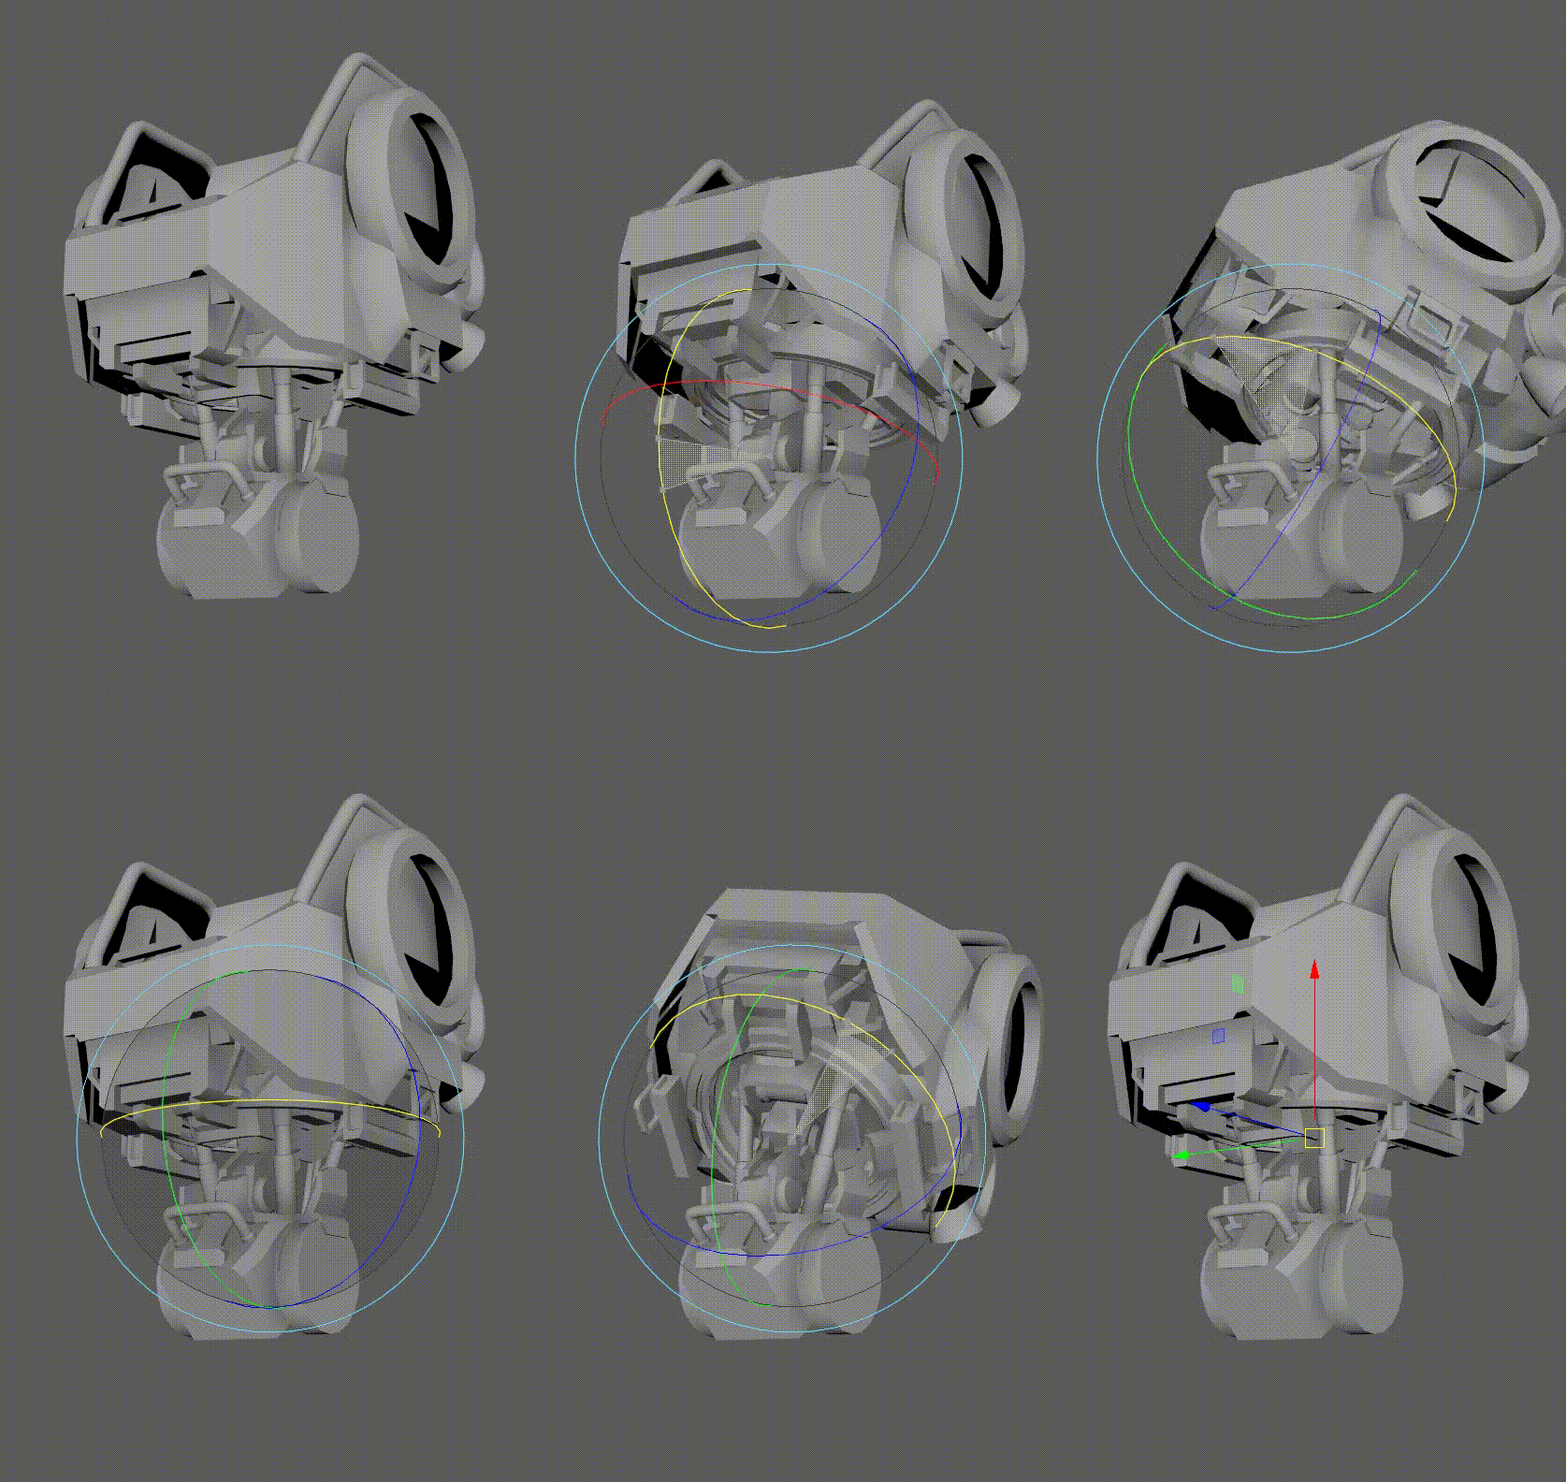
While I wanted to give the animators plenty of control over his mechanical aspects, I also wanted to ensure that the rig could handle the hydraulic systems automatically. The pistons in his torso and shoulders are each composed of two meshes, each parented to locators attached to the two components that the pistons connect, aim-constrained to each other so that they will stay connected.
Some of the bracing around the legs is also set up to move automatically as the leg bends without an animator doing it themselves—just a simple driven key. The rig also has full foot rolls, finger curls, FK/IK switching, and space switching for the arms and head. You can see a full breakdown of the rig’s capabilities here:
Modeling
I started modeling from the head down, and created lowpoly variants of each mesh as I went along so I didn’t leave so much of it to pile up at the end.
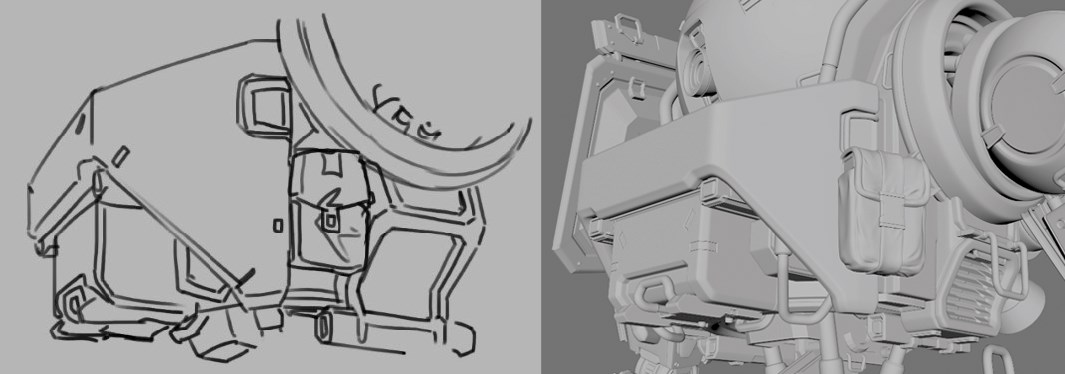
While our project was being put together in UE4, we were aiming for cinematic quality rather than in-game, so I could be a little more generous with polycount than I would otherwise, to ensure that as much of the modeled detail was retained in-engine. For certain areas that weren’t clear in the concept art I created, I produced additional sketches to help figure out how certain shapes could be fit together.
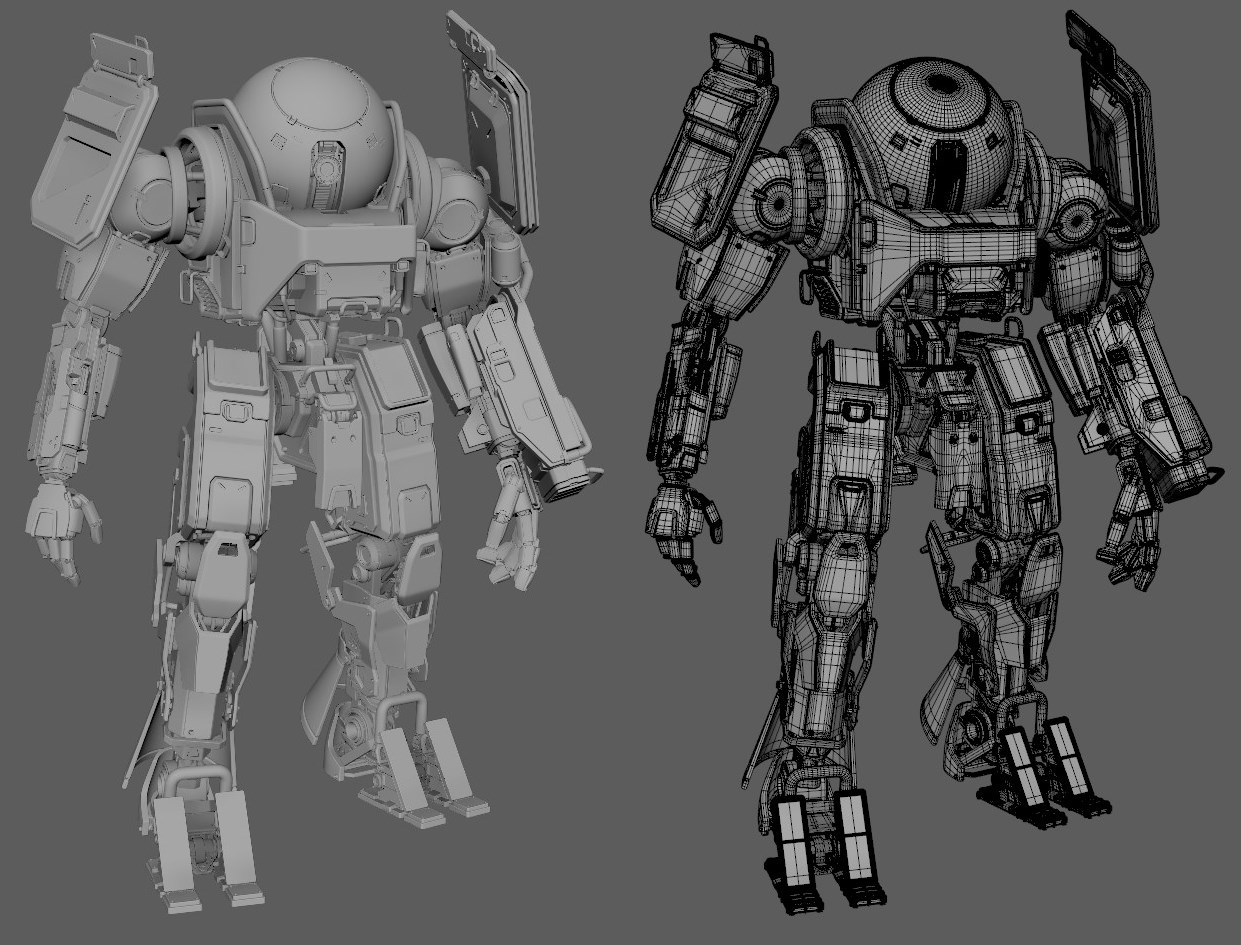
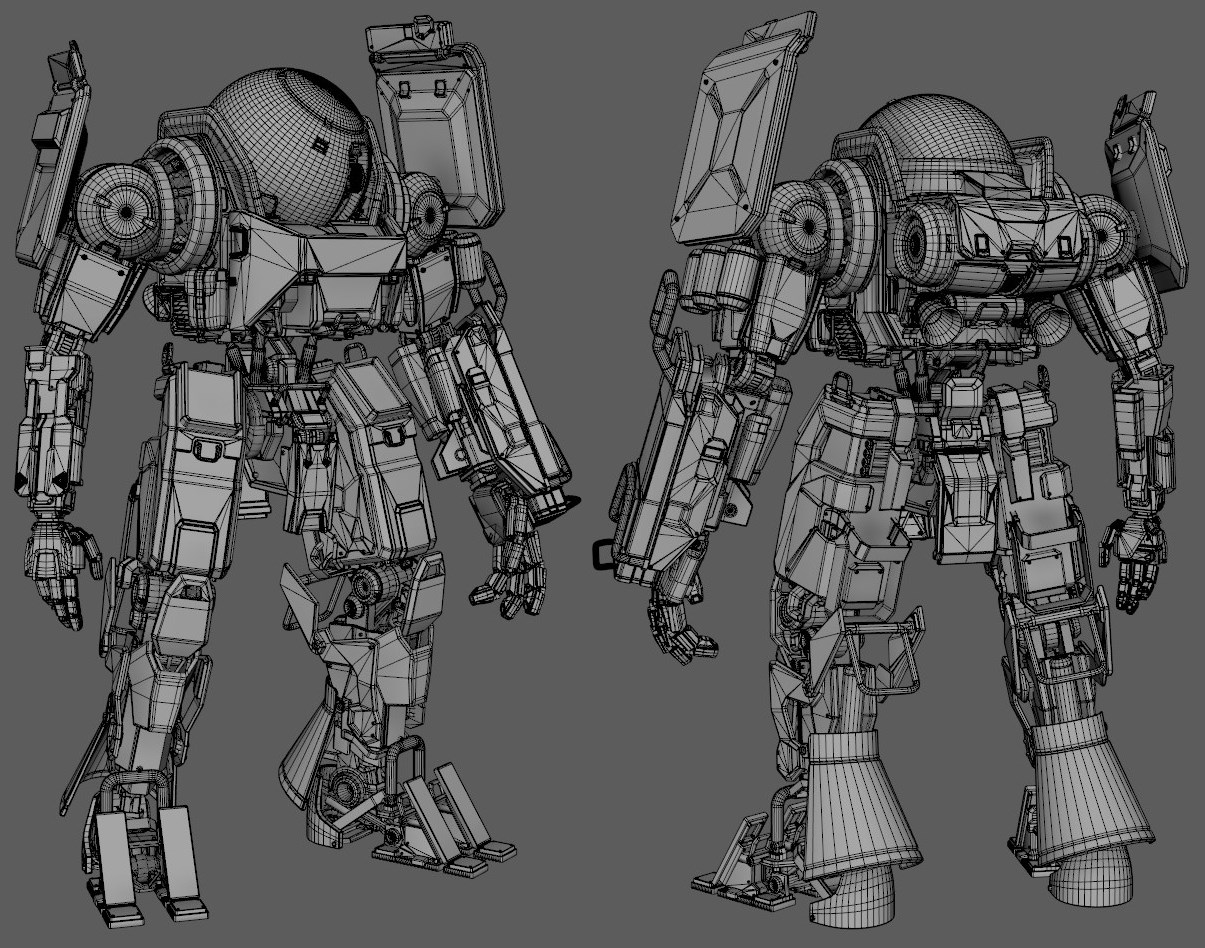
While I tried to retain proper subdiv topology across the highpoly, since all it would ultimately be used for was baking, I could afford to have more stretched and warped edge flow in areas without it being a problem—as long as it didn’t cause bumps in the geometry. I used ZBrush for a handful of elements, such as the pouches on his chest, but the bulk of the work was done fully in Maya. A lot of the modeling time was spent filling in holes in the design so they all seemed to fit together correctly. I was also able to reuse a number of parts across the mesh to speed things up a bit, like bolts, screws, motors, and pistons.
Optimisation and baking
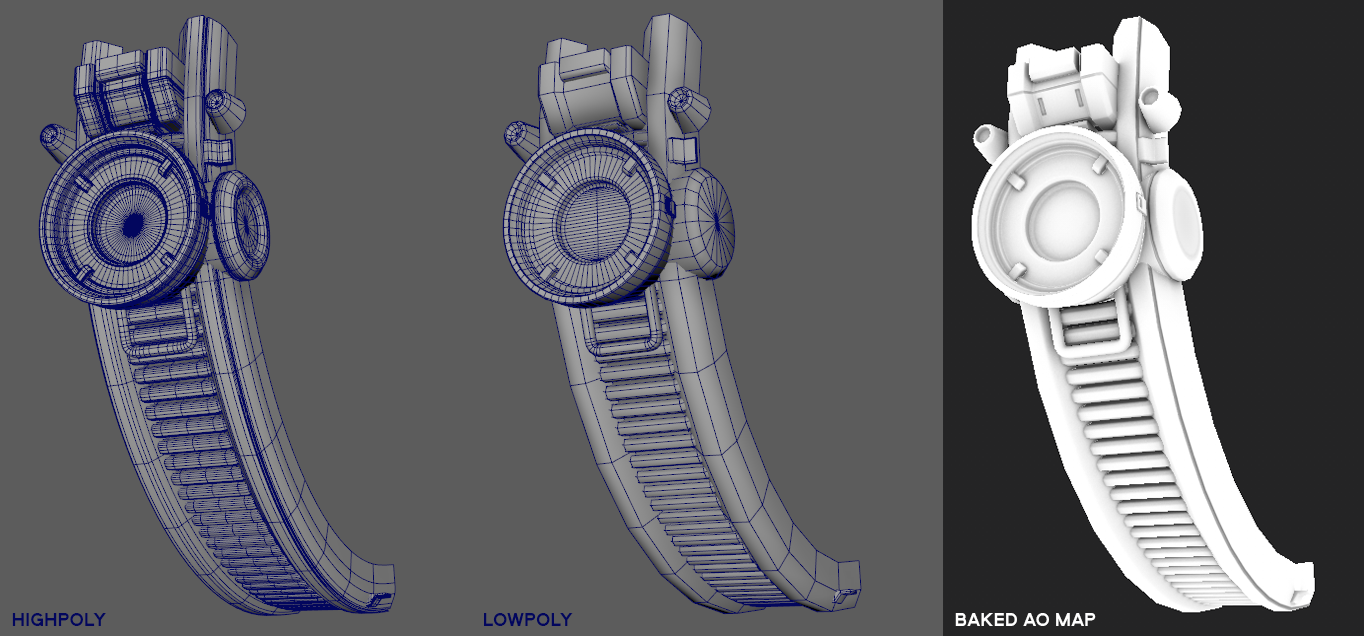
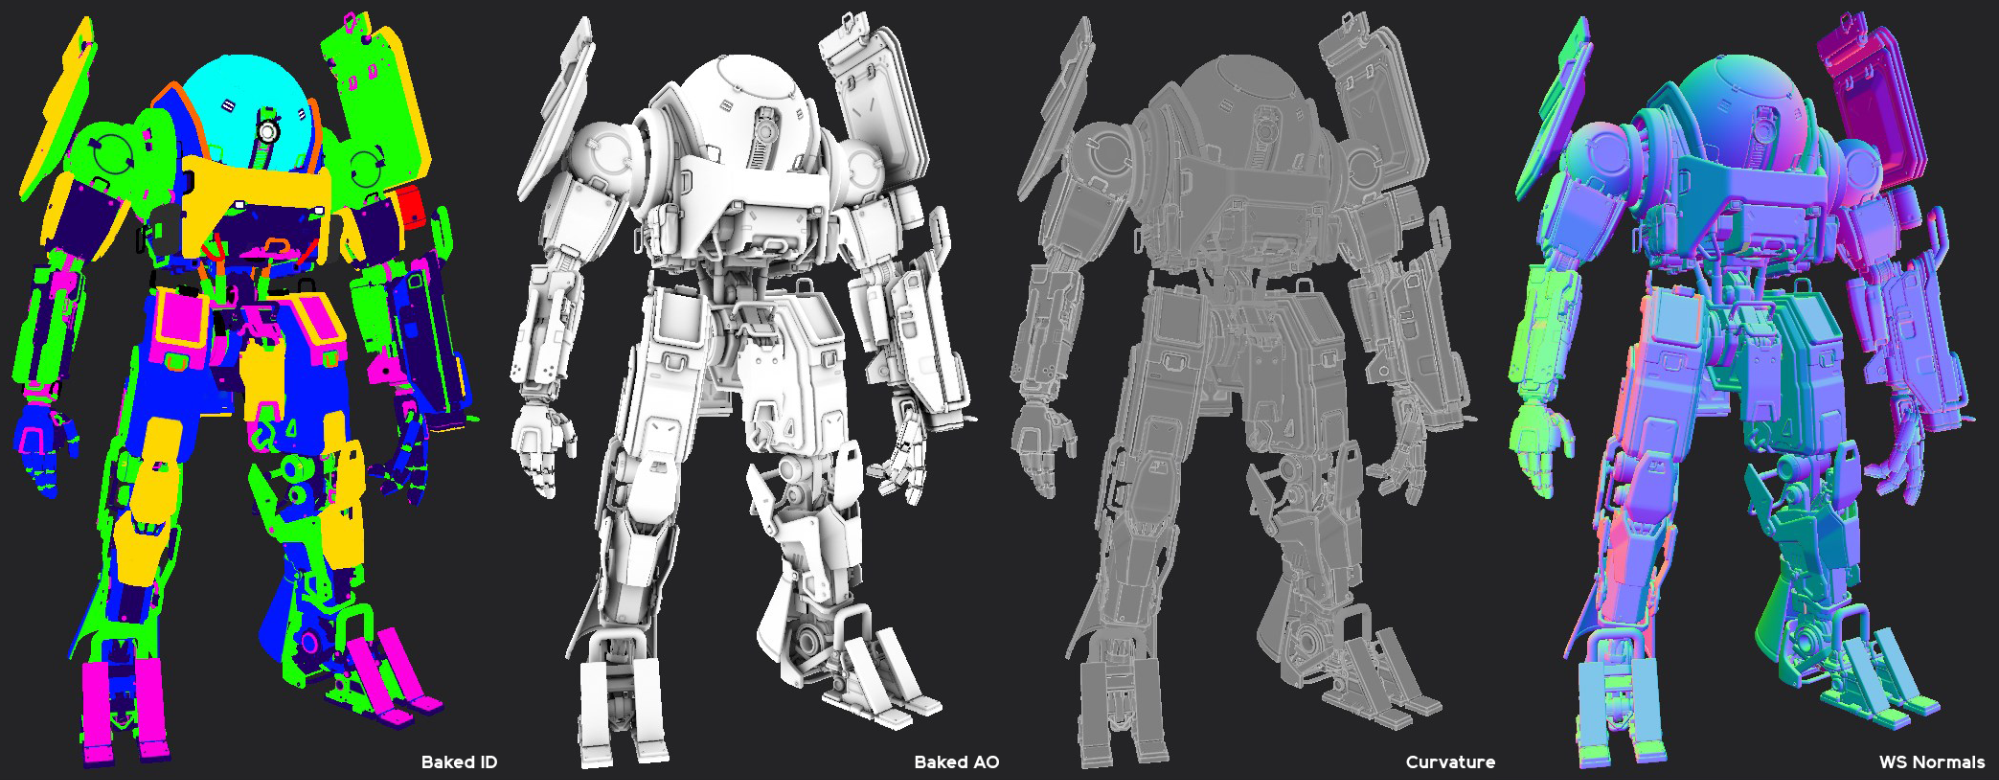
Once the highpoly was completed, I issued each mesh a material colour to form an ID map to speed up the texturing process later down the line, and finalised all the low-poly meshes. Due to time constraints, I couldn’t spend as long as I wanted on really optimising the model, but I did cut the polycount down from over a million to just under 350k.
He’s split into four 4K maps—one for the head, one for the torso, one for the arms, and one for the legs. Each mesh on the high and the low-poly were namespaced for baking in Substance Painter, so there wasn’t any map bleed between parts. When I finished each major section, I ran a baking test to make sure I wouldn’t end up with a load of baking issues to fix at the end of the pipeline. I was lucky enough that Substance released experimental automatic UV unwrapping, which worked surprisingly well, saved me a lot of time, and let me get to texturing much faster. I used materials on the high-poly to form an ID map to save me further texturing time as my deadline was fast approaching.

Texturing
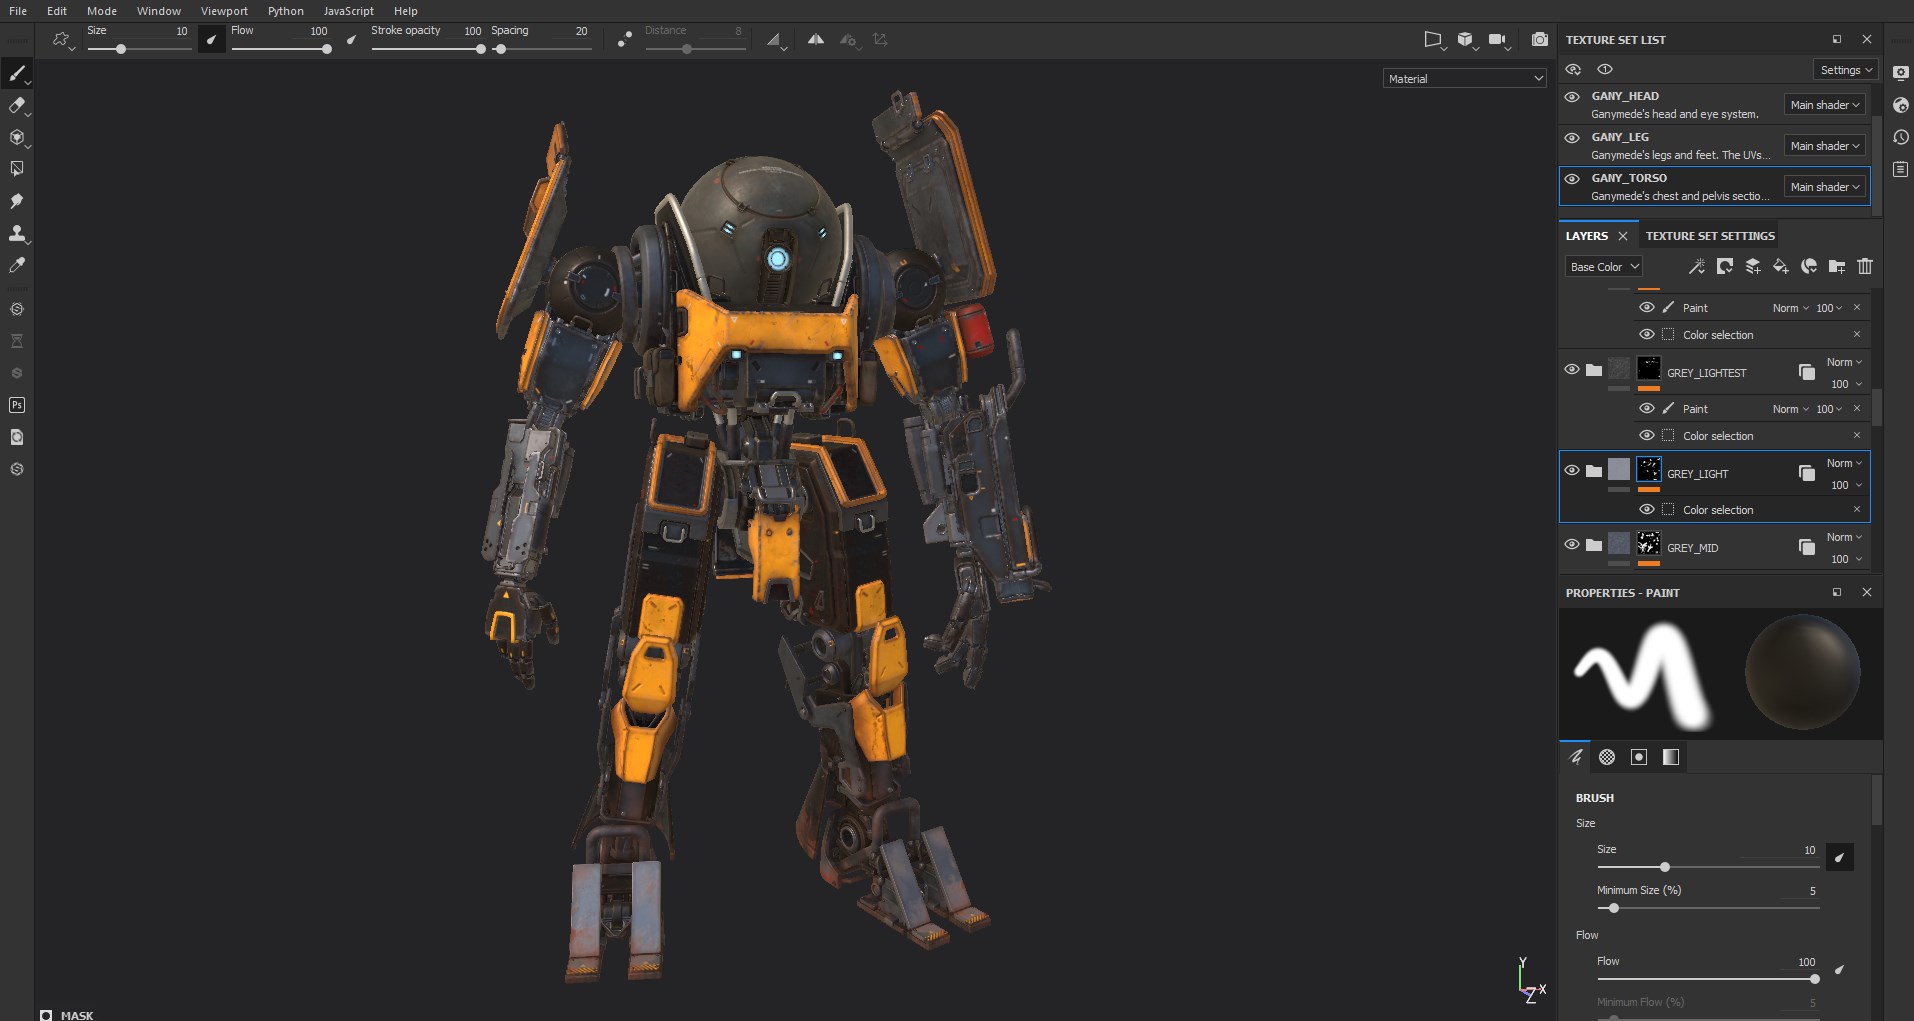
Using the ID map, I was able to speed up my workflow by only creating material layers on one texture set, and then instancing them across the others so they would update automatically. I colour-picked from my original concept to establish base colours, then gradually added layers of grime and wear. One of my favourite aspects here was adding in all the warning labels and extra normal details—they really help sell that idea of it being a useful but potentially dangerous machine. I created a number of custom decals and alphas for these, which was a lot of fun!
UE4 implementation
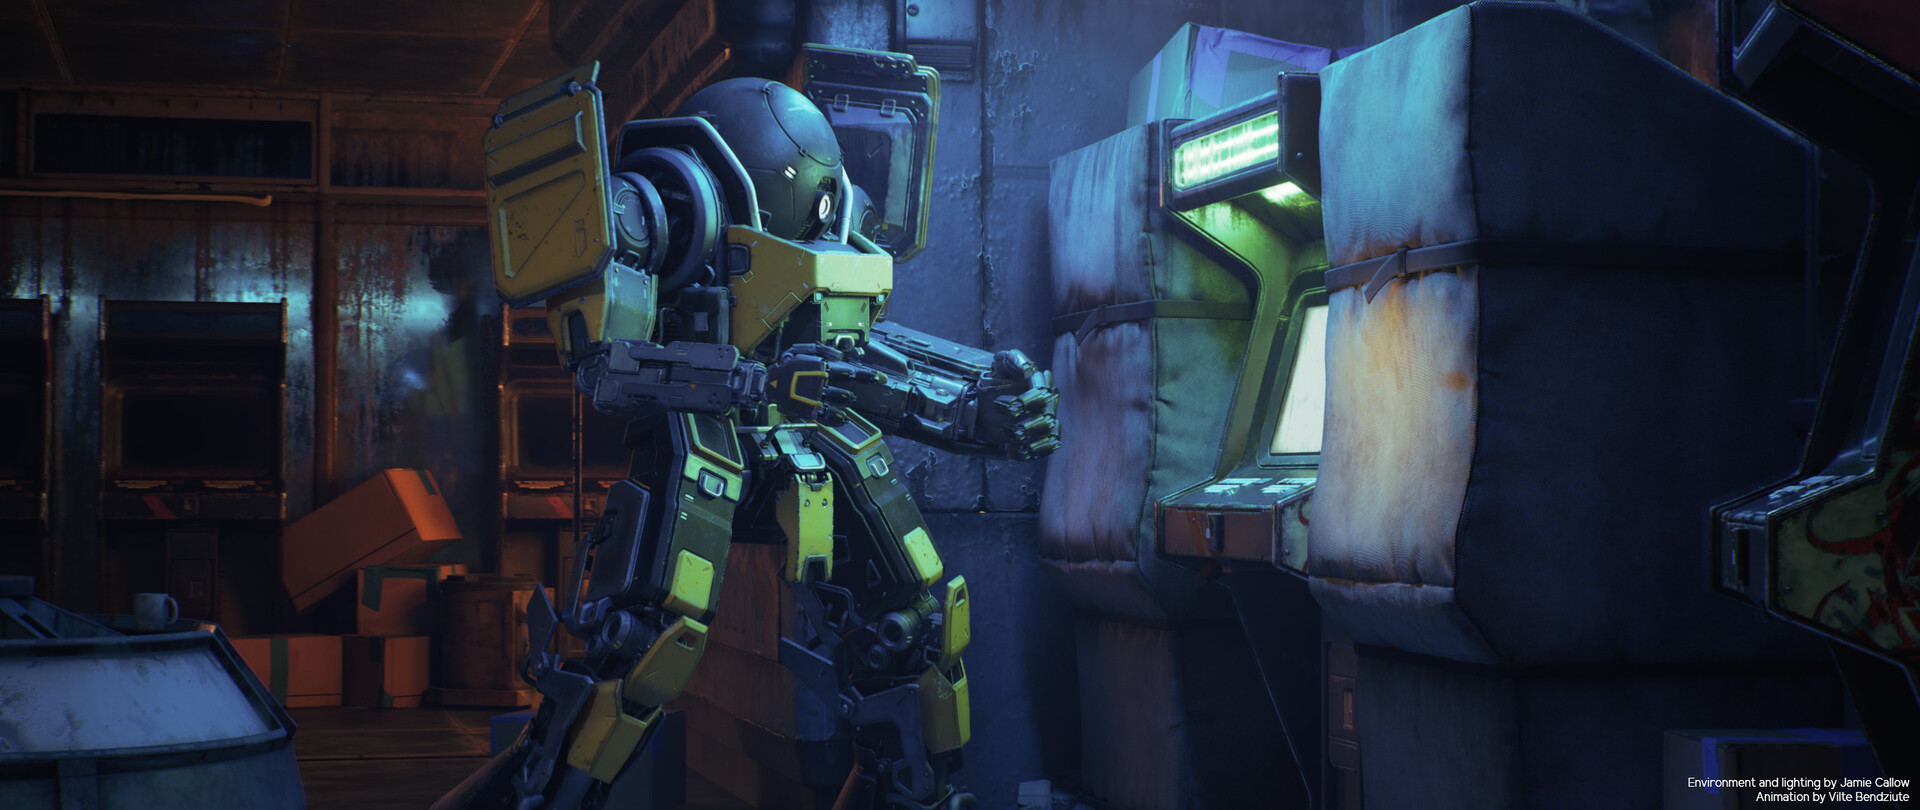
I exported the textures from Substance with the UE4 preset, and prepared the low-poly mesh for skinning to the skeleton. Since the mesh was split up for proper namespacing rather than the original rig set up, I had to separate and re-merge the components into a setup that matched how the original proxy mesh was skinned. The process was tedious, but didn’t take very long, and meant that very little work was required to retarget our animations made using that rig onto this final mesh.
Showcase Renders
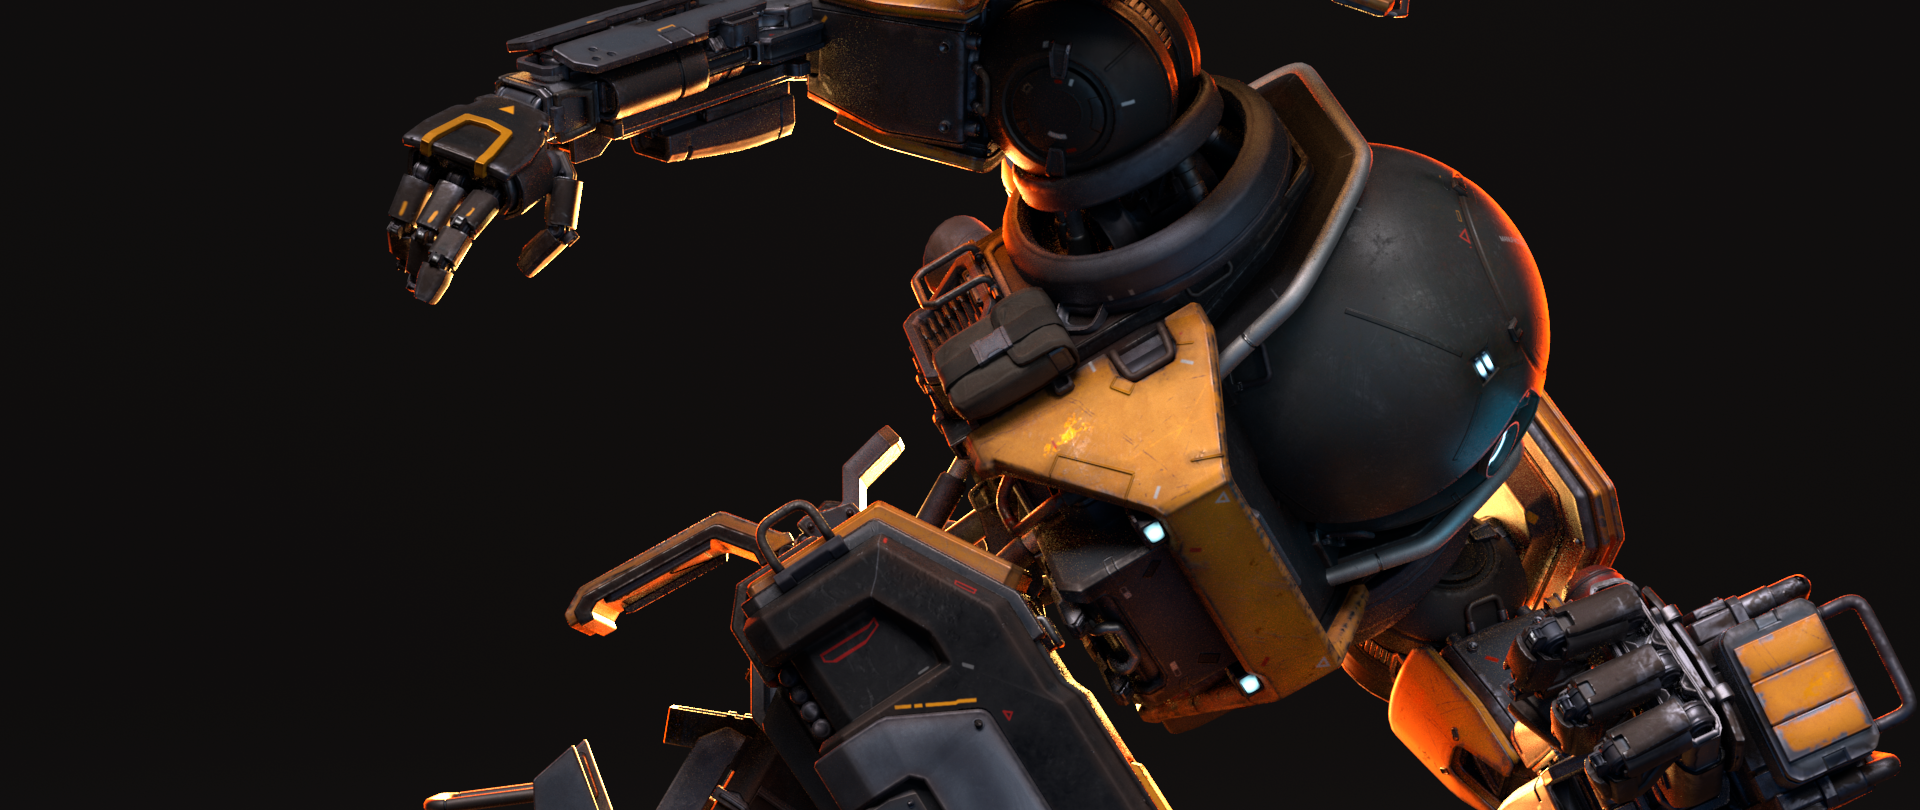
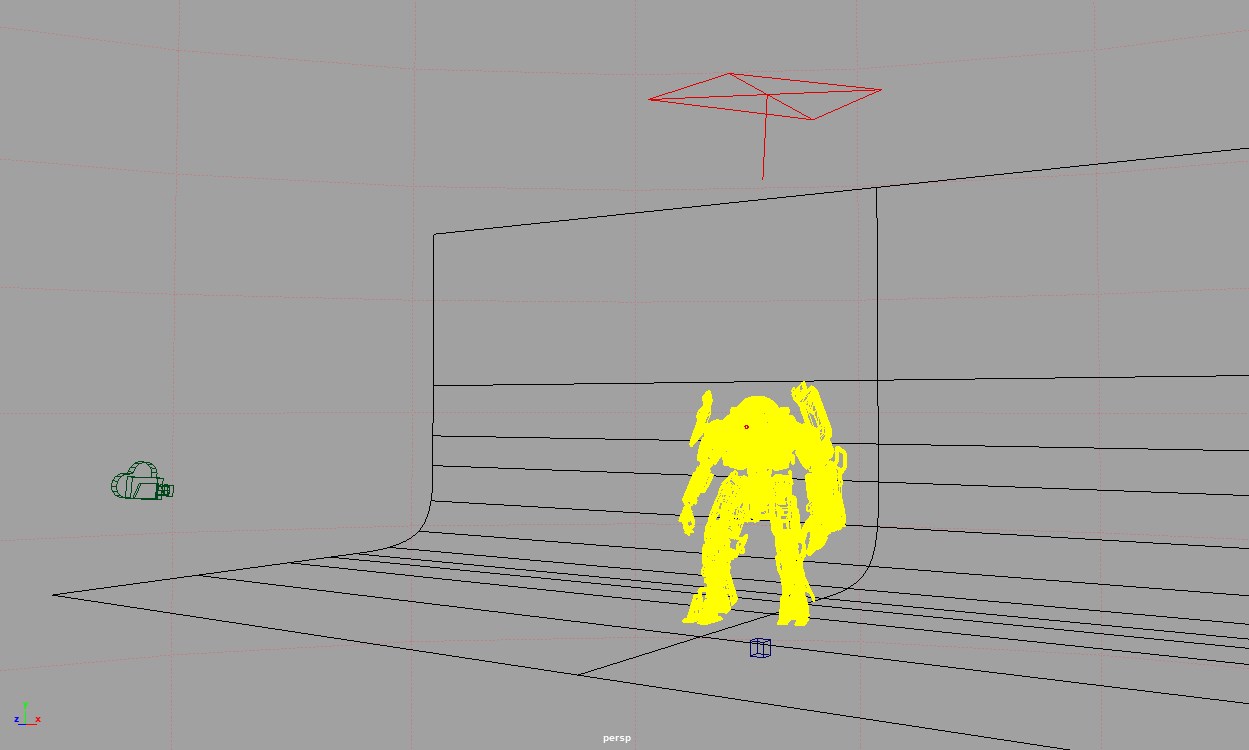
As well as screenshots from UE4, I also wanted to do some fancy full renders using Arnold for showcasing him. I used a nice workshop HDRI and a simple curved plane that serves as both the floor and background. I did renders for both the textured low-poly and the original high-poly, all of which are available to view on my ArtStation.
Sketchfab
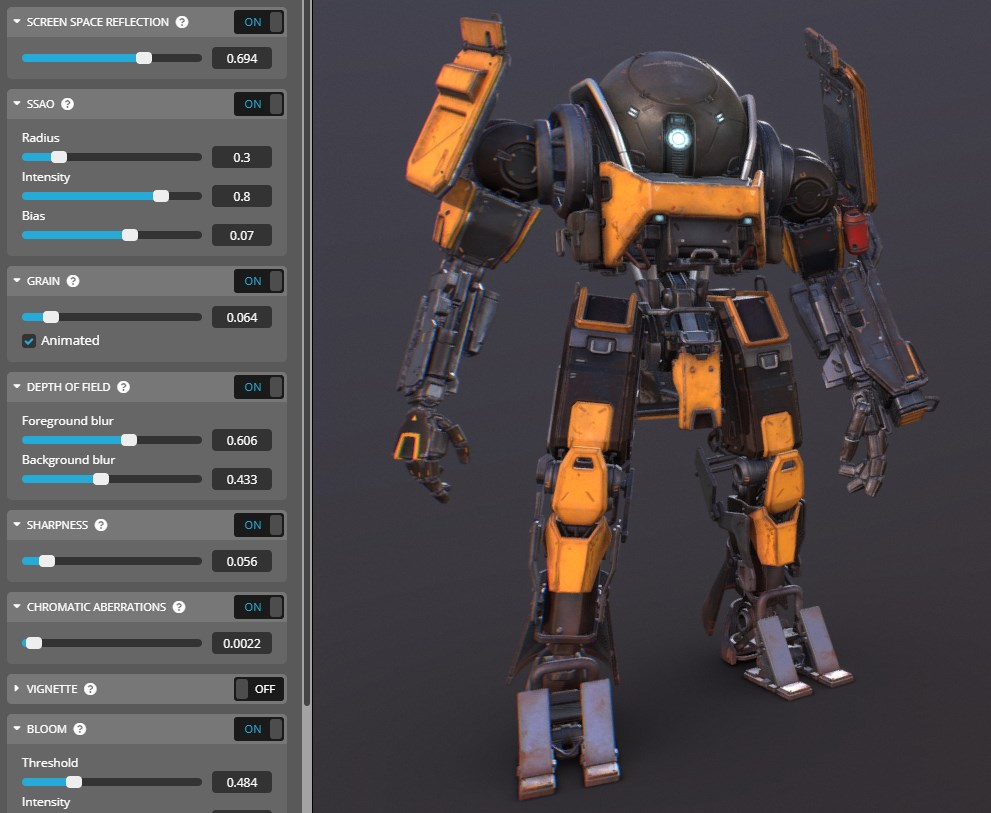
Using the re-skinned mesh, I was able to use the original animation rig to put him into a nice pose and export that for uploading to Sketchfab. Sketchfab’s editor is super nice to use—I’m especially fond of all the post-processing filters that can really emphasise his ambient occlusion. Being able to choose which lights rotate with the environment is a nice plus as well, since it lets me keep a constant rim light around him.
