In Art Spotlight, we invite Sketchfab artists to talk about one of their designs.
Hi my name is Dawid. I’m a self taught artist from Poland. Currently not working in any art related job, but I devote all my free time to doing it. I love to study art and getting better at it.
You can find more of my stuff at artstation, deviantart, and my web sketchbook for those who love rough sketches and studies.
ME AND 3D ART
Before I discovered Sketchfab I was doing only 2D stuff. One day I was surfing web and I discover this model:
I was amazed. Watching 3D in real time on web was at this time for me something completely new. I went directly to the Sketchfab site and completely fell in love with it. I decided there and then that I had to learn 3D.
It wasn’t as hard as I was expecting. Maybe because I have big 2D experience.
I experiment with all kinds of software like Blender, MODO, Maya, ZBrush, 3D-Coat, and finally decided that ZBrush and 3D-Coat are my tools for the thing that I want to achieve from the beginning, with 3D models that look like 2D art.
Today I want to show you my process of creating this type of 3D model!
GLADIATOR
For me it always starts with some kind of drawing or sketch.
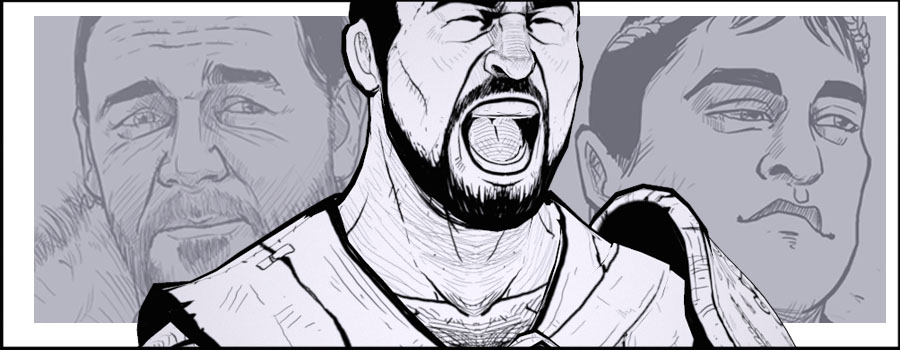
As I recently re-watched Ridley Scott’s film “Gladiator”, I remembered that I once did a sketch inspired by this movie.

I decided to re-create this in 3D. I sculpt basic model in zbrush using dynamesh and basic brushes like: move, standard brush, clay buildup, and dam standard.

At this stage I’m not interested in details but basic forms and gesture. Details will be painted in texture later. I use my knowledge of anatomy to emphasize character even more.
I use simple and effective composition to guide the viewer’s eye.

After creating my basic model I switch to 3D-Coat to do almost rest of the work.
I rush through retopology and UVs because I know that this model will not be animated, and the texture will be drawn in 3D. I enlarged face UV to have sharper details there.

I set light to flat shade and turned on wireframe mode to see form flow. I use pen pressure to have line weight control.

When I drawing textures I tried stick to some general rules.
- Don’t rely on ctrl+z! You don’t have it while sketching, why use it when modeling?
- Differences in the thickness of the lines
- Emphasizing forms with line direction
- Zoom out and watch model from every direction
- Don’t aim for perfection, be loose, and have fun!

Near the end I always try to put some kind of a “easter egg” in my models . Sometimes it is obvious (in this case it is on the shoulder pad with my funny character) but often it is hidden so it’s worth it to take a closer look.

The last step is to create outlines for the whole model to create this specific 2D look.
There are many ways to do this. You can find tutorials on Sketchfab.
Personally I use the method shown at the end of this video:
After uploading to Sketchfab I set shading to shadeless mode and face rendering to single-sided.
This is the final result:
I hope you enjoyed reading this, and learn something new.
Watch my Sketchfab profile and wait for next stylized models!
Cheers!
Graft


