About the artist
My name is Tristan, and I am a junior character artist in the AAA game industry. I work at the company Airship Images in the United Kingdom. Previously I attained first-class honours in my degree in computer games art from Solent University. Prior to that, I have simply been a lover of art my whole life! I have been making art for as long as I can remember, but it was about three years ago that I started learning 3D game art.
Creating art is my absolute favourite thing and that is why I took up a career in game art. But even with doing art all day at work I still can’t get enough of it, so I also do my own personal projects when I’m at home too! The Guardian of Overcoming project is one of these personal projects.
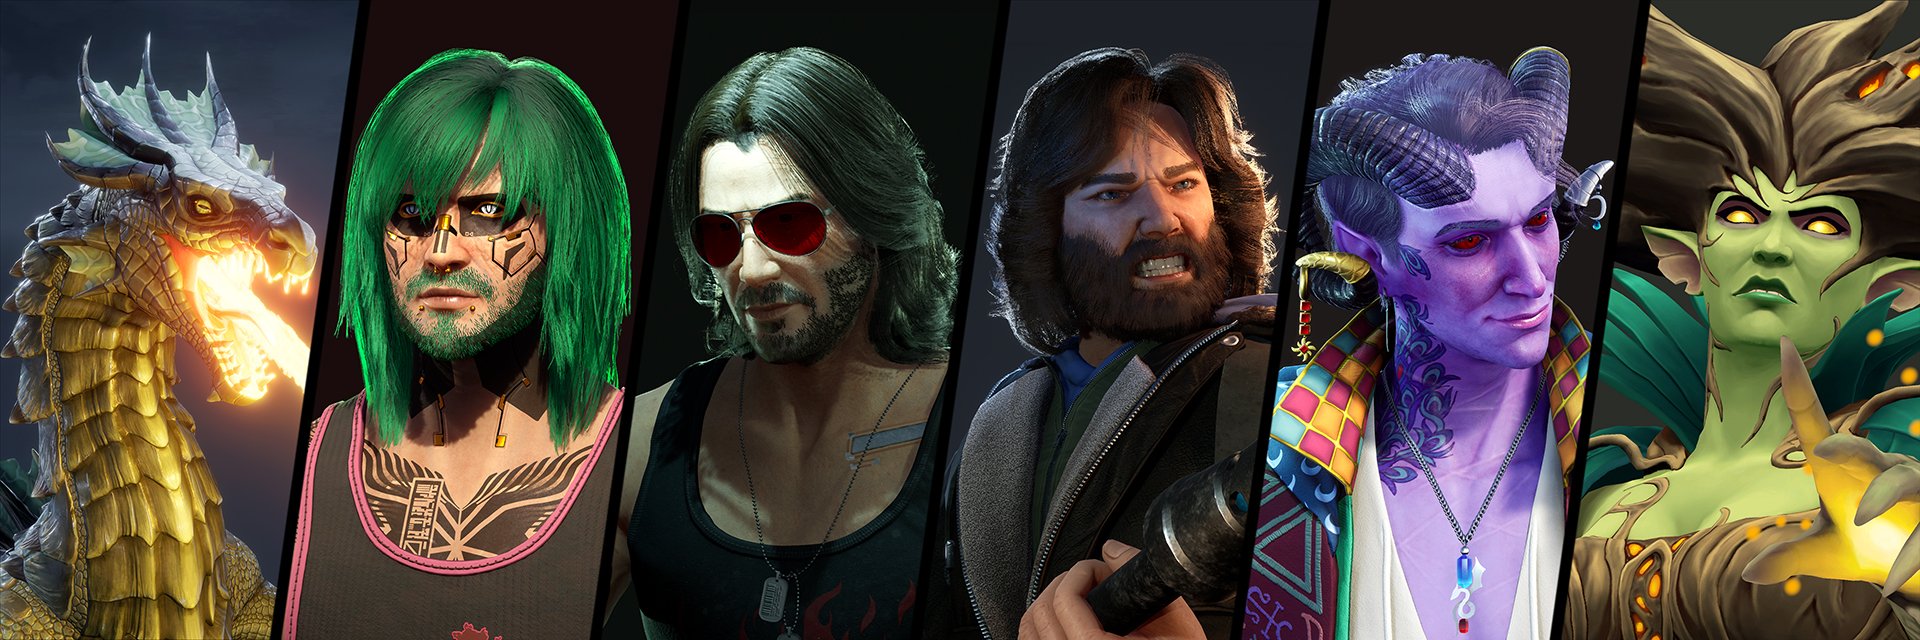
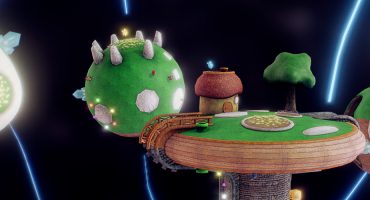
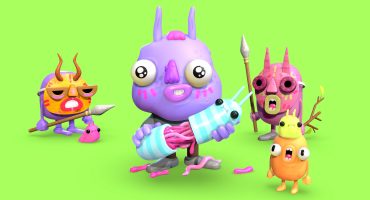
Below are some of my other projects. You can explore all these projects and more on my ArtStation, Instagram, Twitter, and of course here on Sketchfab!
Inspiration behind the project
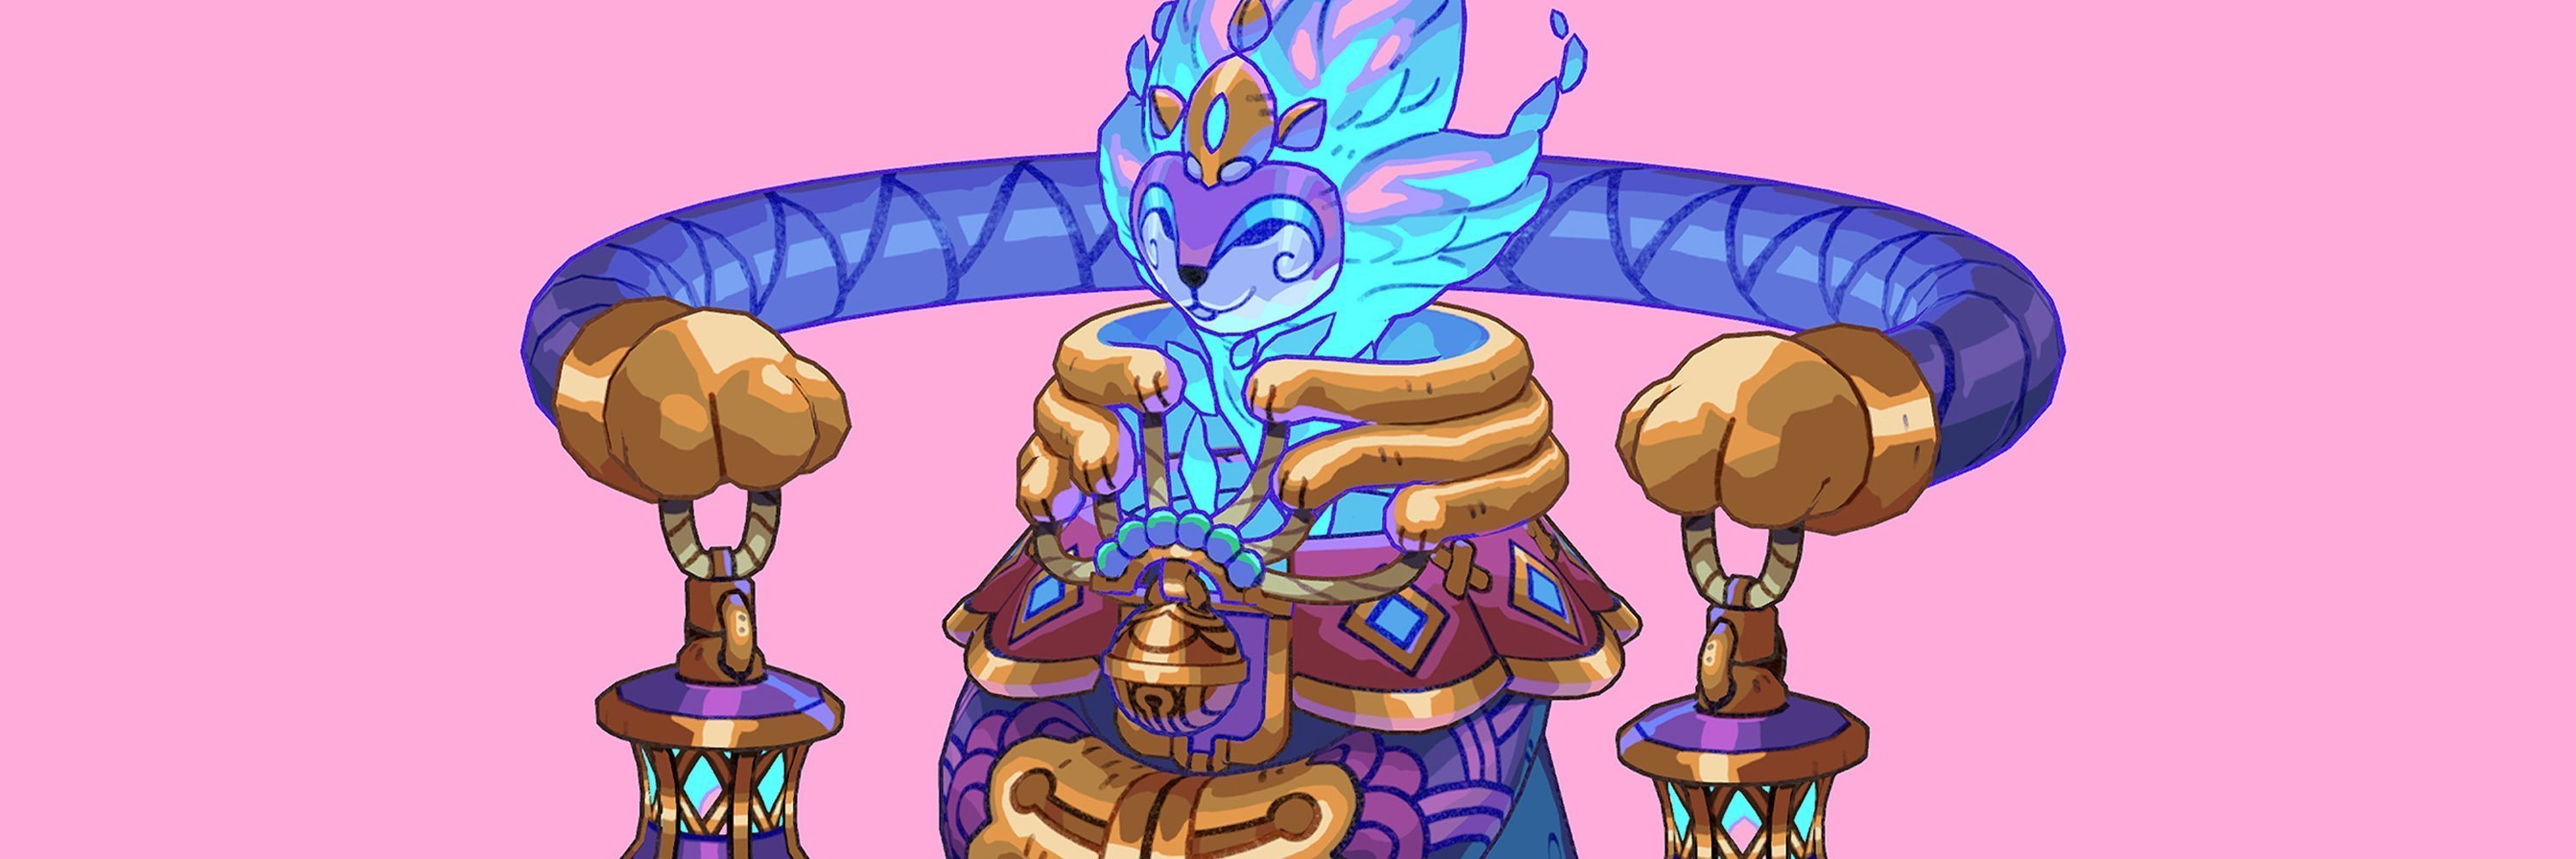
I came across the concept art for this project while browsing ArtStation. I love to browse this site because there is so much inspiration to be found—both 3D and 2D. I keep a collection of posts that inspire me and when I spot awesome concept art I am always sure to reach out to the artist to ask if they would be happy for me to turn their concept into a 3D model.
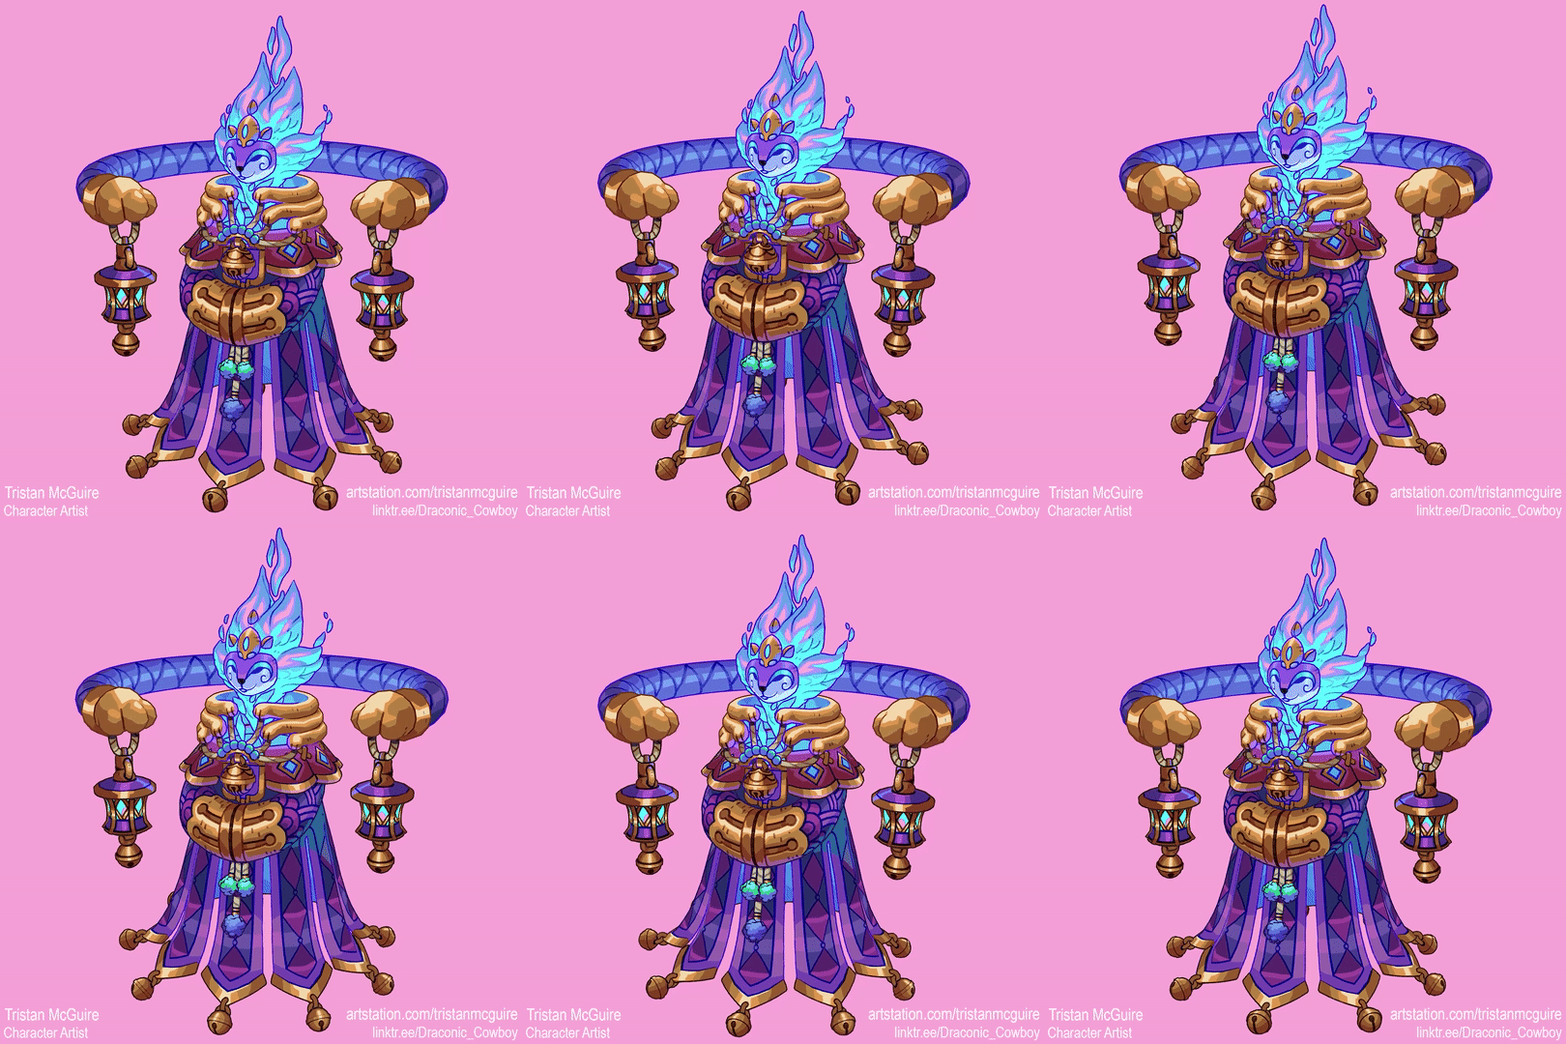
Requinoesis (Sketchfab / ArtStation / Instagram / Twitter) was a pleasure to chat with and was more than happy to give me permission to use their concept! I knew right away that my goal for this project would be to create the model in such a way that it would be rendered in the same style as the concept once it was completed. I wanted to match the brush strokes and saturated flat colours like-for-like.
The production process
Before beginning, I had to decide what tools and methodologies I would be using for the project. I decided on poly modelling using Maya to create the geometry, painting in Substance Painter for the texturing, rigging and animation also in Maya, and then presenting the model in both Unreal Engine and Sketchfab.
As a game artist I love to present my work in a game engine, but I will also often upload my models to Sketchfab as this allows the viewer to really get in there and explore the model in a way that you cannot do with just renders or videos. I love how I can embed the Sketchfab viewer into my portfolio projects, too!
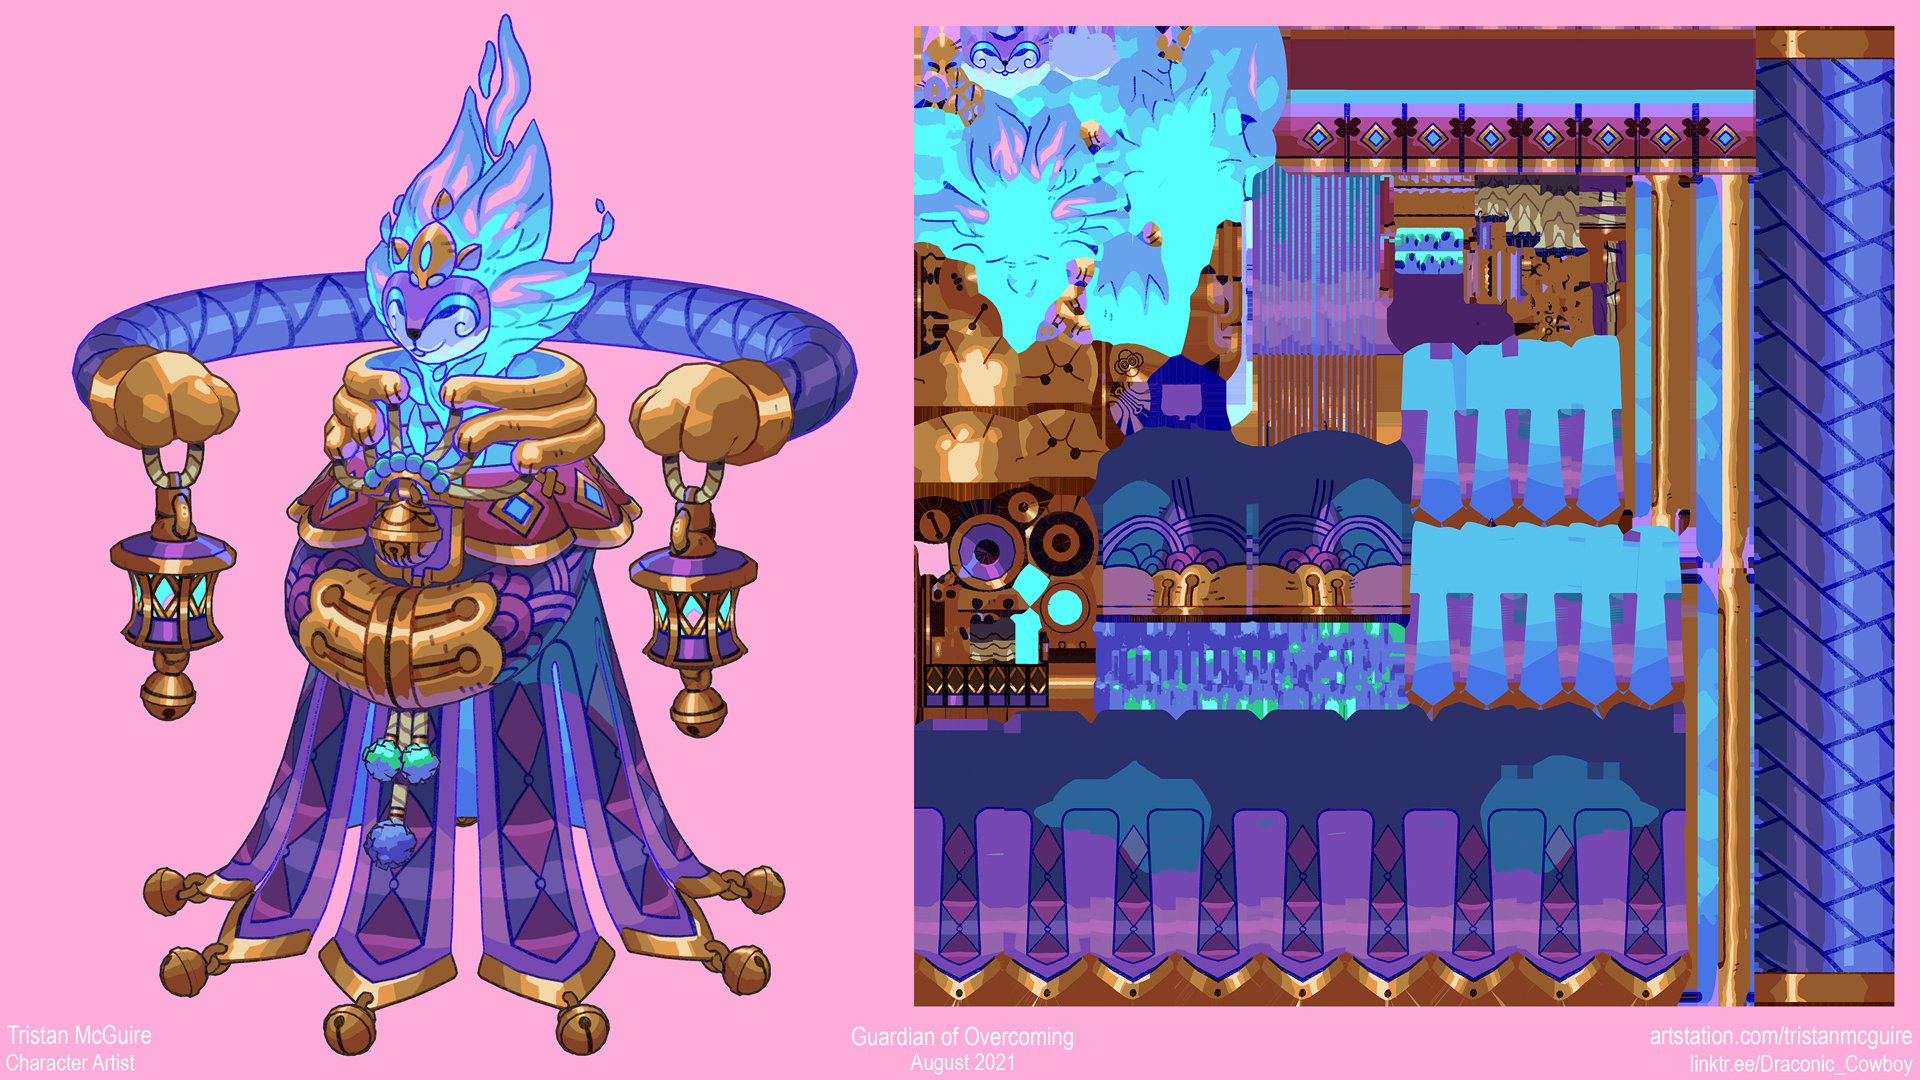
I did not want to use any complex post-processing materials or other fancy engine features to achieve the highly stylised look—I knew I wanted all of the colours to be hand-painted on and for the outlines to be a part of the geometry and not a screen-space effect.
Modelling
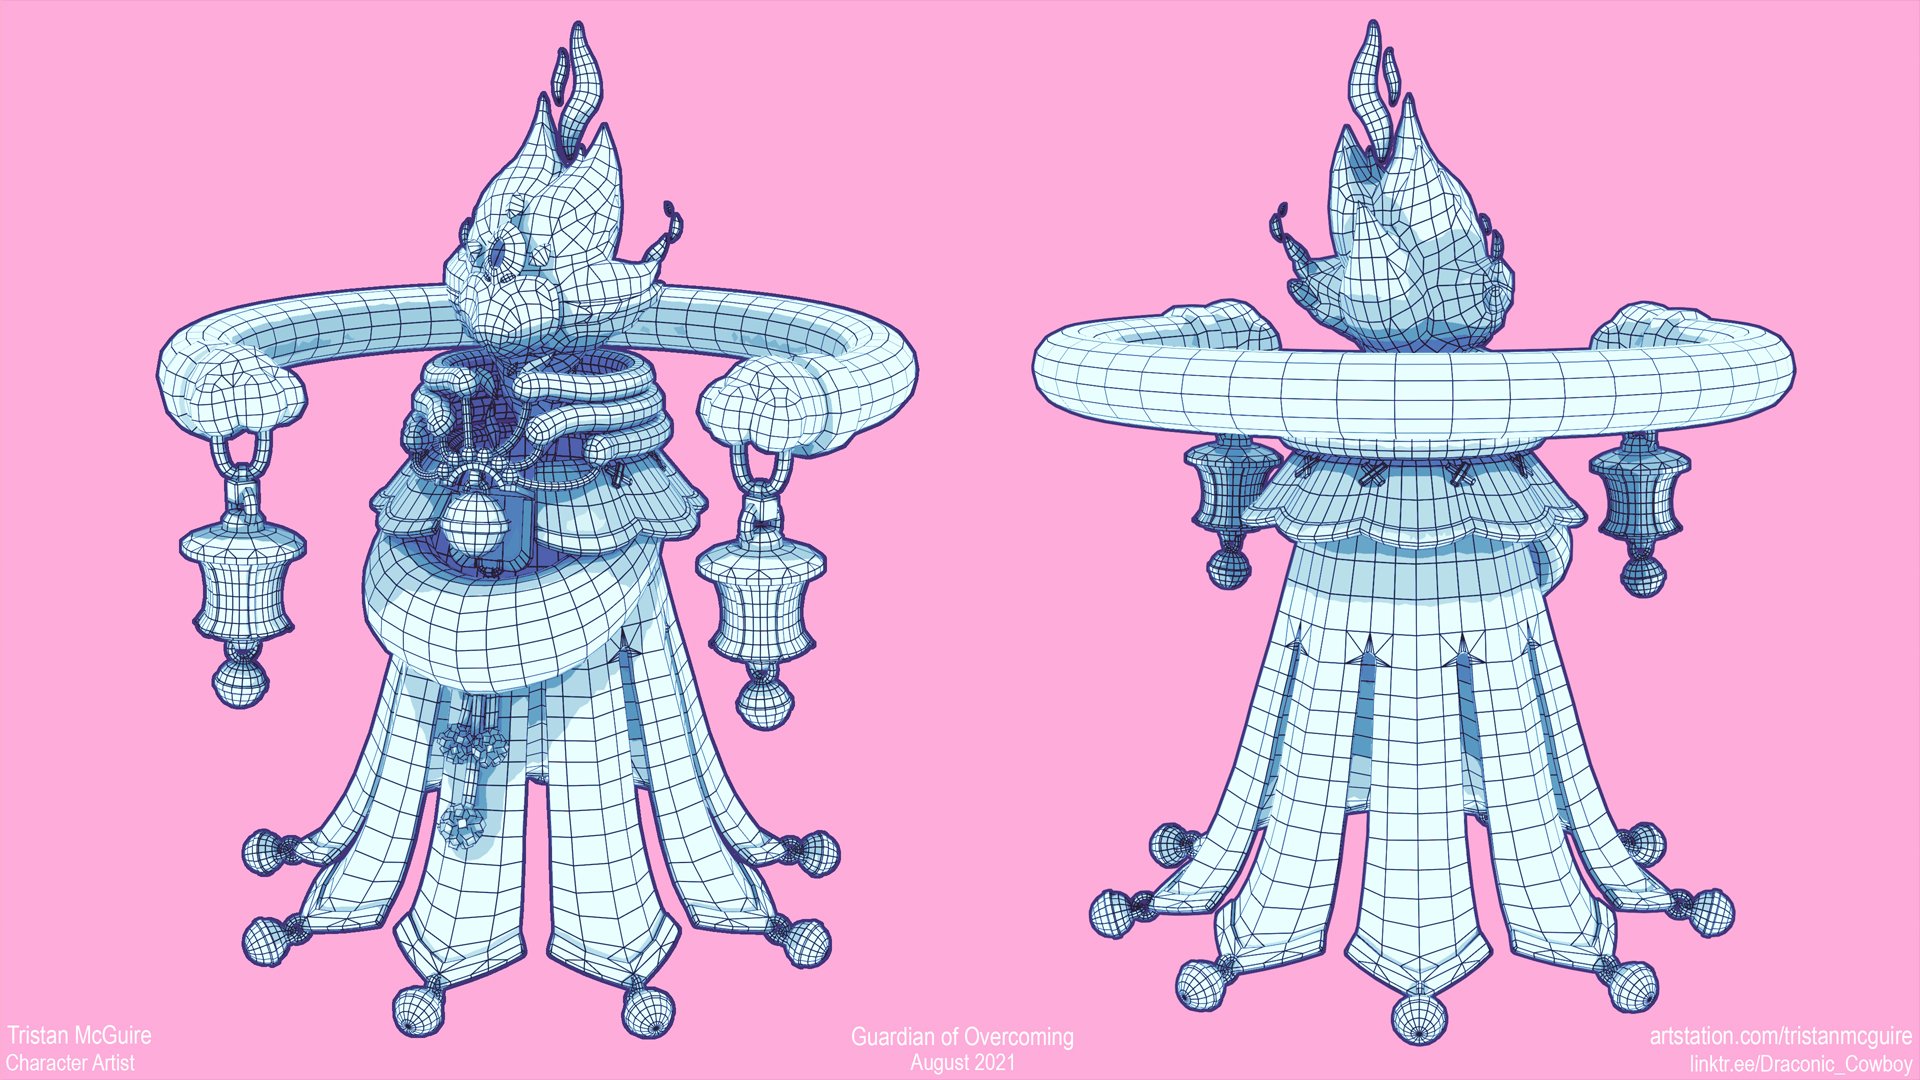
To create the geometry of the model I used Maya. I used a low poly modelling method, starting from primitive shapes and manipulating them with the modelling toolkit tools, e.g., extrude and multi-cut. This approach differs greatly from my usual method which is to create a high poly sculpt in ZBrush and then bake the details to a retopologised game-ready mesh. I chose poly modelling for this character as there would not be any need of baking information from a high to a low—the model itself just needed enough topology to communicate the silhouette and allow for animation. All surface details were to be painted in the texturing phase.
As this character requires the outline effect, I also created a duplicate of the mesh, inflated it slightly so that it creates a shell around the original, and then inverted its normals.
This character has one material set for the main character and one set for the outline mesh. They both have the same UVs, which came in handy for transferring the skin weights from one to the other in the rigging stage.
Texturing
I use Substance Painter for texturing, whether I’m doing a realistic or a stylised model. For this model, the methodology was very straightforward—just lots of fill layers with painted masks. No need for generators, smart materials, etc. when going for this hand-painted look! I just used the hard-edge round brush for the painting with the pen pressure sensitivity disabled.
Rigging and animating
For this stage, I headed back to Maya. To make the rig I placed joints at any part of the mesh that I wanted to be able to float independently of the other parts (e.g., the floaty bits around the head and the crown) or anywhere that needed to pivot (e.g., chain links and bells). Then it was just a case of assembling these joints into a logical hierarchy of influence and adding controllers to move the joints for animating. This rig did not require any IK setup or other fancy attributes.
For the animation, I specifically wanted something with a very soothing ‘easy on the eye’ look. Unlike a realistic character where it is very important to convey the character’s weight and the tension of their muscles, I wanted this character to float effortlessly. In this way, I could communicate to the viewer the great amount of mental power this creature has—as if it is able to float under the strength of its willpower, not any specific physical ability.
To ensure that the animation looked smooth, I did a lot of my work in the graph editor where I make certain that all of the curves ran smoothly between keyframes. I first keyframed the main motion of the body to bob up and down and refined the timings until I was satisfied. From this point on it was a case of taking each part of the body and offsetting the timings of their movement such that they appeared to lag slightly behind the primary motion. This creates the feeling of follow-through in the secondary motion.
Presentation
The setup of the scene in both Unreal and in Sketchfab for a stylised character like this is almost identical. The model uses an unlit shader with only a diffuse colour texture and an alpha mask. In Sketchfab, the only post-processing effect I touched was the sharpness filter, and even that was only a veeery minute adjustment. I just love how that filter ensures that the boundaries between colours stays nice and crisp.
Importing the animation to Sketchfab is very easy—I exported my model from Maya using the game exporter, ensuring that the animation was being exported into the FBX file. Then Sketchfab automatically allows you to see your animation clips!
Final thoughts
This project was a fun way to explore this highly stylised way of texturing and I’m sure I will use this workflow again at some point in the future. I don’t ordinarily animate my models, but I think that adding a bit of motion to this character really helped with the storytelling and the emotional response of the viewer.
After a short break, I will soon be starting on my next personal project! I post my projects to all of my social media and sometimes also post WIP updates for particularly complex projects.
Also, if you are a student or hobbyist and you’re looking for feedback on your portfolio or advice from an artist in the game industry, please feel free to send me a message on any of my socials. I’m always happy to help out the next generation of talent!
ArtStation / Instagram / Twitter / LinkedIn
