Introduction
Hello my Sketchfab friends. My name is Zhenya. I’m a self-taught 3D artist from Khabarovsk City, Russia. I’m not an experienced artist, I started to learn 3D modeling several months ago. Before this I tried drawing, but did not achieve very good results. Once I tried 3D stuff, I fully decided to spend my whole life doing this. Currently, I’m employed as an intern 3D artist at a company named GameForest. I have always wanted to create something to express myself and what I like and this piece is also a part of my lifestyle.
This is my first big personal project. The main goal of this work was to study Low Poly modeling and texturing and learn some techniques and tools and, of course, make something cozy and beautiful. I mainly used Maya and Photoshop for this work, but I also used xNormal for some parts of the texture process.
Inspiration
So, where did the idea come from? When I decided to make something low poly I started to think about what it could be. And I found this nice looking concept of a casual style car.
 This nice picture was made by Azamat Khairov (source).
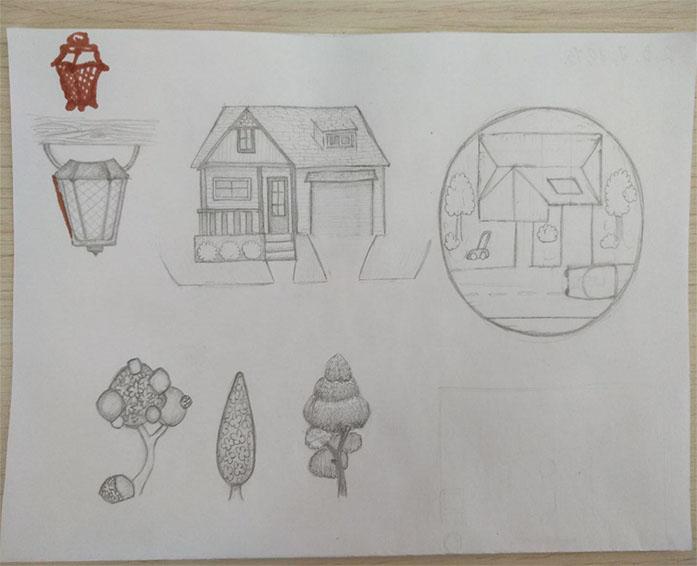
Then I thought that just the car alone couldn’t represent enough of what I wanted and it was just too easy, so I decided to make a big scene. I started looking for inspiration on the internet and finally found some references that were actually what I wanted to do.
I started coming up with a concept and figuring out how this scene would look. Eventually, a decision was made to create this beautiful autumn scene.
Modeling
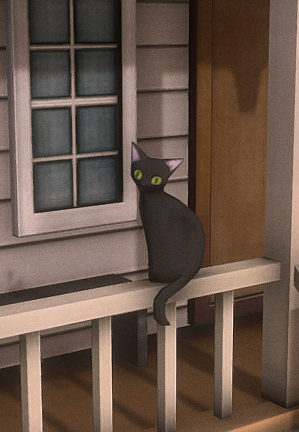
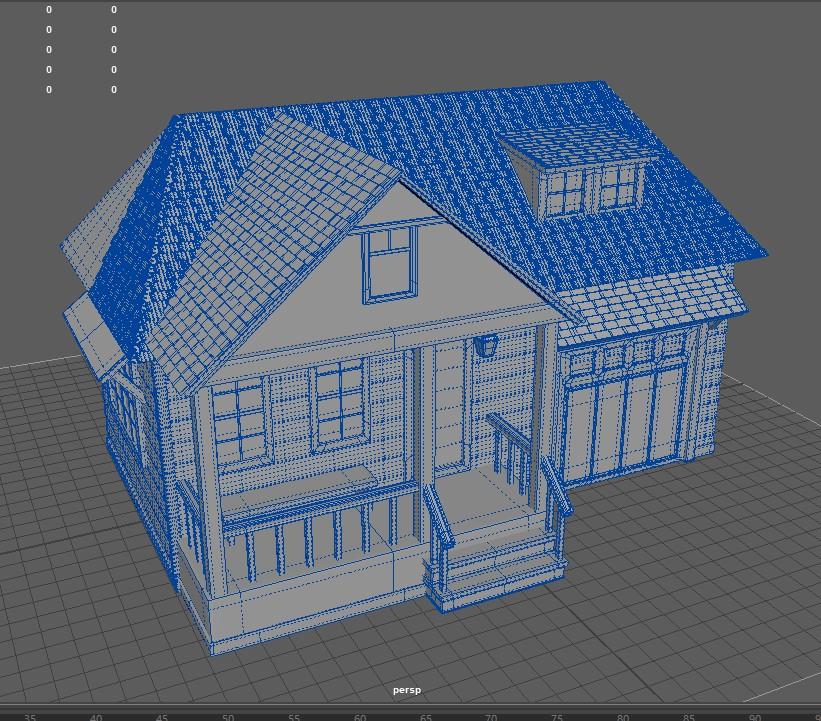
For the modeling process I used Maya. Before this I was a 3ds Max user, but since everyone at my workplace works in Maya, I decided to use Maya for this project. I came to realize that it’s a great opportunity to make a project and learn Maya. This is my first work of such a big level. When I had just started doing it, I had no idea what the final result would look like. At the top of my priority list was to learn the techniques and understand how to work in the low poly pipeline. My advice to you is to always use references and always study how more experienced artists make similar models. The experience of other artists helped me understand the techniques used in such works. After the car was made, I began to think over the further composition. There was a question of how I wanted to present this scene and after some browsing through Pinterest, I came to this nice and appealing decision to make the whole scene stand on a circular plane. The car guided me through the style and proportions of the rest of the future scene. Following the same rules I made the house, exterior and landscape elements. I tried to keep everything simple, clean and organized so as not to overload the scene and stay in a low poly pipeline. For vines, bushes and leaves I used alpha channels and transparency and when the scene was made, I thought that something was missing. After giving it some thought I decided to add this cute cat. 🙂
UVs and Textures
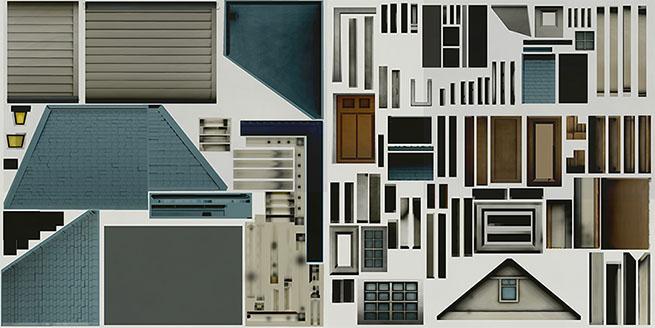
It was quite difficult for me to consider all aspects, and the scene grew gradually, so the process of UV unwrapping was a bit chaotic.
Here’s another tip for you – always, always think over the whole scene beforehand to make the UVs more efficient and more useful. Now I know it. By the way, UV editor in Maya is just super convenient and super easy to learn and use, it was my first experience using it and I was very happy with it. The texturing process is not my favorite part. I prefer working with geometry and when it comes to texture process I find it a little stressful. To make the texture process easier, and in order not to color the whole thing manually, I decided to make high poly versions of the car and the house for further baking the normal maps and AO maps, to use it like a guide for texture.
For baking I used a software called xNormal; I think it’s a great tool with a beautiful interface.
Then I chose the colors—in this process I worked a lot with the references so that the palette looked harmonious.
Then I used Photoshop to blend colors, AO and normals for making the diffuse maps. And after all these actions, it was time to work a lot by hand to make the texture more appealing for the eyes. I corrected AO and shadows, I added some details and bevels, border scratches and added specular and gloss to the diffuse map. Then I chose harmonious textures for the landscape elements, I didn’t bother much to draw it by hand, so I simply took the free textures and just did the color correction and added the details. From the very beginning, my pipeline assumed a lack of illumination and I wanted to stick only to the diffuse map. By the way, when I made this model I didn’t know about such things as the specular or gloss maps, I have only just heard about them.
Conclusion
During the process of modeling I was starting to think about how and where to present my scene so the rest of the world could see my piece of art. My friend suggested that I visit Sketchfab which I haven’t heard of before. And when I saw it… Oh my gosh… My world turned upside down. So many beautiful and inspiring artworks! Very cool render engine which allows me to see and display my models in real time! Ability to turn my model and a lot of different features. I was so glad and passionate about studying all the available settings and also thought about how I could improve my scene, but because I wanted to finish my work and share it as soon as possible, I decided to leave it for my next project. I didn’t use many features for this scene—just an illumination which gives this a beautiful autumn atmosphere and some post processing effects.
Creating this scene was a great experience for me. I learned a lot and I’m so glad to share my knowledge with you. Of course, for high level experienced artists this would not be very interesting and helpful, but I hope that a newbie like me who is just making their first steps in the 3D art world will find it useful. I was afraid to show my work to anyone at first and I was hesitant to share it because I didn’t really like it. But as I shared it and received such a huge number of likes and positive feedback, I didn’t regret it at all. I thank Sketchfab staff for their great support. Here is another tip for you, never doubt and do not be afraid to share you art with other people, it inspires and motivates you to pursue new achievements. I hope you enjoyed my work and that it was interesting for you to read about my experience. Thank you all and thank you Sketchfab for this opportunity!
Acknowledgments
I want to thank my friend Roman who assisted me a lot with the article and taught me many things and tricks.

