Hello everybody! My name is Aleksandr, I am from Belarus.
At the time of creation of the model I was studying 3D in school. Before entering school, I had no idea what 3D was, and the people involved in it were, for me, something like supermen who have access to alien technology that is inaccessible to ordinary people.
As I became aware of the whole process of creating simple models, I realized that I was attracted to realistic textures and models. I was quite skeptical about stylized, low-poly models and hand painting. It seemed to me that I would hardly ever take up anything like this of my own free will.
But after some time we started to study the hand painted textures and I thought: “Why don’t I leave my comfort zone and experiment with what I don’t want to do? Perhaps this experience will be useful and successful.” This is how the story of creating my first hand painted model began.
Search
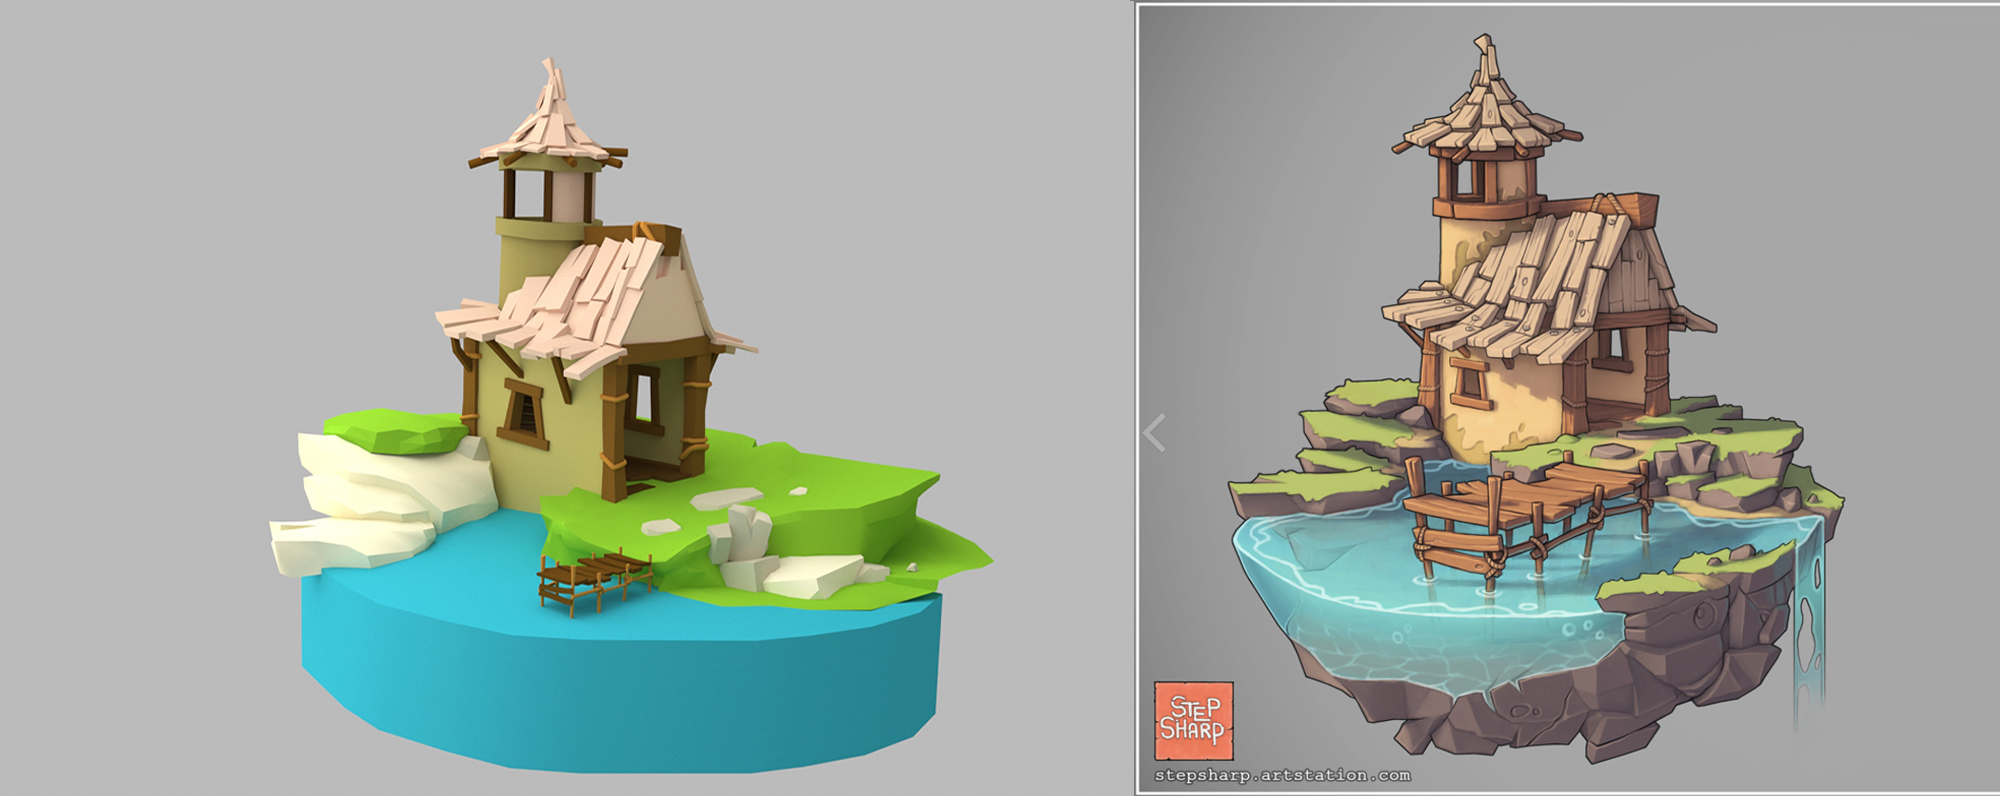
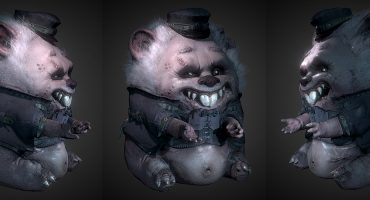
At first, I decided that I should practice on something simple and chose almost the first concept I found. It turned out to be art by Stephen Sharples. I decided on it and quickly modeled a simple low-poly before class.
The result clearly shows my problems with determining the scale of objects. In addition, my big mistake was that I did not make a draft of the model.
When the model was seen by the teacher, he advised me to select another model, something more difficult, because he figured that it would become one of my graduate works. Therefore, this time I took the search for variants more responsibly. After a few days of searching, I stumbled upon a wonderful concept by Kim Goeun.
Modeling
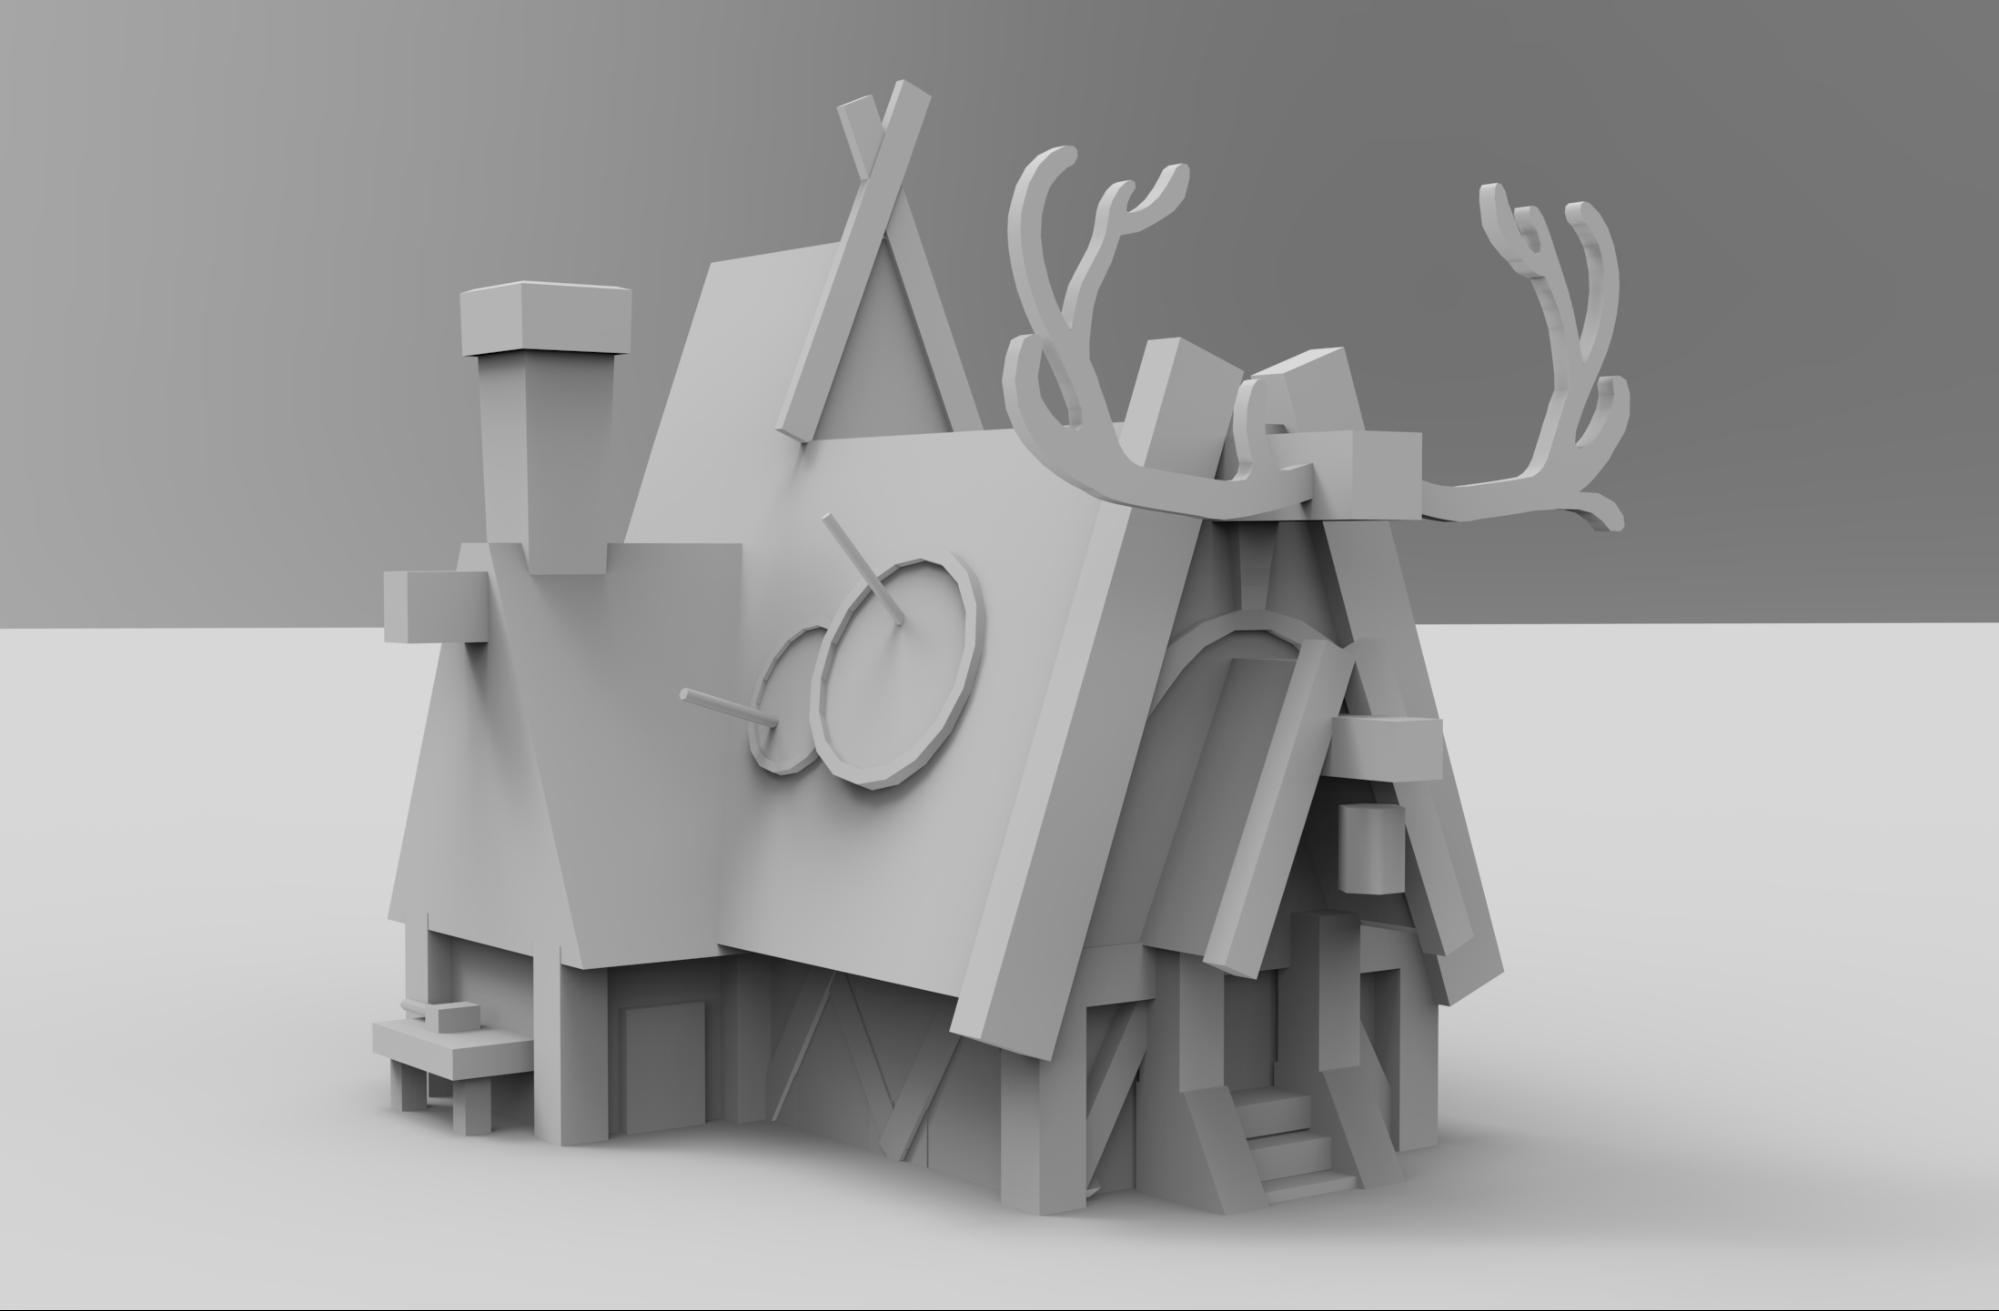
The first thing I did was a simple draft in 3ds Max. I think that making drafts of any, even the simplest, model is a good habit. It can save a lot of time later.
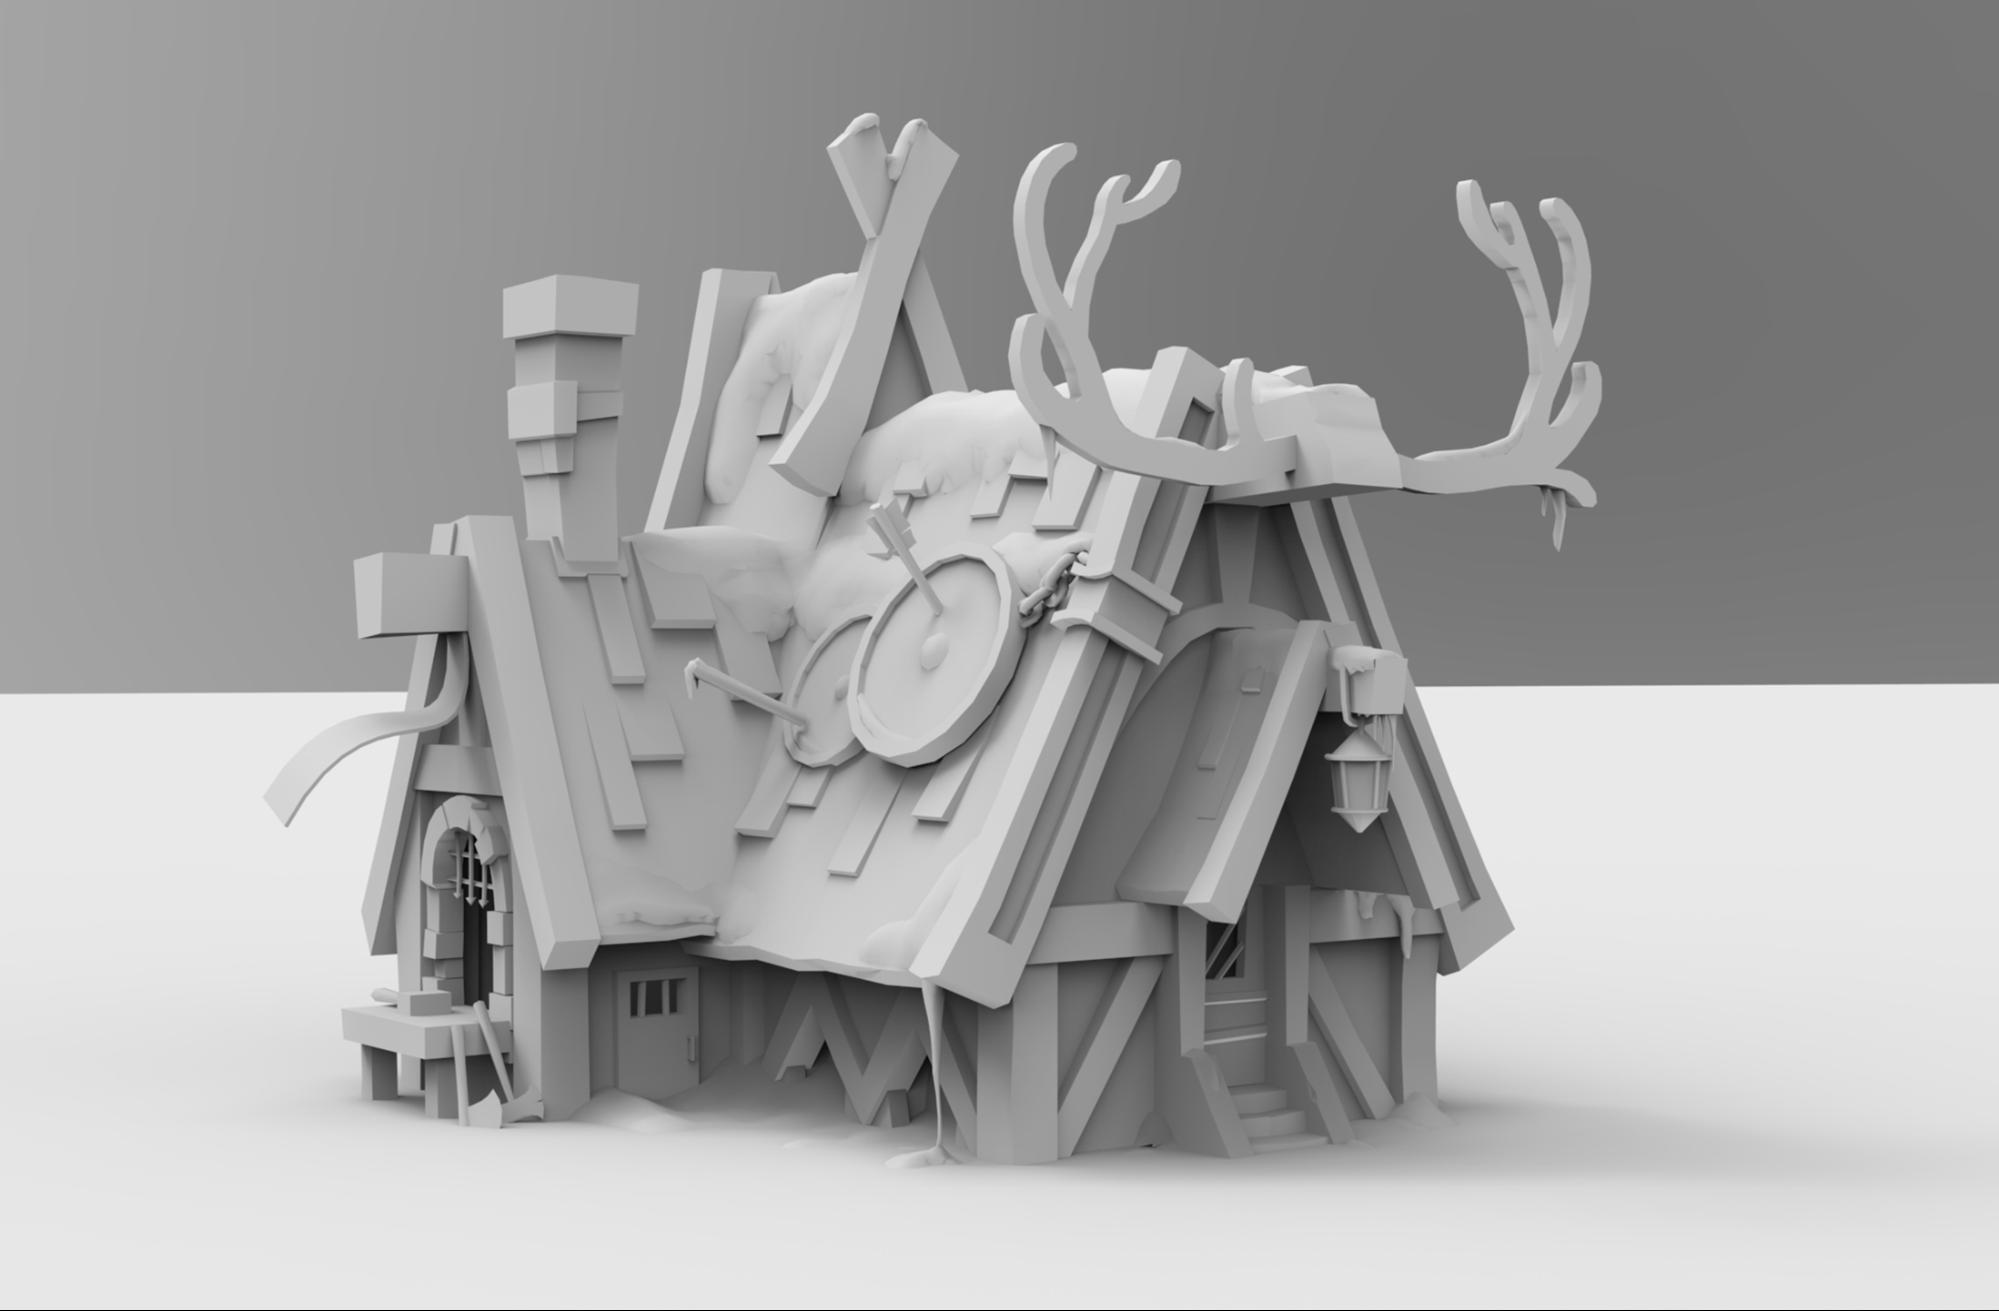
The modeling of the main forms did not cause any difficulties, so I’d better talk about the snow.
I could have sculpted or made a simulation of snow, but I just took the usual planes and used the tools of freeform deformation. When I needed to make smooth lines, I threw some smoothing modifiers on the plain, rumpled it, and then I removed the extra geometry.
The idea to add animated snow came to me at the very end. I had once noticed falling snow on one of the models on Sketchfab and remembered it, but I could not find it. Therefore, I thought for a long time about how to implement snow. To give the impression that the snowflakes are disappearing, I used a rapid zoom out of each snowflake at the end of their way to earth. It seems to me that the addition of animated snow made the model more lively and cozy.
The result was this model, ready for texturing.
Texturing
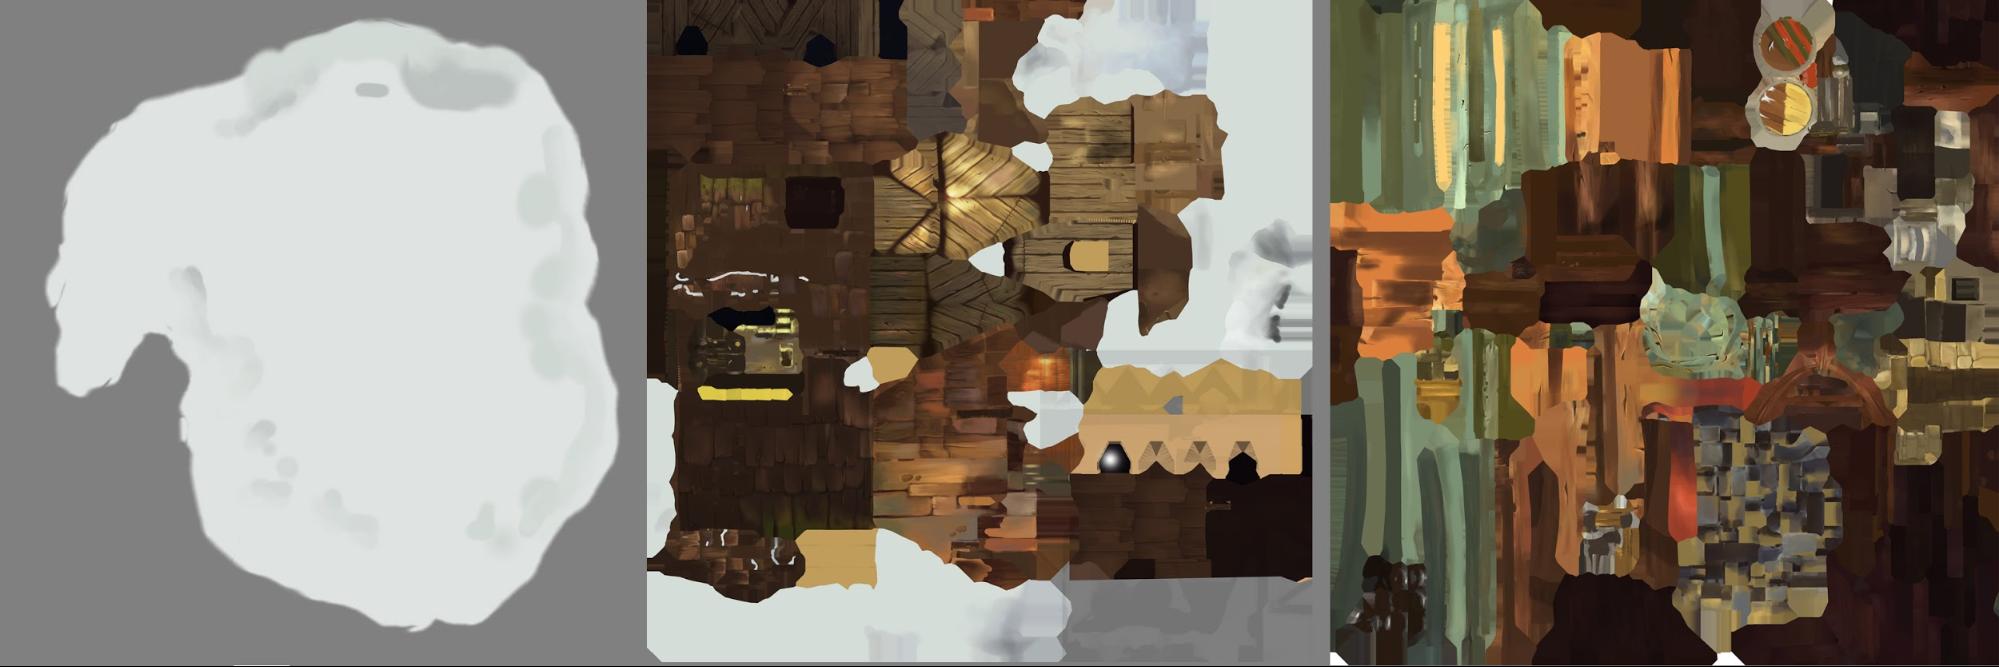
Before starting the texturing, I loaded the model in to Sketchfab and tested what sized textures would load pretty quickly. I did not want to lose parts quality, so in the end I decided to use two textures, one 4096×4096 and one 2048×2048.
I selected 3D-Coat for texturing. This was my first acquaintance with this program and I must say that it turned out to be a pretty good choice for hand painted texturing. I textured the whole work with only two default brushes.
I usually also make a color block-out. It allows you to see where more work needs to be done at the initial stage and simplifies the work. The picture shows that after a good color block-out, the only thing that remains is to add details.
The house was built mostly of wood, so I decided to speed up the process of making with a few stencils in Photoshop, which I then used to apply the characteristic wood pattern. The use of patterns speeds up work, but they become very noticeable if you use the same one very often. Therefore, if you intend to use the pattern, then, after using it, modify the most visible parts of the texture manually, in order to impart a unique and natural look to your texture.
At the very end, I added warm shades on the light sides and cold shades in the shadows.
Sketchfab settings
While I was engaged in texturing, I periodically uploaded textures to Sketchfab. And I must say that the magic settings of Sketchfab became another discovery for me. As it turned out, Sketchfab can do a very good job, even if it’s not the strongest job, if you adjust the scene correctly.
Not to say that I am a great connoisseur of various interesting settings. I just twirled and moved settings until I got something that I liked. I installed 3 light sources. One common, yellowish, in order to add softness and warmth to the light. And two point sources, in order to highlight the light of the lantern and the light from the forge and focus attention on these areas. I would love to play with a lot of sources. Light is an amazing means of expression and mood transfer. But, unfortunately, Sketchfab does not allow you to install more than three.
The final post-processing added a bit of sharpness and slightly intensified the cold shades in the shadows.
Summarizing
Here is the resulting model:
That was my workflow for creating the model. I hope you enjoyed it and that someone even found something useful for themselves. In conclusion, I would say that I did not expect such attention to be paid to my model at all. Thank you all for the comments and feedback. It was very nice to remember the process and share with you.
I would also certainly like to thank the Sketchfab team for giving the artists the opportunity to show their 3D projects and talk about them.
Good luck with your own models and have a nice day.

