About Me
Hi everyone! My name is Rafał and I live in Kraków, Poland.
I am a self-taught artist. I have drawn from the age of four (I’m 34) and I have been using 3D software for about 15 years. I used to work in advertising agencies and my duties were photo retouching, and making marketing graphics and visualisations. I am currently unemployed and I hope to find work at a studio in the video game industry.
I have always wanted to work in gamedev, but I have never worked in it full-time. I have helped with a dozen small independent projects after hours. Recently, I started to create my own video game, but at the moment the project is waiting for approval by the publisher. Its fate is unknown. It’s called Dark Gravity, and here is the trailer:
Inspiration
Everything around me inspires me. I like to transform every shape and solid that I see into something else more interesting. That’s how it all starts. Of course, there are many amazing artists whose works give the right direction to my mental transformations. I regularly visit their profiles on ArtStation and Sketchfab to feed on their creativity.
In my art, I try not to limit myself to a single style, but what I find the most fun are minimalistic, stylized low-poly models chiseled out from triangles, with complexity reminiscent of computer games from 20 years ago.
How the Idea was Born
Walking through the streets of Łódź (city in Poland) I noticed a very interesting building in the distance. It was the rebuilt factory of Ludwik Grohman. I imagined it was a huge steampunk locomotive. I wrote this idea in my mind, just in case I ever needed it. A few days later, the low poly game level challenge appeared on Sketchfab. A mission in the style of the “commandos” series with a huge locomotive standing at the station seemed to me just perfect.
Getting Started
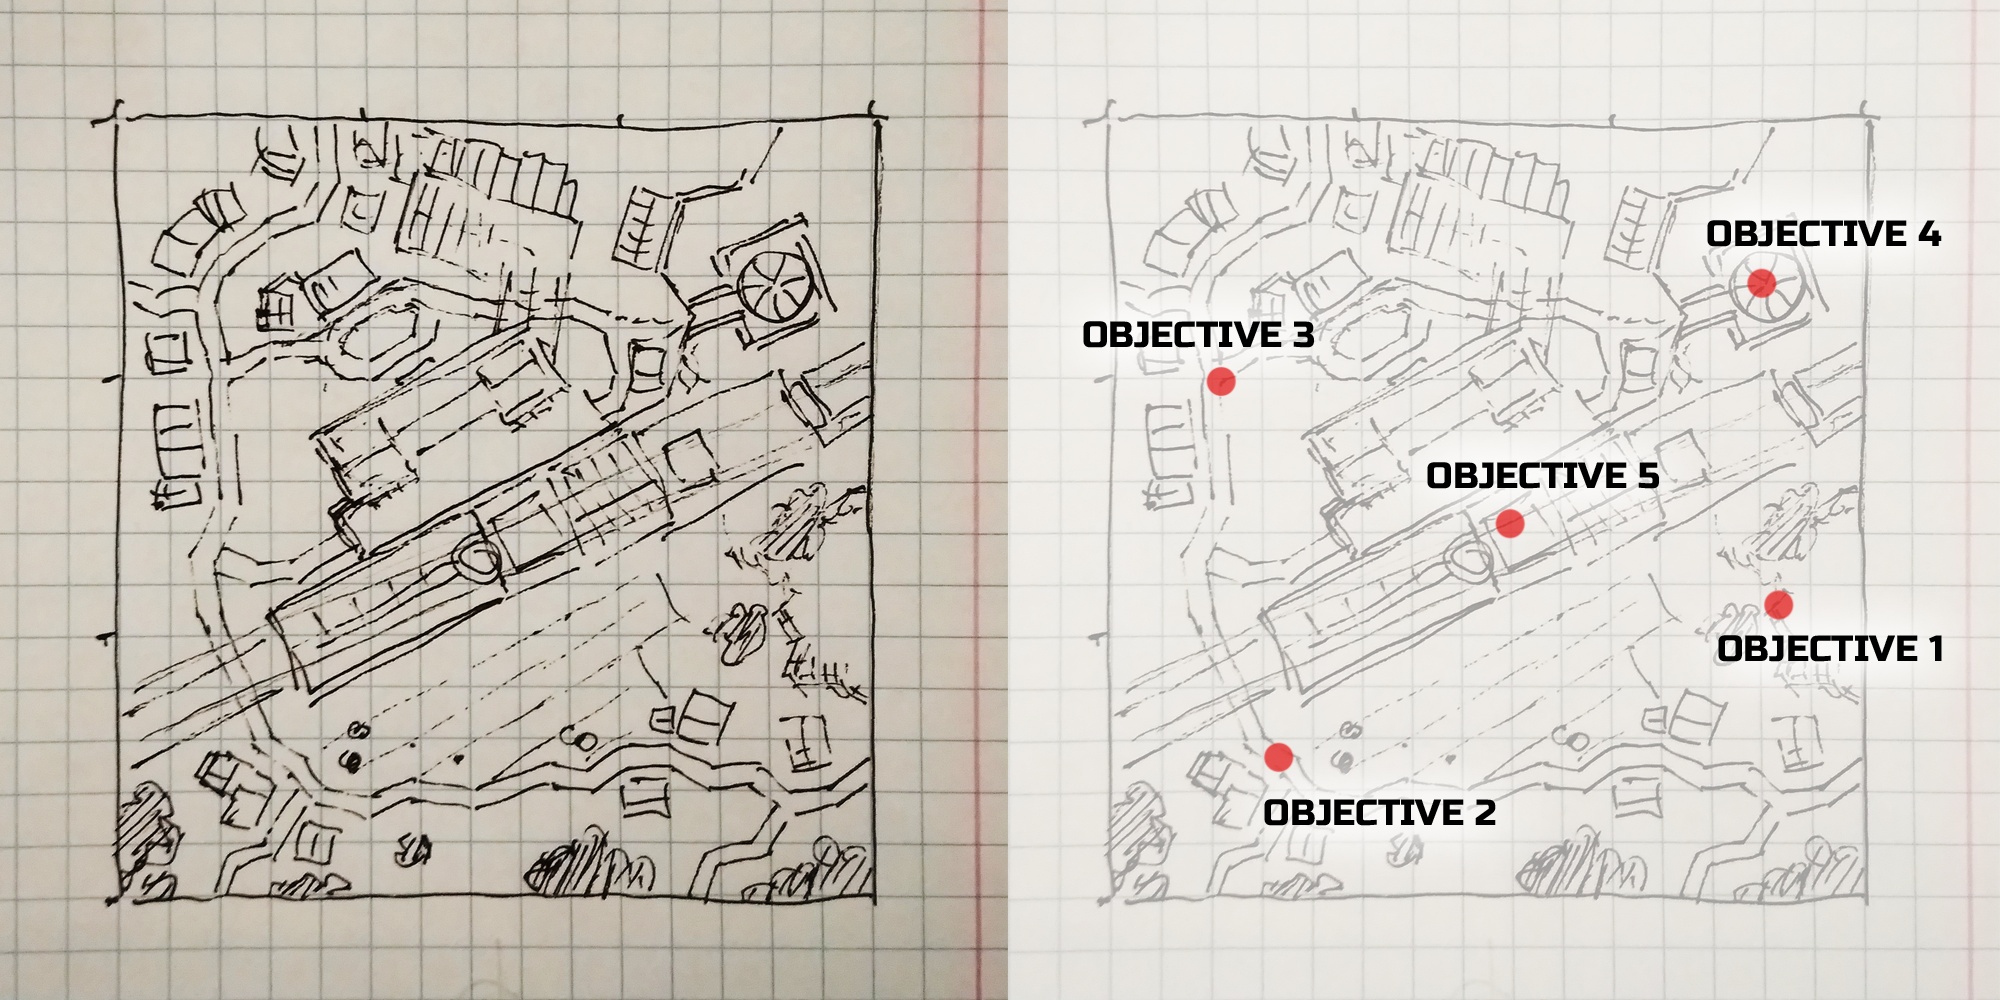
The first thing I always start with is a loose sketch on a piece of paper. Based on it, I decide if I need another, more detailed concept art, or if I can take action. In addition, because it is supposed to be a tactical level, I mark the most important points where mission objectives will be.
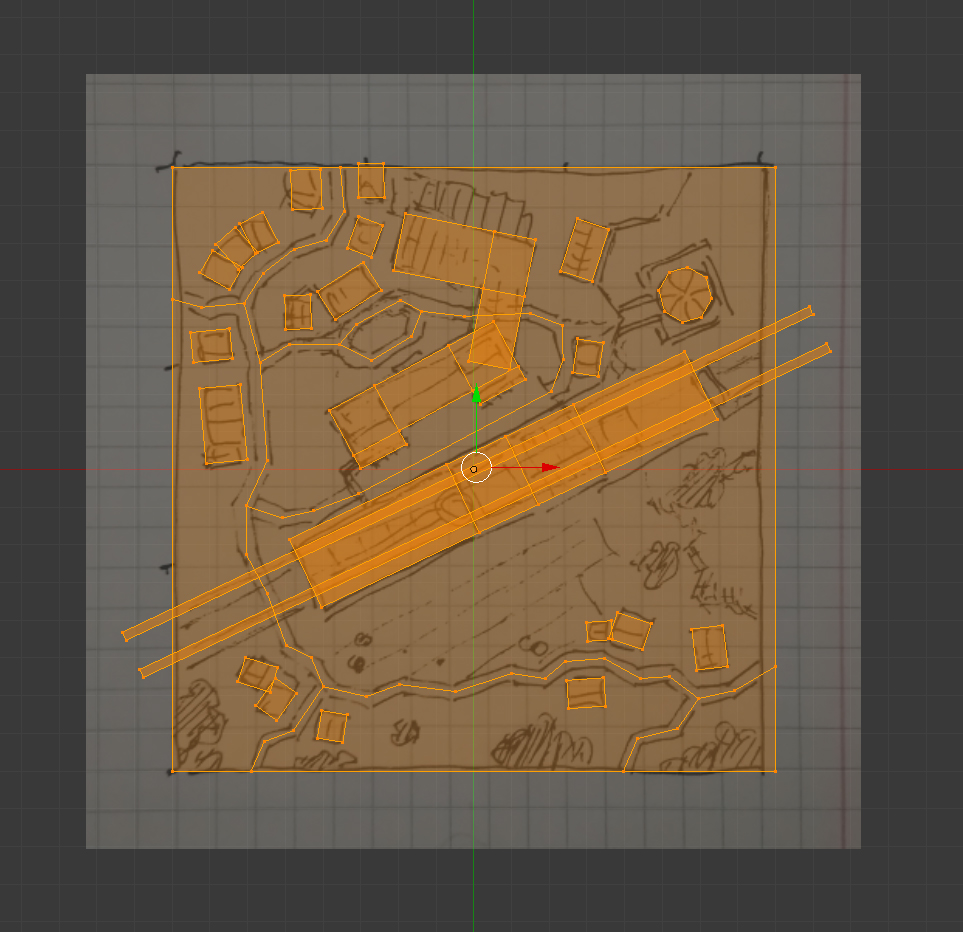
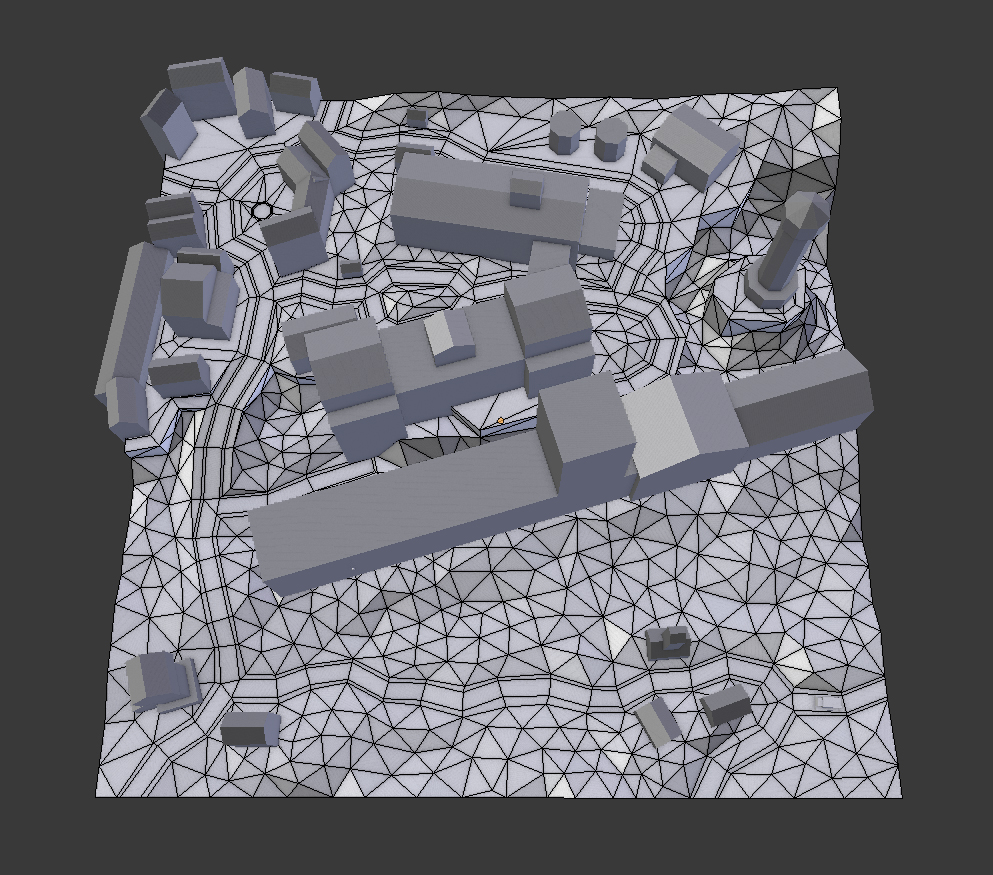
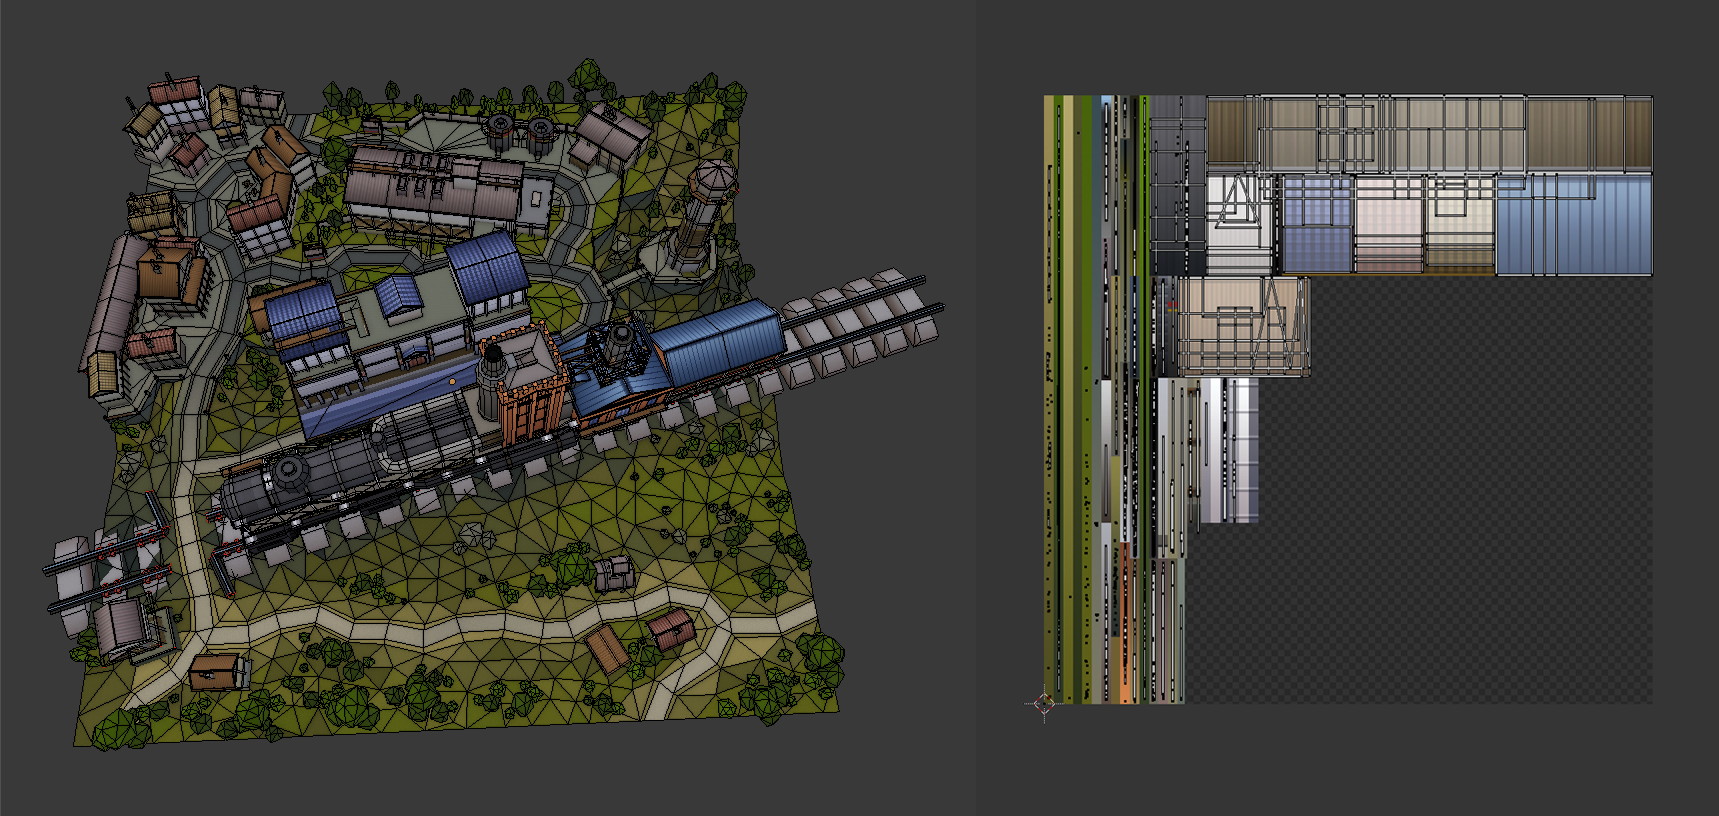
I put the sketch in Blender as a reference and used it to block out the whole scene from simple cubes. The terrain is just a single-face plane—I cut the road into it using the “knife tool”.
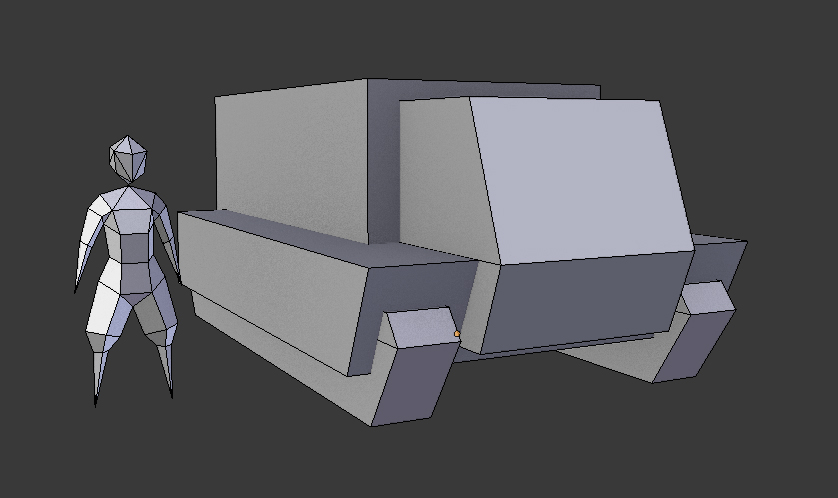
After that I created a single character and one simple vehicle to set the scale for the entire scene.
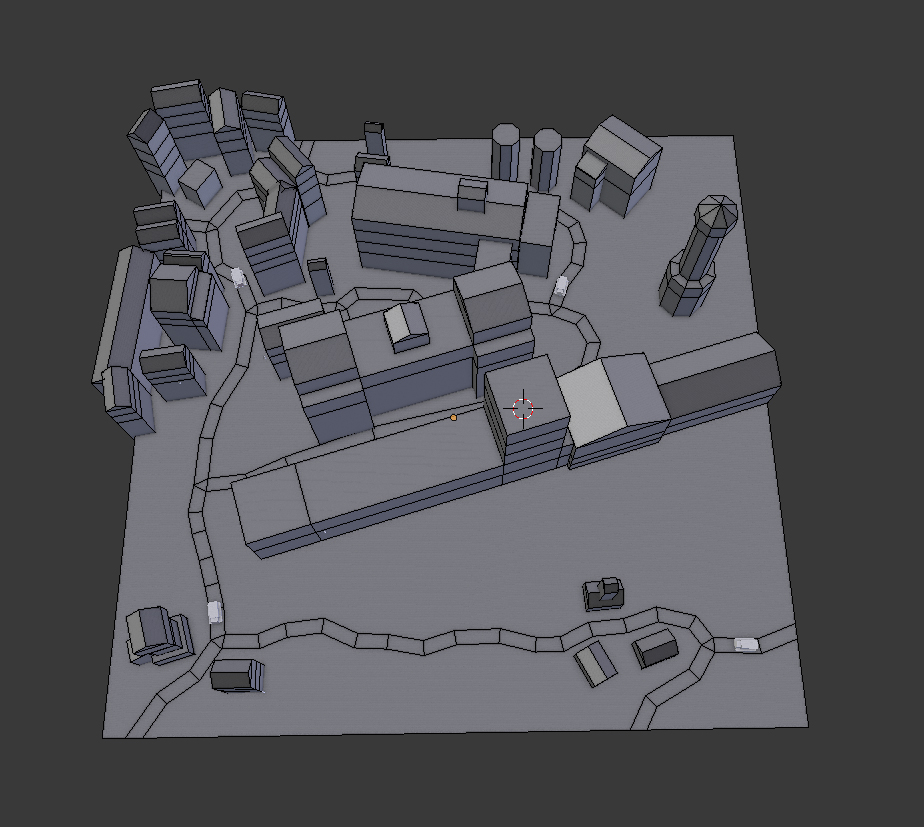
Then I played a little with all the buildings and roads, trying to find most interesting layout. When I was done with reorganizing, I expanded the road by adding a bevel and divided the blocky buildings for floors of the appropriate height, relative to the previously created character.
NOTE: Because one of the criteria of the challenge was not to exceed 75,000 triangles, I also did preliminary calculations. I wanted to prevent a situation where I hit this limit halfway through my work. Having a character and a vehicle, I could calculate approximately how many characters and how many vehicles I want to put on the stage, and I immediately knew how many triangles I could use for other elements. I repeated this calculation after each stage.
When the prototype of the level was ready, I finished the terrain. I simply cut it with a “knife tool”. I know that this can be done using more automated methods (increase the poly count => deform it using “proportional editing” in “random” mode => replace polygons with triangles => add more randomness with the “decimate” modifier), but I like to have full control during modeling, which is why I always create random objects, such as terrain, manually.
Making the Biggest Objects
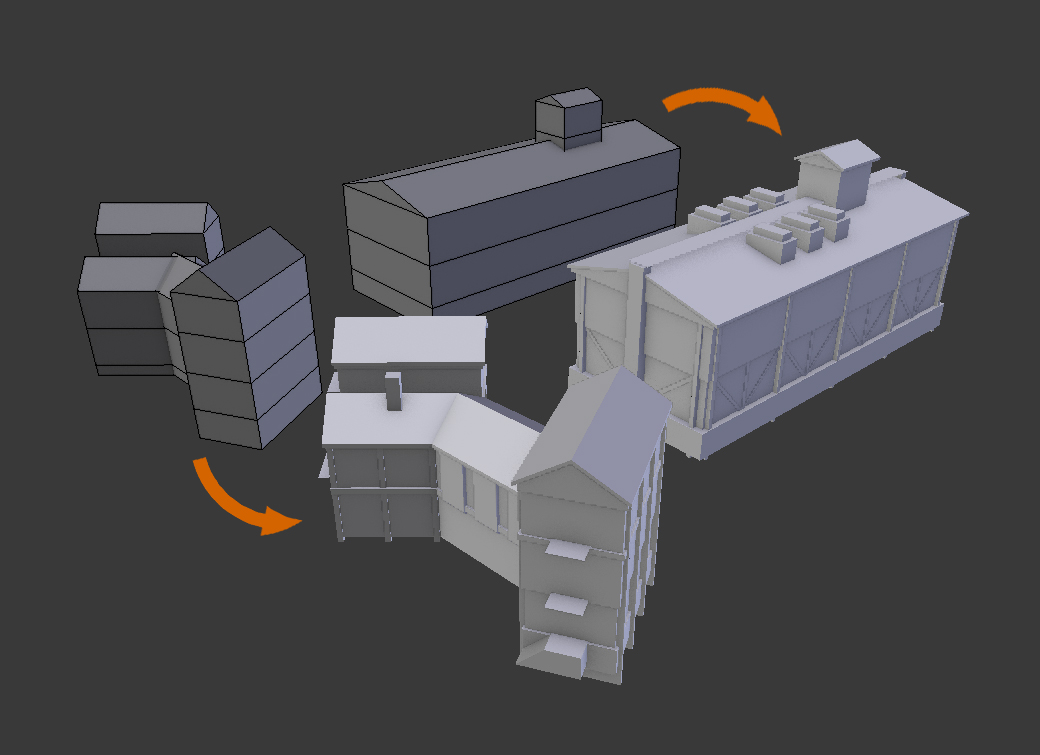
Now I started modeling each of the buildings. I copied one of the blocks and threw it into a separate layer. I placed it in the center of the coordinate axis and canceled any rotation. I added basic details to the prepared object: foundation, roof, beams, brackets, and all surfaces on which characters can step.
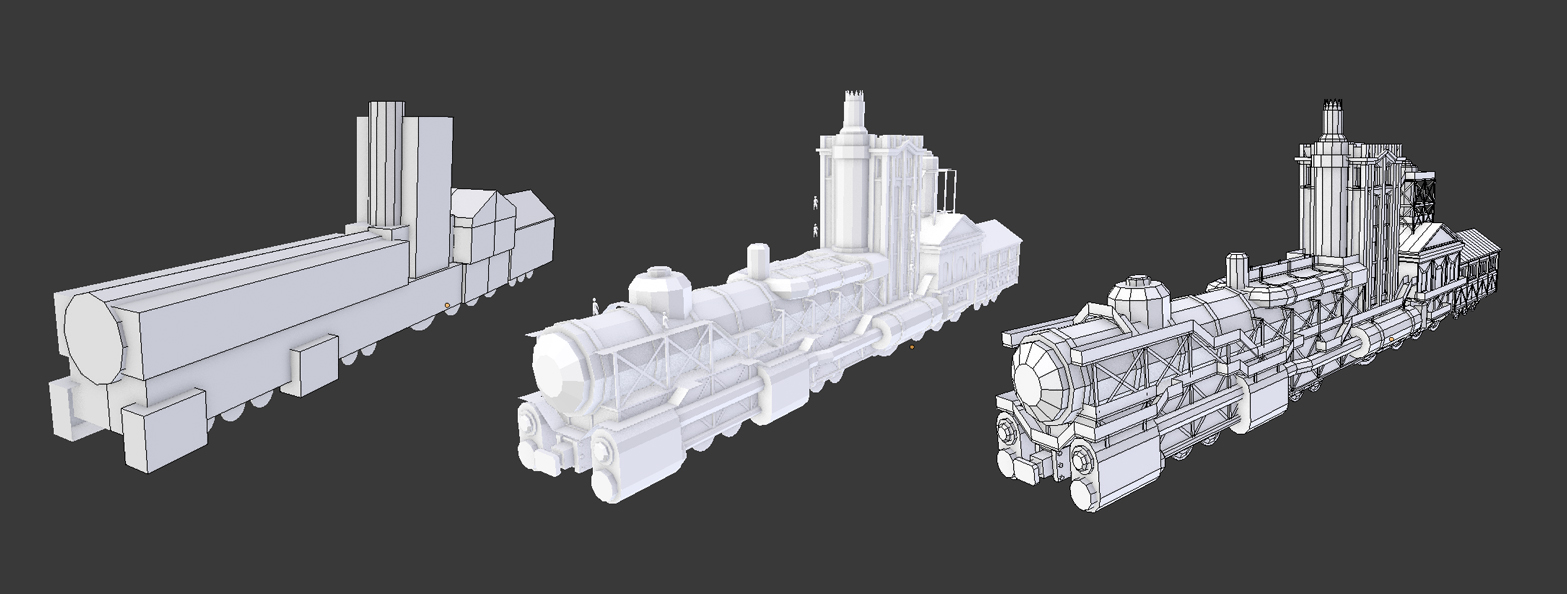
I approached the train the same way: I started with the biggest details and gradually focused on smaller details. I left windows and doors for the next iteration.
NOTE: Regardless of whether I placed objects on the scene or worked on the details of one of them, I always started with the largest objects and details before focusing on the smaller details.
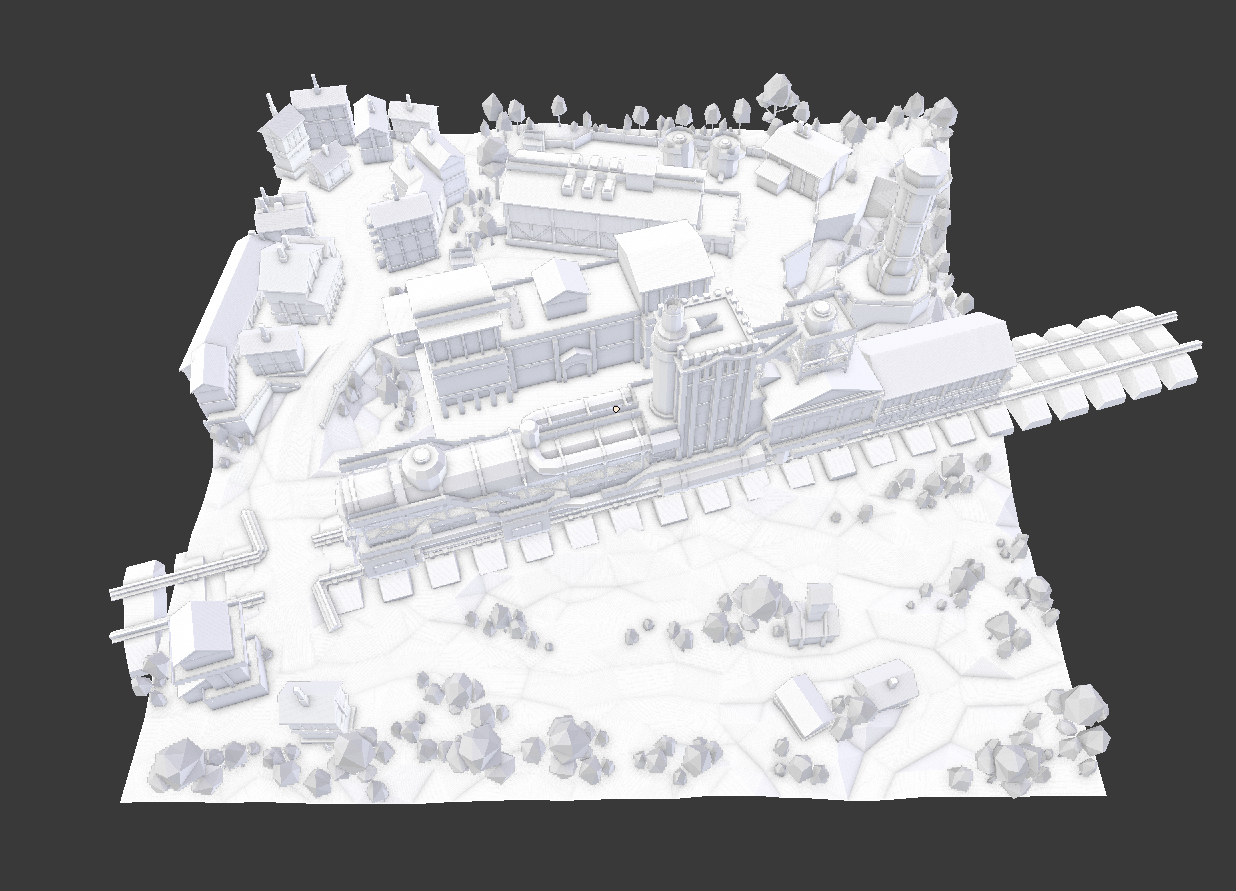
When all building models were looking right, I added trees and shrubs, then pulled out edges with “extrude” to create fences, barriers, and railings.
Texturing the Base Scene
Now it was time to add some colors to what had already been done. In Photoshop, I created a 256×256 pixel image and added multiple gradients, 4 pixels wide. A gradient of one or two pixels wide may lose quality when converting to jpg, but gradients that are 4 pixels wide lose quality only at the places where they are touching each other. Colors for gradients were selected with a color picker from random photos from the Internet.
Texturing with such gradients is very simple: I marked the faces of the model that I wanted to color, I changed the view to side orthogonal and unwrapped using “Project From View”. Then, in the UV editor, I scaled the faces on the X axis until they looked like a vertical line (textures were not baked, so overlaps were not a problem). The exceptions were roofs, walls made of wood planks, railings, etc. Here I arranged UVs to the single pixel.
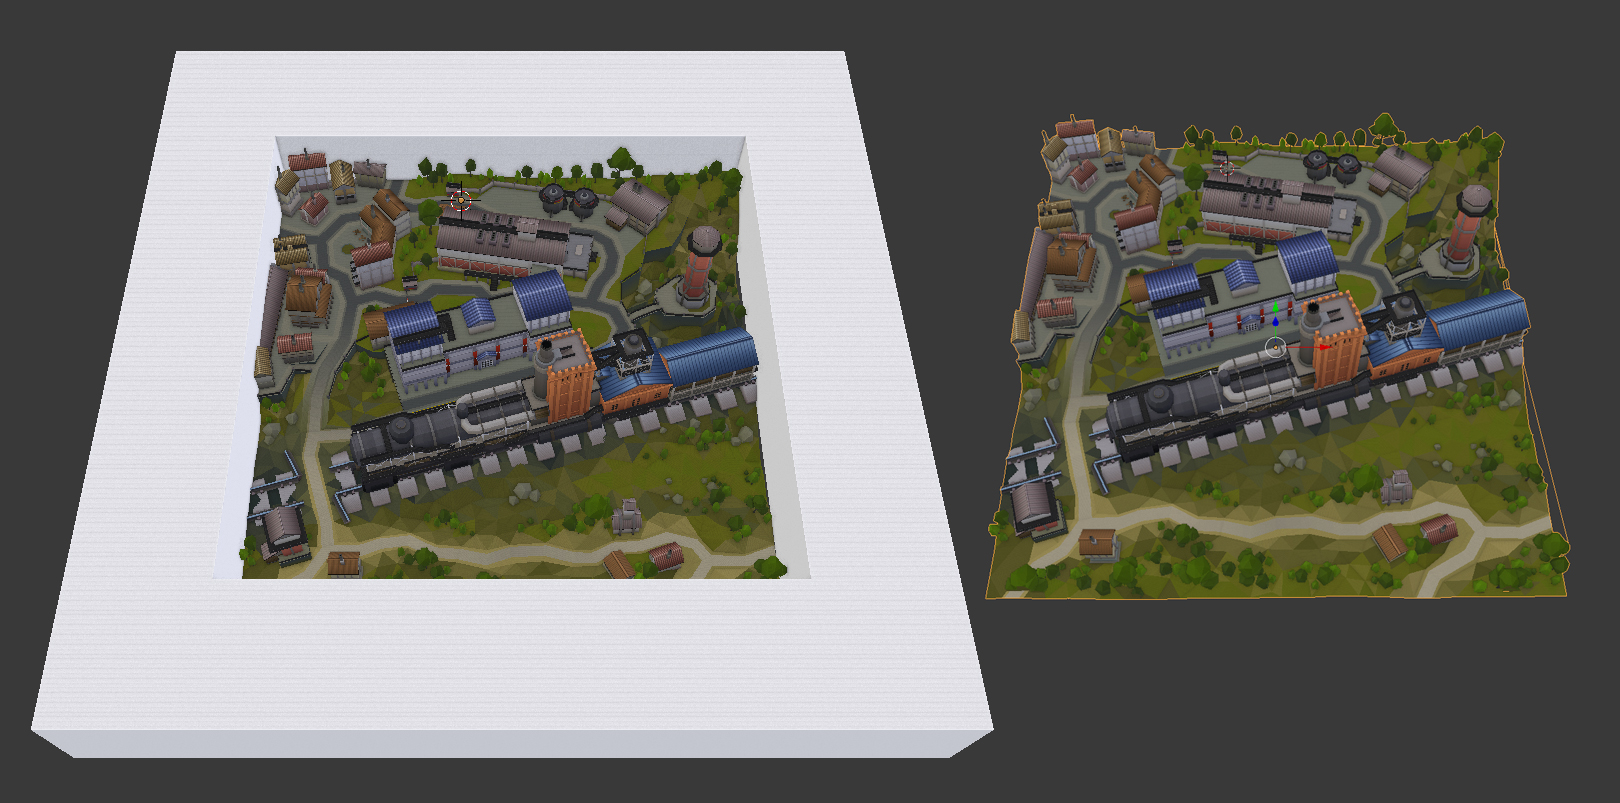
Since all the structural elements had been made, I could now trim all objects that protruded beyond the terrain. I use a simple block and a “boolean” modifier in the “difference” mode.
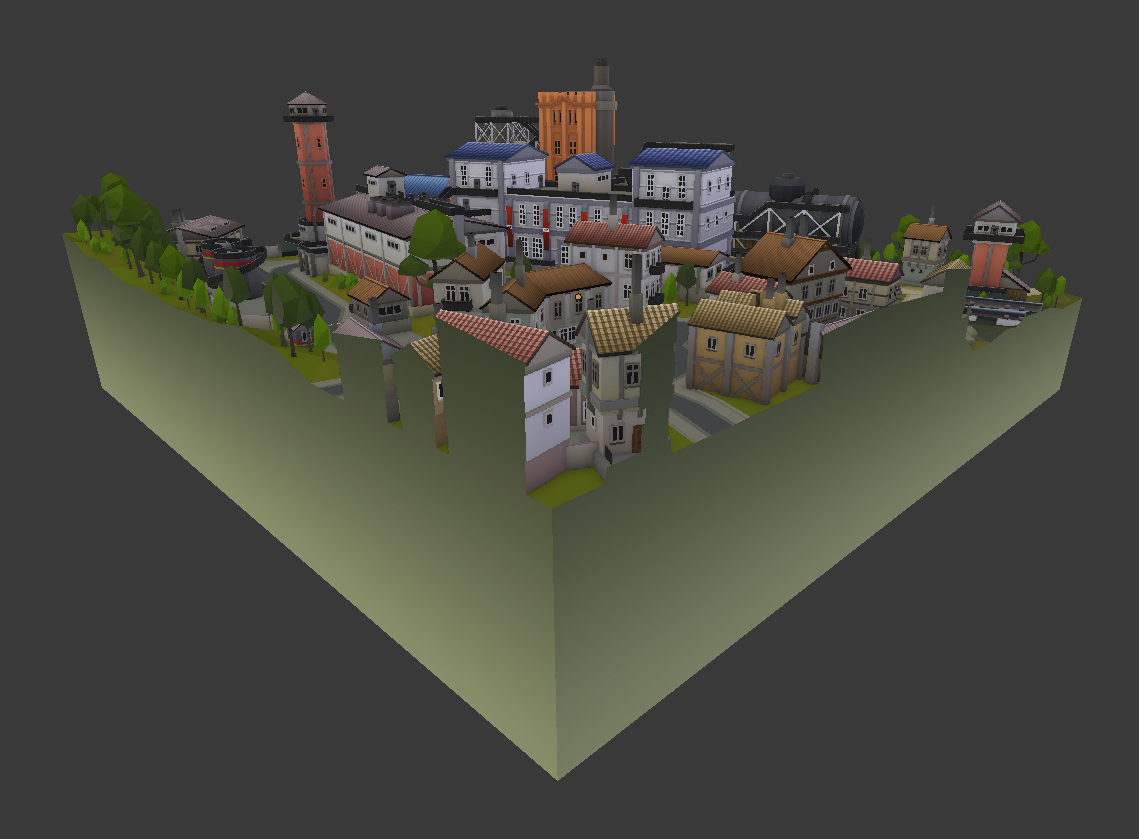
Then I filled in all cavities and removed imperfections. I applied another gradient to the cut edge to make a smooth surface.
Making Characters and Props
Before I started making characters, I prepared a list of all the scenes and situations that I wanted to put on the level, and a second list containing all the elements necessary to create them. I always try to present different situations and emotions.
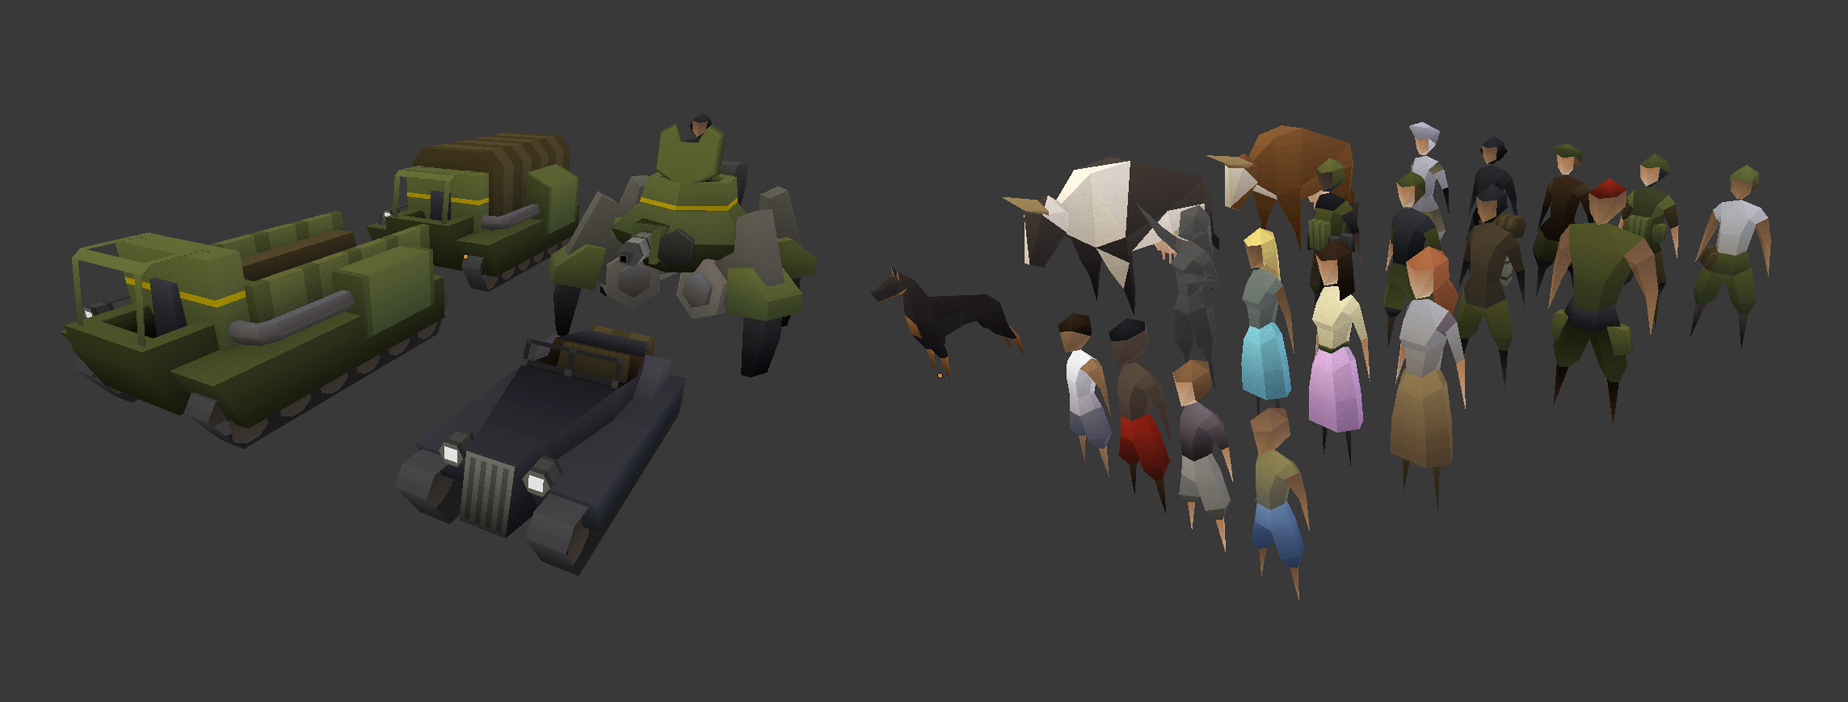
The next step was to model all characters and vehicles. Two models from earlier (those that gave scale to the whole scene) would be the base.
NOTE: For symmetrical objects, it’s always a good idea to use the “mirror” modifier and then, after texturing, to remove the middle edge if it’s not needed.
While modeling subsequent characters and vehicles, I immediately textured them with gradients prepared on the go.
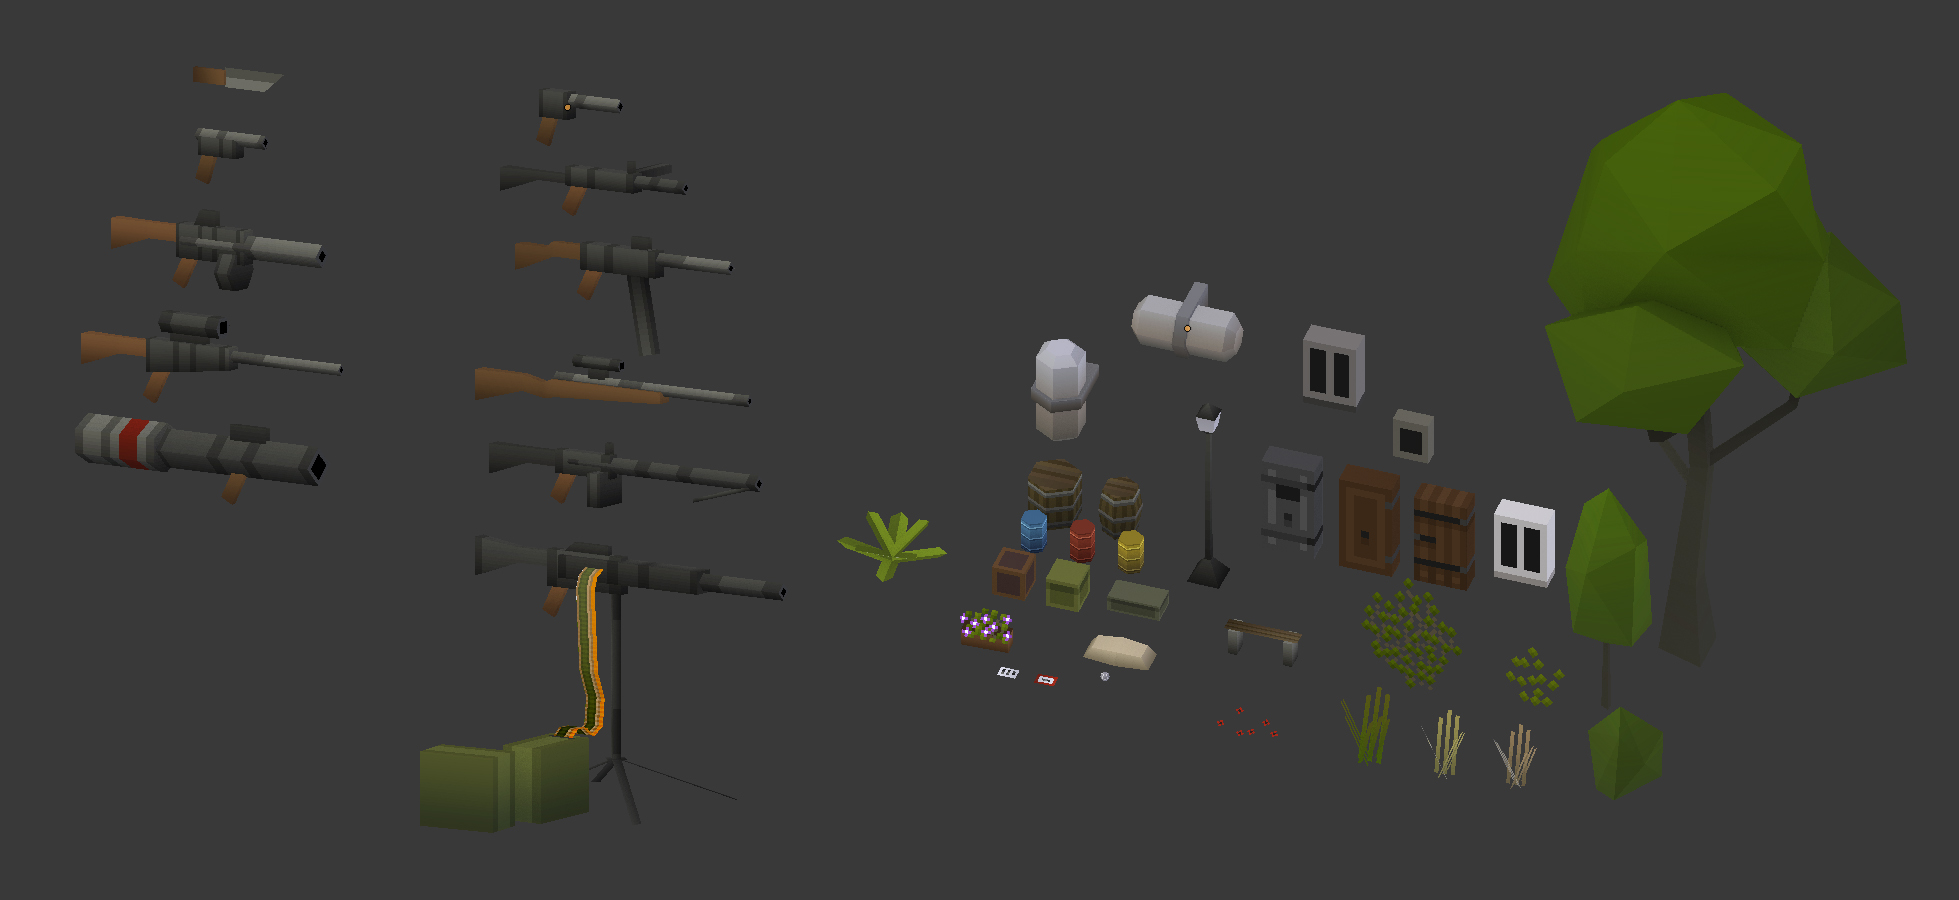
Then I created props such as windows, doors, ladders, animals, barrels, boxes, leaflets, sandbags, vegetation, etc., as well as weapons that I assigned to the characters.
Placing Characters and Props on Scene
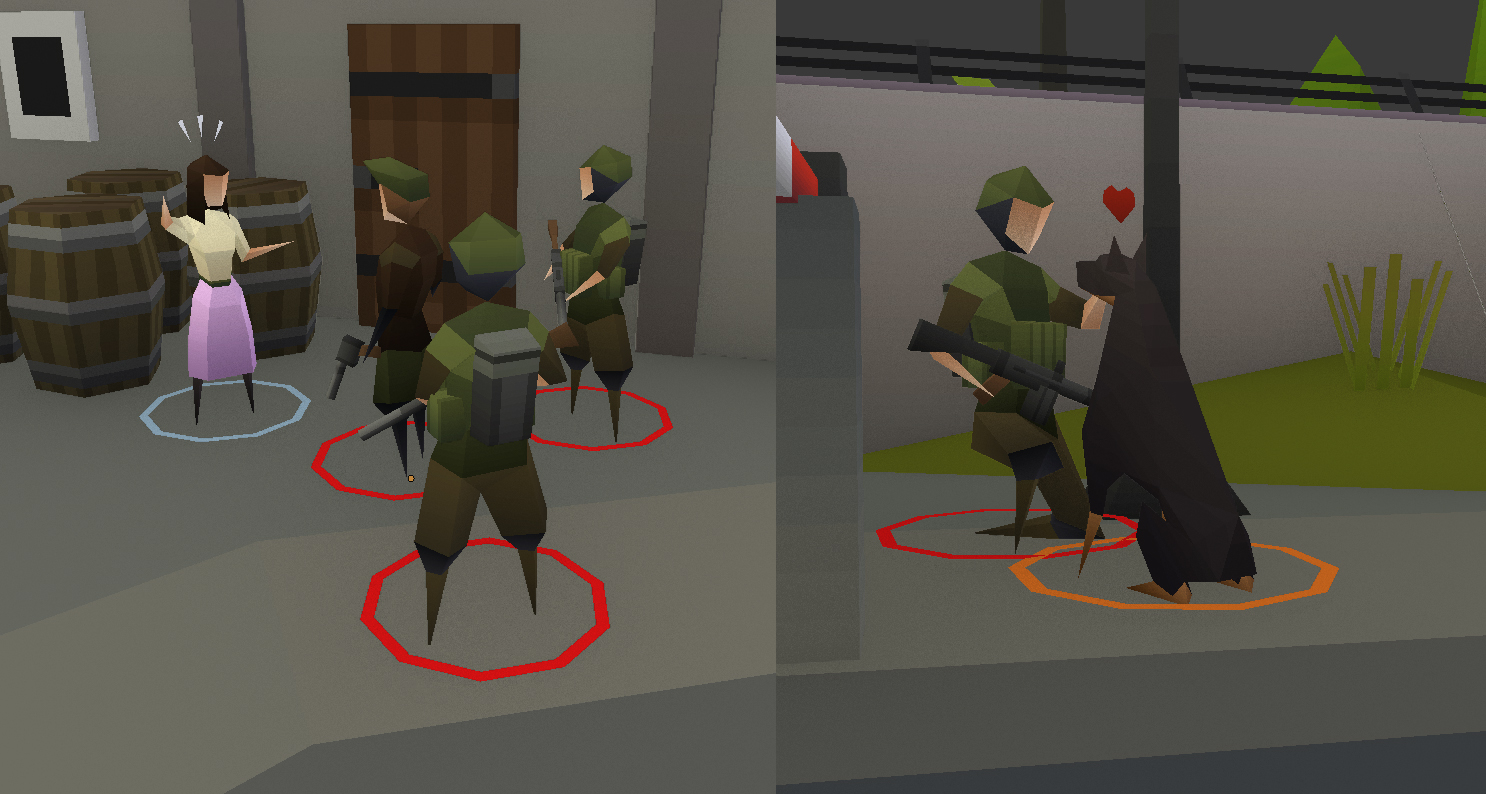
Having all the vehicles and characters done, I placed them on the map. I created their various poses by moving individual vertices in edit mode—I consider rigging unnecessary for such small and static models. I also added all the props on a regular basis, I modeled special effects, emotion icons and circular “enemy / friend” markers.
When all the characters were in place and the scene was finished, I added props, slowly approaching the limit of triangles. Again, I did it from the largest to the smallest: first ladders, windows and doors on buildings, large barrels and bushes, then grass and flowers at the end.
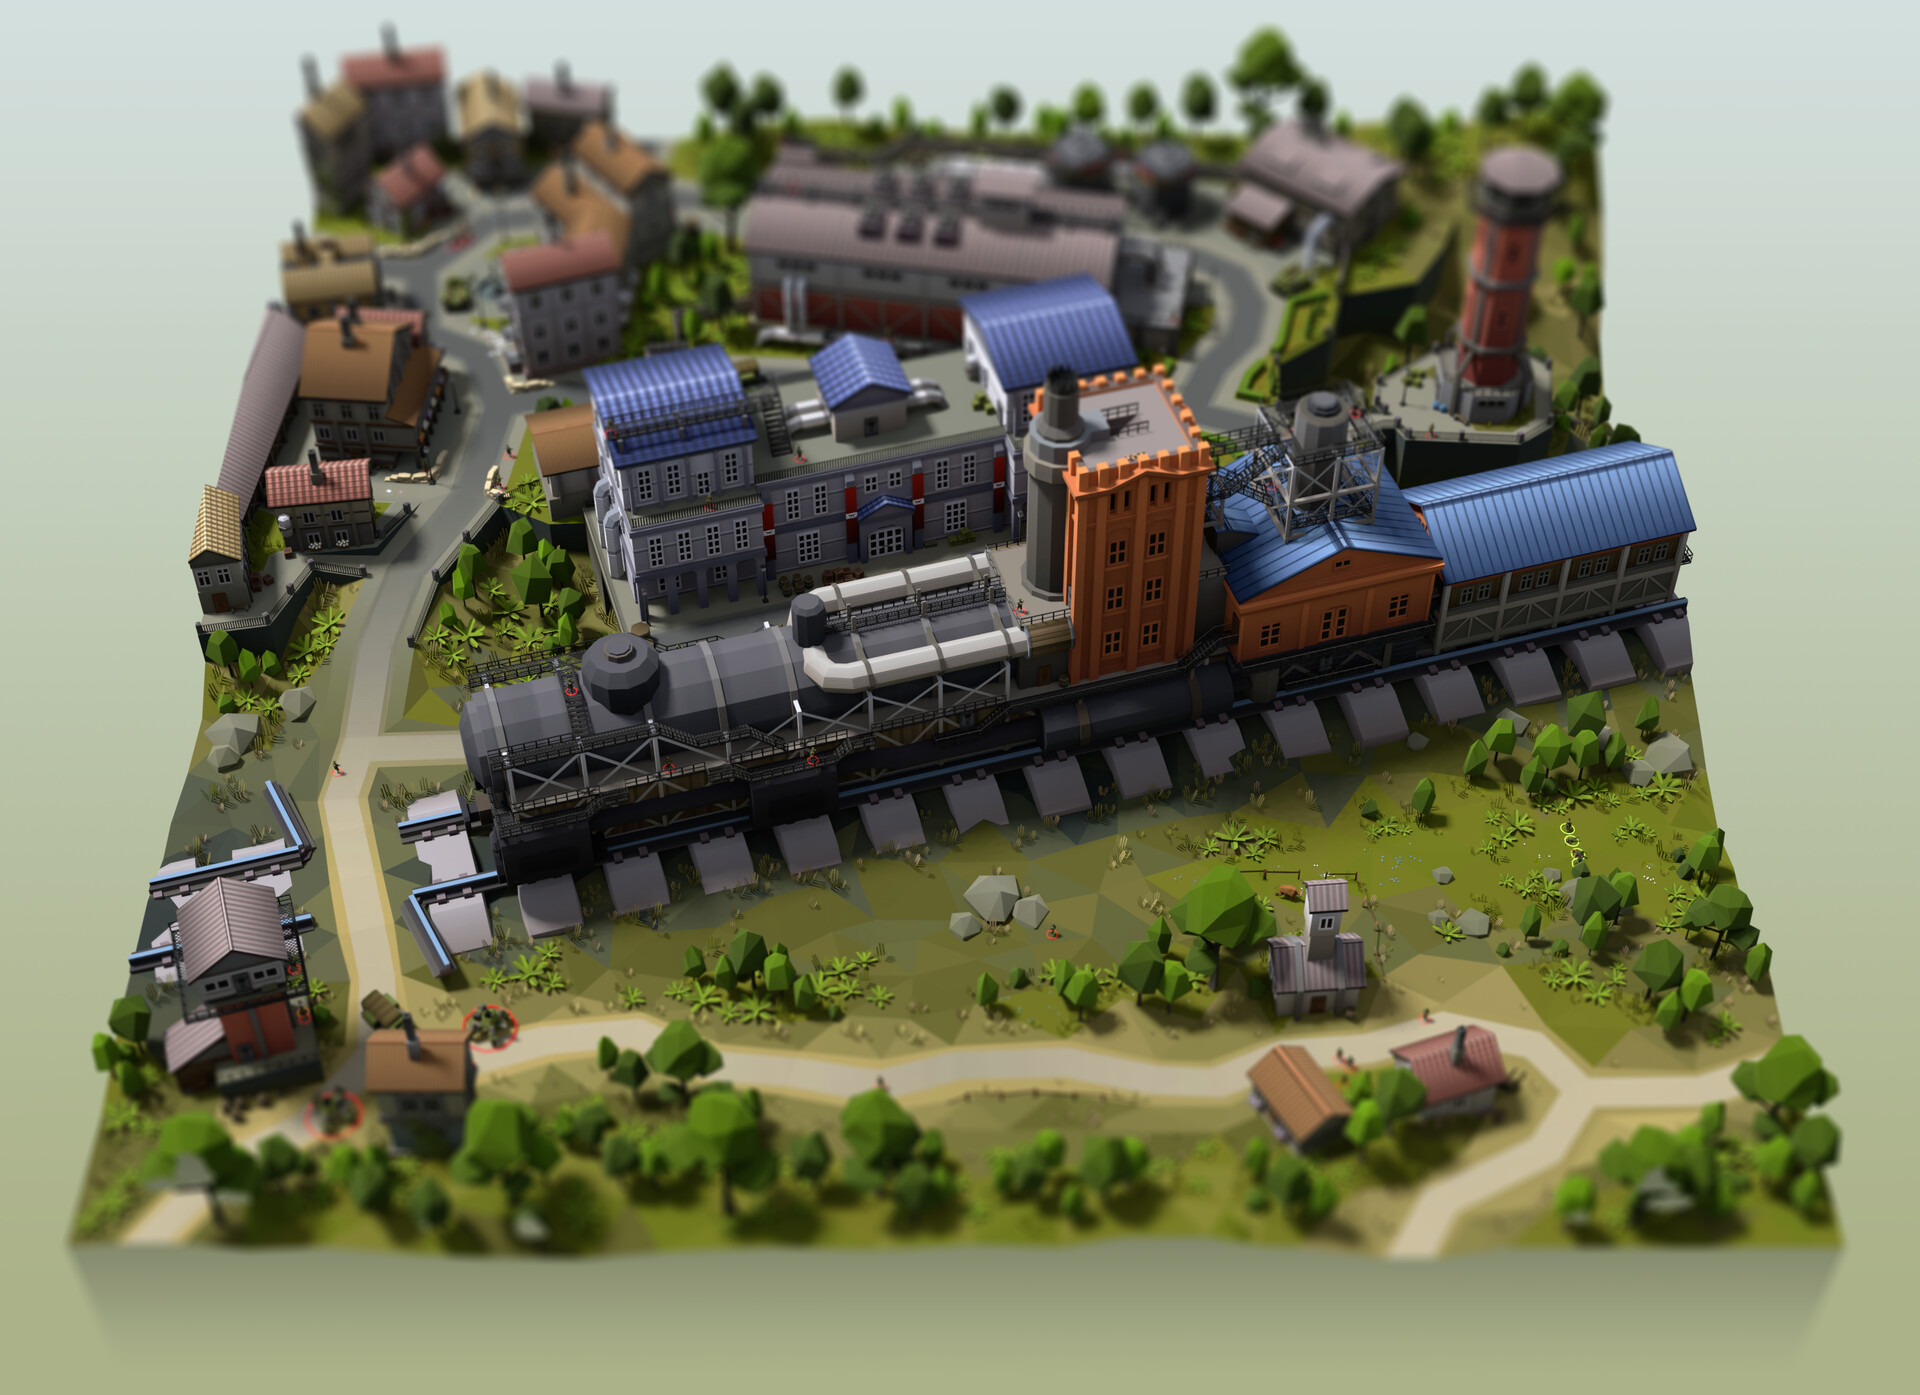 Hi-res render (ArtStation)
Preparing the File for Sketchfab
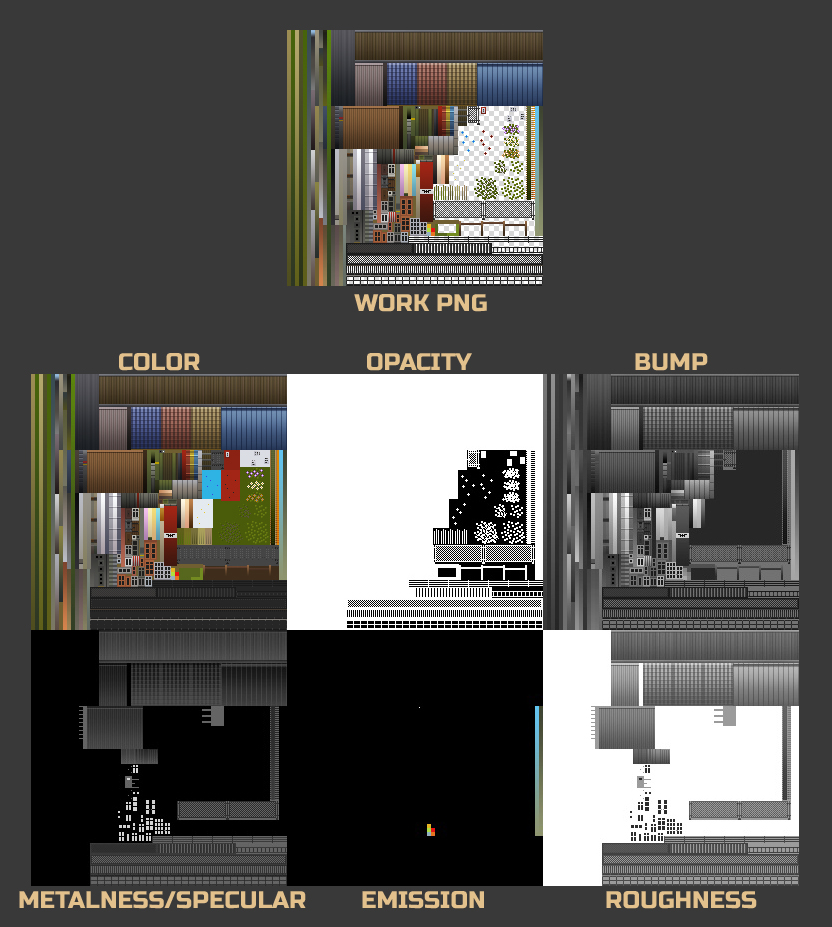
I make all the necessary textures from a transparent png file that I had made in Photoshop. Color texture was done by filling transparent spaces. The transparency map is just a transparent png painted to white with a black background added behind. Bump is a color texture in gray scale. Metalness, roughness, and specular maps were made from the bump map, and some of the surfaces are painted in flat grays. I added emission to emotion icons and round markers underneath characters. I exported the model as FBX.
Setup on Sketchfab
And now, at last, it was time for the most satisfying part of the job—playing around with setup on Sketchfab. In the blink of an eye you can get very decent results, which is what I like the most.
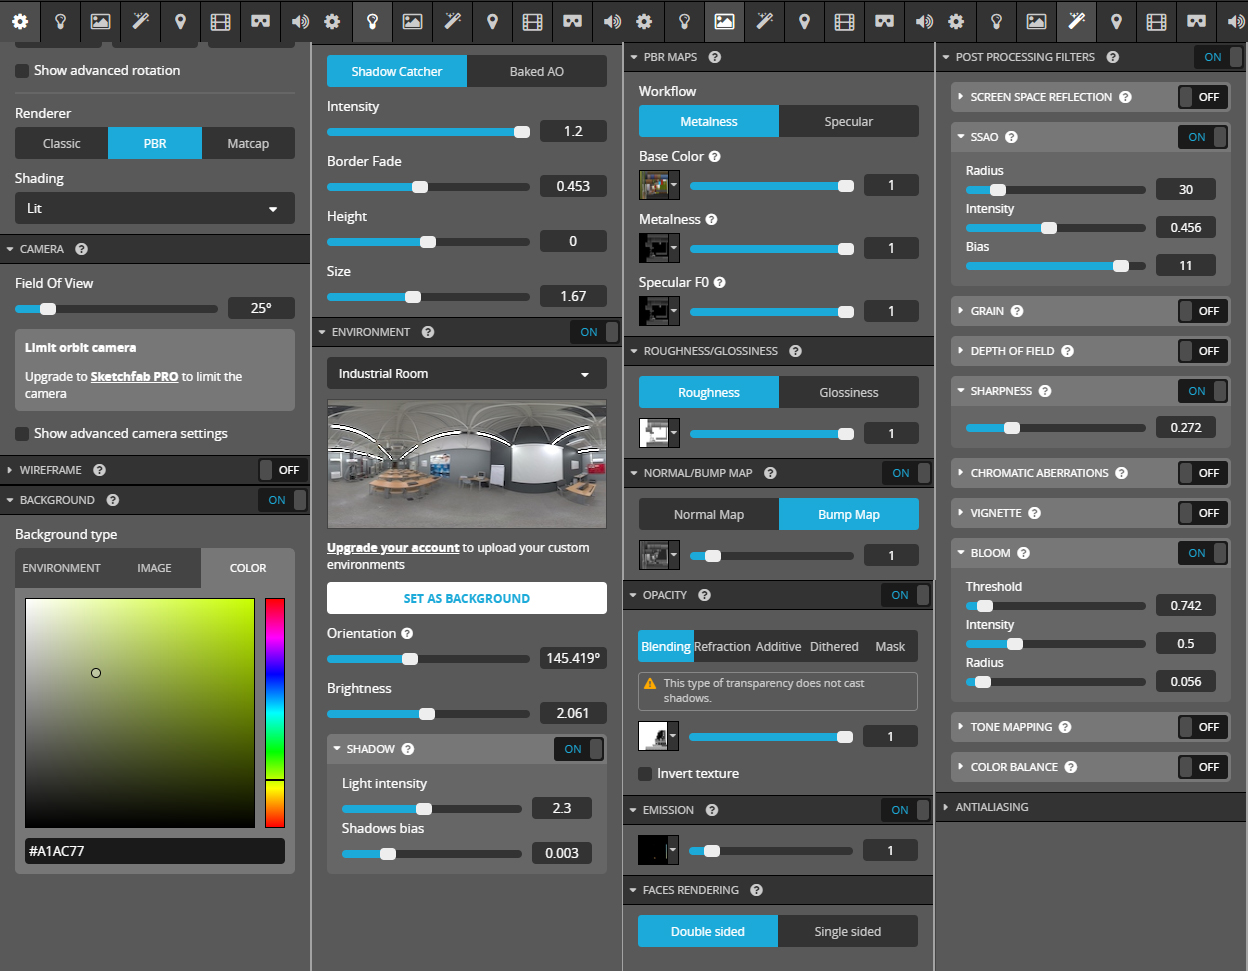
Setup on Sketchfab is quite simple. I set “nearest” filtering to all textures so that pixels were not blurred. Since all railings and grass were made with single faces, I used double sided faces rendering. Post processing filters were limited to ambient occlusion, sharpness, and bloom, to make geometry little bit more visible.
And that’s it!

