About Me
Hello everyone! My name is Marco, but I identify myself better with my platform nickname, “MarkusProud”. I’m from Argentina. I’m an independent and self-taught artist. I mostly use Blender as my main tool. I focus on sculpting and mesh modeling and also have knowledge of unwrapping, retopology, texturing, and, in general, everything needed to create game-ready models. Most of my work can be seen on my Sketchfab profile; you can also follow me on my Instagram where I usually upload some renders of models I’m working on.
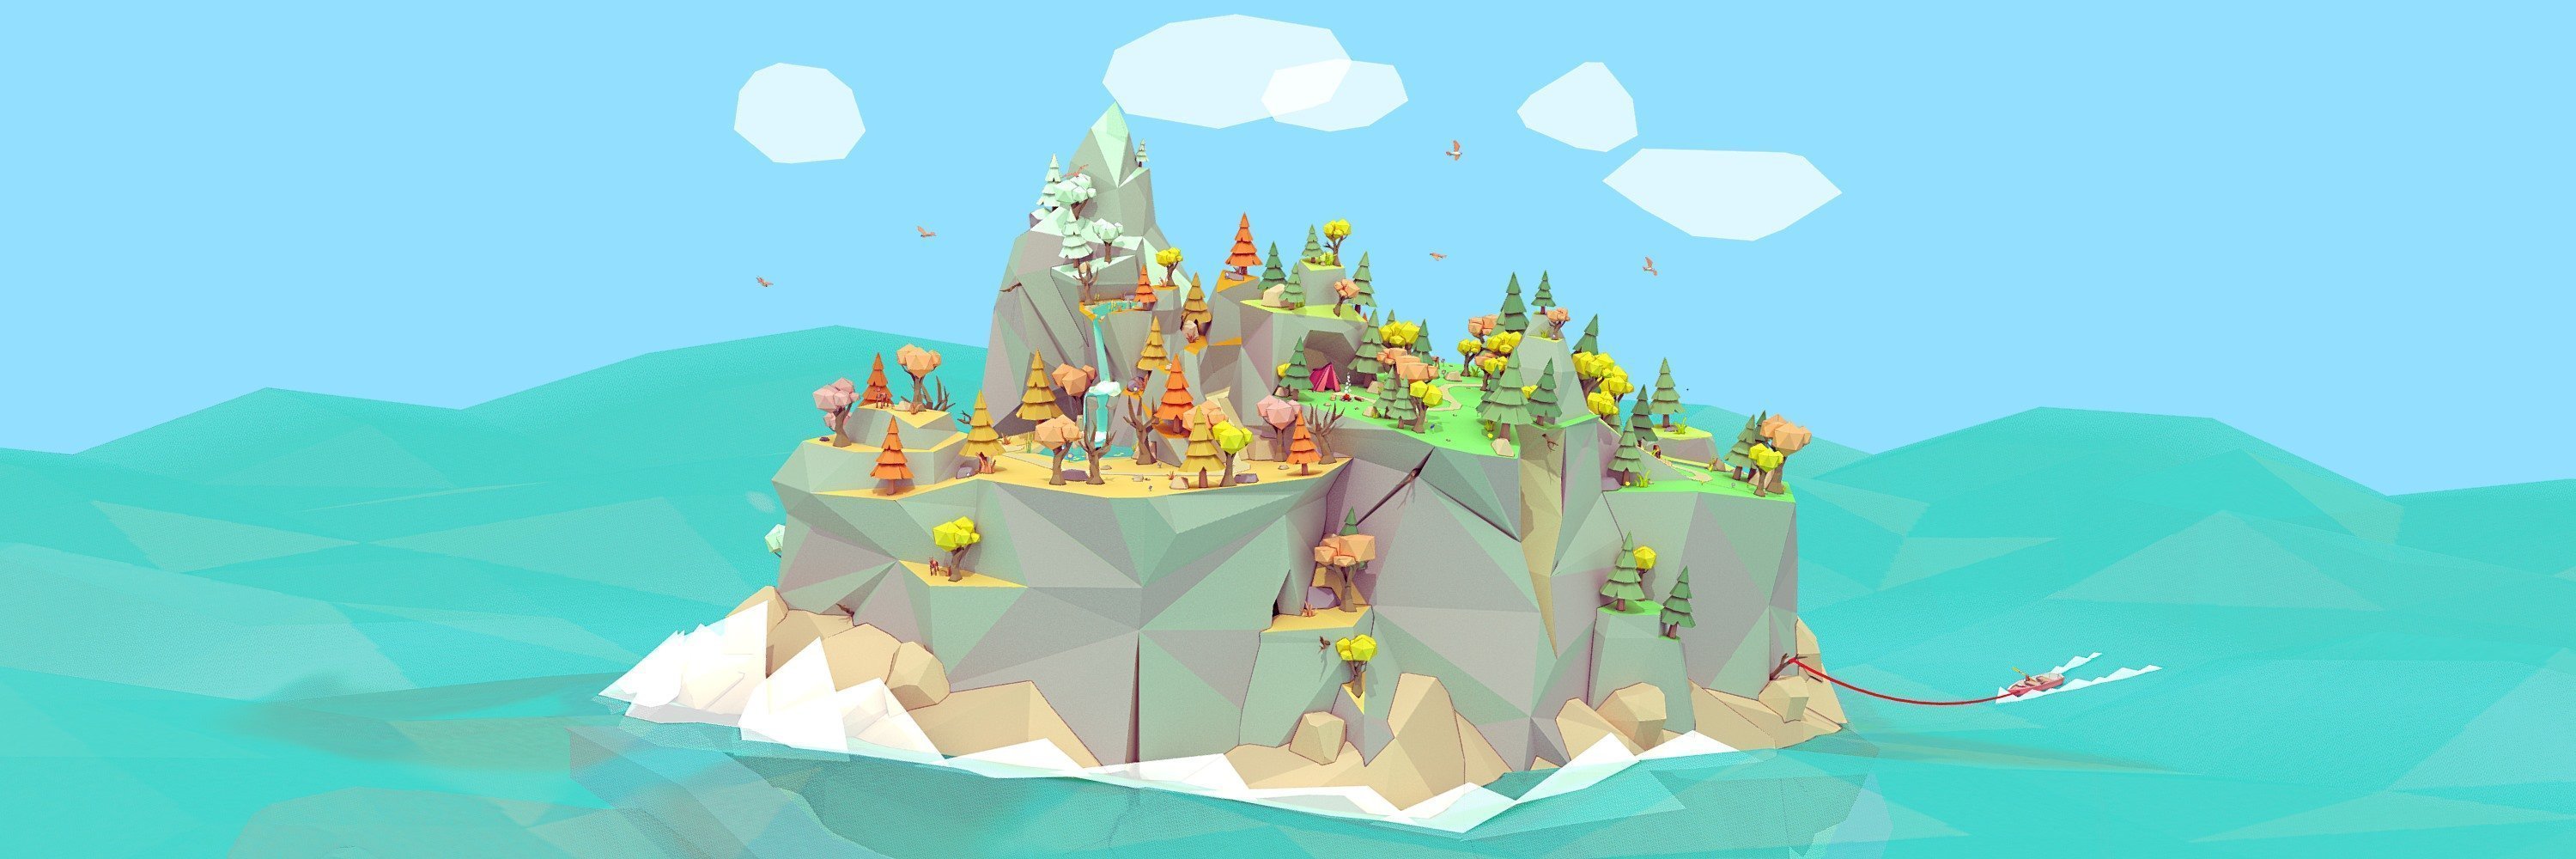
I made this model completely in Blender and it is a work I published to participate in the “Low Poly Fantasy Island” contest. I started it without concept art since I don’t usually use it for this type of model, so I didn’t follow a linear scheme, instead, it changed as I worked on it.
Inspiration
As the premise of the contest was a fantasy island, I immediately thought of the scene that belongs to one of my favorite series, “Avatar the Last Airbender”, the lion turtle island. As I loved this concept I started to work based on this.
Now, as the model also has few polygons, I looked for references that were of the same style to develop mine. I use, mostly, the program “PureRef” to save the references, and I also used the Sketchfab platform to save models and have 3D references, as they are very useful. What I was most interested in were the elements, such as cracks, different heights of the terrain, and other things that give the model that naturalness.
This is the reference model of the contest but also the one on which I based a lot. (Thank you, roguenoodle, for such an incredible model.)
Modeling
Already having the references and the idea in my head, I started to create the base model.
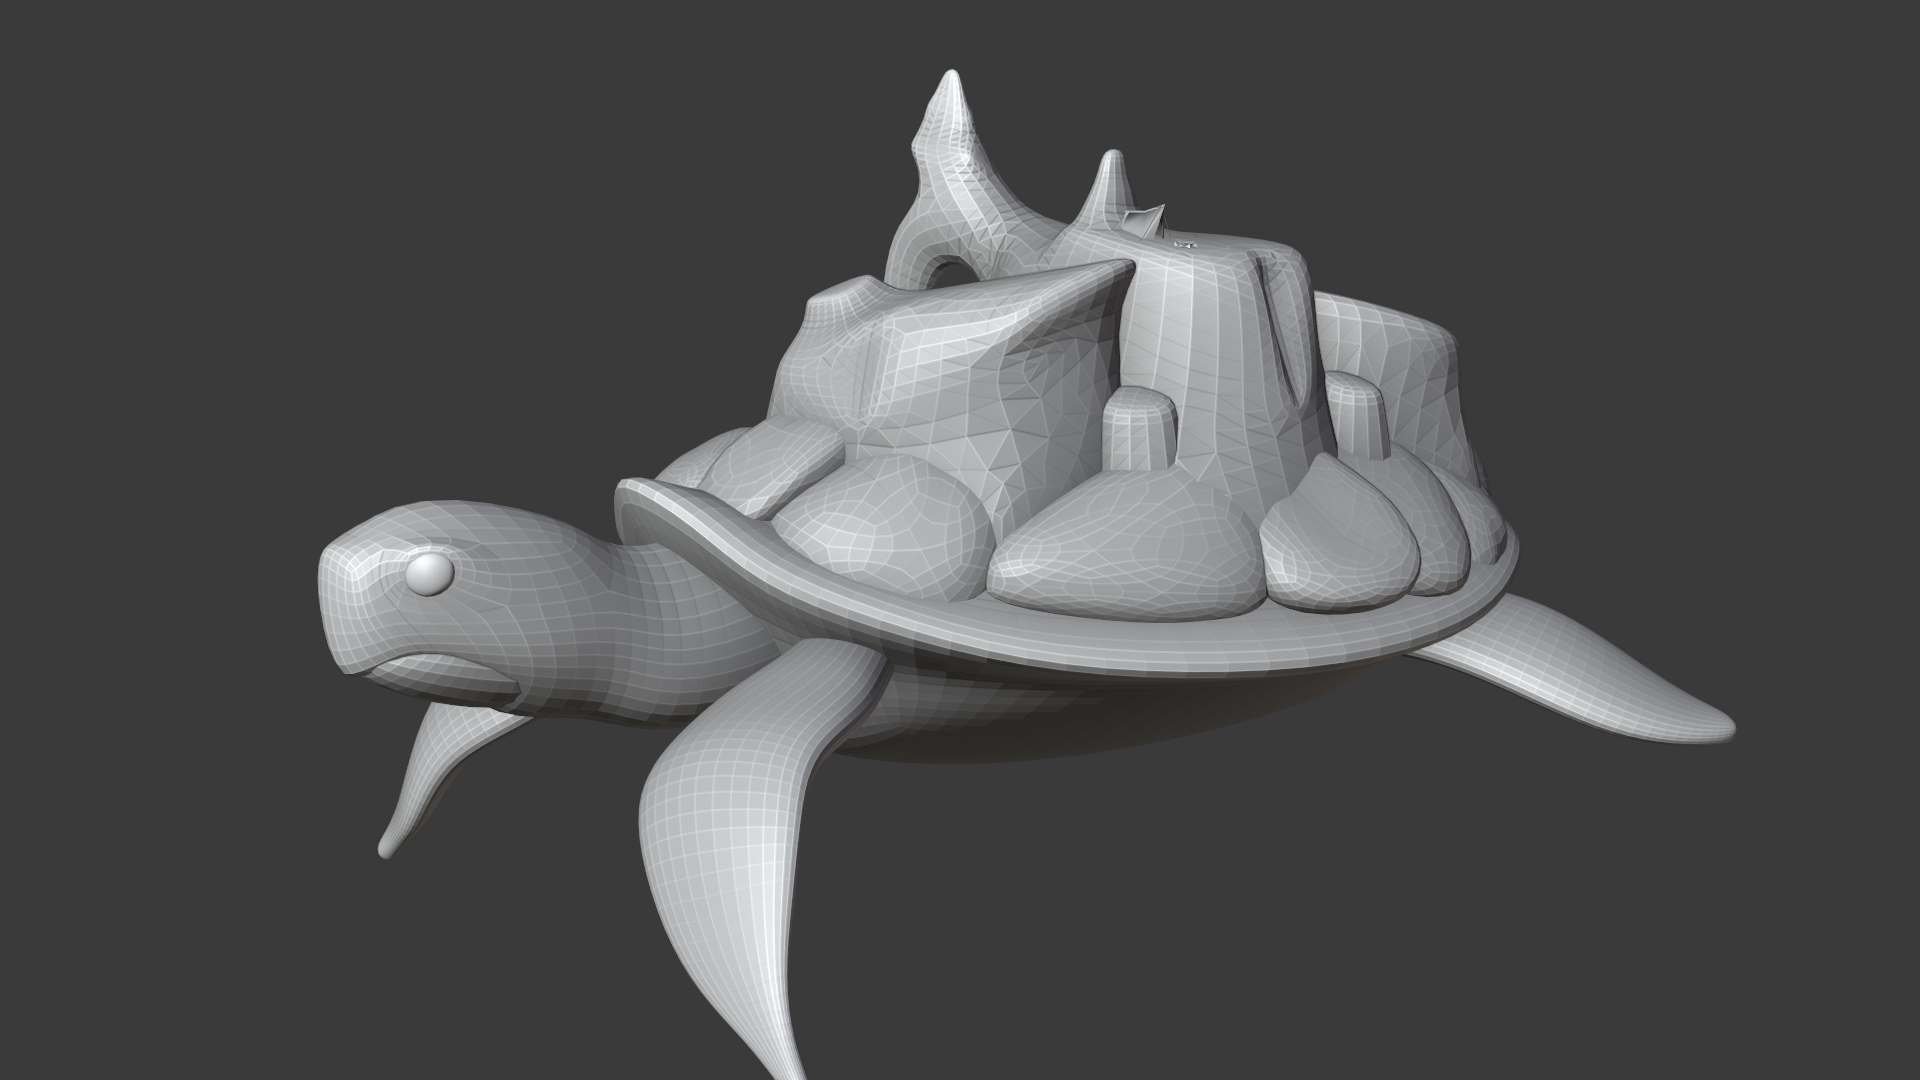
The shapes are very important in this kind of model because we have a limited amount of polygons, so we have to emphasize the shapes and make them interesting in some way.
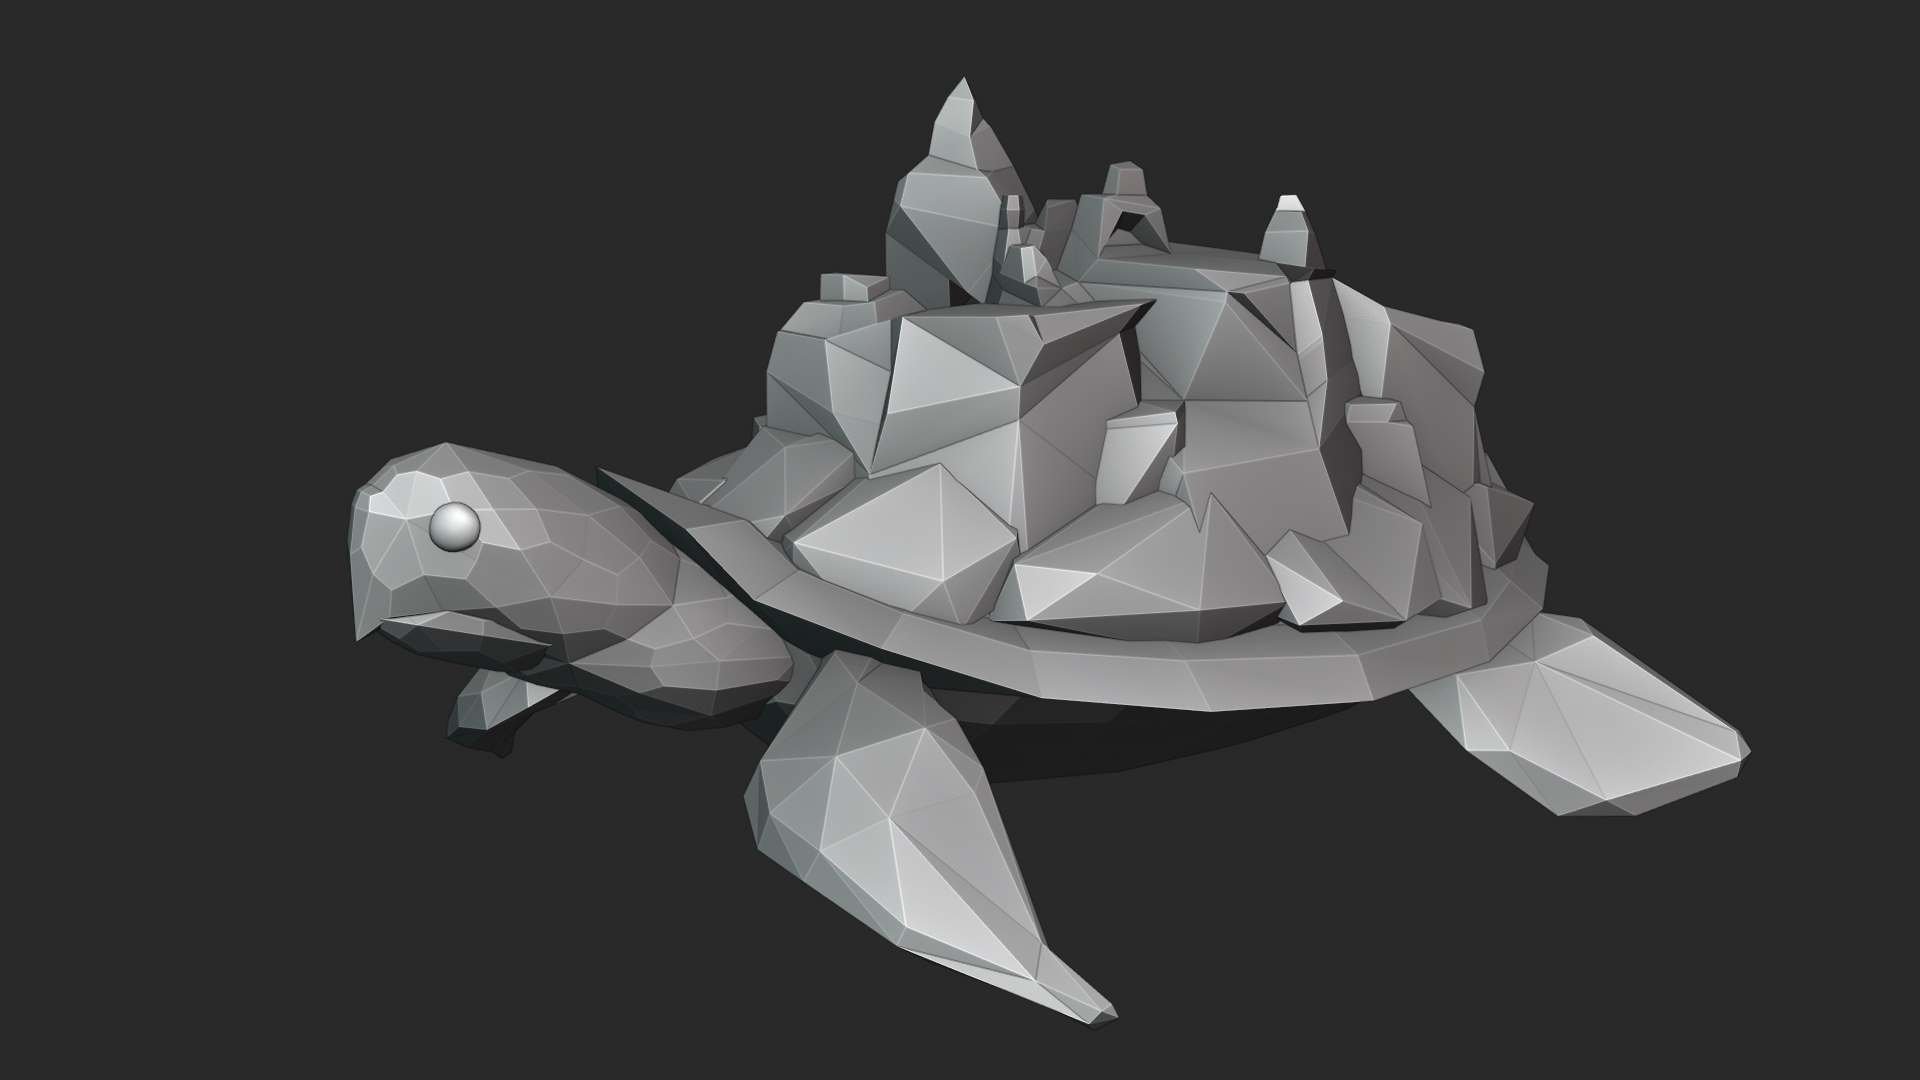
This was my preliminary model. At first, I made simple shapes using the “Subdivision” modifier to have better handling of the shape without manipulating the vertices one by one. Then I reduced the subdivision and modified it until I reached this more simplified state.
I also triangulated the model, since I realized later on that having a low number of polygons, I could take better advantage of the figure with triangles than with squares or n-gons (at least in this case).
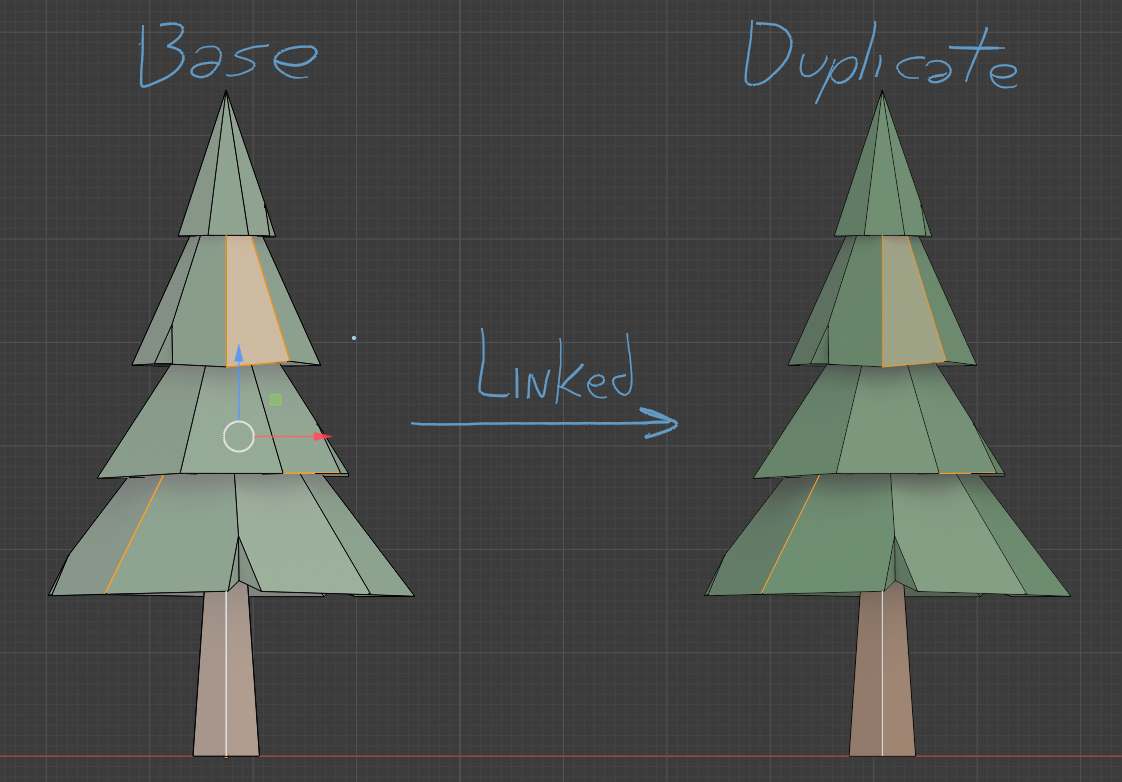
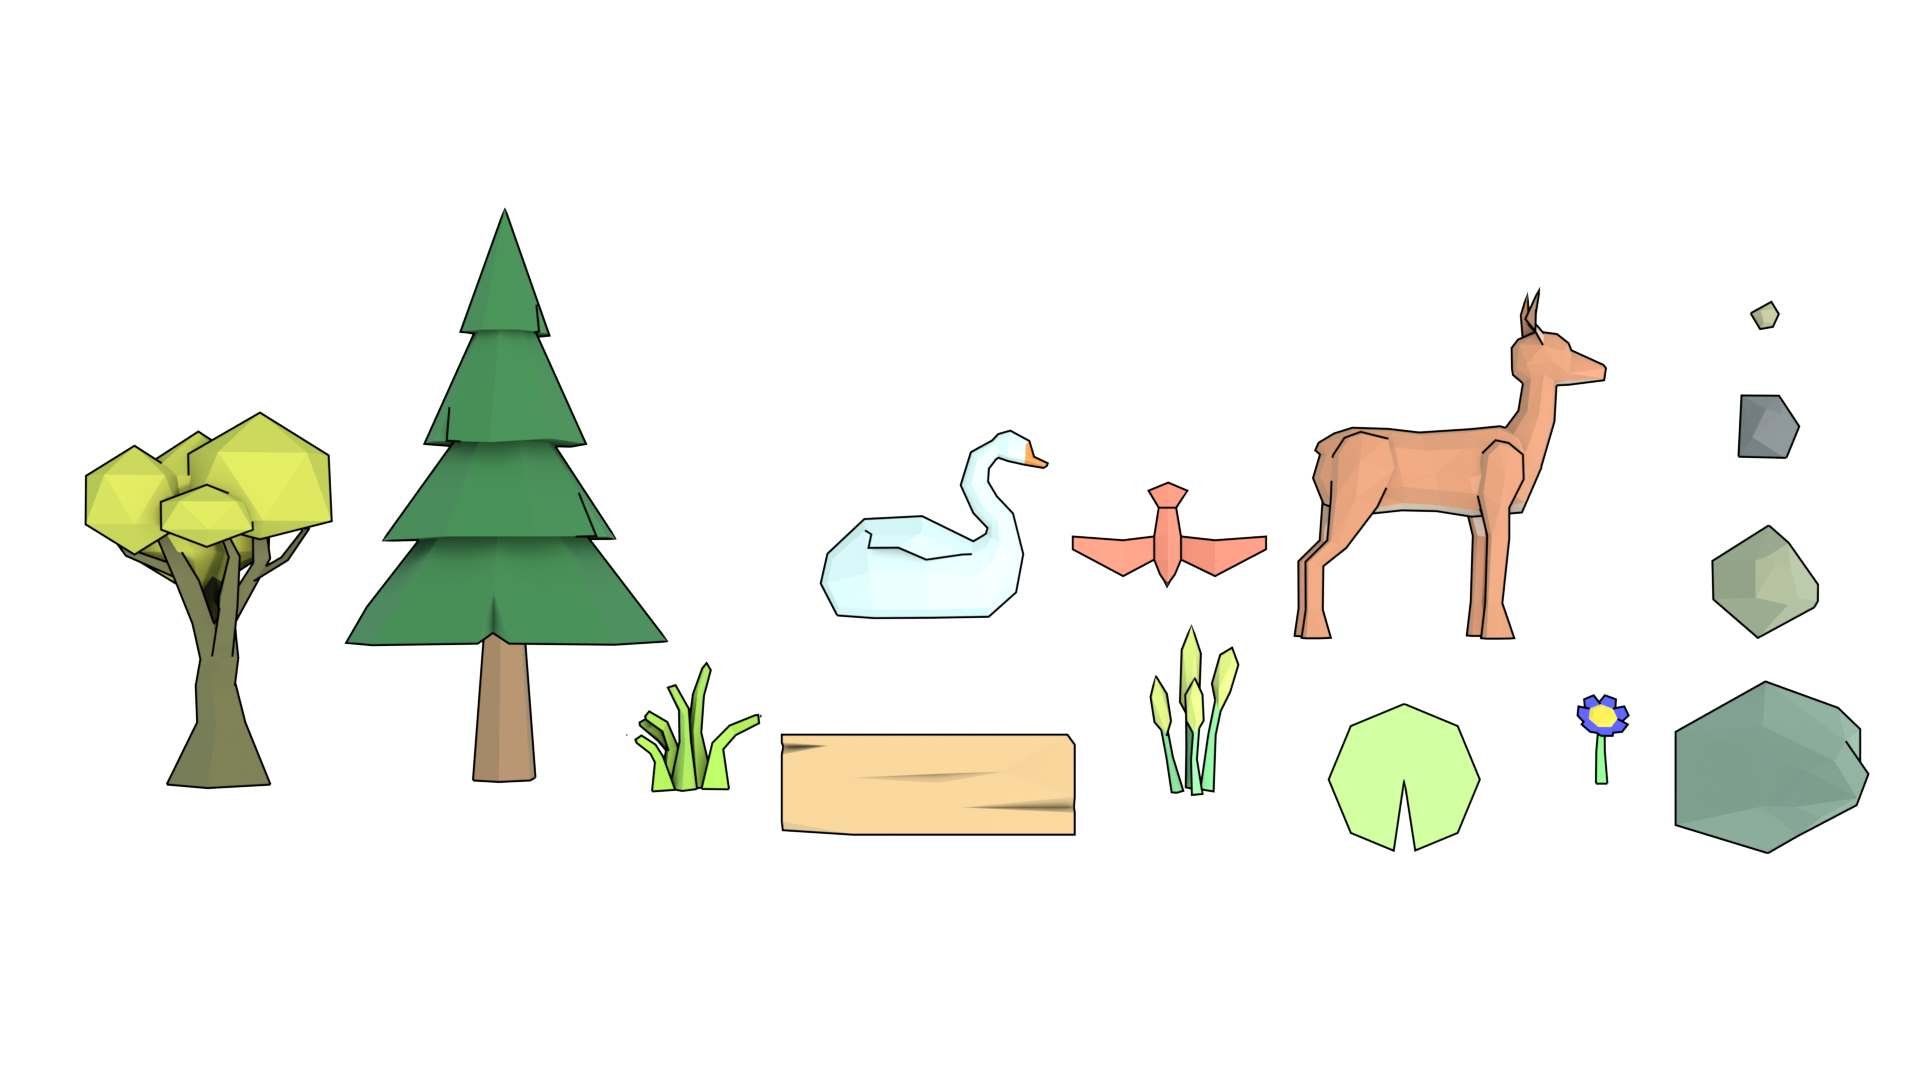
With the terrain done, I started to create the elements of the environment. I made them by creating a unique model of each one and then duplicating them with “Alt-D”. This allows each duplicate to be linked with its “base” model, which is very useful because each copy of the model can be changed without having to change each one.
At this point, I started to experiment with color, and I decided that the colors of the materials should be solid, which seemed to me very characteristic of this type of low poly model.
At first, I wanted to keep homogeneous colors in the terrain, but then I decided that this was very boring so I decided to separate each region of the terrain into different seasons of the year and generate a wider combination of colors, giving it also a more fanciful essence.
UV & Texturing
As for the unwrapping I used the Blender “Smart UV Project” tool in the parts where the model is more irregular (like the terrain, e.g.). This gave me some problems, but, anyway, they can be fixed by editing the UV mapping. Then in the more regular or concrete elements (like the trees or the animals), I did it manually because they are easy to unwrap and I took advantage of the fact that they were linked with Alt-D to save me the work of doing the same in all of them.
Since the scene was going to be static, I decided that I was going to pre-render the textures. So I started experimenting with different lighting and rendering engines. I ended up using the Cycles rendering engine.
And I used this guide so that when I finished it, it would be as optimized as possible. Now the only thing I had to do was to render each texture and apply it to the model.
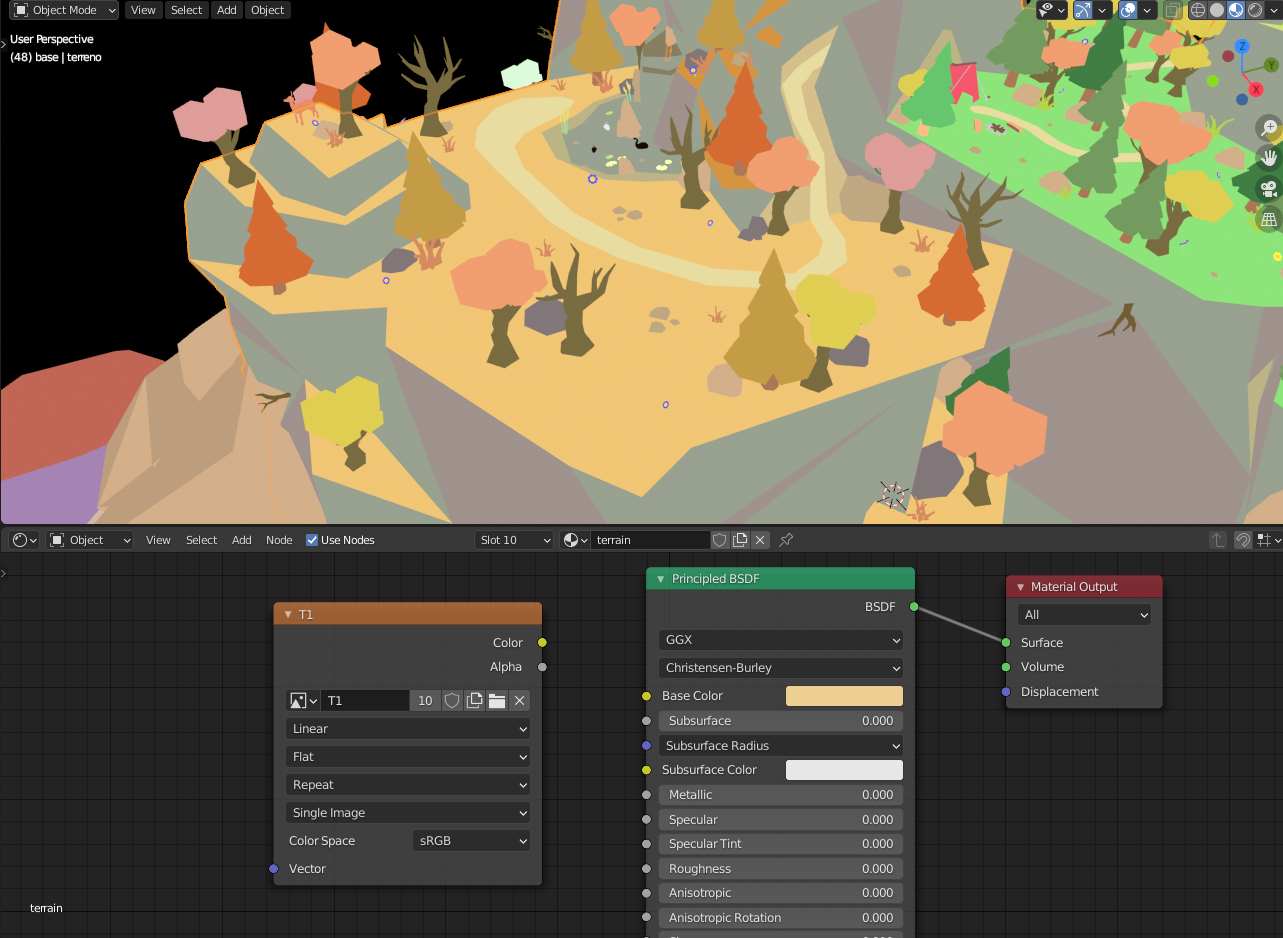
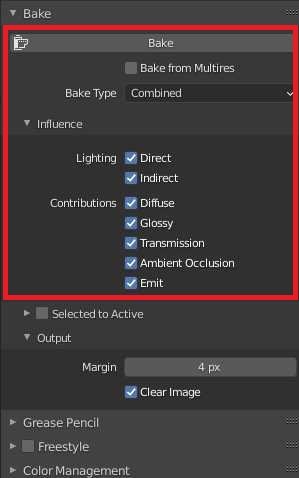
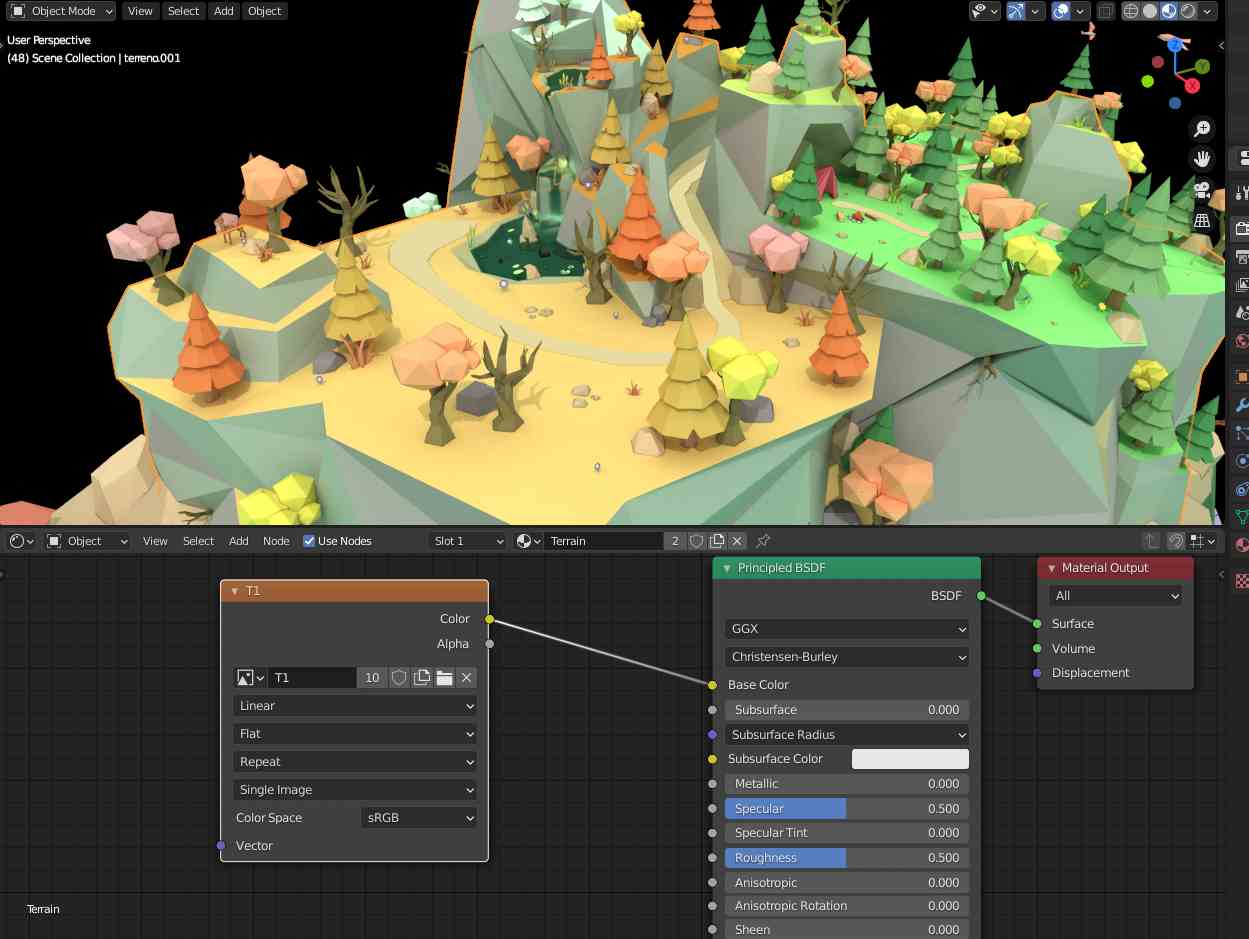
First I had to select the material and then the texture I wanted to render (in this case the “terrain” material with the “T1” texture). I used a combined rendering type because it allows me to do all the lighting calculations (Diffuse, Emit, AO, etc.) on a single texture.
I used the same strategy with the rest of the materials until all the textures of the model were obtained.
Sketchfab
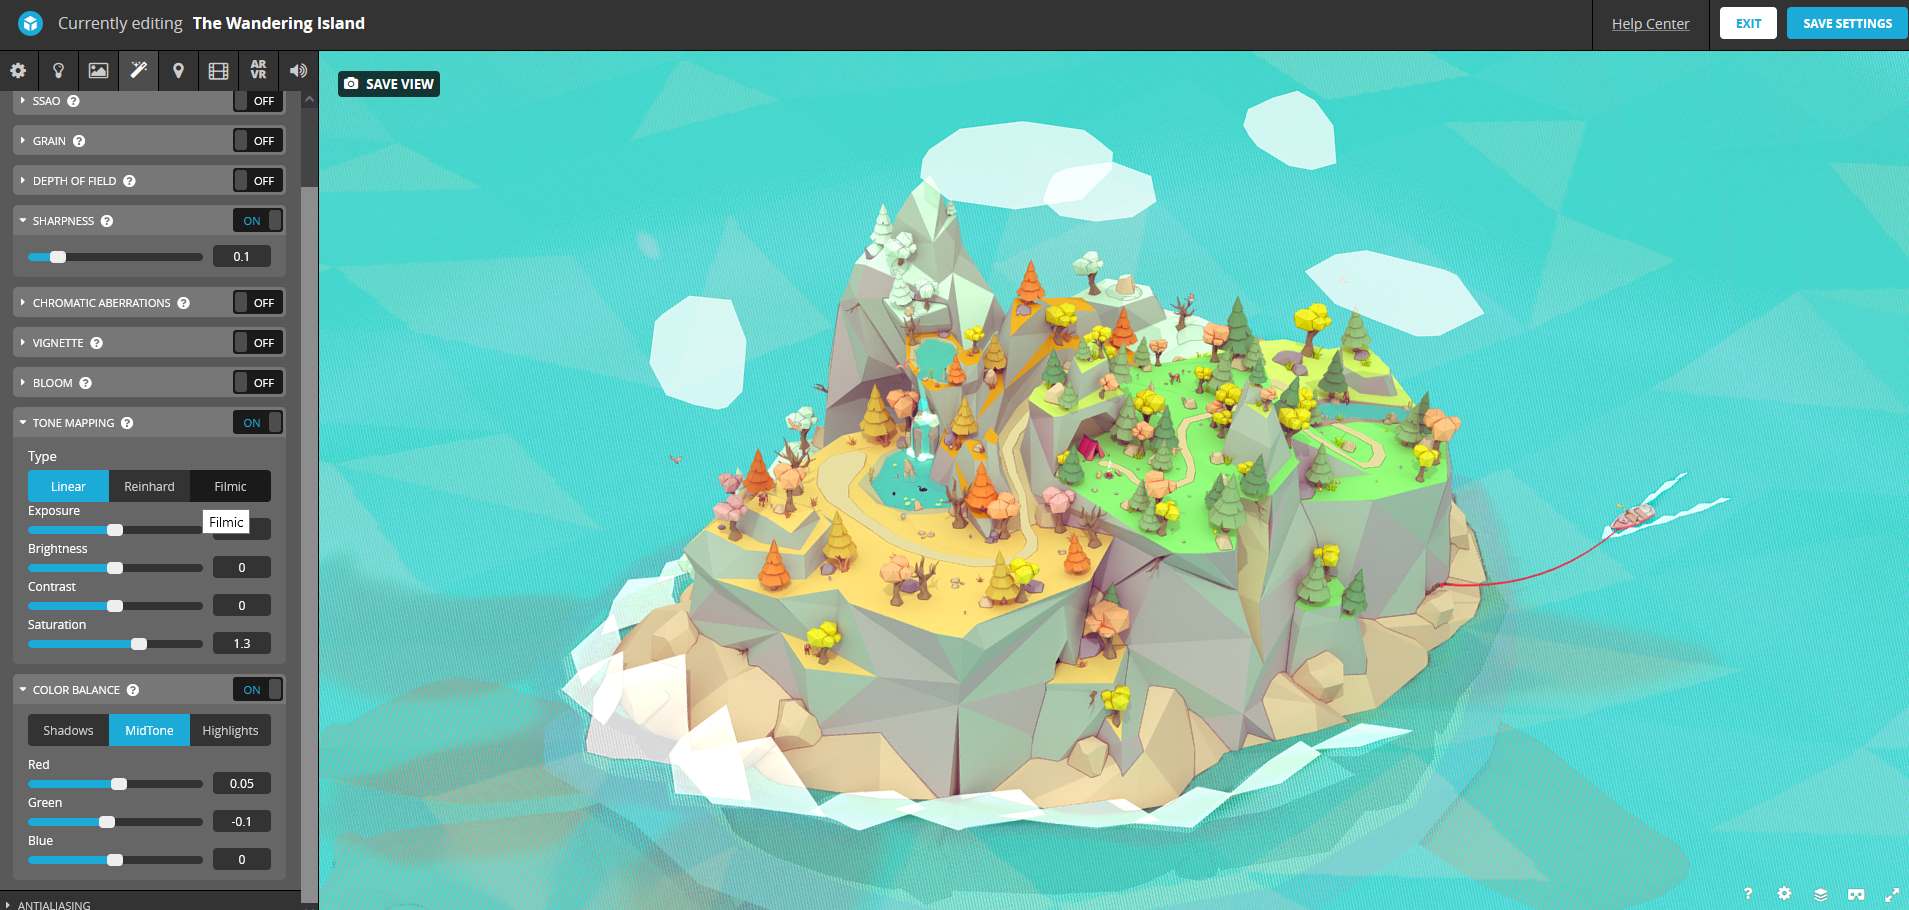
Regarding the general settings, I used the “Shadeless” shader to avoid using the Sketchfab lighting system and show only the pre-rendered textures. Also, I set the FOV to be more of an isometric view (in this case I set it at 10º) because I think it suits the low-poly style.
Now the post-processing, the part that I like the most. When I finished applying all the textures, I realized that the colors were a bit “washed out” and I didn’t feel like rendering the textures again, so I turned to post-processing to give me a hand. I saturated the colors a bit, adjusted the sharpness to accentuate the edges, and did a color balance. And voila!
And that’s all! I hope you found it useful and I want to thank Sketchfab for allowing me to explain more about this work. For me, it’s always a pleasure to help, and if you still have any doubts, don’t hesitate to contact me.
