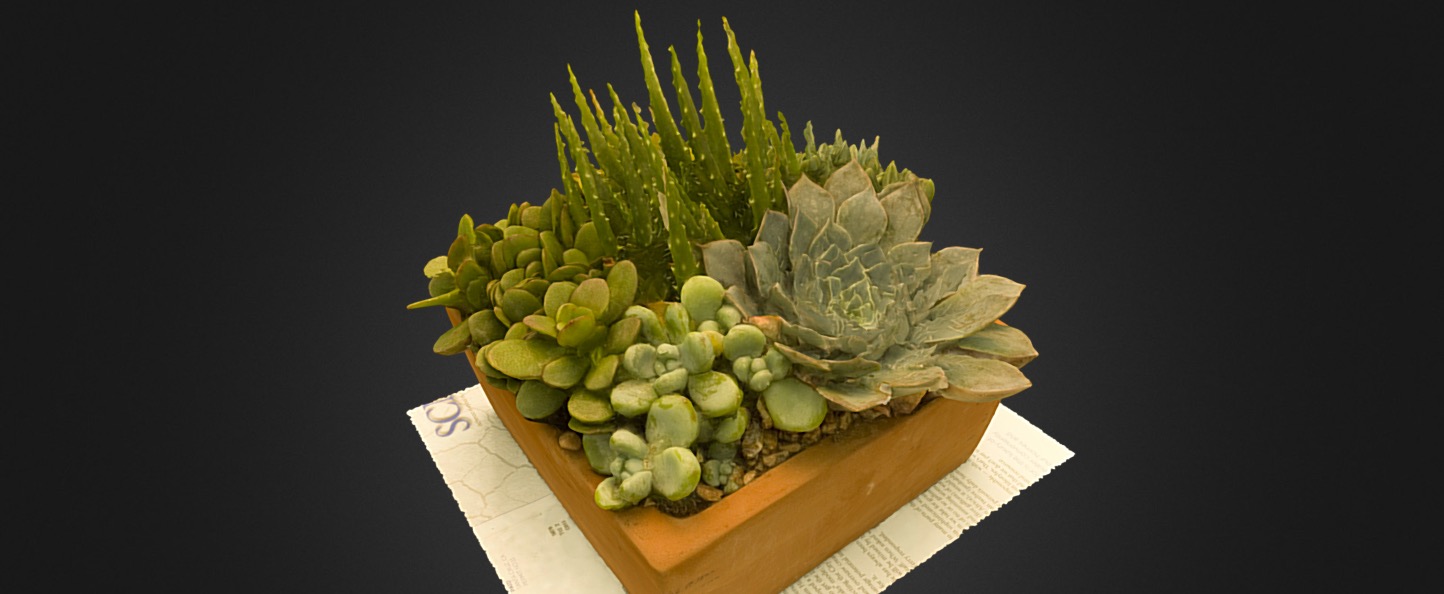
Sketchfab Ambassador Abby Crawford is the owner of Archaeological Graphics. With over a decade of experience working on archaeological excavations and at museums, she is also an expert at digital reconstruction of 3D models, or photogrammetry. You will find examples of her work here on her Sketchfab profile.
Even though photogrammetry is a very accessible technology these days, getting great results requires good preparation. Today, Abby teaches us how to plan your project in her Photogrammetry Photography Primer.
Introduction
Photogrammetry is the art and science of using overlapping photographs to reconstruct three dimensional scenes or objects. The practice has been around for over a century, but has become especially popular over the course of the past decade with the proliferation of digital cameras and free or relatively inexpensive, but accurate, processing software.
In this article we will cover the basics of photography as they pertain to capturing photos for photogrammetry. First we will discuss the necessary and recommended equipment, then move on to choosing subjects, setting up your shots, taking those shots, and, finally, getting your photos ready for processing in photogrammetry software.
Equipment
It is possible to create successful 3D models from all sorts of cameras, from those housed in your phone to high-end digital single lens reflex (SLR) cameras, and everything in between. The better your camera’s resolution, the better the photos and resultant 3D model(s) will be. A minimum resolution of 5 megapixels is a good rule of thumb. For reference, an iPhone 6 has an 8 megapixel camera.
If you have a choice of lenses, it is best to pick a fixed focal length lens, e.g., 50mm. If you only have a variable focal length lens, just be sure to keep it at one specific length (either max or min) over the course of your shooting. If you have a point-and-shoot camera, simply avoid utilizing the zoom function during the course of your photography session. You should still be able to utilize autofocus.
Various parties have experimented with using fisheye and macro lenses for photogrammetry. Most photogrammetry software packages advise against fisheye and other such extreme wide-angle lenses because of the inherent distortion that they cause in photos. Macro lenses are rarely mentioned, but may prove less problematic than wide angle lenses.
If using your phone’s camera, the best photos utilize high dynamic range (HDR).

Optional equipment may be used to simplify or improve your photography:
A tripod is perhaps the most useful piece of equipment that you can have for photogrammetry apart from your camera and computer. Assuming it is properly set up and isn’t being bumped or windblown, your tripod should eliminate any blurriness in your photos due to user shakiness. The tripod also permits you to take photos with longer exposure times, which is important when you are trying to get maximum depth of field (which you should be!). It is possible to get tripods for less than $100, but their reliability and durability is frequently suspect. Consider your needs, what you can afford, and user reviews of tripods before purchasing one.
Along those same lines, a remote control for your camera may also be a good accessory to your tripod. Remotes are useful if you find yourself accidentally shaking or bumping the tripod-mounted camera when you press the shutter button. Remotes can be obtained relatively cheaply, with many costing less than $20.
A turntable is handy when you are able to lift your subject, want strict controls on lighting and/or do not have sufficient space around your subject to get 360 degrees of photos. Setting up a turntable permits you to arrange your tripod and/or lights in a static location. Any variety of turntable will work, but the size and weight of your subject should be taken into account when choosing equipment. While I generally use an inexpensive ($8) turntable, some turntables come equipped with degree marks around the edges, and even automated turning features. If such a turntable is used, leaving the turntable on continuous rotation is not recommended. Unless you are working with a quick shutter speed, movement from the turntable can cause blur in your images, thereby rendering them unusable.

In the event that you are having some trouble getting photos to align in the post-processing phases, you might consider adding targets to your shooting setup. The simplest version of this involves putting a piece of newsprint underneath your subject. The text and lines on the page will provide solid reference points onto which the photogrammetry software can latch. I use numbers attached to a cardboard backing, which allows me to place them around my subject and easily crop them out when I’m processing my model. If you end up using targets, you must remember not to move them during the course of your photography session; doing so will cause photo alignment problems down the road.
A circular polarizing filter (CPF) is recommended when you are shooting shiny/reflective objects. It will reduce the bright spot(s) caused by reflection. It should be noted that CPFs tend to be ineffective on metallic surfaces.

Without CPF

With CPF
Additional lights are dealt with later in this guide.
Choosing a subject
Not all photogrammetry subjects are created equal. Since photogrammetry software relies upon matching up common points between photographs, you may have trouble successfully reconstructing certain types of objects. Thus, it is best to avoid objects that are: untextured, completely flat, very thin, transparent, shiny, and/or reflective. Examples of difficult-to-capture objects are leafy plants, fur and hair, glass items, and shiny or sparkly Christmas ornaments.

Bad subjects
Conversely, solid, matte, textured objects are much better subjects. Examples include tree trunks, rocks, and sculptures.

Good subjects
Shooting conditions:
Ideally, your subject will be evenly lit and perfectly still. If a portion of the subject is in dark shadow, that shadowy portion may manifest itself as a hole in the mesh later in processing. If part of your subject moves (e.g., folds of a skirt or shadows created by a flash), the software used to process your photographs will ultimately be unable to match points between photographs, thereby causing gaps or irregularities in the final mesh.
There are a variety of workarounds to enhance lighting in difficult situations. If you have spotlights handy, you can set those up around an object. LED panels exist that can be attached to a tripod or to a camera’s flash mount (examples can be found here and here). With any light, you want to be able to adjust it – either by dimming or by moving it farther away from your subject – in order to keep harsh shadows to a minimum. Be aware that if shadows on the object shift because of your changing position, point-matching problems may occur during model processing.
If you are shooting outside, pay attention to the effect of wind on your subject, and any changing cloud or sunlight conditions. If you suspect that wind may move all or part of your subject, try to relocate to a more sheltered location or create a windbreak around the object. If the sun is creating harsh shadows or your subject is alternating in and out of shadow, try using a plastic sheet or sheer fabric to create shade for your subject (example here). In some cases this solution may require assistance from others.
Examples of good shooting situations are:
- outside on an overcast/cloudy day
- inside with diffuse 360 degree lighting
Camera positioning and shooting
The question of how many photos you need to take depends on the size and complexity of your subject. Of those photos that you have taken, how many you can use will depend on the limitations of your computer and/or the photogrammetry software that you are using. It will likely take some trial and error for you to figure out what your computer can handle and how much time you are willing to put into processing models. When in doubt – and particularly when you may not be able to return to your subject – take more photos than you might need. Superfluous photos can always be removed prior to processing, but new photos can never magically appear.
Despite there being no hard and fast rules regarding the number of photos to take, some rules of thumb should govern your photo taking.
First, it is important to capture a photo roughly every 10-15 degrees (horizontally and vertically):


Second, there should be roughly 60% overlap between photos. Without overlap the software will be unable to identify the same points in different photos, and will then be unable to create an accurate 3D model. There is no harm in having more overlap, but it’s best to avoid having less overlap than 50-60%.

In some cases you will be photographing subjects that have complex topography – holes, overhangs, protrusions, etc. It is important to capture all sides of all features in order to achieve an accurate final product. Before beginning shooting, examine your subject and consider the extra angles and shots that you may have to include for full coverage. If your subject has sharp corners, you might want take a few more photos of them than you would otherwise, in order to capture the exact parameters of the corners.
Post-processing
After having taken your photos, it is important to go through them and ensure that any blurry or unfocused shots are removed. These images will not align properly and may adversely affect the alignment of other photos.
In many instances you may find that processing is sped up or less confused when you mask your photos. “Masking” serves to block off portions of an image or images that you do not want included in photo alignment or texture generation. The shape that your masks take will vary depending upon your needs. For instance, it may be that something appears in the foreground that you do not want to appear in your model. The masked section(s) will be excluded from point cloud generation. In the photo below, a tombstone in the foreground is masked out in order that it not interfere with the subject of the photo session.

In other instances, you may have to mask out everything except your subject. This may be the case if you are using a turntable or there is little definition between subject and background. Depending on the size of your photoset, masking can be a time intensive process. Some softwares manage processing fine without extensive masking, while for others it is a key part of the process. While many softwares have masking capabilities built in, others do not (e.g., Autodesk ReCap). When working with these softwares it is necessary to mask in another program, such as Adobe Photoshop. In many cases it is best to weigh the necessity of masking the photos against the time that would be involved to do it.
Conclusion
In this brief essay you have learned the equipment and steps necessary to begin creating a 3D model in photogrammetry software. Hopefully the tips and tricks included here will help you to take better shots and process models more successfully!


