As photogrammetry becomes more and more accessible, thanks to the help of the tools used to create and share it, there are always external measures you can take to get the best result. Sketchfab Master Néstor F. Marqués’ extensive work in culture heritage has led him to become an expert at photogrammetry of significant historic relics and sites. While we have previously covered the basics of photogrammetry and how to set up a successful session, Néstor will teach us how to effectively light a project so that it can be viewable in any setting.
Introduction
As you may know, lighting is one of the key points to take into account when approaching a 3D scanning project. Good lighting conditions will greatly impact the result of a photogrammetric model: its final texture, geometry, and potential errors.
As a 3D Heritage researcher I have tested almost every level of lighting conditions, from the most controlled laboratory-like situations in which I had all the tools to make a great scan almost from any object, to the worst scenarios in which all I had was the sun entering from a window to a dark room (if you have been in this kind of situation, you know what I mean…)
Yet, every single time, I tried to make the most out of the light sources I had (whether they were natural, artificial or a combination of both) to make the best possible 3D model. Judge for yourselves by taking a look at some of them on my Sketchfab profile.
First of all, let’s summarize the kind of light you can have while making a 3D scan:
–Natural: natural light, coming from the sun, can be a good ally if softened by the clouds. There’s no better diffuse light in nature than a cloud covering the sun. On the other hand, direct sunlight will cause your 3D model to have a lot of shadows and very high contrast between the areas facing the sun and the ones that aren’t.
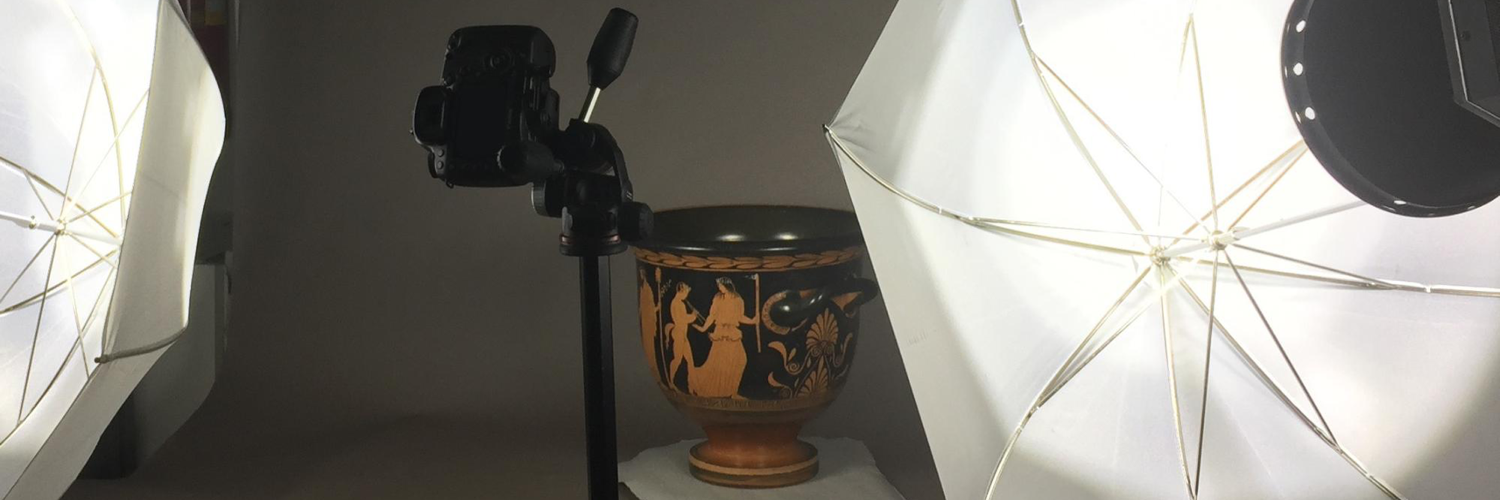
–Artificial: unlike with sunlight, you are able to control the number, position, brightness and hardness of artificial lights. If you are able to do this and choose a set of bright but soft lights (you can achieve this easily with some white umbrellas as in the image below, or with a light box) you will get great results. Despite this, there are some situations in which you won’t be able to control the lights, maybe because you are in a museum, maybe because you don’t have any portable sources of light with you… the possibilities are endless and we will take a look at some examples later.
The next thing you have to consider when starting a scanning project is whether your object can (or should) be moved or not, especially when dealing with heritage objects. The two possible approaches will affect and differentiate the results you’ll get. If your object can’t be moved, your 3D model will have the light it had in the real world baked (superimposed) on it. This usually makes it more difficult to add virtual lamps and shadows (if the source of light was not softened) and still make it look good. On the other hand, moving the object in a controlled light situation will reduce this effect by making the light, -inevitably- baked into the object’s texture, much more even. But let’s take a detailed look at both methods.
Moving around the object
If you can’t move your object, whether it’s due to its size, weight, situation or fragility, your workflow will involve you moving around it. What this means is that whatever light you may have in your scene will be reflected in your 3D object as it was at the moment of taking your photos. To serve as an example of that kind of situation, take a look at this model of a church in Segovia (Spain) where the sun is casting the shadow of the tower over the roof.
One way to avoid this would have been to take the images on a cloudy day, as I mentioned earlier, but, during the whole week in which I had the drone for this project at my disposal, there were no cloudy days. You see, sometimes it is nearly impossible to fight the light; all in all, the result was quite good.

This is an example of me 3D scanning a painting. It was much easier and less intrusive to move around it.
The Scan:
Moving the object
On the other hand, if you are dealing with small, portable, not-a-whole-church-like objects, the best way to scan them is in a turntable style with at least two soft light sources pointed at it at a 45 degree angle. Not only because you won’t have to move while taking the photographs, which makes your work easier and faster, but also because of the benefits of controlling the light facing the object you want to photograph. By turning the object, every time you take a picture you’ll get a perfectly illuminated object with no shadows and no color or intensity changes. That is the easiest way to make something that resembles an albedo texture (a texture with no light information) to work with and make your scans look more natural and realistic.

This is an example of one of my works: a Greek vase scanned in a turntable style in controlled lighting conditions
Take into account that any real object you scan will have light baked on it, but you can take advantage of that by capturing it in a way that doesn’t affect -and may even improve- the final result.
Case study: The Altar of Jupiter
The museum piece I will be using as an example was scanned in a situation in which I couldn’t possibly move the object and couldn’t control the lighting conditions either. These conditions are the greatest obstacles in making a successful photogrammetric model. Also, the piece, due to the circumstances, was scanned while the museum was open to the public, which added a little more complication to the work. Let’s take a look at it.
Picture a room with small direct spotlights coming from one spot on the ceiling, a big window through which sunlight can enter on one side and no light at all coming from the other side. It’s a perfect lighting nightmare! Now watch me in that room making photographs while the rainbow appears all over the piece I had to scan (yes, the rainbow appeared due to refraction from the window’s glass)

Don’t get me wrong, the rainbow was beautiful, but it was kind of ruining my scan
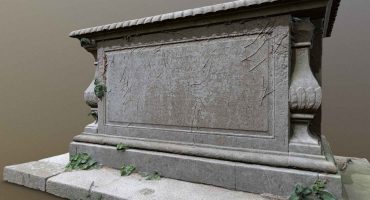
The result of the scan of this Roman altar in Cartagena (Spain) was what you can see in the next 3D model. Fake colors, very bright areas that contrast with very dark ones… A great masterpiece ruined by bad lighting conditions.
The geometry of the scan was pretty good though, you can check it out changing its blend mode to MatCap (or by pressing the shortcut “3” on your keyboard), so I decided to tweak the result a bit using only Sketchfab’s integrated lights.
Here you can see the huge change I got just by adding a directional light and placing it facing the darker side of the altar. Take a look also at the second view where you can see how the three virtual lights were distributed in the scene to make the baked light look even.

There are two lights to the sides of the altar with different intensities to minimize the contrast between highlight and shadow areas and another one attached to the camera. Also, an HDRI environment was used to illuminate the rest of the scene.

And finally, this is the result:
Here you can subscribe to collection containing the other two alters in that session.
Final thoughts
I hope this experience can be a good example to help you deal with lighting conditions in your own projects. Remember, more controlled lighting implies less work to fix your models in post-processing. Nevertheless, I tried to show you how to easily fix some of these light imbalances and defects in situations where you aren’t able (for one reason or another) to control the lighting conditions of your scene. And above all, don’t be afraid to light up your 3D scans, you could get great results!
P.S. Of course, if you have any questions, suggestions or projects you want to discuss with me, feel free to reach out to me on Sketchfab or by email.


