Sketchfab Collaborates with Browzwear to Bring 3D Garment Assets to Any Web Page
Sketchfab is proud to announce a collaboration with Browzwear—a global leader in 3D technology for the apparel industry—to facilitate the export of true-to-life 3D garments from Browzwear’s VStitcher to Sketchfab’s 3D Viewer.
Browzwear, a leading 3D software for apparel design
Browzwear’s VStitcher is the industry’s leading 3D software for apparel design and development.
VStitcher uses advanced features such as 3D fabric draping technology, photorealistic rendering, and real-human avatars to help apparel specialists design true-to-life 3D garments. It helps accelerate collection development, providing limitless opportunities to create iterations of styles.
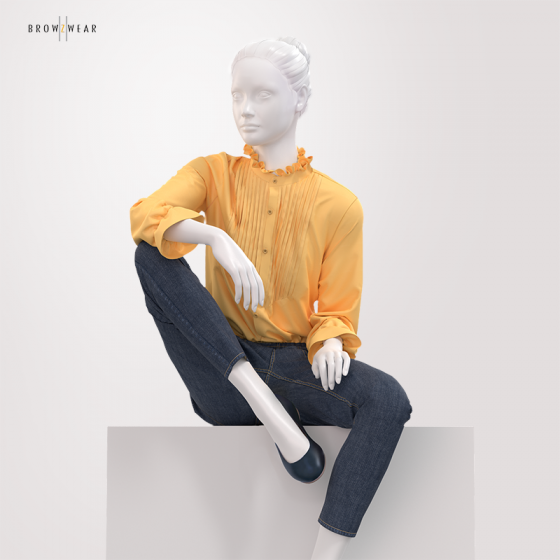
Export Browzwear’s 3D assets to Sketchfab’s 3D Viewer
Browzwear’s updated version, which will be released on Thursday, January 30th, will support the glTF file format, which allows seamless export and rendering of 3D files within Sketchfab’s 3D Viewer.
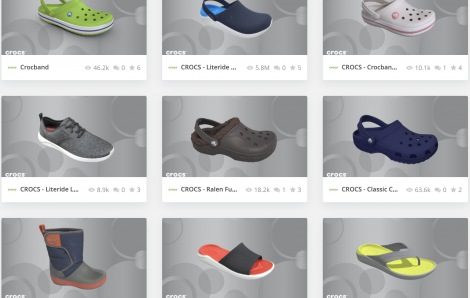
This creates new opportunities for apparel companies to showcase 3D garments across the web without any plugins required.
glTF files created with Browzwear can be delivered seamlessly and rendered perfectly in Sketchfab’s embedded viewer without requiring additional adjustments.
Browzwear will be showcasing the latest updates of their 3D design solutions and how to export to Sketchfab Viewer in a Webinar on Thursday, January 30th. To attend, please RSVP on the Browzwear website.
How to export Browzwear’s 3D assets to Sketchfab’s 3D Viewer?
Step 1 - Export in gLTF
In VStitcher, click render and choose 3D Object > GLTF v2 > GLB option. And the following export settings:
3D Format: GLTF
Geometry: Garment Outside & Garment Inside
Scale: X1 (Keep as is)
Baked Textures: PNG
DPI:100
UV: Single UV Layout Per Piece
GLTF Type: Binary (GLB)
Alpha Mode: Blend
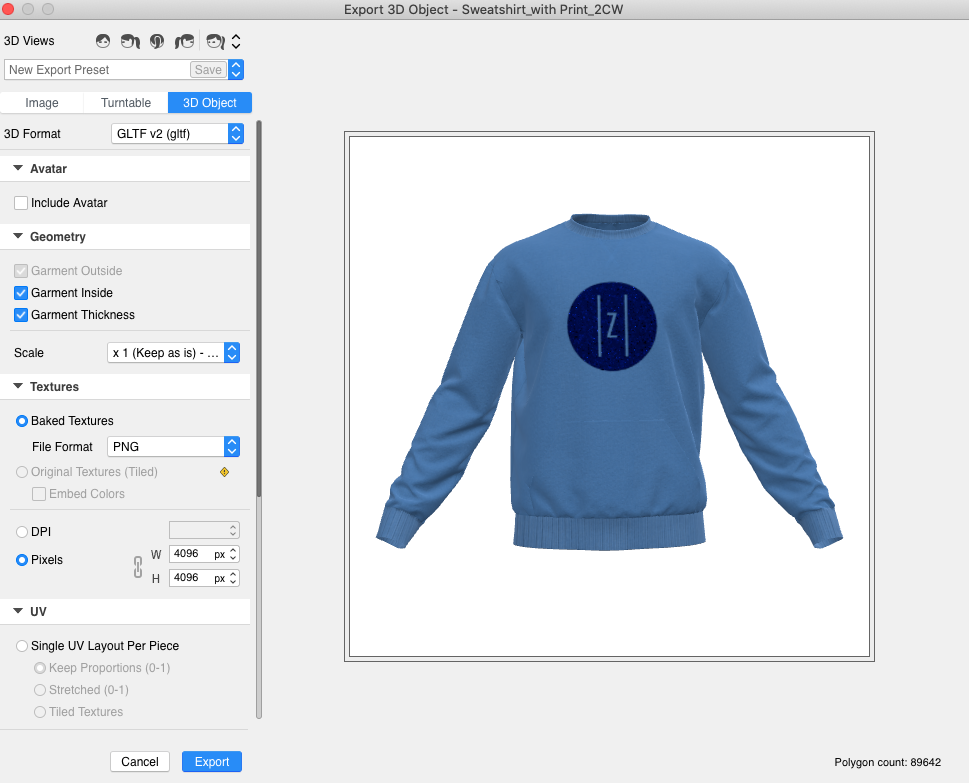
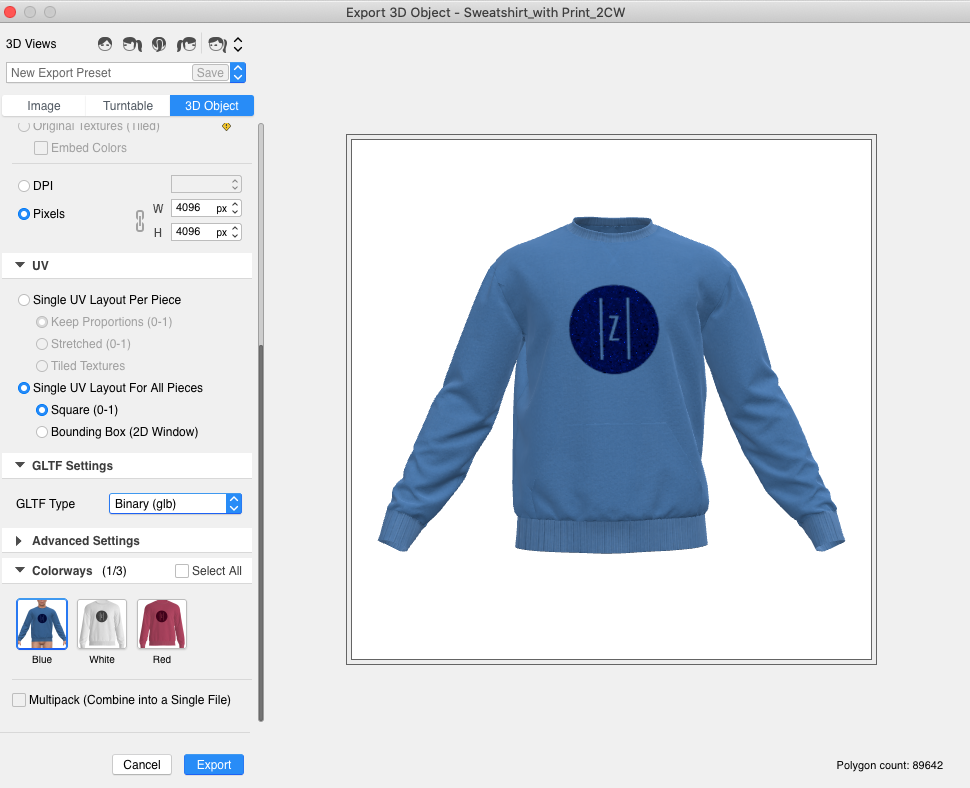
Then, click Export.
Step 2 - Drag and drop upload to Sketchfab
Create a Sketchfab account or log in to your existing Sketchfab account.
Drag and drop your file(s) anywhere on Sketchfab and your upload will begin.

Step 3 - Post-processing effects
Navigate to ‘Edit 3D Settings’.
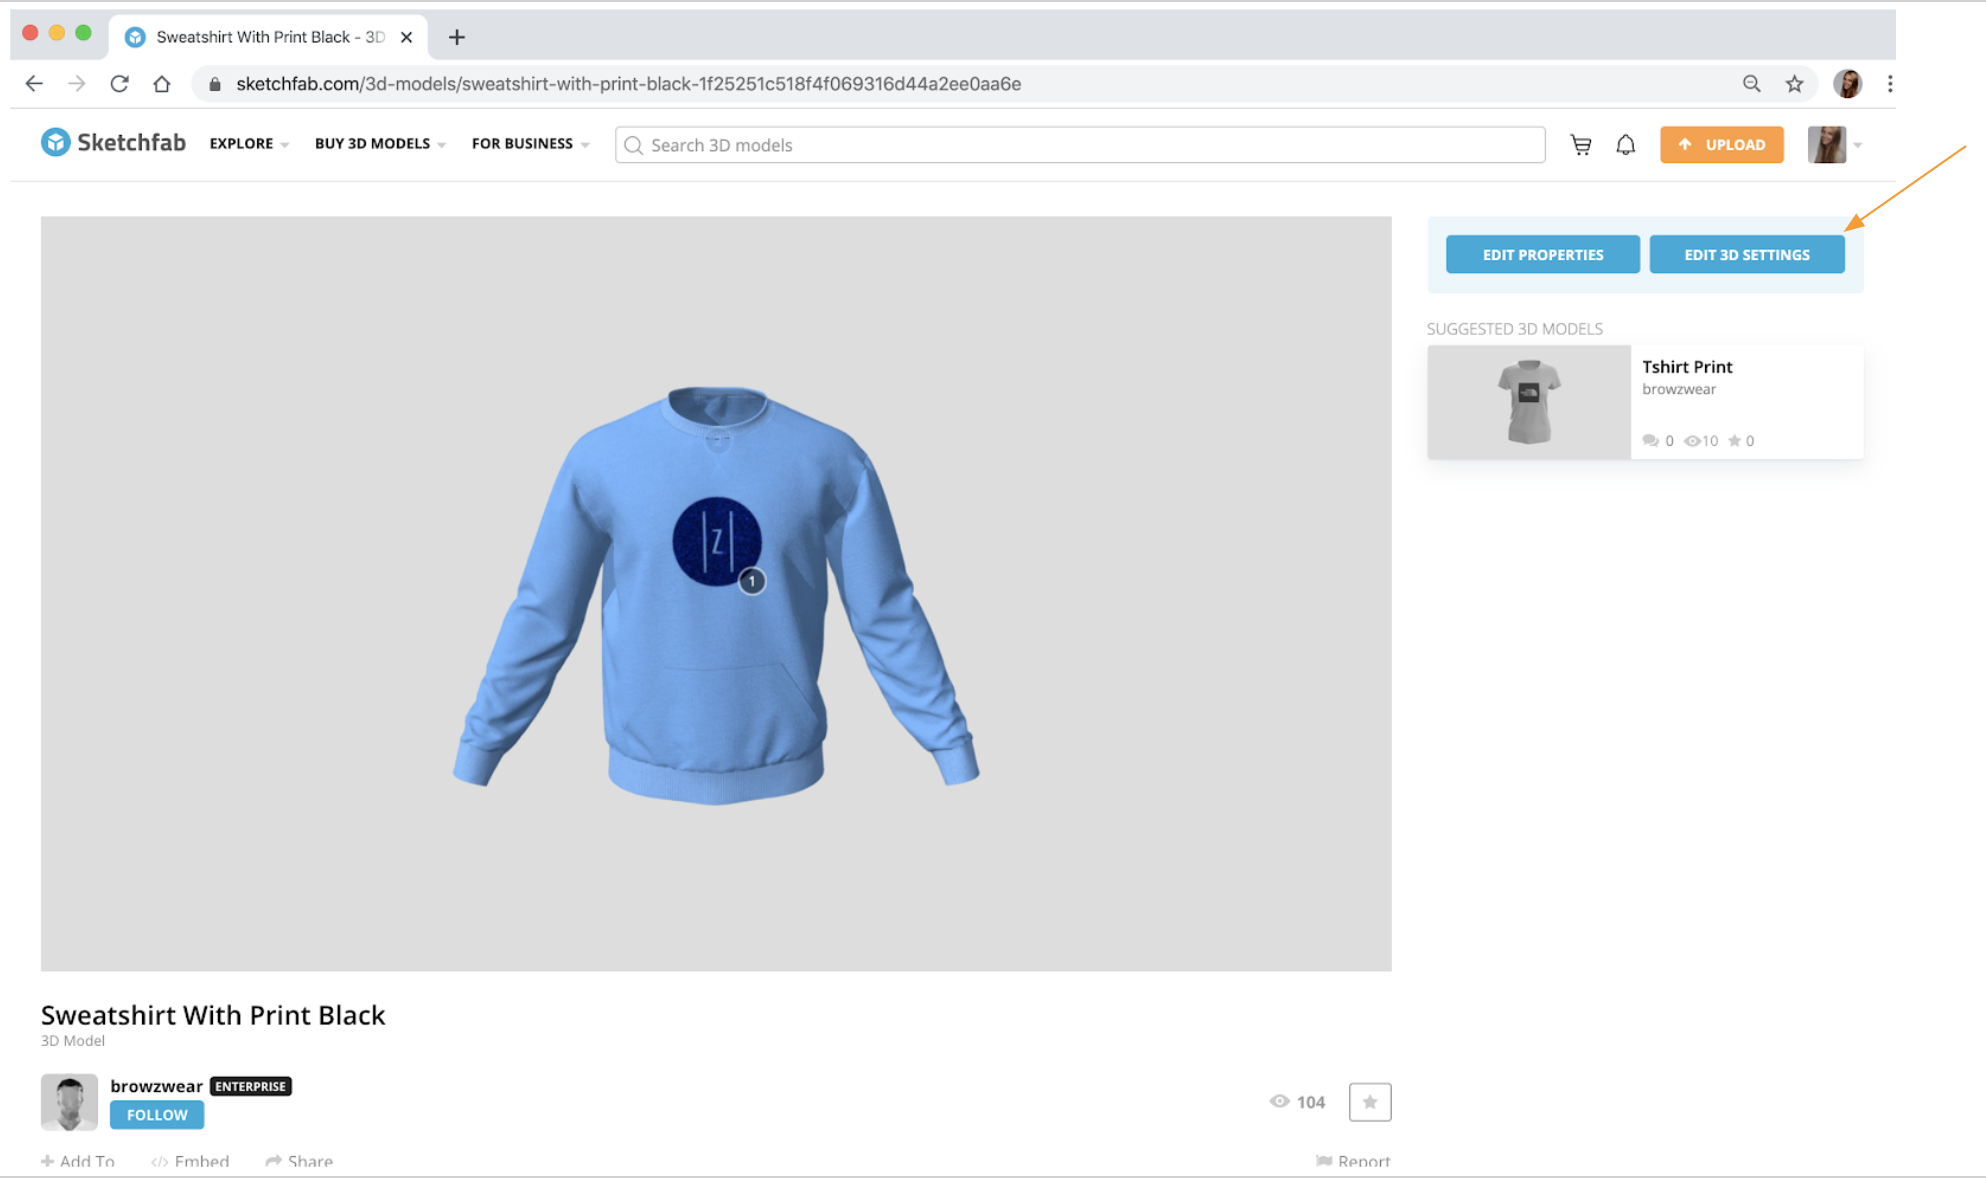
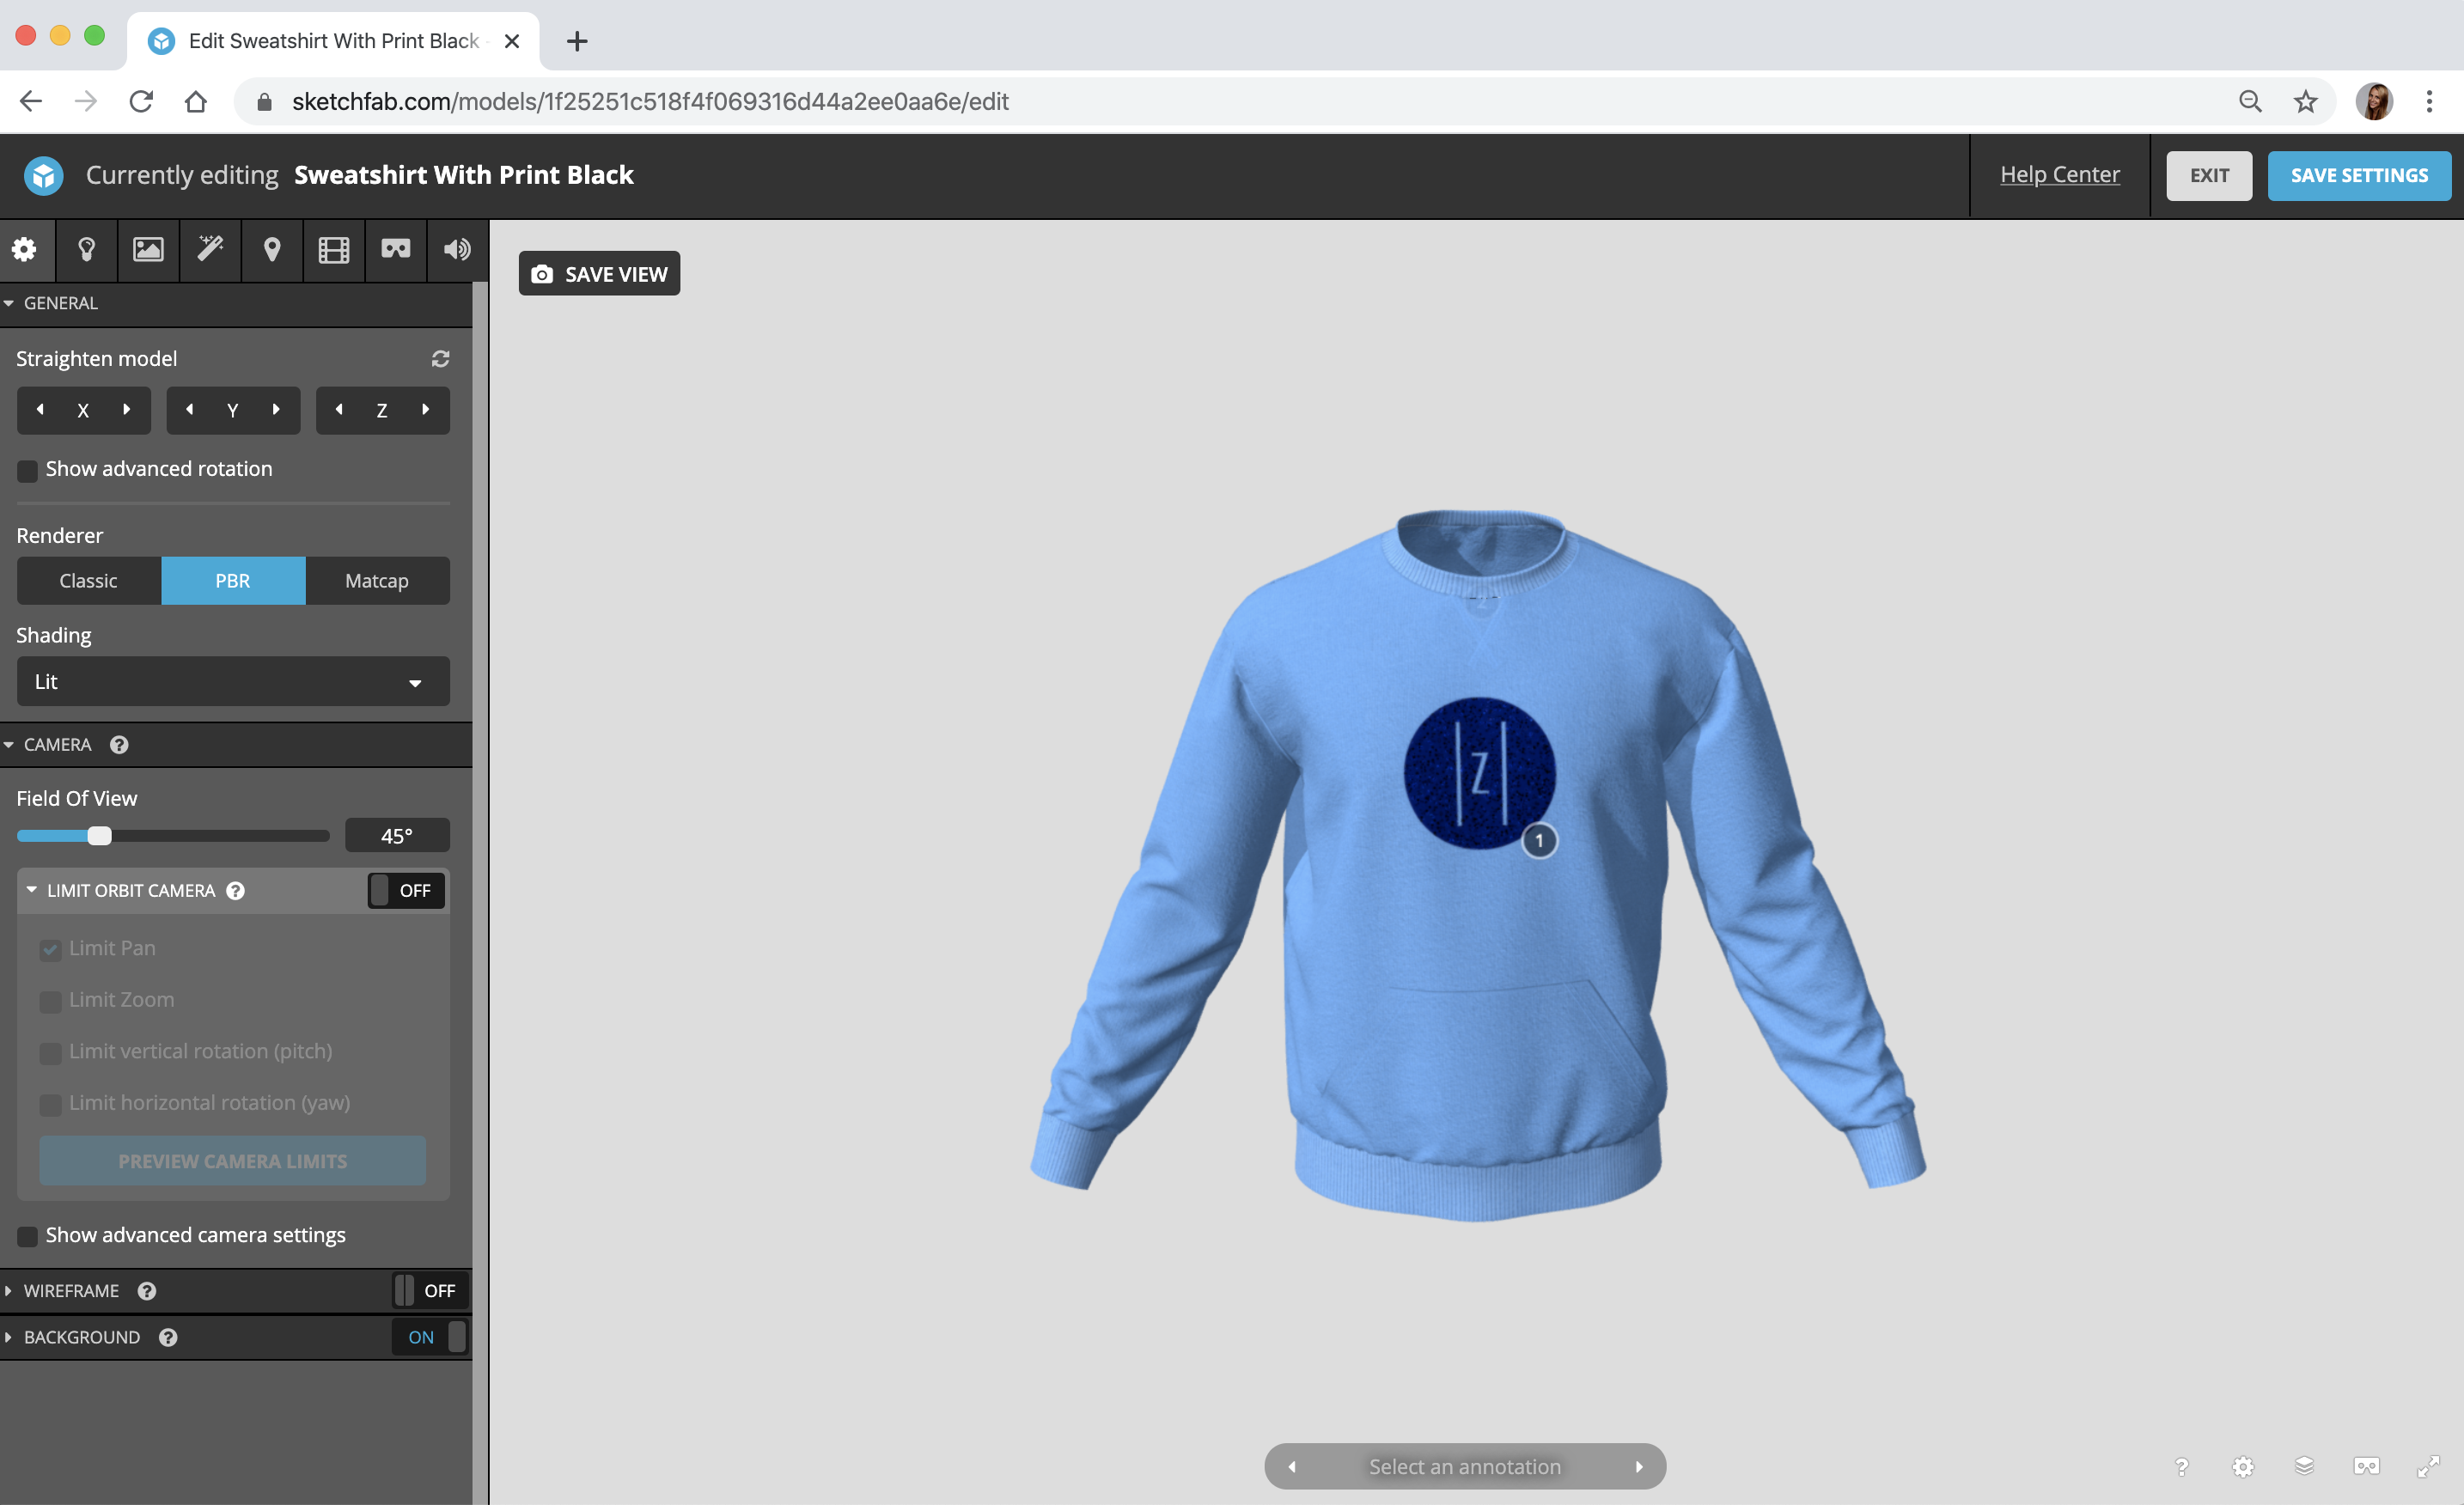
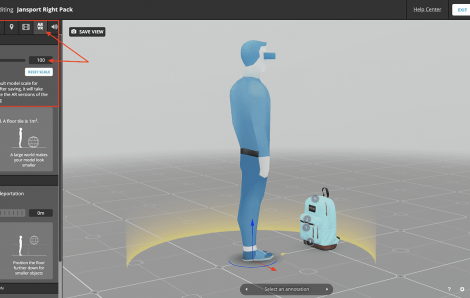
Add post-processing effects to your 3D models with Sketchfab’s powerful 3D editor: use the ‘Lighting’ tab to choose the environment and brightness that you like or upload your own HDRI.
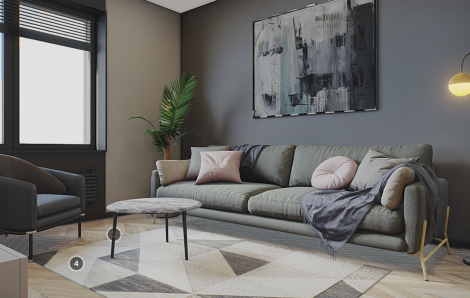
Use 3D annotations to review design in real-time, describe product features, or provide additional information to your customers.
For more instructions on what you can do in the Editor’s 3D settings, visit our help center.
Step 4 - Embed 3D assets in one click or share with your team
Sketchfab’s 3D viewer enables you to share interactive 3D models on any web page and is compatible with all major eCommerce platforms, such as Shopify, Magento, and WooCommerce. You can find more info on how to embed your first 3D model here.
You can also create an interactive 3D Product Configurator with our advanced API: zoom in, zoom out, change colors and materials, select different styles.
To access our API, subscribe to one of our plans.


