About Me
Hey there, my name is Rolando Rodríguez, I’m a 3D Artist and Game Designer living in Mexico City. I studied the career of Game Design at SAE Institute, specializing as an Environment 3D Artist for Videogames. I have worked on different independent projects, both entertainment and serious/advergaming. I’m currently working on my thesis and this Spaceship is part of it.
Inspiration
I love to look for concept art every day and find interesting things that can complement my work or help me practice and learn to make new models with different techniques.
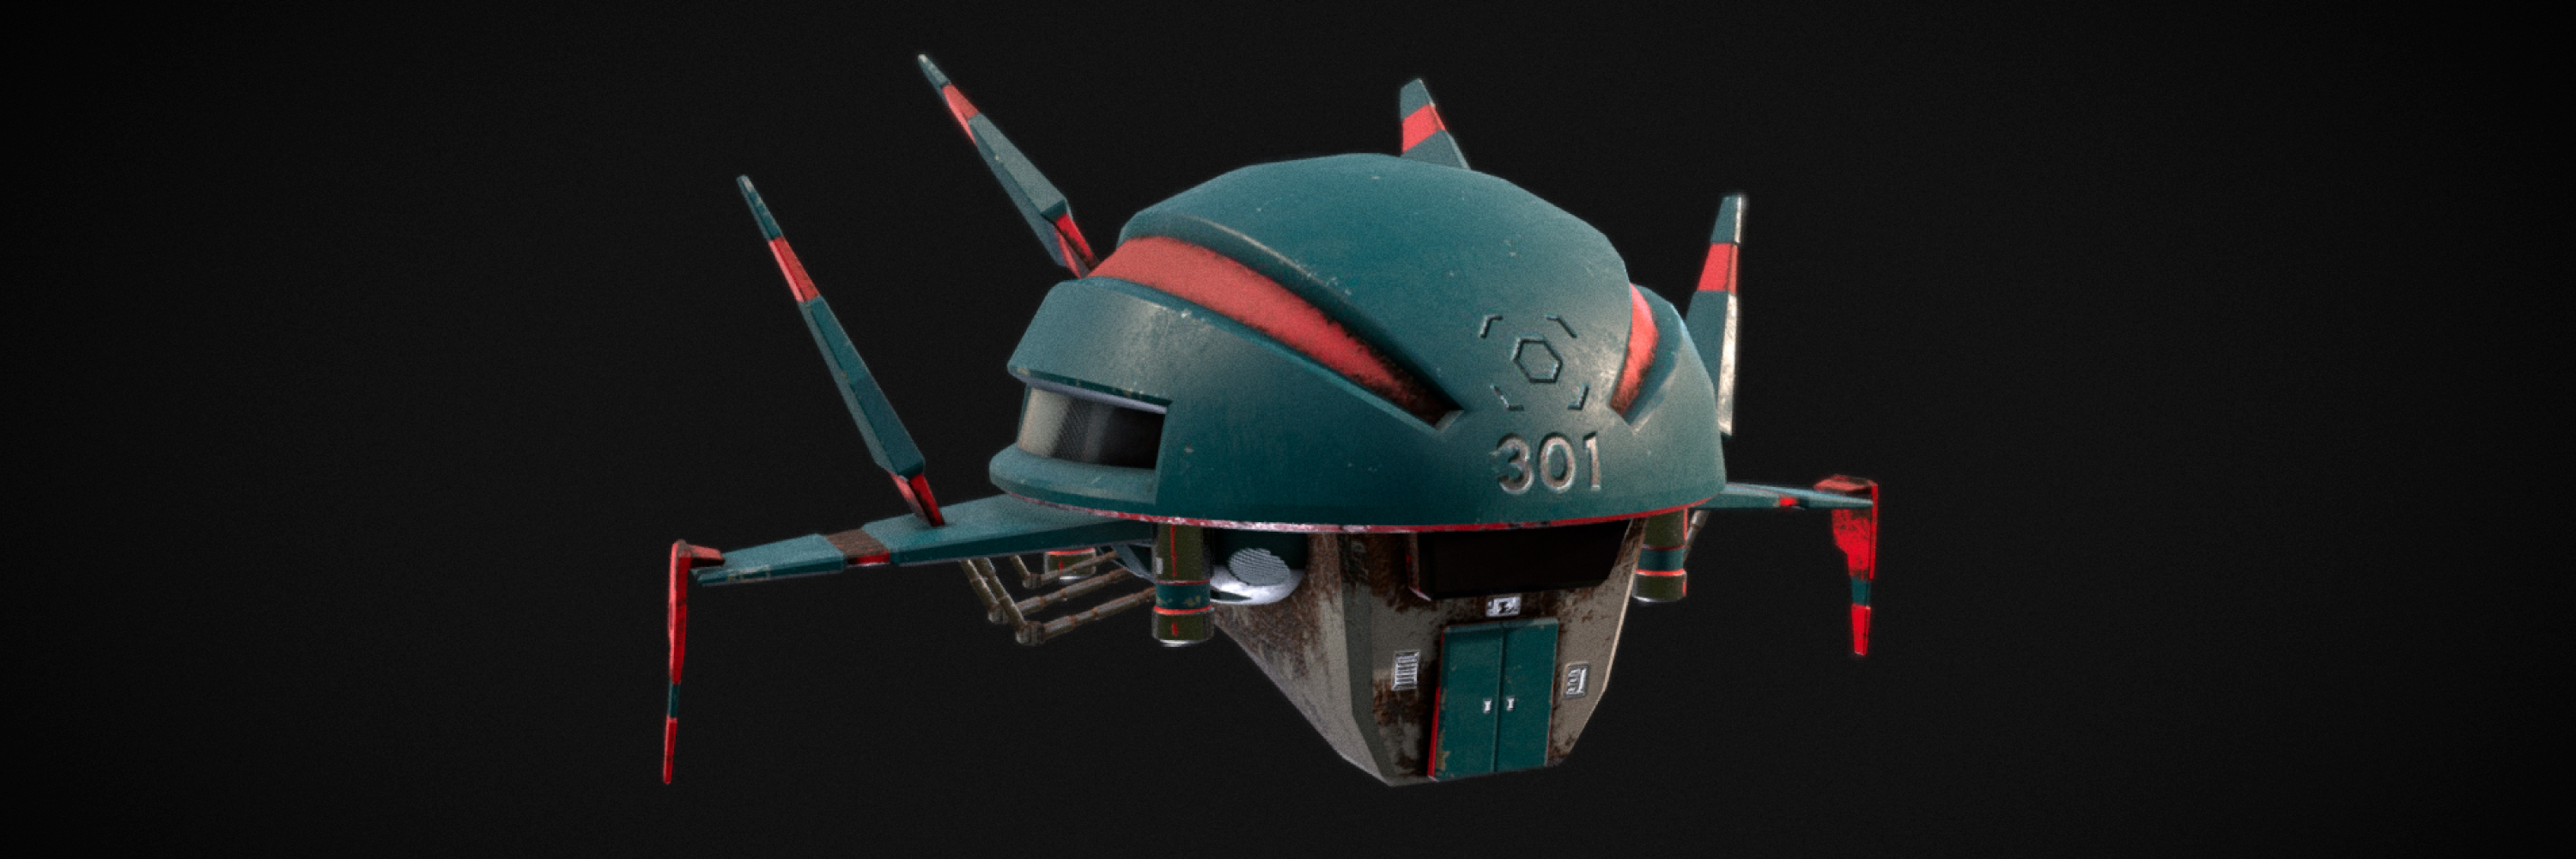
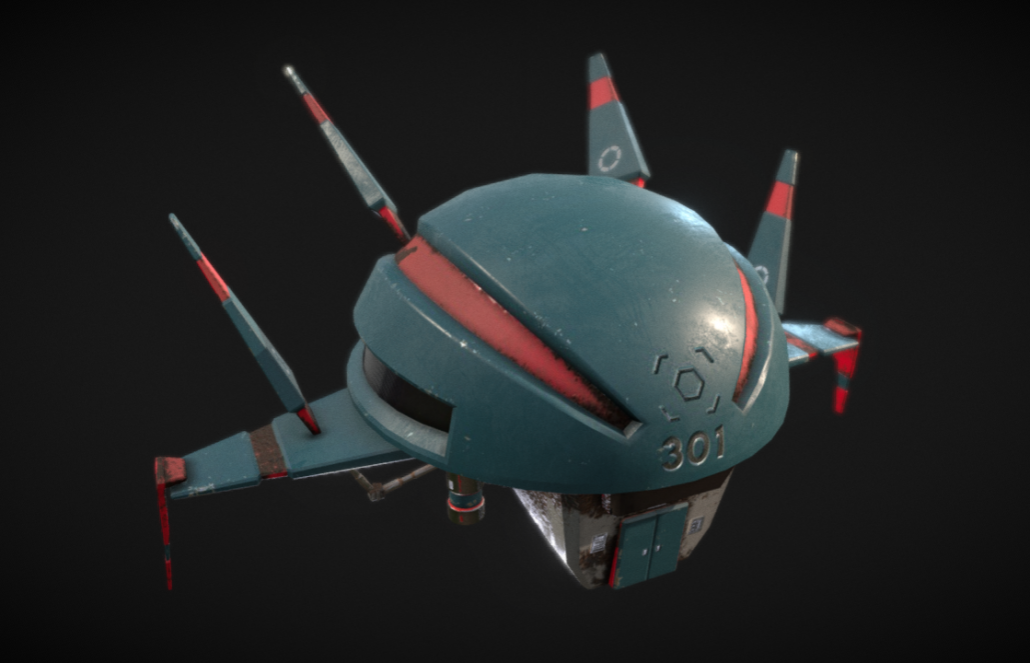
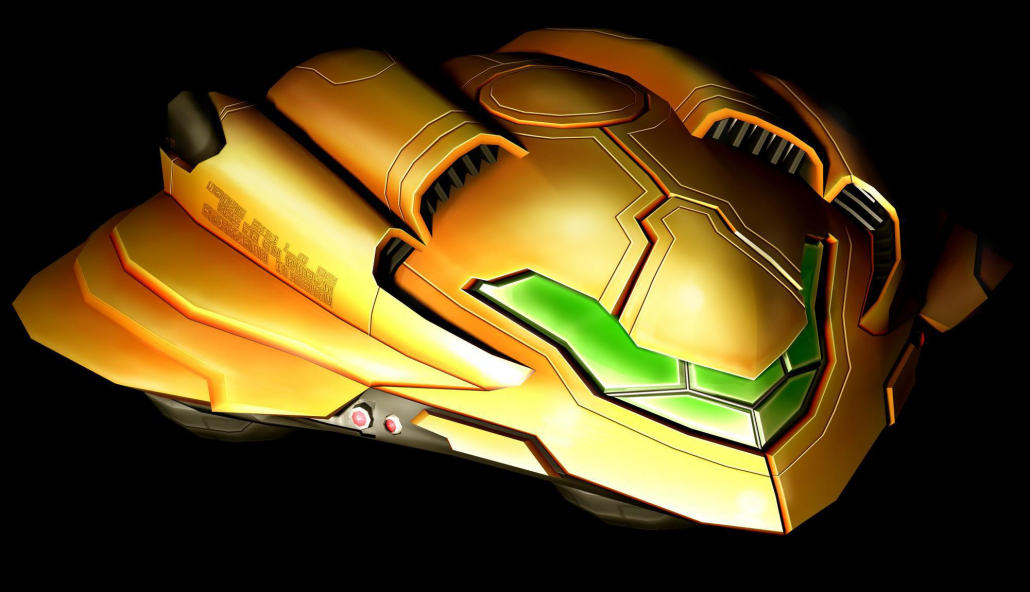
For the creation of this model, I took a slight inspiration from the famous Spaceship from Samus in Metroid, not just because I really like it, but also because the story of the game that I’m doing for my thesis focuses on the untimely arrival of an astronaut to a deserted and unknown planet. I decided to add other attachments such as the wings and the entrance in the front, and give them realistic textures.
Workflow
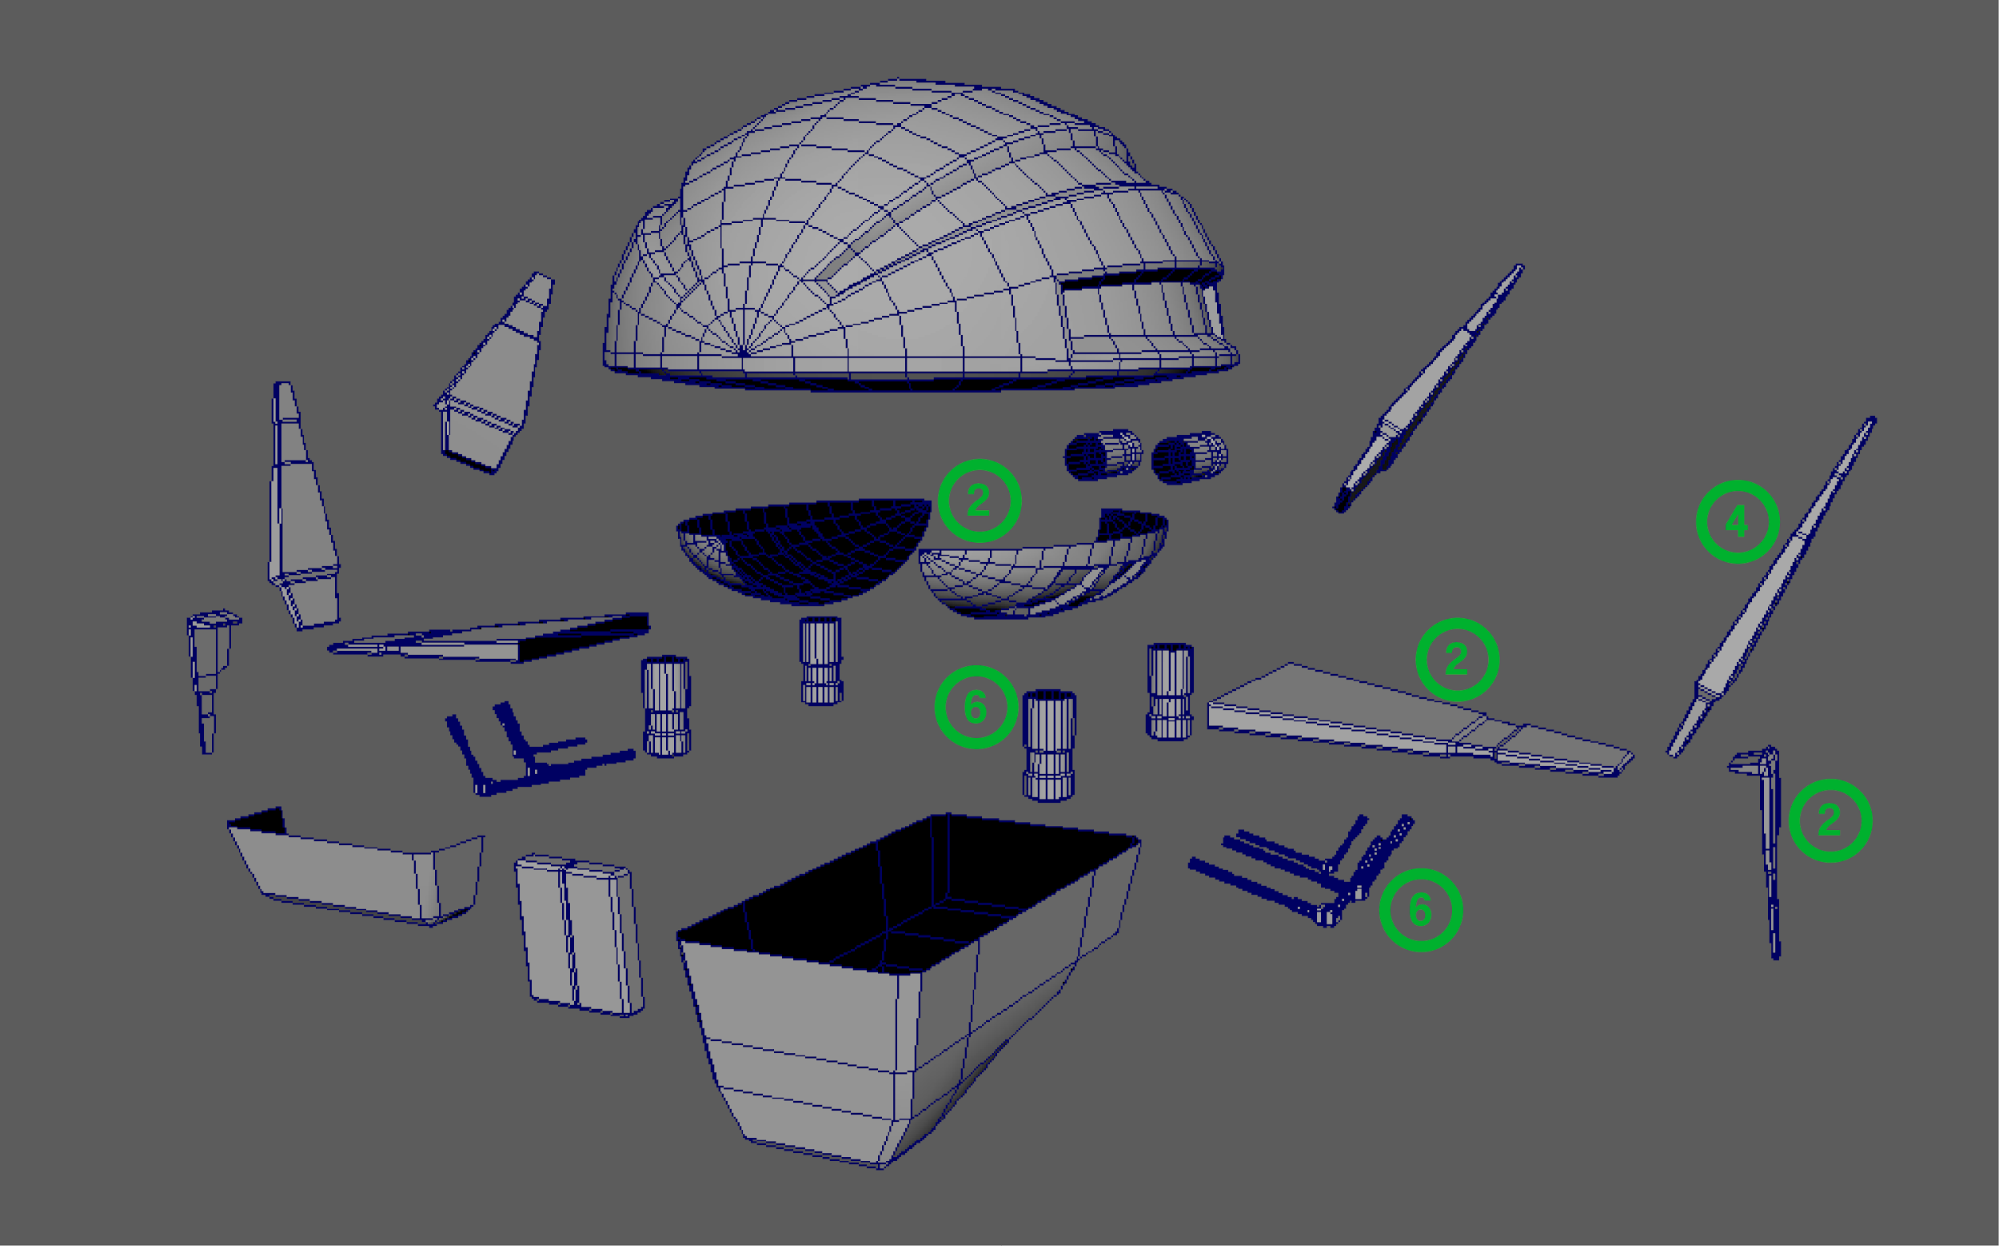
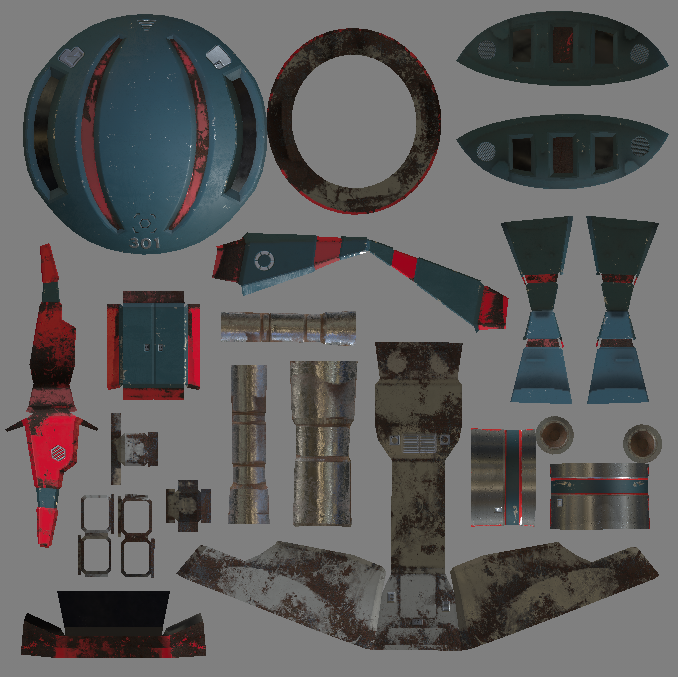
I started the blocking in Maya doing it with the lowest number of possible polygons without losing the main figure of the model. The Spaceship is separated in 11 parts of which 6 are duplicates (the duplicates are marked with green).
During my career, one quote I will always remember from my 3D modeling teacher is: “If you don’t see it, you don’t need it”. This refers to the faces that, when putting the model together, are totally hidden. It is a common way to optimize your work by keeping the amount of polygons as low as possible. This is really important when you are doing 3D Art for games.
When creating the UVs, we must analyze how we will use the model within the game to know how we are going to accommodate the map; this part is aimed especially for the parts that have been duplicated before.
For example, if the Spaceship will be important throughout the game and appreciated at close range, I recommend that you do not leave together the UV sections that have been duplicated so that when texturing each one will be unique. On the other hand, if the model will not be as important in the game, you can leave similar UVs together to save space within the map.
I took the second option because, within the game, the ship has crashed in a cave and we can not do much with it other than cry for not being able to drive it.
To texturize the model I decided that the tool that would work best for me this time was Substance Painter because in this software we can generate realistic textures in a short time and with very good quality.
I used the next Smart Materials:
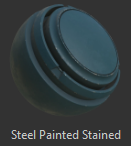
- Steel Painted Stained: This is the main material that covers most of the model. (I kept the original color)
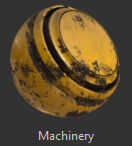
- Machinery: This material is for the red part of the model to contrast with the blue part. (I didn’t keep the original color and change it from yellow to red)
- OLD METAL_2: I used this material for the lower part of the ship where we find the section with the most wear of the model. (I kept the original color)
- Steel Painted: This material is used for the metallic sections with greater brightness as the turbines and arms that hold the wings. (I didn’t keep the original color and changed it from red to metal grey)
- Latex Black: Although it sounds weird, this material has worked for me on several occasions to texture polarized windows or crystals, so I used it for the side windows and the main glass in the front. (I kept the original color)
Finally, for the last touches, I used a collection of alphas for hard surface textures that I downloaded a couple of months ago. This approach helped me to give more detail to certain parts of the model.
You can check out and download the brush package here.
Setup in Sketchfab
After importing the model and adding the materials, the first thing I did was change the background to a dark gray to highlight the ship. In terms of lighting I kept the option of three-point lighting with the Kirby Cove environment.
From here I jumped directly to the post processing section where I activated the following filters:
- Screen Space Reflection.
- SSAO so that the AO map has greater impact on the model with 0.3 Radius, 1 for Intensity and the Bias at 0.07.
- Grain at 0.2 to help highlight the wear of the ship.
- Depth of Field at 0.5 for both Foreground blur and Background blur.
- Vignette just to help highlight the model even more with 0.475 for Amount and 0.725 for Hardness.
Without Post Processing:
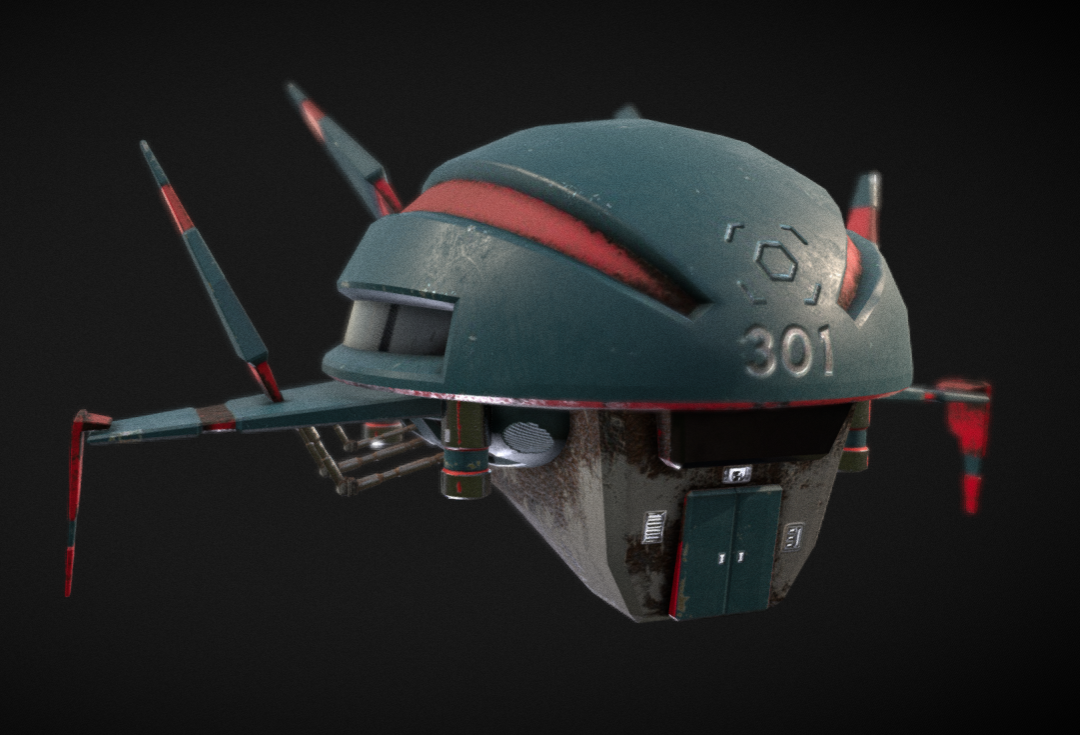
Final Render:
I want to thank the Sketchfab team for giving me the opportunity to present and discuss my work as a 3D Artist and I hope that some of what I provide here can be helpful for your current and future projects. Never stop creating.
You can follow my work in my Sketchfab and ArtStation profiles. I’m working on my own website where you can learn more about me and my projects. Also, look for my Facebook Page.
