About Me
Hi, my name is Giovanni Bianchin I’m an “old” Italian 3D modeler.
Old … because in this relatively young world of digital 3D I am a 55 year old with more than 22 years of experience in the field of 3D in video games, mainly racing.
During this time I have ranged from vehicles to characters.
In my free time I enjoy modeling, everything from cartoon to realistic style, preferring sci-fi settings and models.
Inspiration for “Bunker Assault”
The scene in question was born a bit by chance.
At first the idea was to model a tank of the First World War inspired by a famous English model, the “MARK V“.
 Source: Tank100
But I did not want to be bound by too much fidelity to the original, so I followed only a vague shape that would recall it, and then went fantasy and added totally invented details and shapes.
During the modeling I imagined the context and the period and I decided to put it into a Steampunk style world.
The initial idea was to place it in a simple plane and make a 360°. But looking at various references of the great war, I came across some old bunker photos of the time, and I was inspired to create a dynamic scene where the cart passed a trench to attack a bunker.
Consequently, after I finished the tank, I modeled soil, trench, bunker, and a turret with a cannon, and to make it more complete I imagined adding some characters.
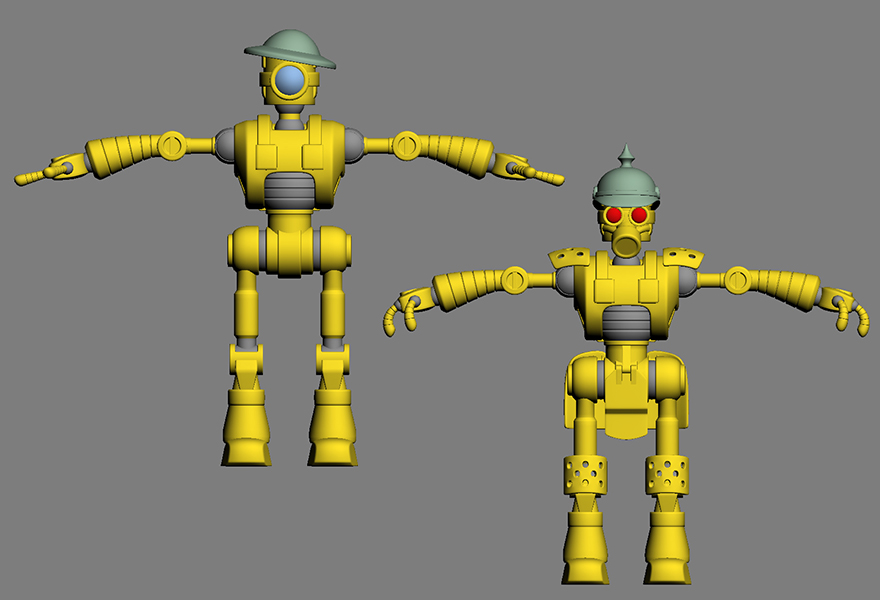
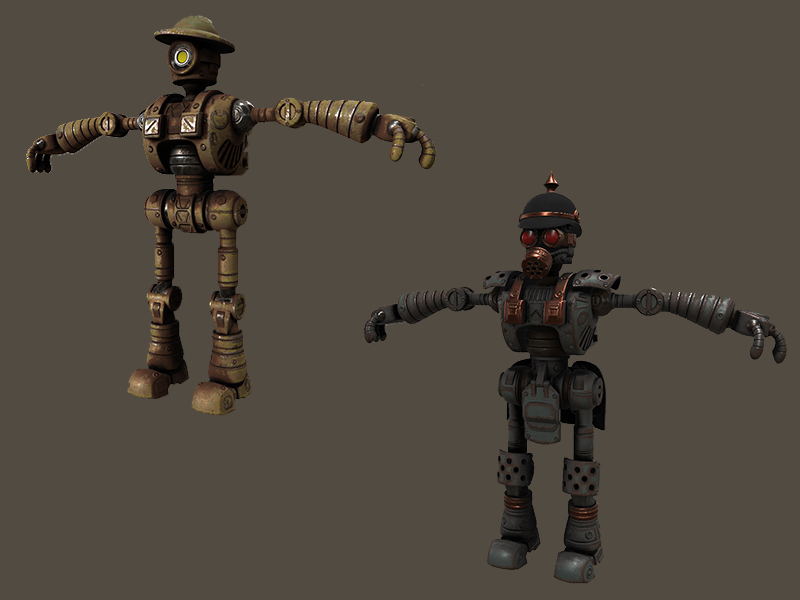
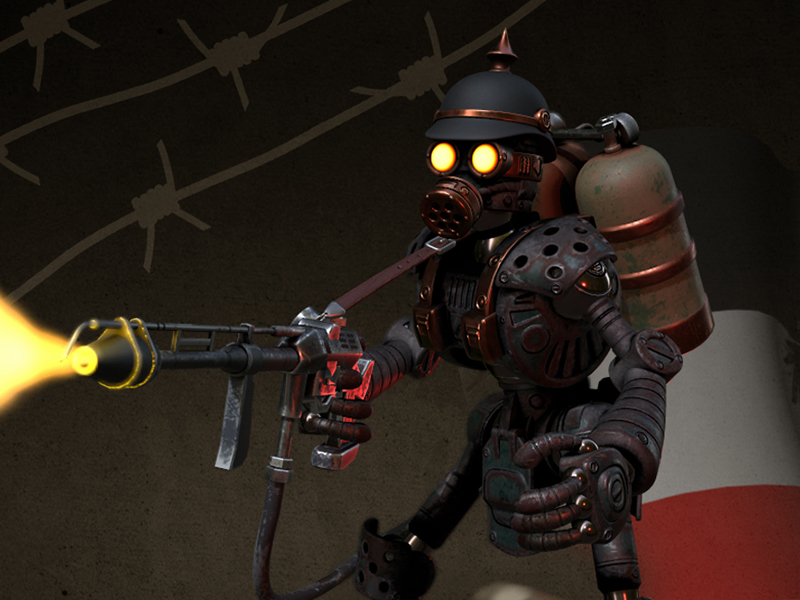
I did not want to make a scene with humans so I invented steampunk robots of two factions. Finally I provided one of them with a flamethrower to make everything more dramatic.
Modeling
The whole scene has been modeled in 3ds Max, the software that I’ve always used.
I do not have a real modeling technique … generally for hobby jobs like this, I do not ask myself the problem of the number of triangles, texture dimensions and any optimized UVs, but I always try to have a mesh that is as simple as possible, then use the “chamfer” and “turbosmooth” modifiers to improve and define the shape.
Tank:
Once the overall dimensions were created, I went on to model every single part (the very squared subject helped me!). I tried to model as much detail as possible, keeping in mind that I would have added it later with the painting software in normal_maps.
Trenches and bunkers:
Once I finished the tank I used a simplified mesh of the same to use as bulk and I began to model the ground starting from a tessellated plane with a few subdivisions giving the basic form, then I increased the tessellation and with the help of the “NOISE” modifier I gave variety to the ground (I could have gone to ZBrush but I did not feel the need).
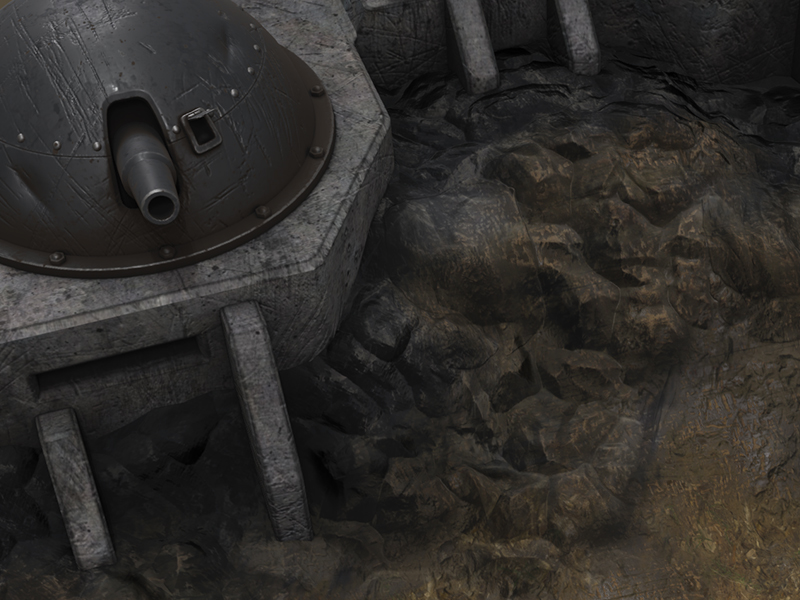
Once I had created the ground and the trench with the support area for the tank, I defined the dimensions of the bunker with its armored tower. I tried to maintain a certain coherence with the proportion, but not so precise thanks to the stylistic choice that allowed me a certain margin of error.
For the modeling of the bunker and turret I followed the same modality used for the tank, the simplest mesh possible to then apply “chamfer” and “turbosmooth” modifiers.
Soldier Robots:
I tried to make them as simple as possible without too many mechanisms so that they could bring to mind a WWI soldier. The mode of modeling is always the same as the other elements, apart from paying attention to making the joints shaped so that they could be put into various poses. Once the base mesh was modeled I added details to make two different versions of robots and then added different colors.
The modeling phase was over after I finished modeling all the remaining elements and put everything together in a pose.
Painting Models
Having created all the models of the UV scene, I decided to dedicate a set of textures for each subject in order to have a good amount of detail. This was not supposed to be an optimized game job.
Unlike a few years ago, there are now many painting softwares that greatly facilitate this part of the work by creating textures using the PBR technique.
The techniques of use for each software are very similar to each other; the choice of which software to use depends on an artist’s knowledge of and preference for the specific software.
I used 3D Coat to paint the various models; it is a software that I find very interesting and easy to use. Unlike Substance, in my opinion, it has some more interesting “commands”, for example, (not a small thing) the ability to automatically create UV on a mesh that does not have it, paint with splines, the ability to deform the mesh, and many other modeling tools (tools that I do not use and that were not used for this part of the work).
First I added the missing detail using brushes to create an additional normal map texture, then I started painting in layers as in reality.
Afterwards I made the basic materials, like the various subjects in iron, plastic, wood, etc.
Then layer by layer, masking what I considered appropriate, I added details: peeling, rust, dirt, paint, etc., until I had a result that satisfied me.
After that I exported all the various albedo, roughness, metalness, and textures, made a few small fixes with Photoshop and I was ready to put it all on Sketchfab!!
Uploading to Sketchfab
After I assembled the scene in 3ds Max and exported it as an FBX file, I uploaded everything to Sketchfab.
With its comfortable and complete editor I began to load and apply the various textures on all the models of the scene, trying to adjust the values of the materials, of the lights and various filters (bloom, DOF, AO etc.) to get a fair and pleasant result, sometimes slightly modifying the textures in Photoshop and reloading them.
Since there are obvious limitations for certain effects I still needed to use the “old” methods; this was necessary for the fire of the flamethrower and the shots of the machine guns. In the case of the former, I used a series of appropriately deformed tops with a mapped alpha texture representing the flames, applied the right amount of “emissive” material and added a light to emphasize the whole area. In 3ds Max I created a mask on bunkers and ground to illuminate the area reached by the fire, than I added a “light point” in the affected area and through the rendering_to_texture of the program created the masking textures.
Conclusions
It was nice and fun to be able to make this scene and thanks to Sketchfab I could share my works in his community and on the whole web,
Sketchfab is a very useful tool for visiting your work.
Thanks for the time spent reading.


