About Me
Hello! My name is Liem Nguyen and I am a 3D character artist for Riot Games, currently residing in Southern California. Before joining Riot Games I worked at smaller indie companies for 3 years and got my degree in Entertainment Art at Cal State Fullerton. I wanted to share some of the steps I took to create my last creation, Jelly Girl.
I created her for this year’s Artwar competition hosted by cubebrush.com, and one of the main motivators was to try a new style that would require me to learn some new techniques.
Programs
I wanted the final result to be viewed in 3D, so I went with more of a real-time rendering approach. I primarily used ZBrush, Maya, Substance Painter, and Photoshop for this project.
Process
Before starting any project I want to be inspired and get a grasp of what I am trying to create. For this project I used Pinterest to collect ideas by creating a mood board. With water as the main topic, I primarily looked at images that related to that and landed on a jellyfish-themed healer.
Concept
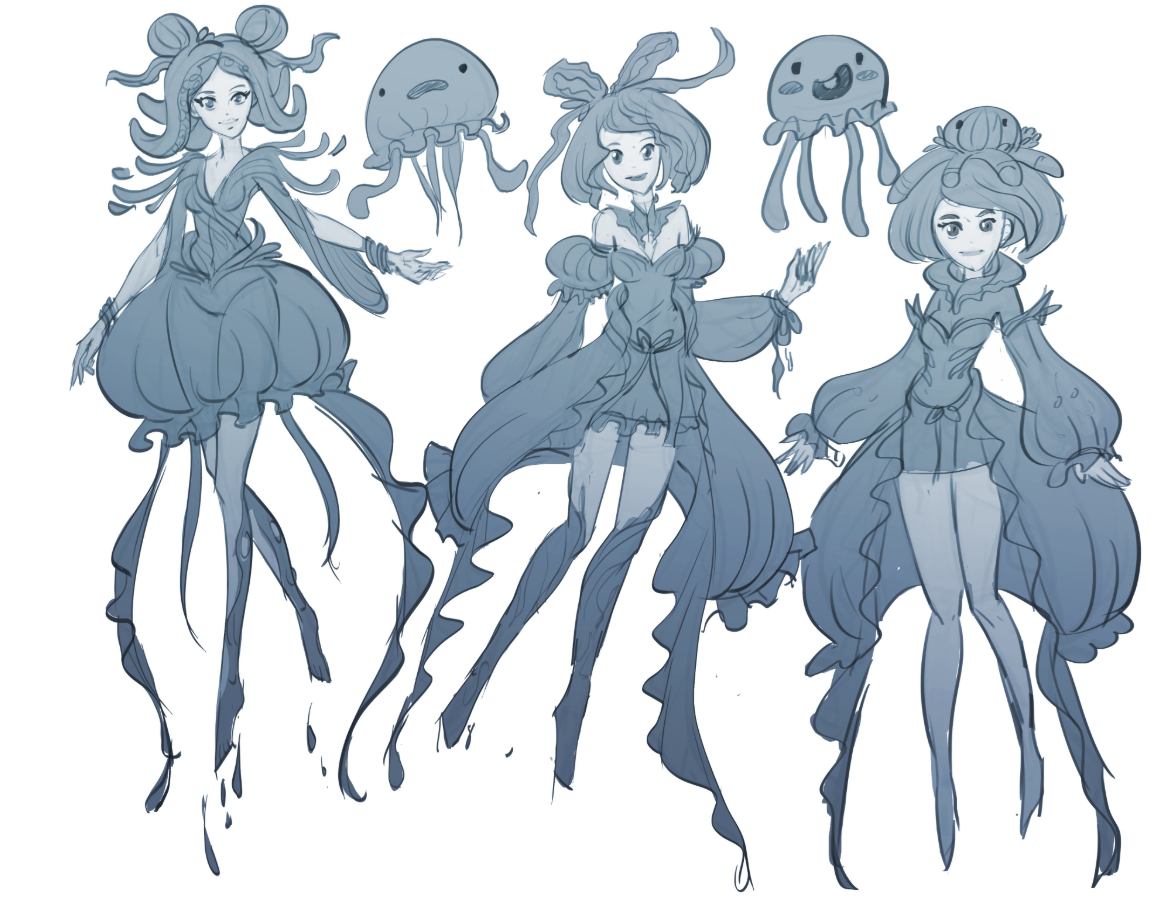
Even as a 3D artist, I still like to draw. These are some early sketches of the character I had in mind.
Blocking
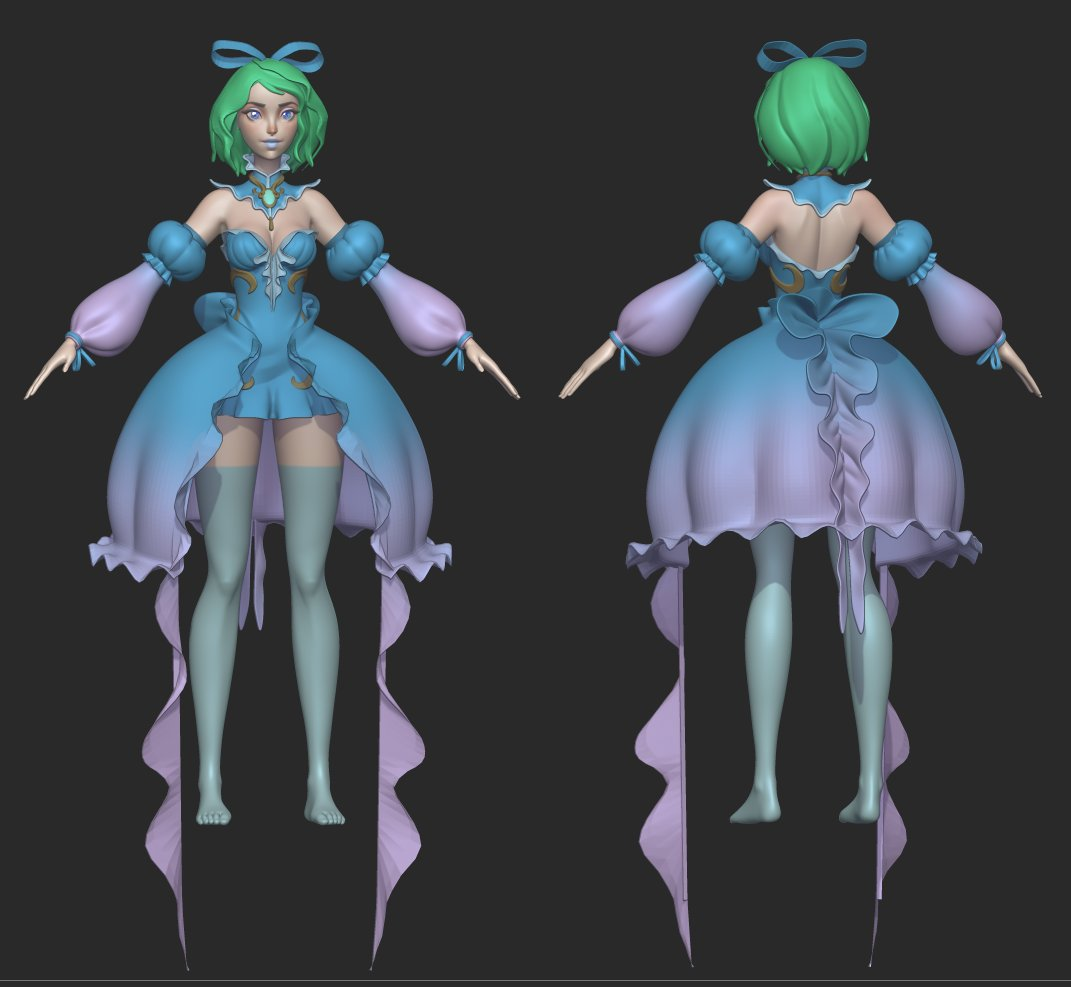
After the sketch, I dove into ZBrush and started blocking (a rough model to figure out proportions). I used polypaint to try out some colors I had in mind.
Paintovers
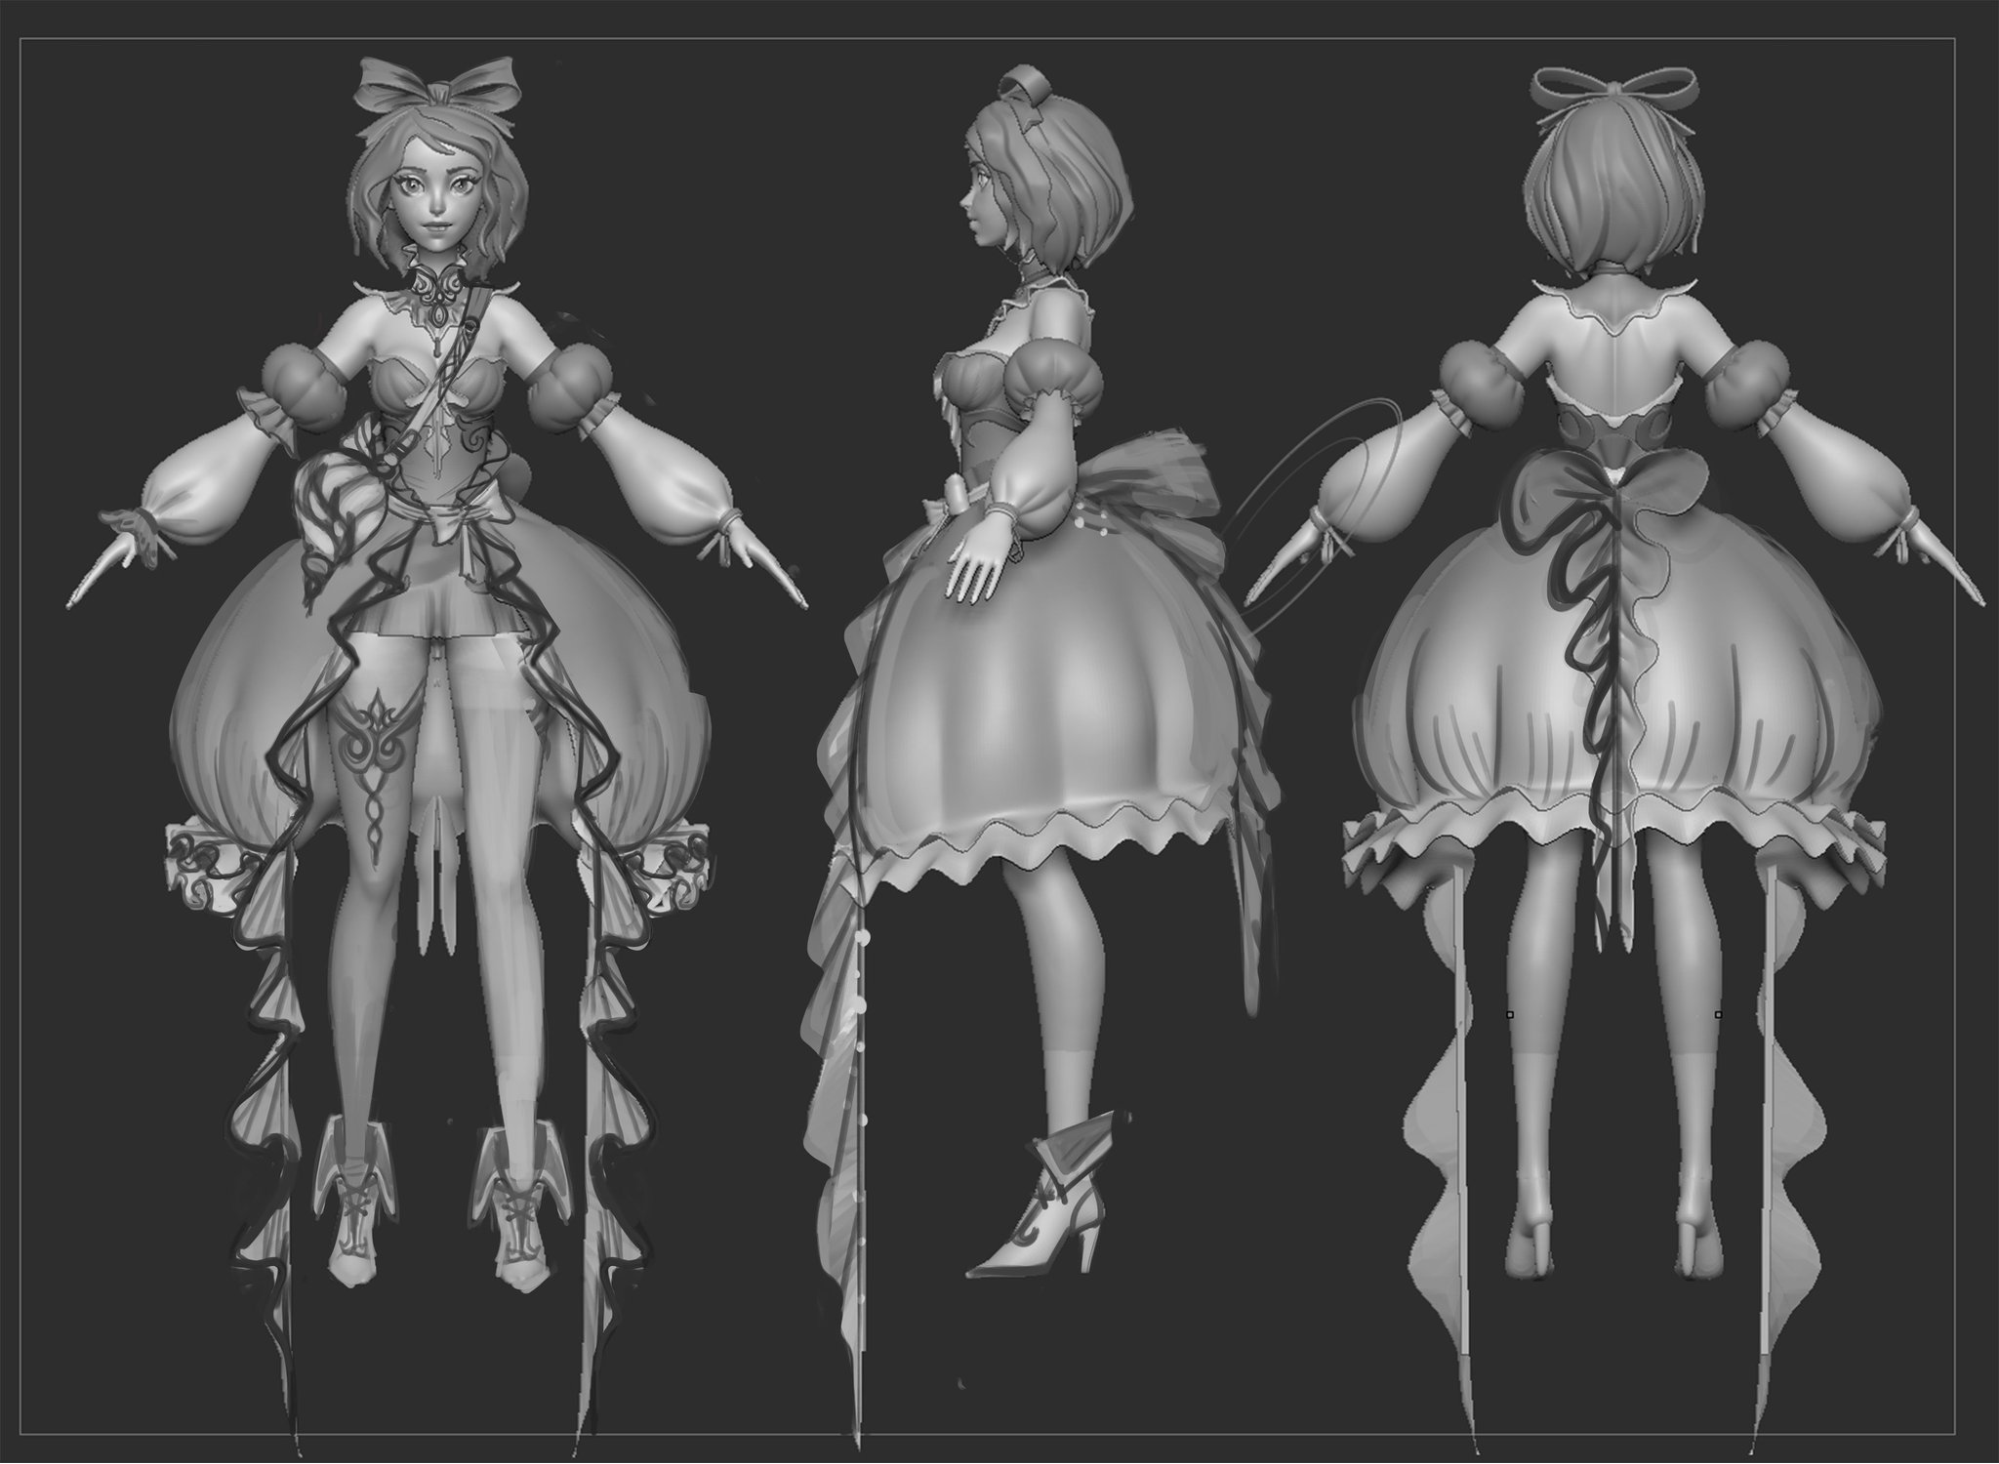
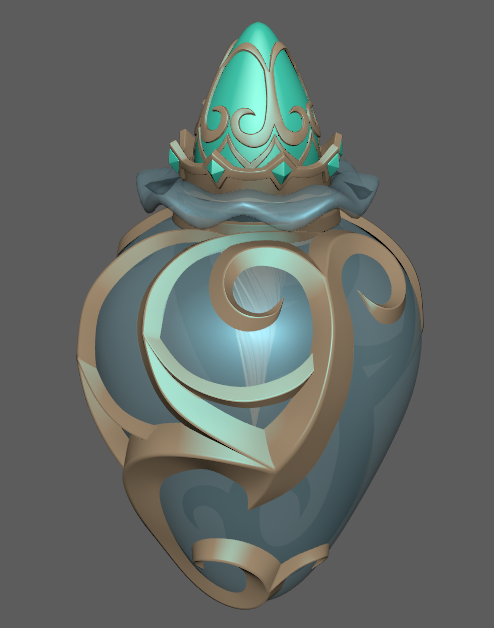
After I was satisfied with the blocking, I went back to Photoshop and drew over my model to design and flesh out the details. Here is an example I did on Jelly Girl. I ended up adding some shoes and a vase to her because those areas felt empty.
Refine
With the more refined ideas in mind I went back to ZBrush to get these new elements modeled as I refined the outfit and sculpt. I value these paintovers because they give me a break from 3D and allow me to view the character as a whole.
Before building anything as a final model, I block it in for proportions by doing a rough version. For example, the shoes above are a bit mushy and the case is also a bit unrefined, but this is fine because the goal is to get a good overall picture before zooming in.
Final Model
For refined high poly models, I use both Maya and ZBrush. For organic surfaces like the body, I stay in ZBrush and for more precise hard surfaces like the vase, I usually like to model in Maya.
Retopo/UV
This project was more for visuals so the retopoing and UV were done quick and dirty in ZBrush using ZRememsher and auto UV. (I do not suggest this if you are working on a portfolio piece for certain jobs.)
Texturing
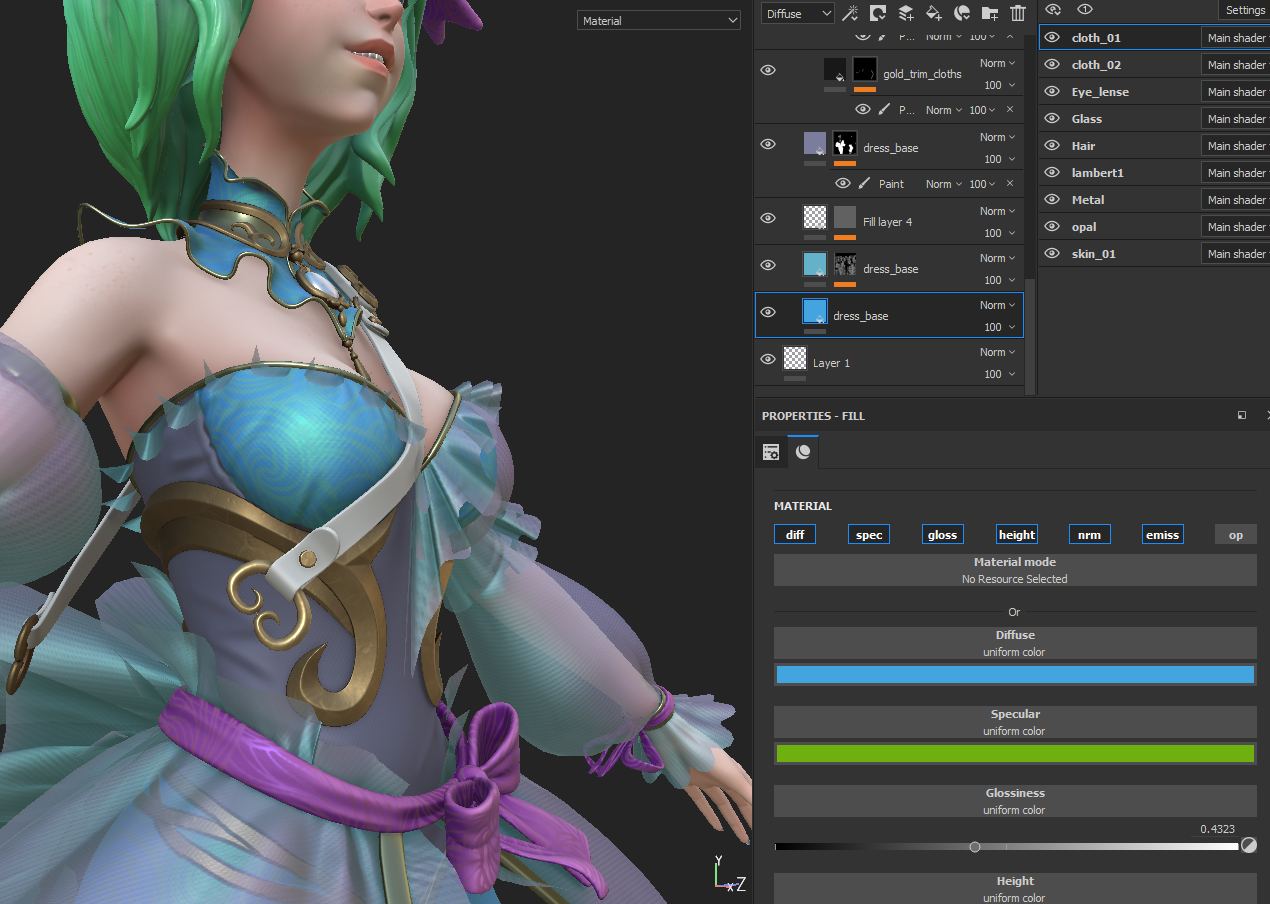
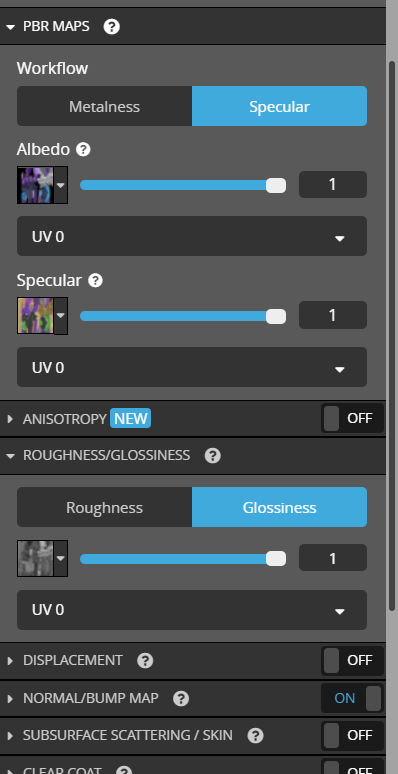
I wanted her dress to have a special look, so I went with the specular gloss workflow. This allowed me to have a unique specular highlight color that was different from the diffuse. Textures were all done in Substance Painter.
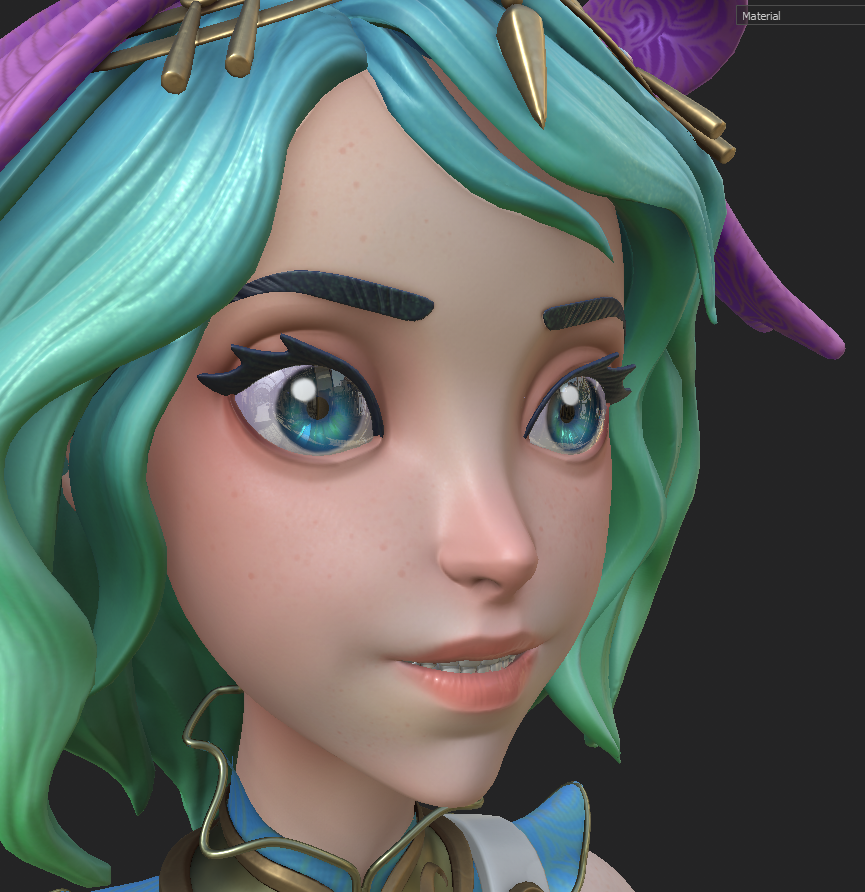
With Substance I was able to build up multiple materials. It’s good to try separating each material, such as skin, hair, cloth etc., into folders so you can work them up individually. Since I was using Specular and Gloss maps I was able to add reflectivity depending on the material.
Presentation
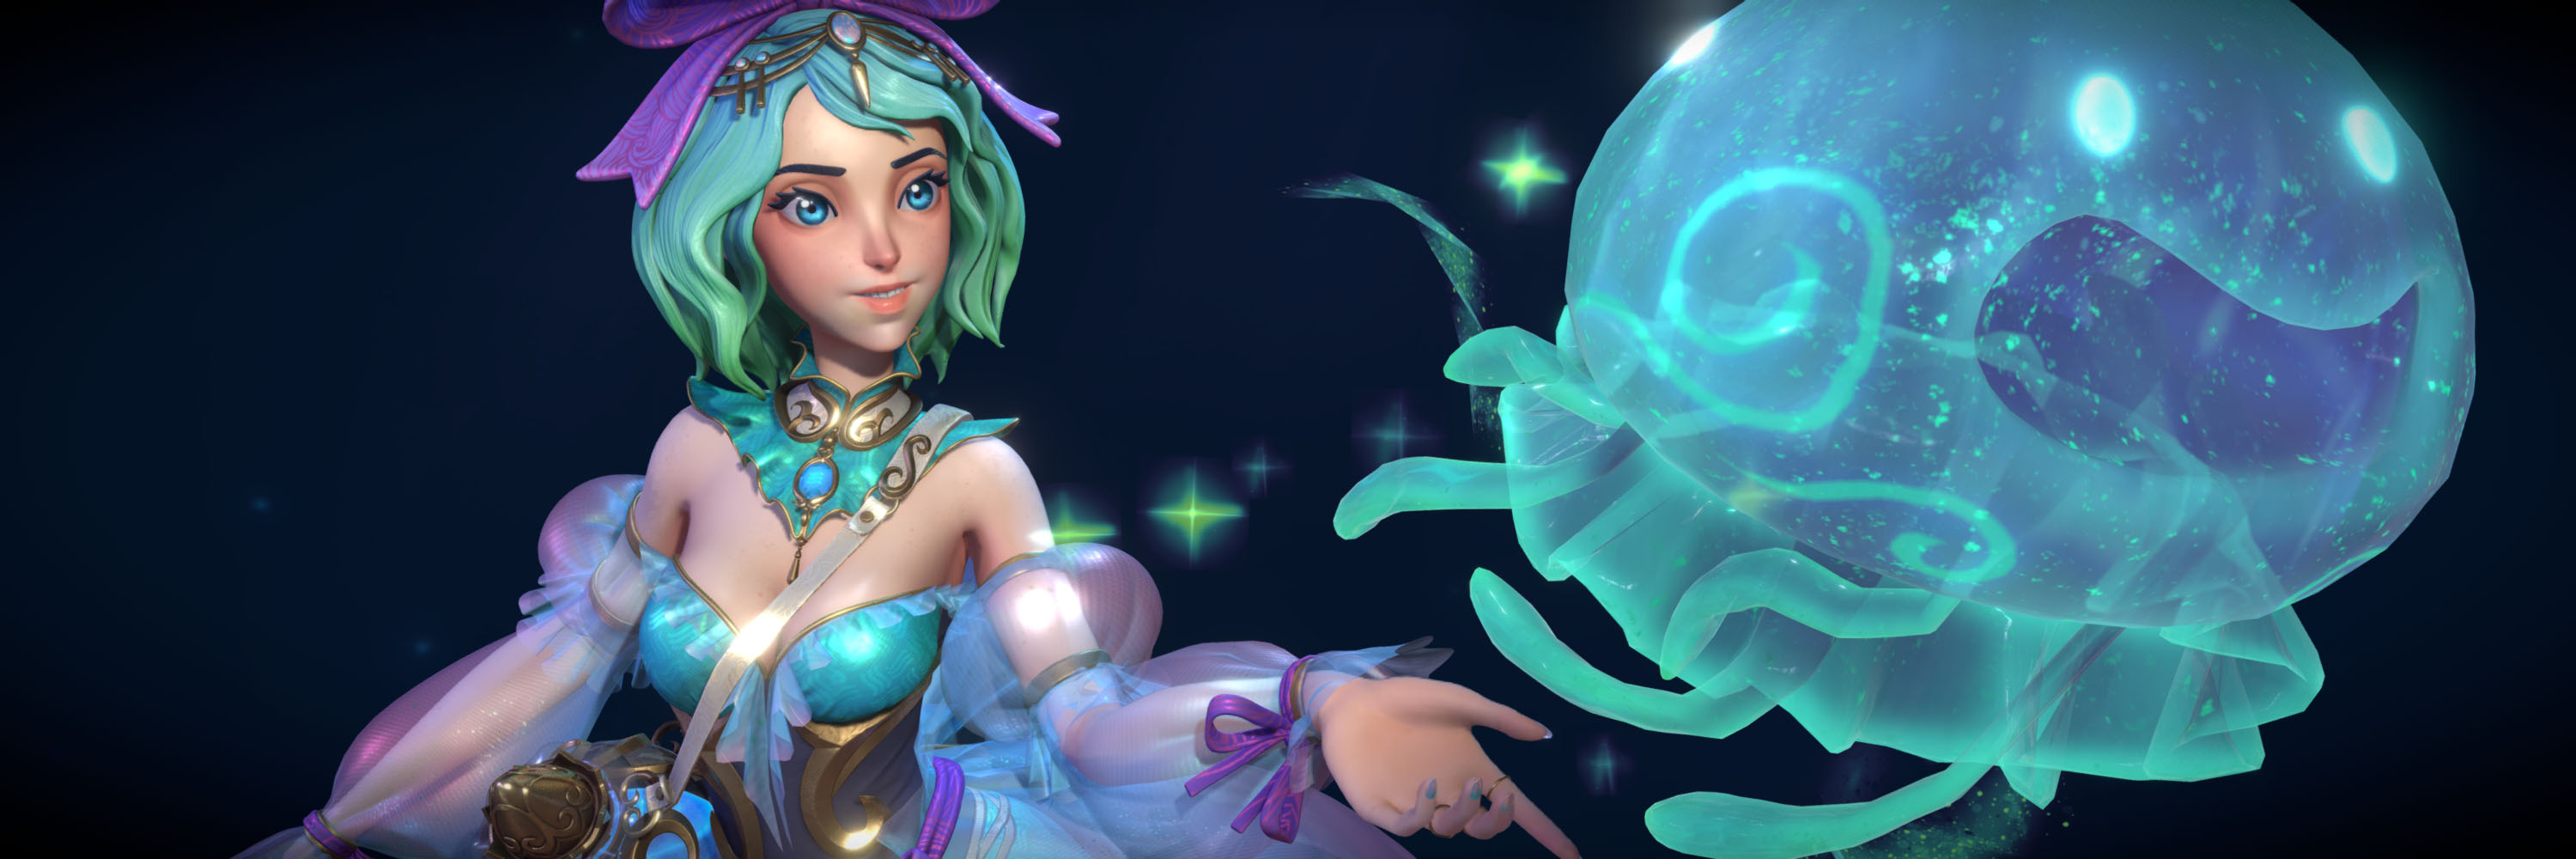
The final rendition of your work is very important so I usually try to put in just as much effort into this step. For this project, I used Mixamo.com to do an auto rig of my character. Then I brought her into Maya for posing. I went with a more flow-like composition to accentuate the element of water and tried to add curves to all the elements in the scene.
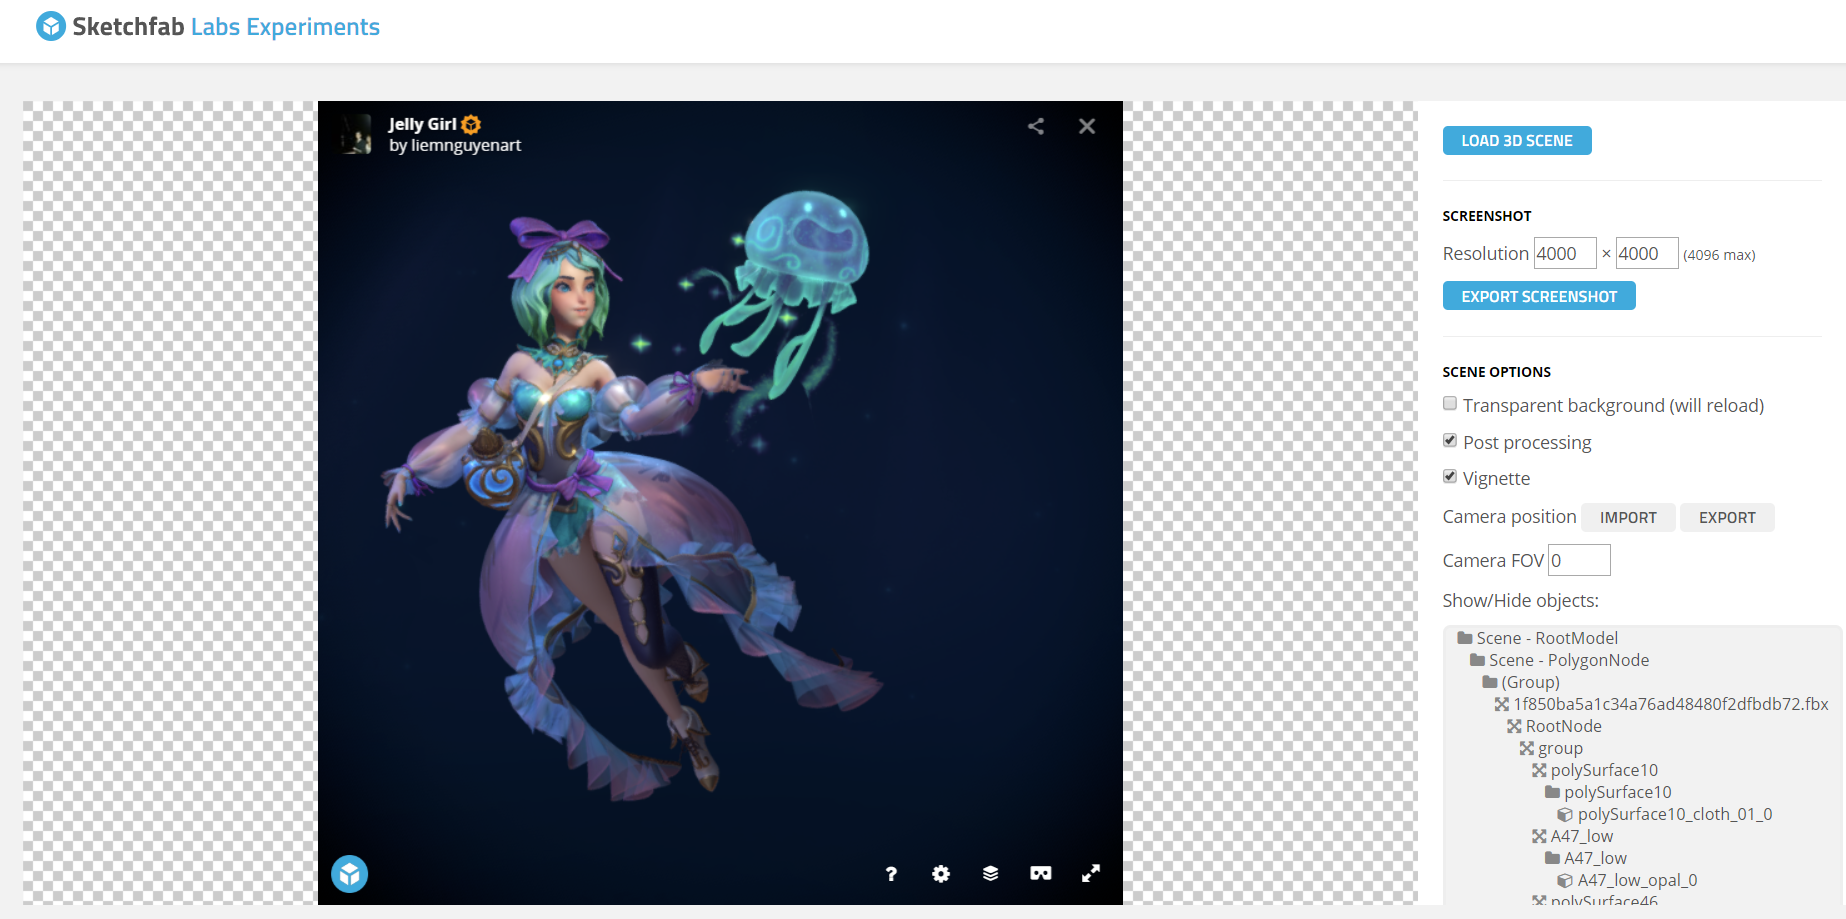
I chose Sketchfab because it was easy to use and has great real-time rendering capabilities. I was able to plug in all my maps exported from Substance Painter once my model was uploaded.
I was impressed with the lighting also and had enough lights to do a quick but effective three-point lighting setup.
With all this work, I wanted high quality screenshots and was able to do so with the help of the Sketchfab Screenshot Generator. This approach allowed me to create images up to 4k with varying camera FOV.
Final Thoughts
This project was very fun to work on and I want to thank everyone who gave me feedback, as well as the talented art community that helps many artists like me learn and grow.
