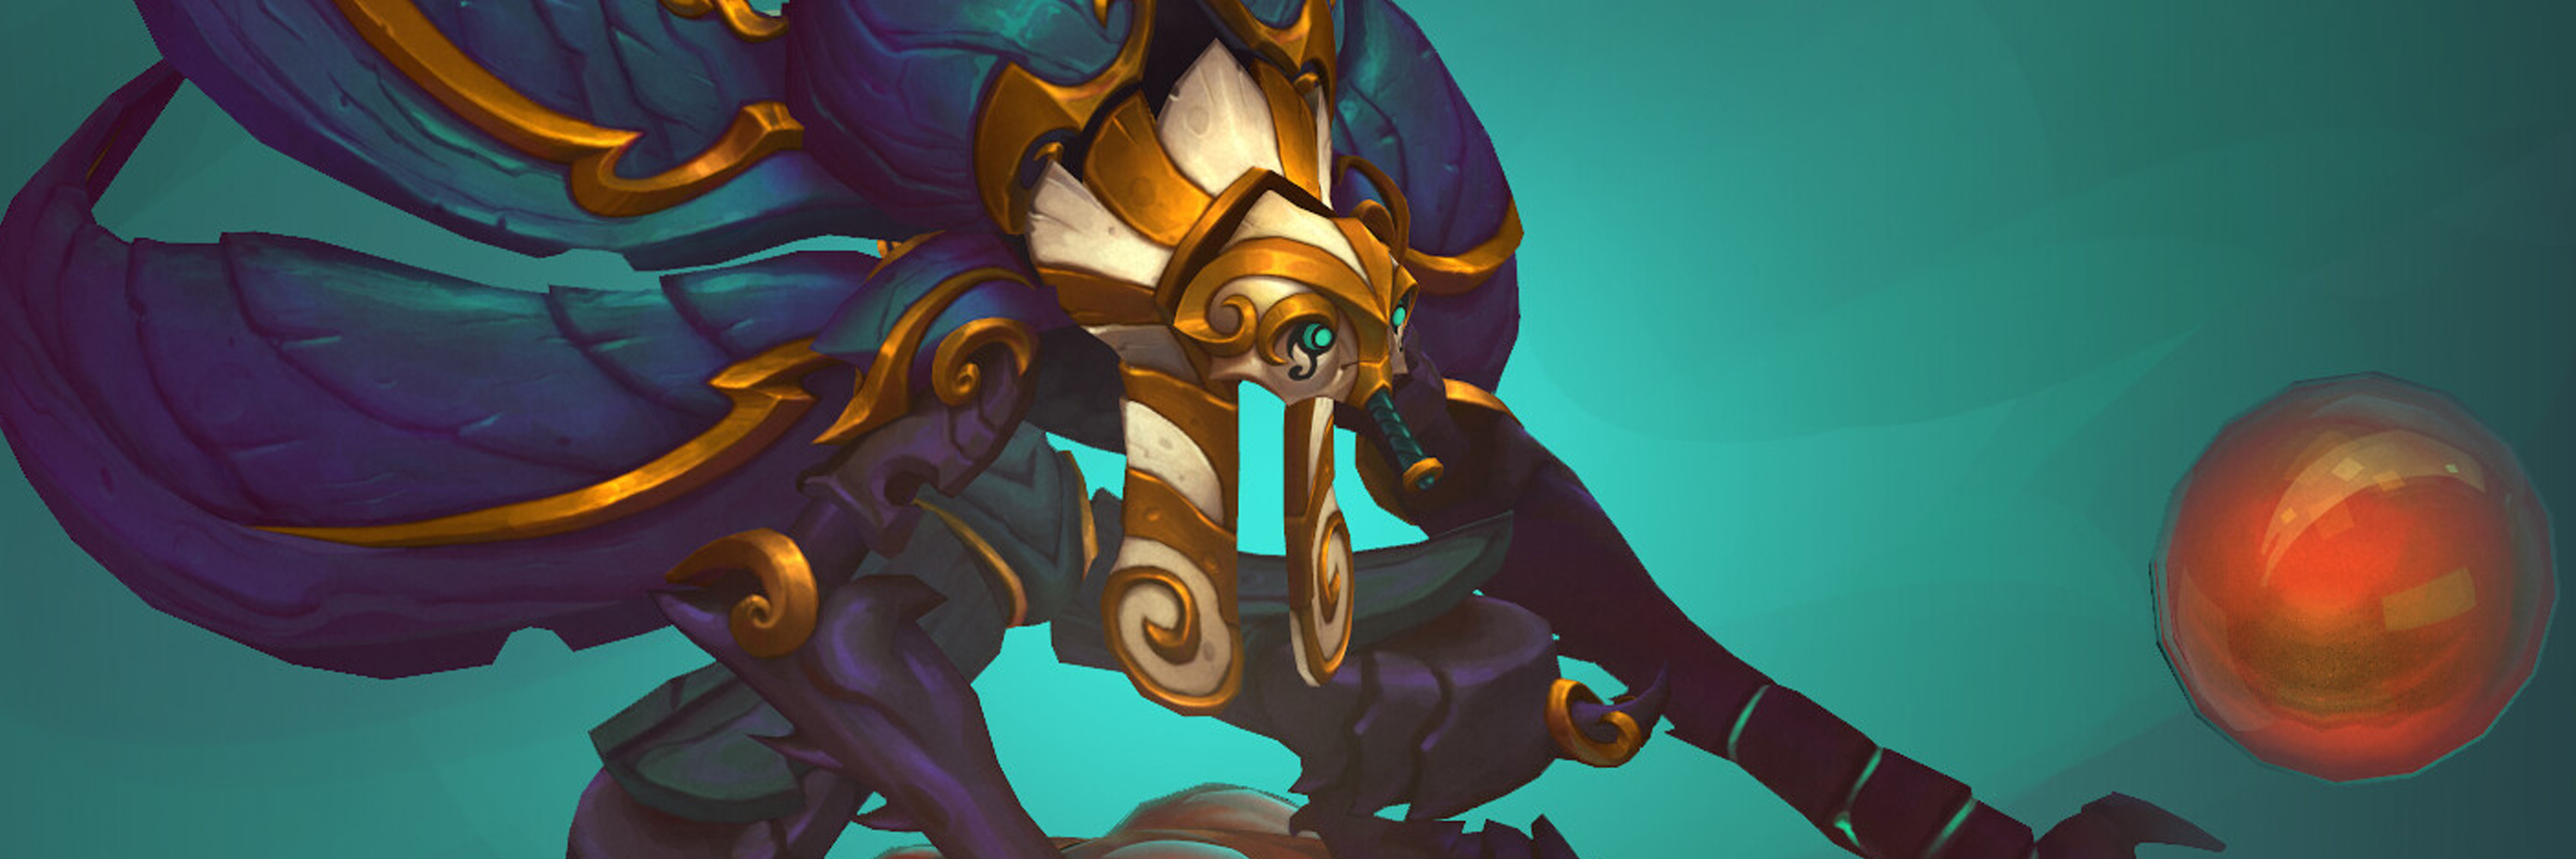
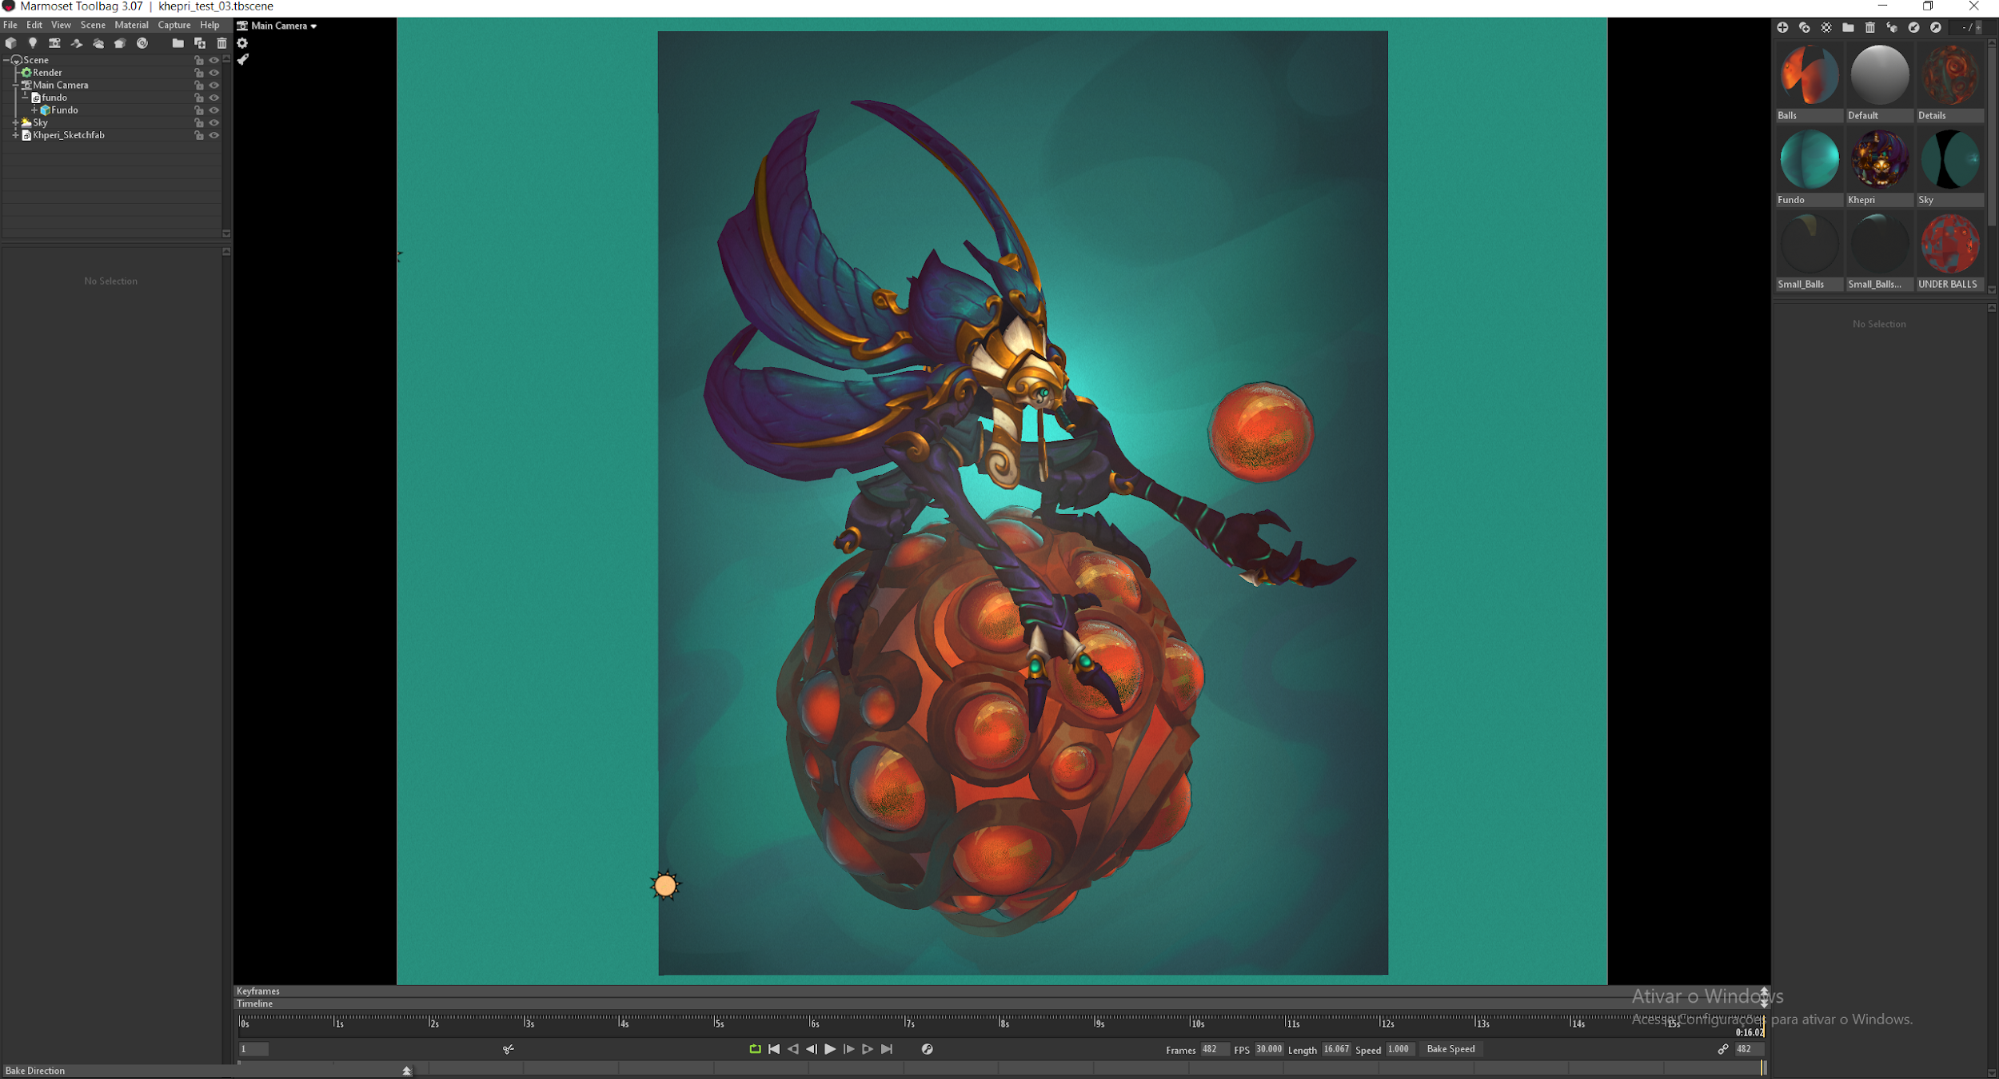
Hey, folks! My name is Yara Rocha, I’m 24, and currently living in São Paulo, Brazil. I’m a 3D artist working for a mobile company called Wildlife, mainly involved with character creation. I graduated in Game Development from PUC-Minas in 2017, and during the course of studies my focus was 3D modelling, but in general, I had contact with the whole process of game development, from concept to animation. Today I’ll show you a little bit of the character modelling and texturing process that I used in my last personal project! I hope I can help you with a thing or two.
Reference gathering
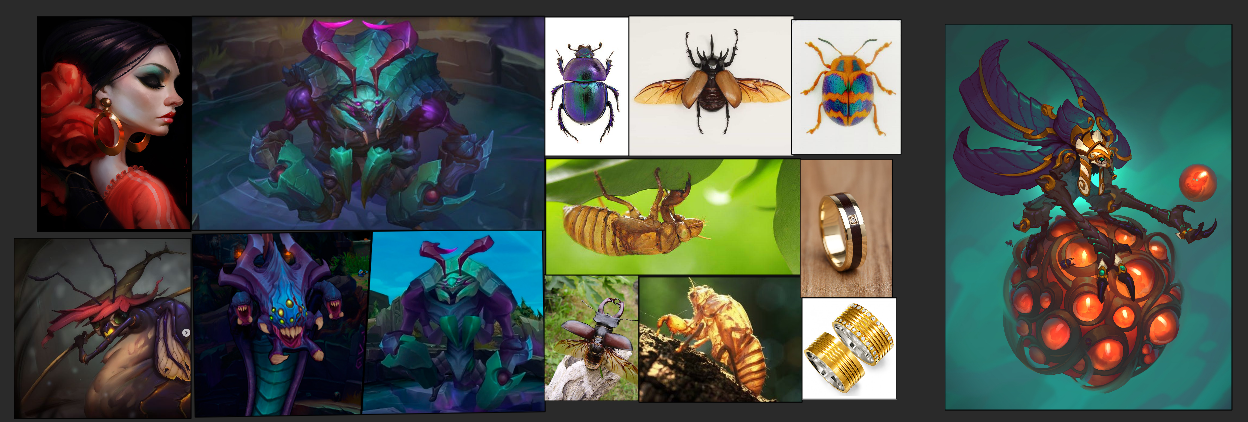
First, start by collecting references. They are divided between:
- Good examples of stylization and material work;
- The final quality visual result that I want for my project;
- Real-life references;
- A concept itself.
I chose the concept made by Baldi Konijn—it’s the one on the right. This concept was inspired by the Egyptian mythology of the god Khepri, a scarab/sun deity often symbolizing rebirth and creation. So I thought about his lore and what this character would be in a game, what is his role? I defined that he would be a boss, and his function would be to defend the beings that live inside these balls against the player. And as I didn’t have the concept from the back, and he is all half-armed, I decided that his fragile part would be behind him, which is where the player would have to hit to be efficient/do damage. I’m saying all this because I want you to understand some of my decisions in Khepri’s design, and thinking about these functions beforehand helped me make a lot of decisions like that. As I didn’t have the concept of the back, I had to imagine it, and defining functions made it easier.
Blocking
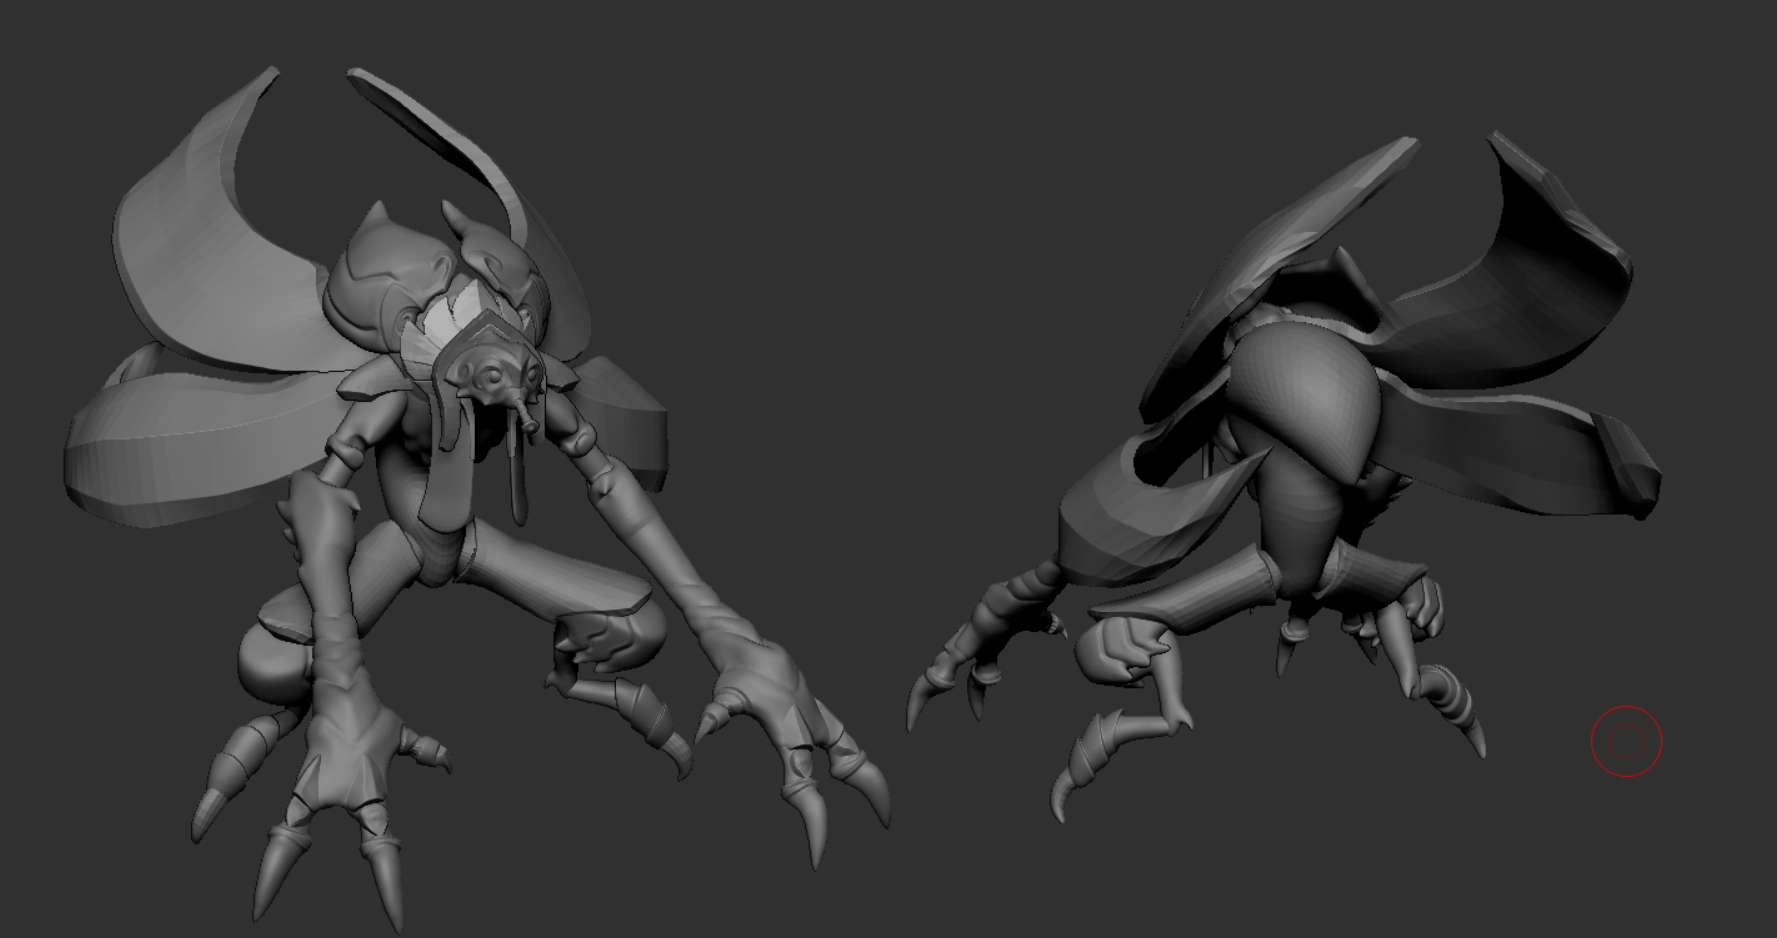
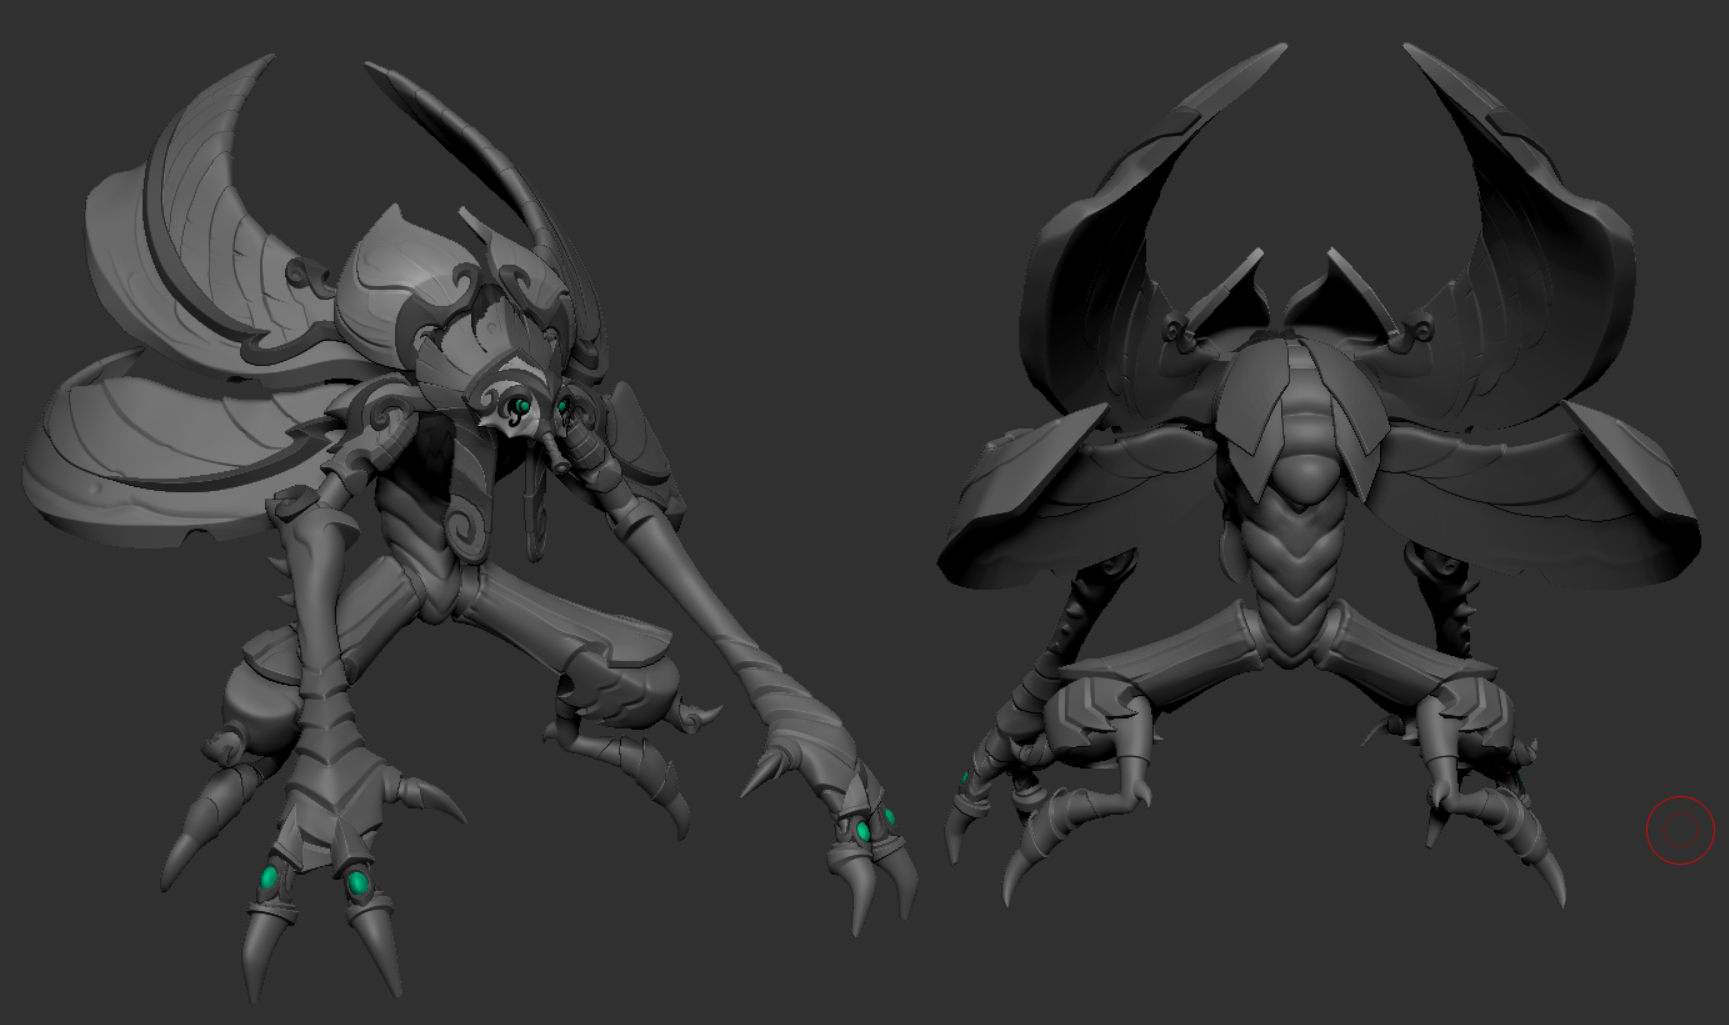
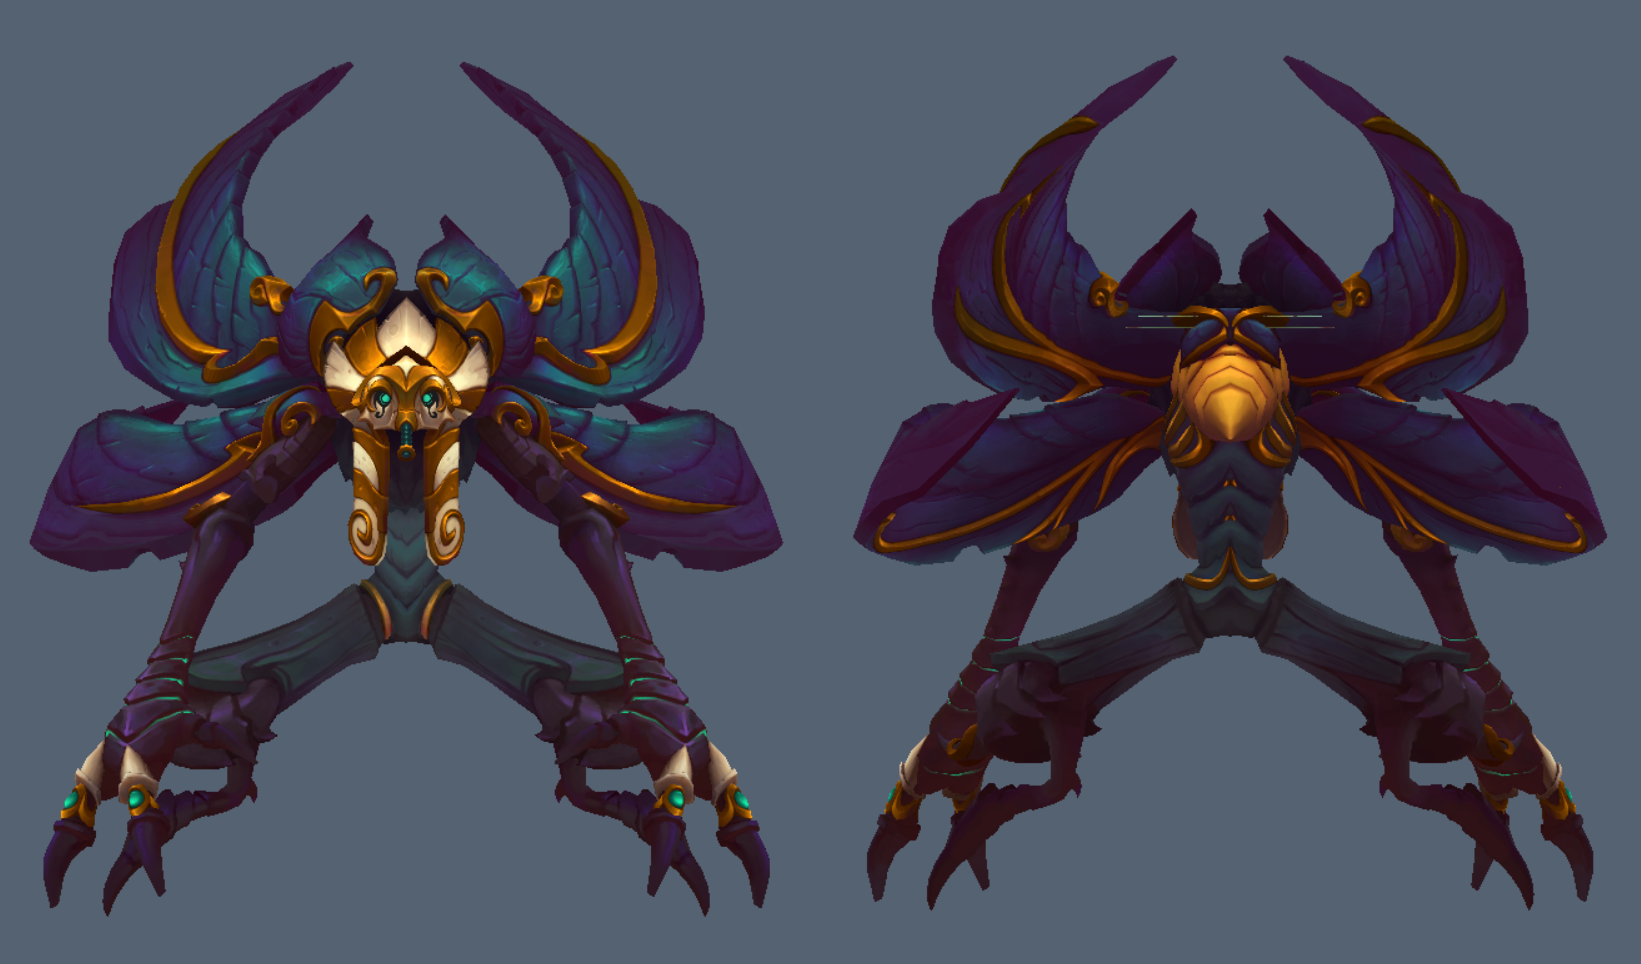
The blocking phase is when I start to build the modeling by just thinking about general proportions. No details, just a rough sketch trying to capture the idea of the concept. It is also in this part that I started to understand what would be the back part of the model. Using some of the references above, I defined that this top part (yellow highlighted) would be interesting as being the fragile part since the original concept does not demonstrate that these wing shells are capable of closing completely. He would be 100% protected from the front, but from the back, he would be vulnerable.
Detailing: Phase 1
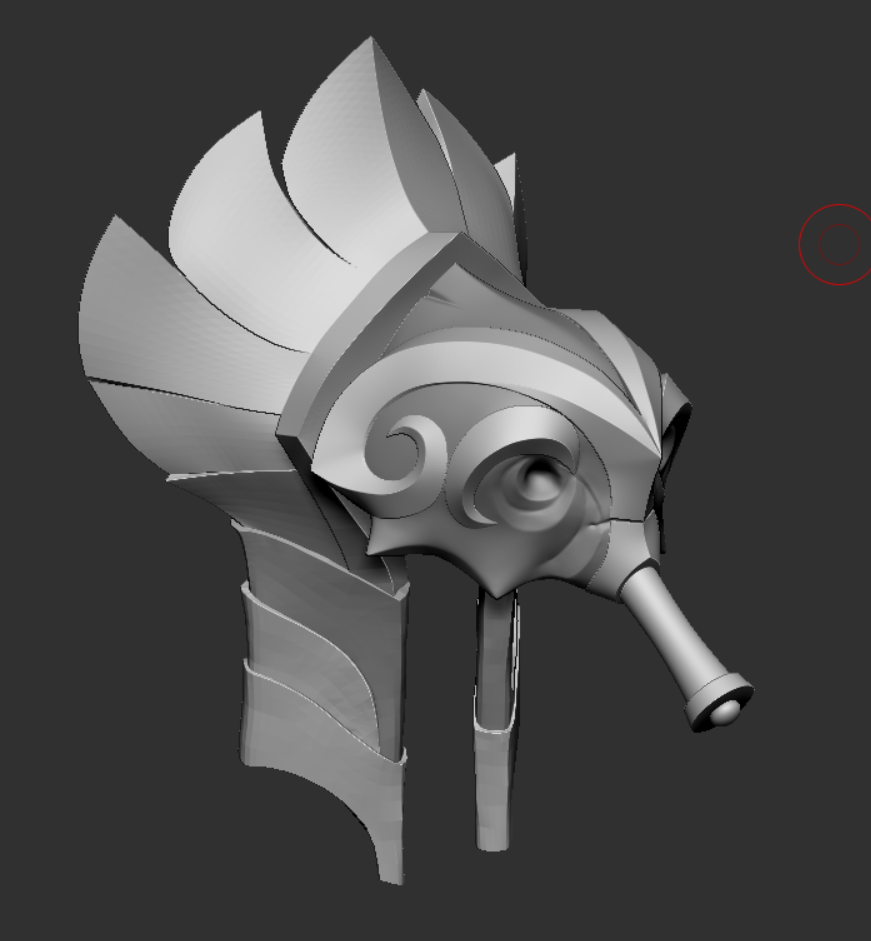
I tested some hypotheses—without blocking them out first—about how I could detail a sculpture in the future. One idea was to create a stage 2 of the block by defining these golden details a little better:
- Example of this “Stage 1” of blocking, just worrying about the silhouette.
- Example of this “Stage 2” of blocking with some blocked detailing, but not worrying about polishing.
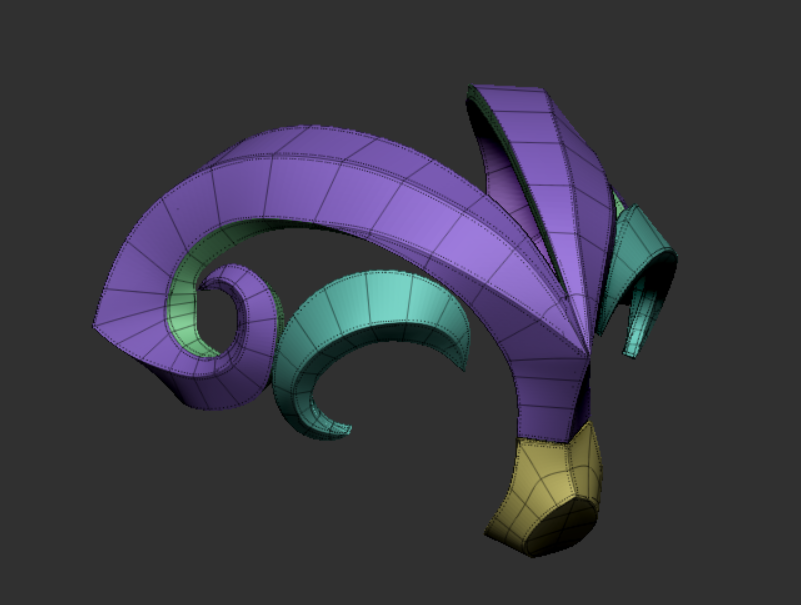
The next step would involve taking this “Stage 2” model into Blender and creating a retopology of the golden details, and whatever else I thought needed to be retopologized:
So I would take this topology back to ZBrush, work with creases and polygroups and keep it in Dynamic Subdivision until I had finished doing the same process on the entire model:
I did this so that I would have the same level of uniform finish throughout the model:
After proving with a few assets that the workflow would be worthwhile, I started to apply it to the rest of the geometries, creating the same logic of a second pass of blocking, retopology, and creases and adjustments within ZBrush:
The important thing for me in this retopology was having the right poly loops to work the shading in the subdivision, and the right edge loops to work the creases. So I was not always concerned with having a perfect quaded topology, but a topology that would give the visual result I needed.
I did not use this retopology process for all of the model’s assets. Some details worked well using the mesh extraction tool, then ZRemesh until I had a good topology, then Polish By Features (in the deformation tab), and finally the QMesh tool (using the ZModeler brush) to extrude the mesh. I could also work some polygroups on it using ZModeler brush!
In this first phase of polishing, my goal was to leave all modeling at the same level of detail.
Detailing: Phase 2
In phase 2 of detailing, I applied the Dynamic Subdivision and started to work finer details throughout the sculpture; finishing this part relieved me a lot. However, a lot of things on the creature’s back were still bothering me, so it was time for me to resolve them. That’s when I opened it up for feedback from my friends.
One of them, Victor Quaresma, explained some design concepts that were not clear in my mind until that moment, such as the repetition of unique elements in the design, which give him an identity. Another interesting concept that he explained was how to create connections between two parts in a “natural” way in which one part evokes the other and appears to be actually connected, and not just leaning against each other. And there was a lot of that missing between the leg and the torso, for example. He also explained that if I wanted to pay attention to that back part, I needed to better control the levels of detail in that area, and create flow through the player’s eye.
From these feedbacks and visual guides, I was able to understand which design decisions to make in order to guide the player’s eyes to the focal point on his back.
After finishing the character’s high poly, I jumped to what would be the “high poly” of the big ball. I didn’t finish the high-poly of the ball because after finishing the character I defined that the final style would no longer be PBR, it would be hand-painting. The reason for this decision was to keep me motivated. I knew that PBR was something I didn’t have in my portfolio and that if I wanted to have a better professional reach I would need to have at least 1 PBR asset. But PBR was exactly something I was doing at my job for 8 hours a day, and it’s not a workflow that gives me as much pleasure as painting—I didn’t feel motivated to continue.
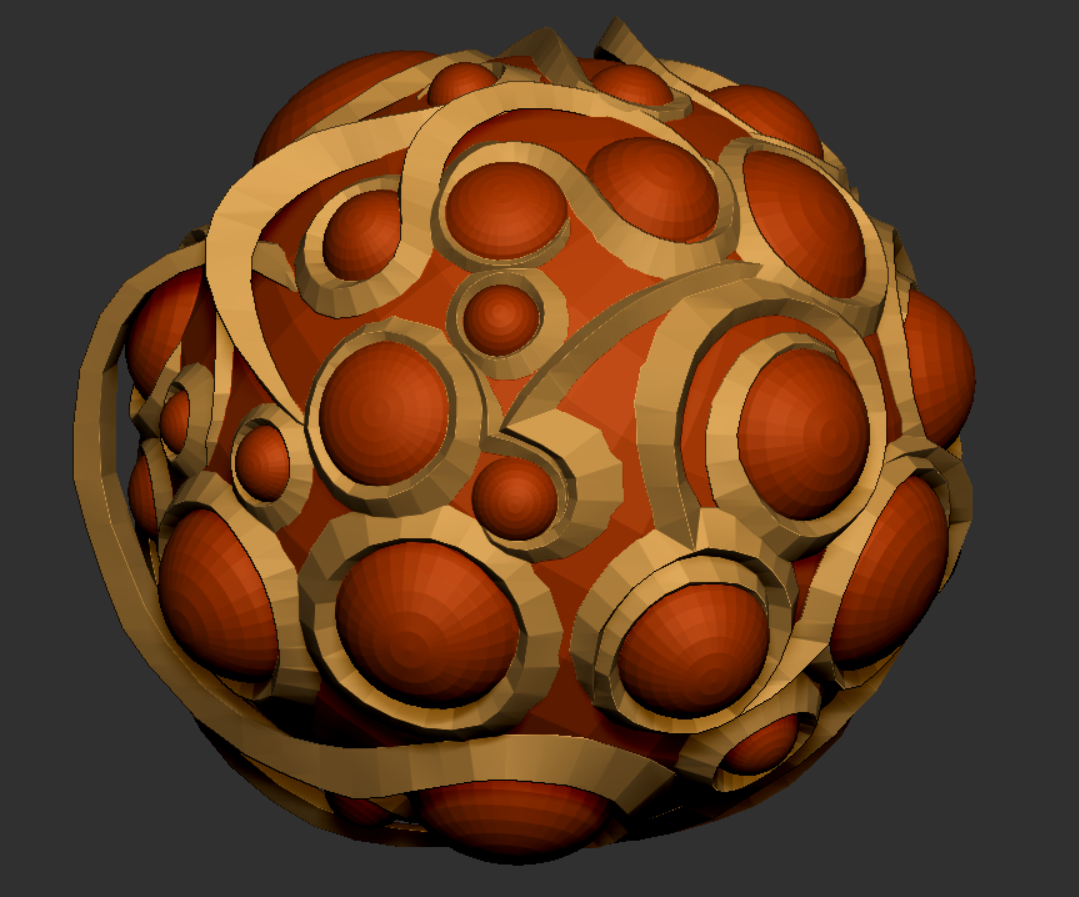
To make the golden details on the ball I followed a tutorial by Manuel de Jorge to set up a hair brush.
Retopology
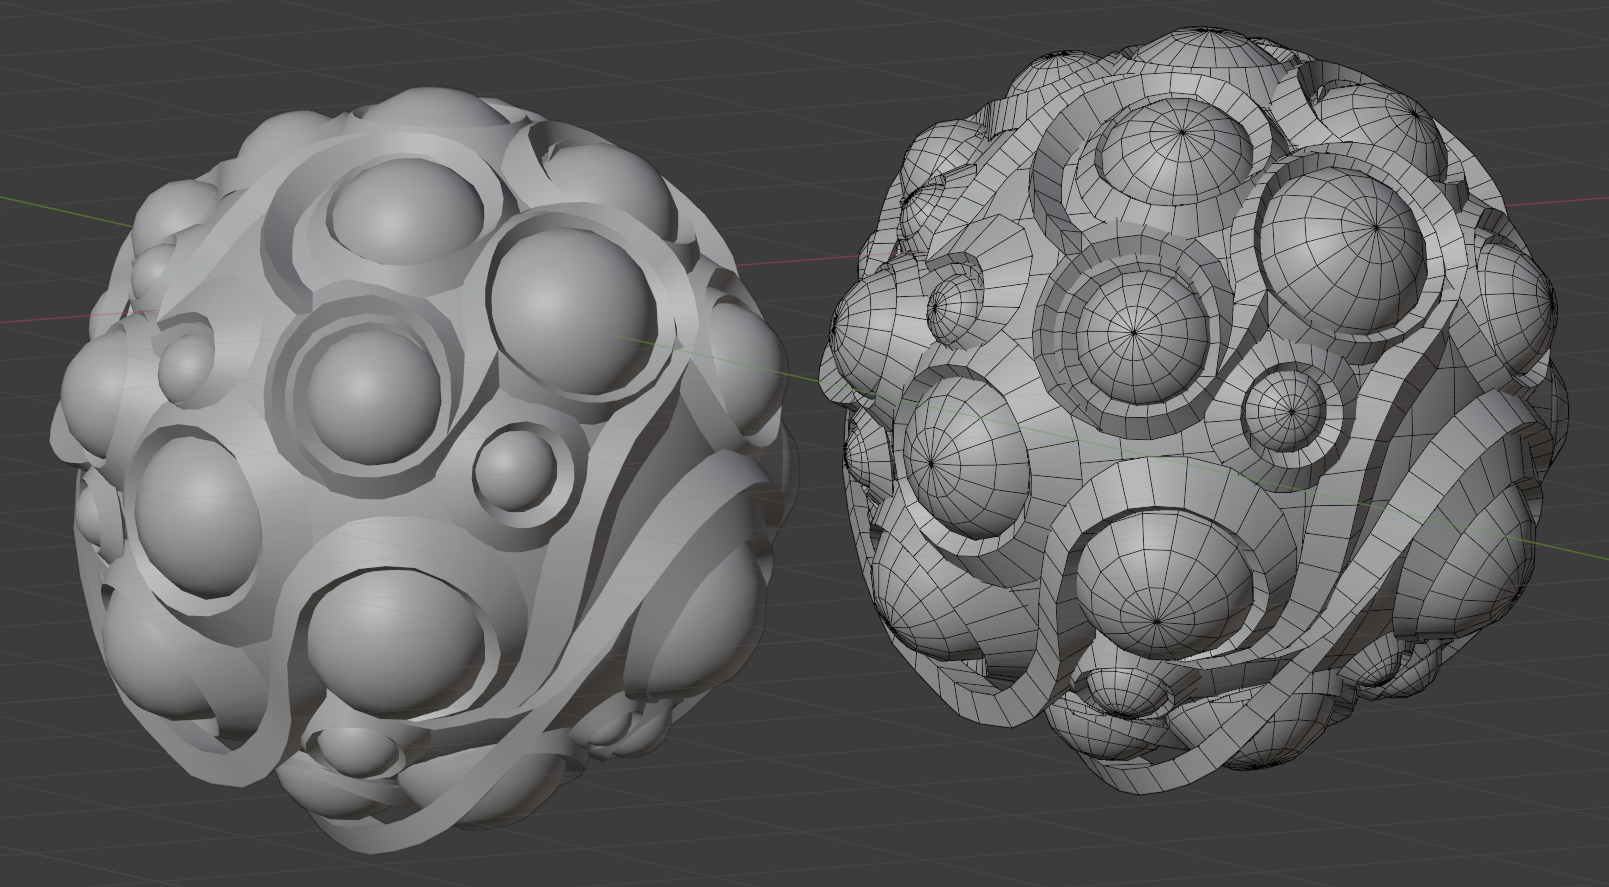
Retopology was done in Blender. I didn’t have a poly count target, but I had in mind that I would spend as few polygons as I could, but not enough to bother the eye or leave the silhouette too faceted. I also used the retopology of some of the things that I had already done in phase 1 of detailing.
The total polycount is 16,676 tris. Those hard edges that I have in my low-poly are just to give a nice look in solid mode. Since my intent was to make the texture using just a diffuse, the shader was unlit, so for exporting to an engine like Unity, for example, I would export it all smoothed.
For the ball, I used as a base the model that I had made previously in ZBrush—just cleaned some poly loops and redid the little balls to make it more efficient. It has a total of 9,940 tris.
UVs
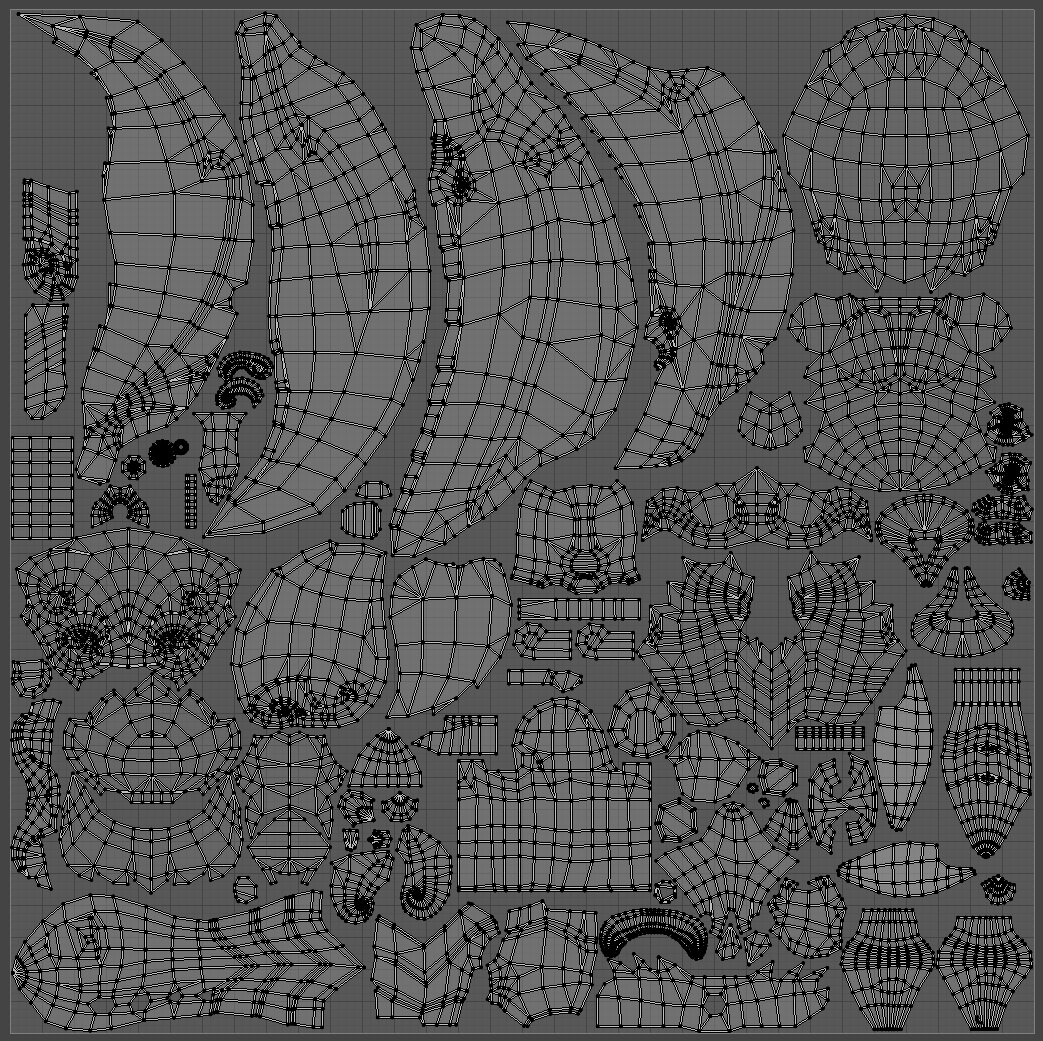
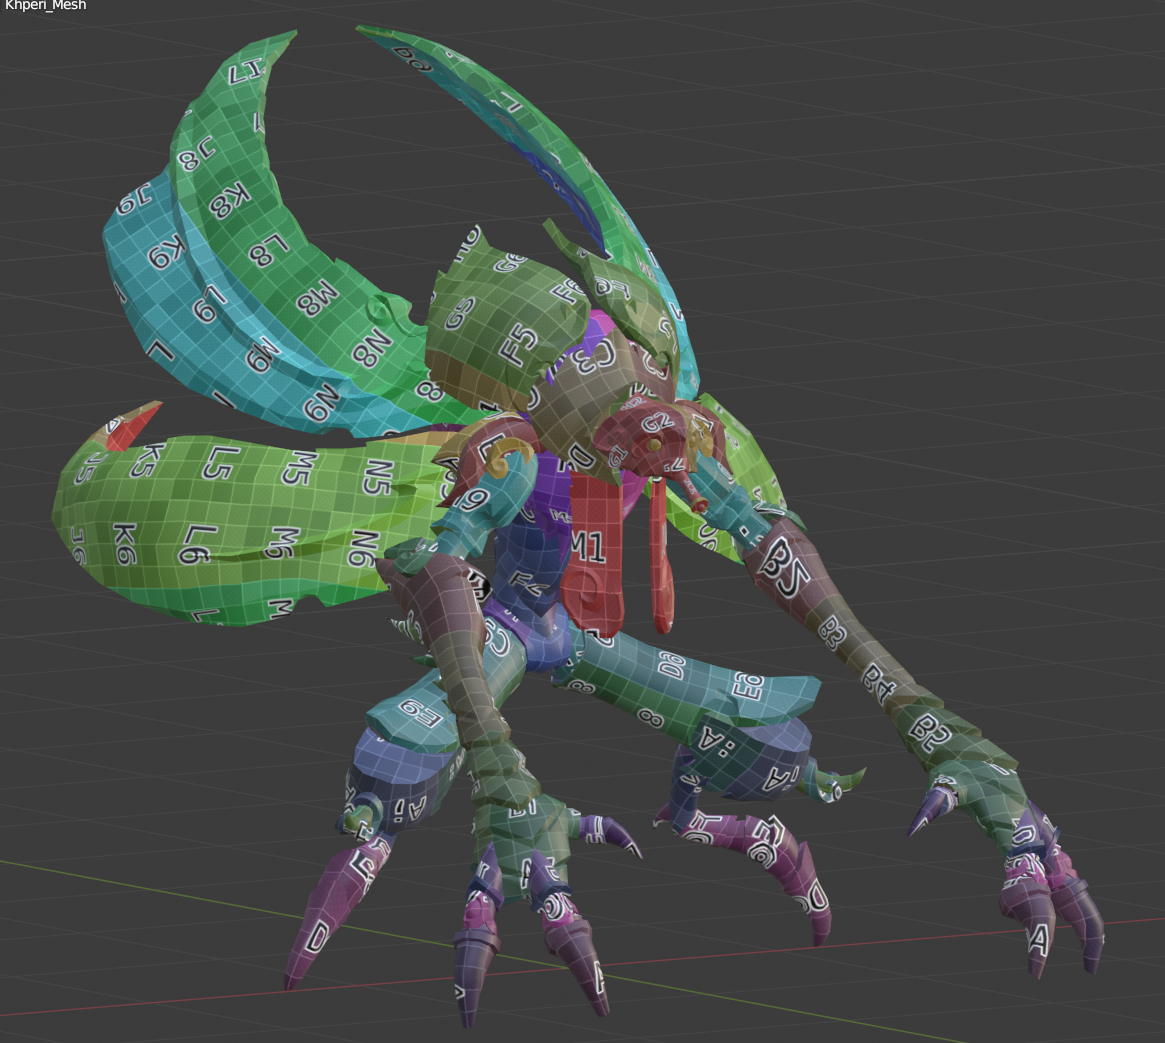
For the Khepri’s UVs, I tried to make the most of the available space, and since I had decided that I would use a 2k texture map for the whole character, I needed to do overlaps on basically everything that would be difficult for the player to see both sides of at the same time (wing shells, arms, legs, etc). Also, I prioritized UV space for the main parts like head, wing shells, and arms.
For the ball, I used 1 UV for the golden details, 1 for the little balls, and 1 for the big ball.
To pack the shells of this ball I used an Addon called UVPackmaster2. It’s very useful and saved me a lot of time!
Bake
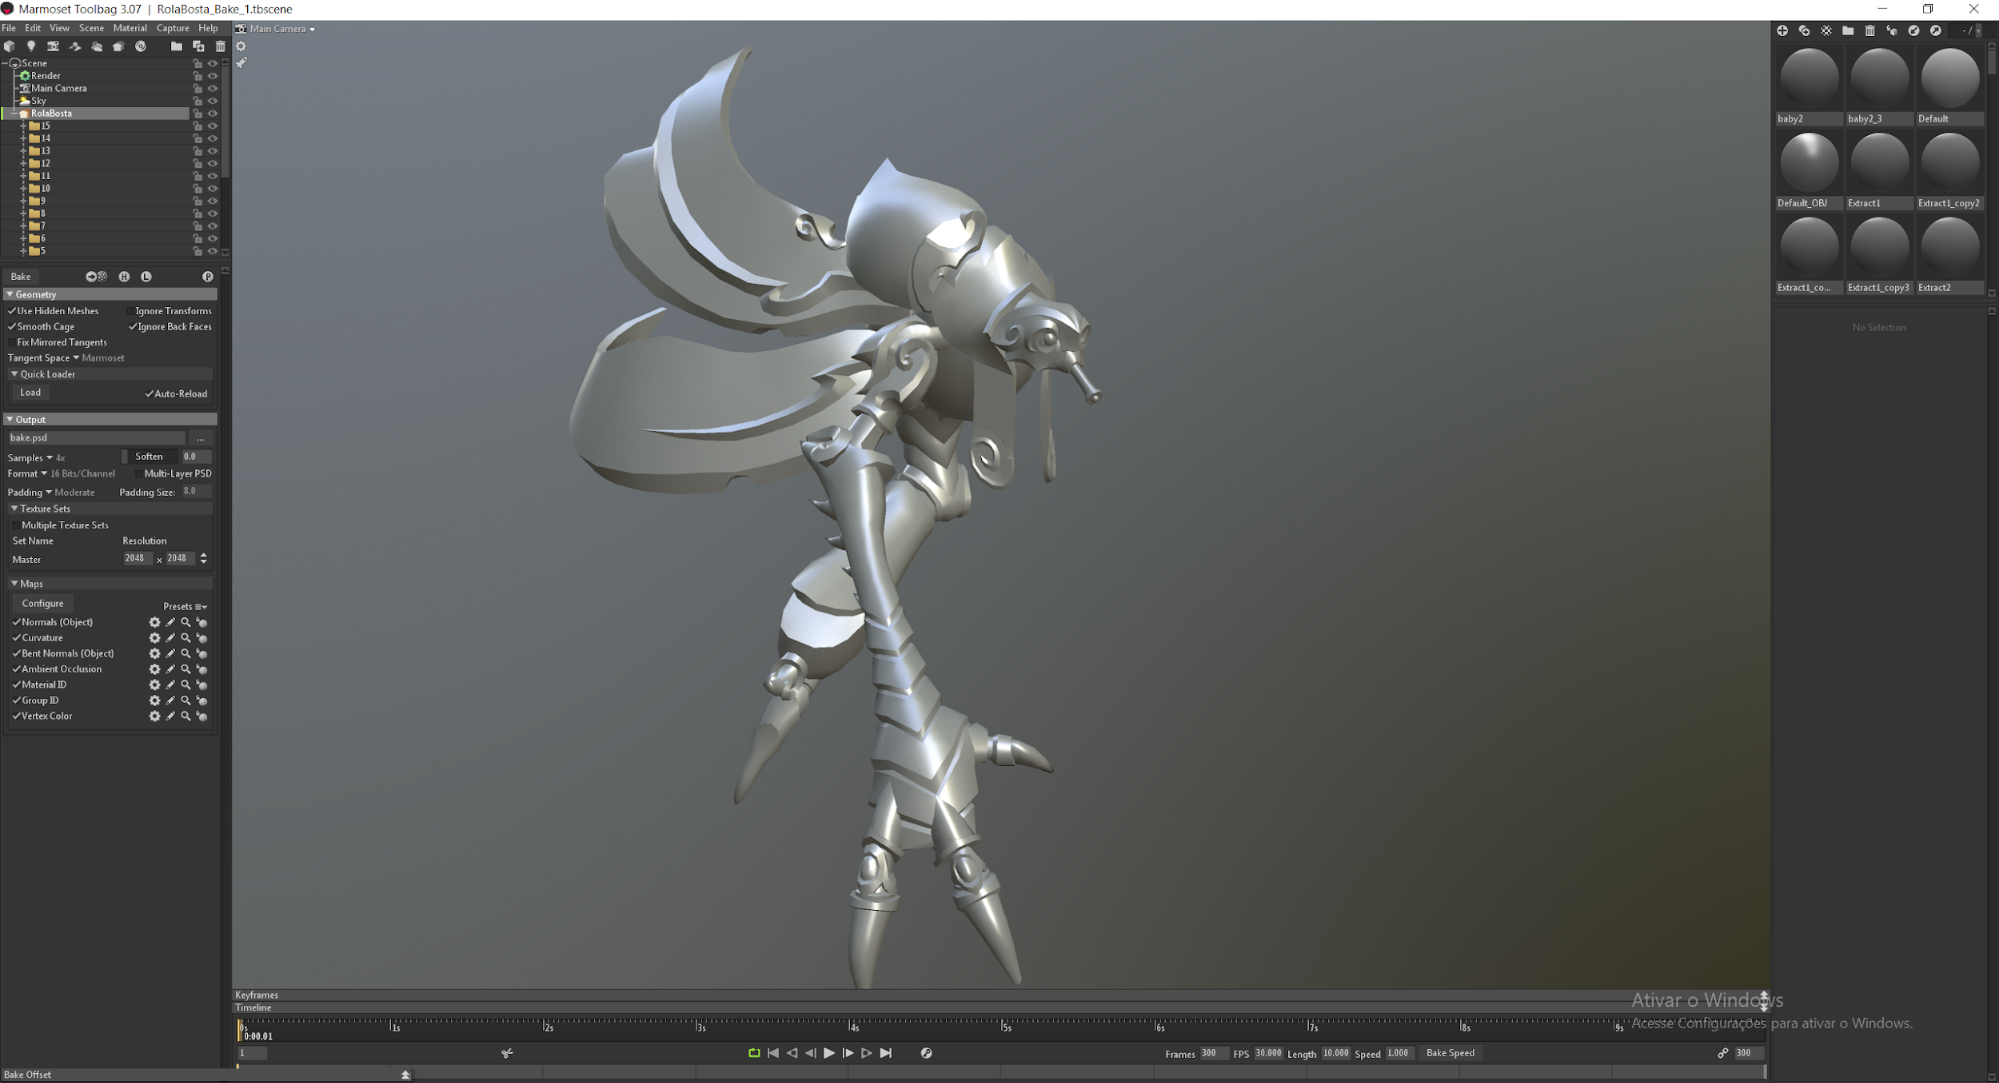
To make the bakes, I used Marmoset Toolbag. In my opinion, it is one of the best current bake tools. With it you can, for example, control the size of the cage with a slide, or paint on the mask the distance of its vertex. You can also paint the normal directions, which is very useful for a hard surface modeling bake. In addition to having a visual output of your models, you can also separate them into folders, which means that you do not need to export everything together any time you want to make a change to a specific part, which can save you a lot of export time!
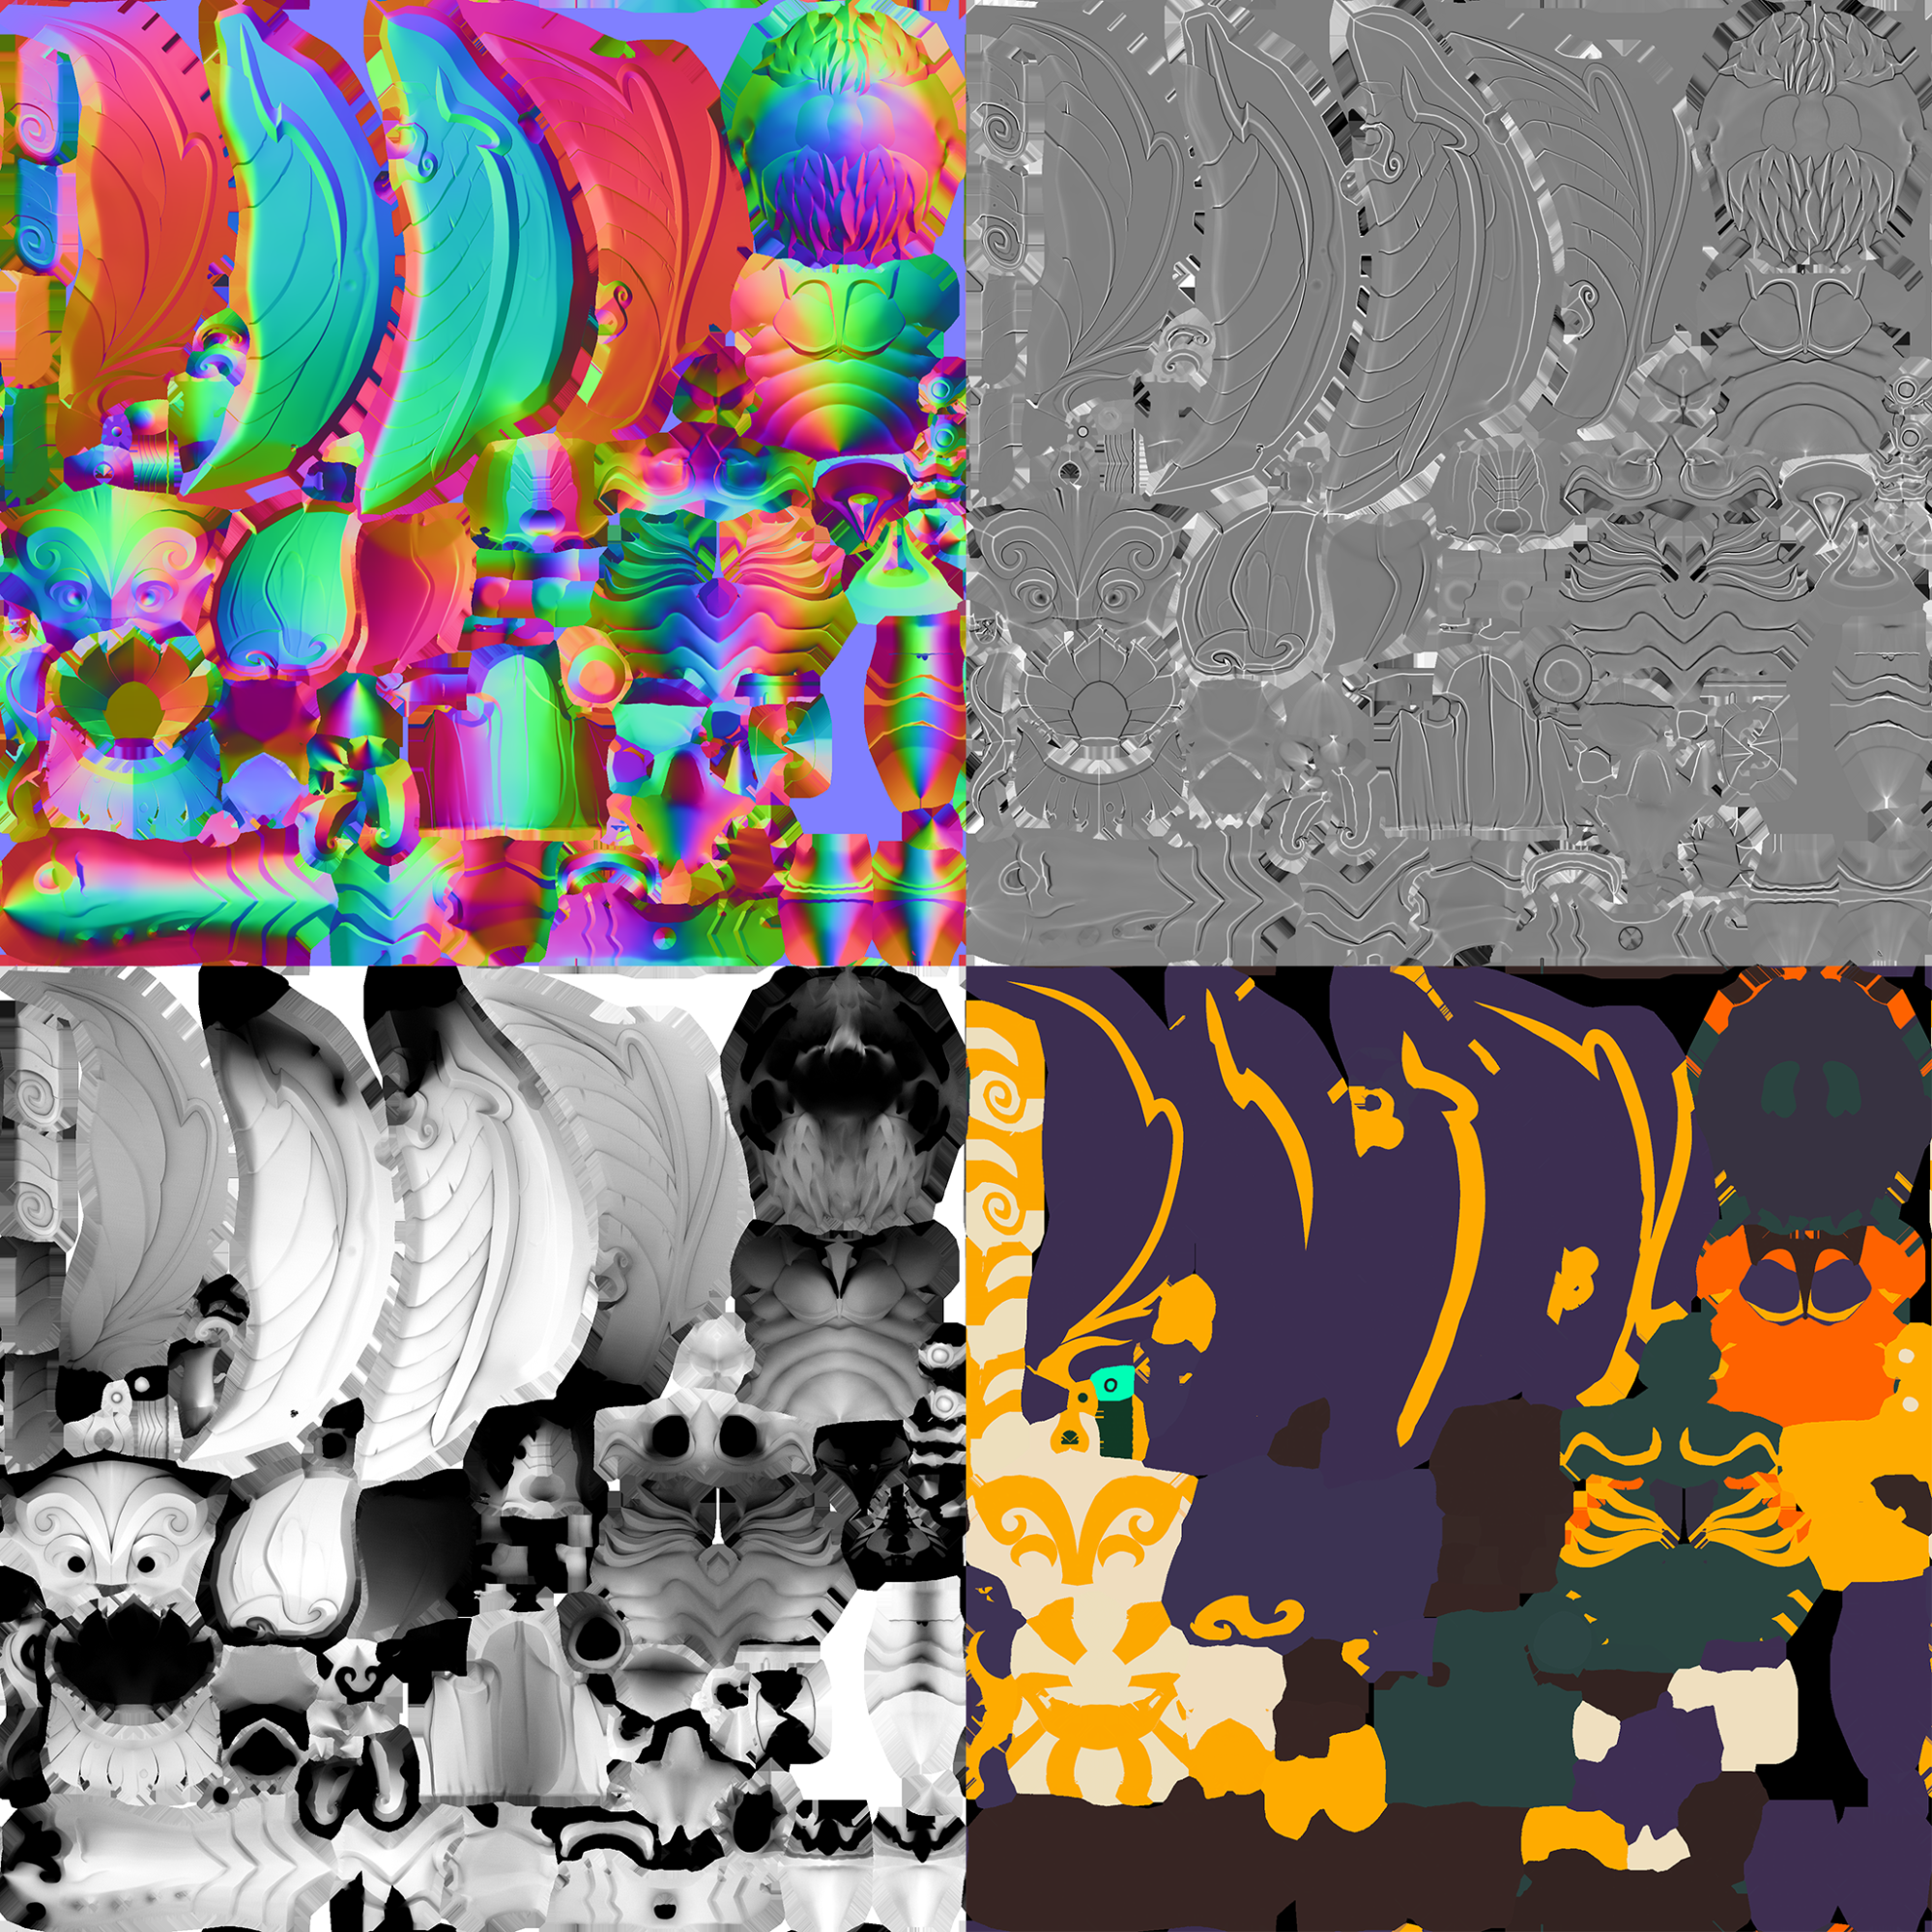
The maps I made were NormalOBJ, Ambient Occlusion, Curvature, and Vertex Color.
The Vertex Color map I used as an ID mask. This way it is easier to select a group of materials inside 3D-Coat.
Texturing
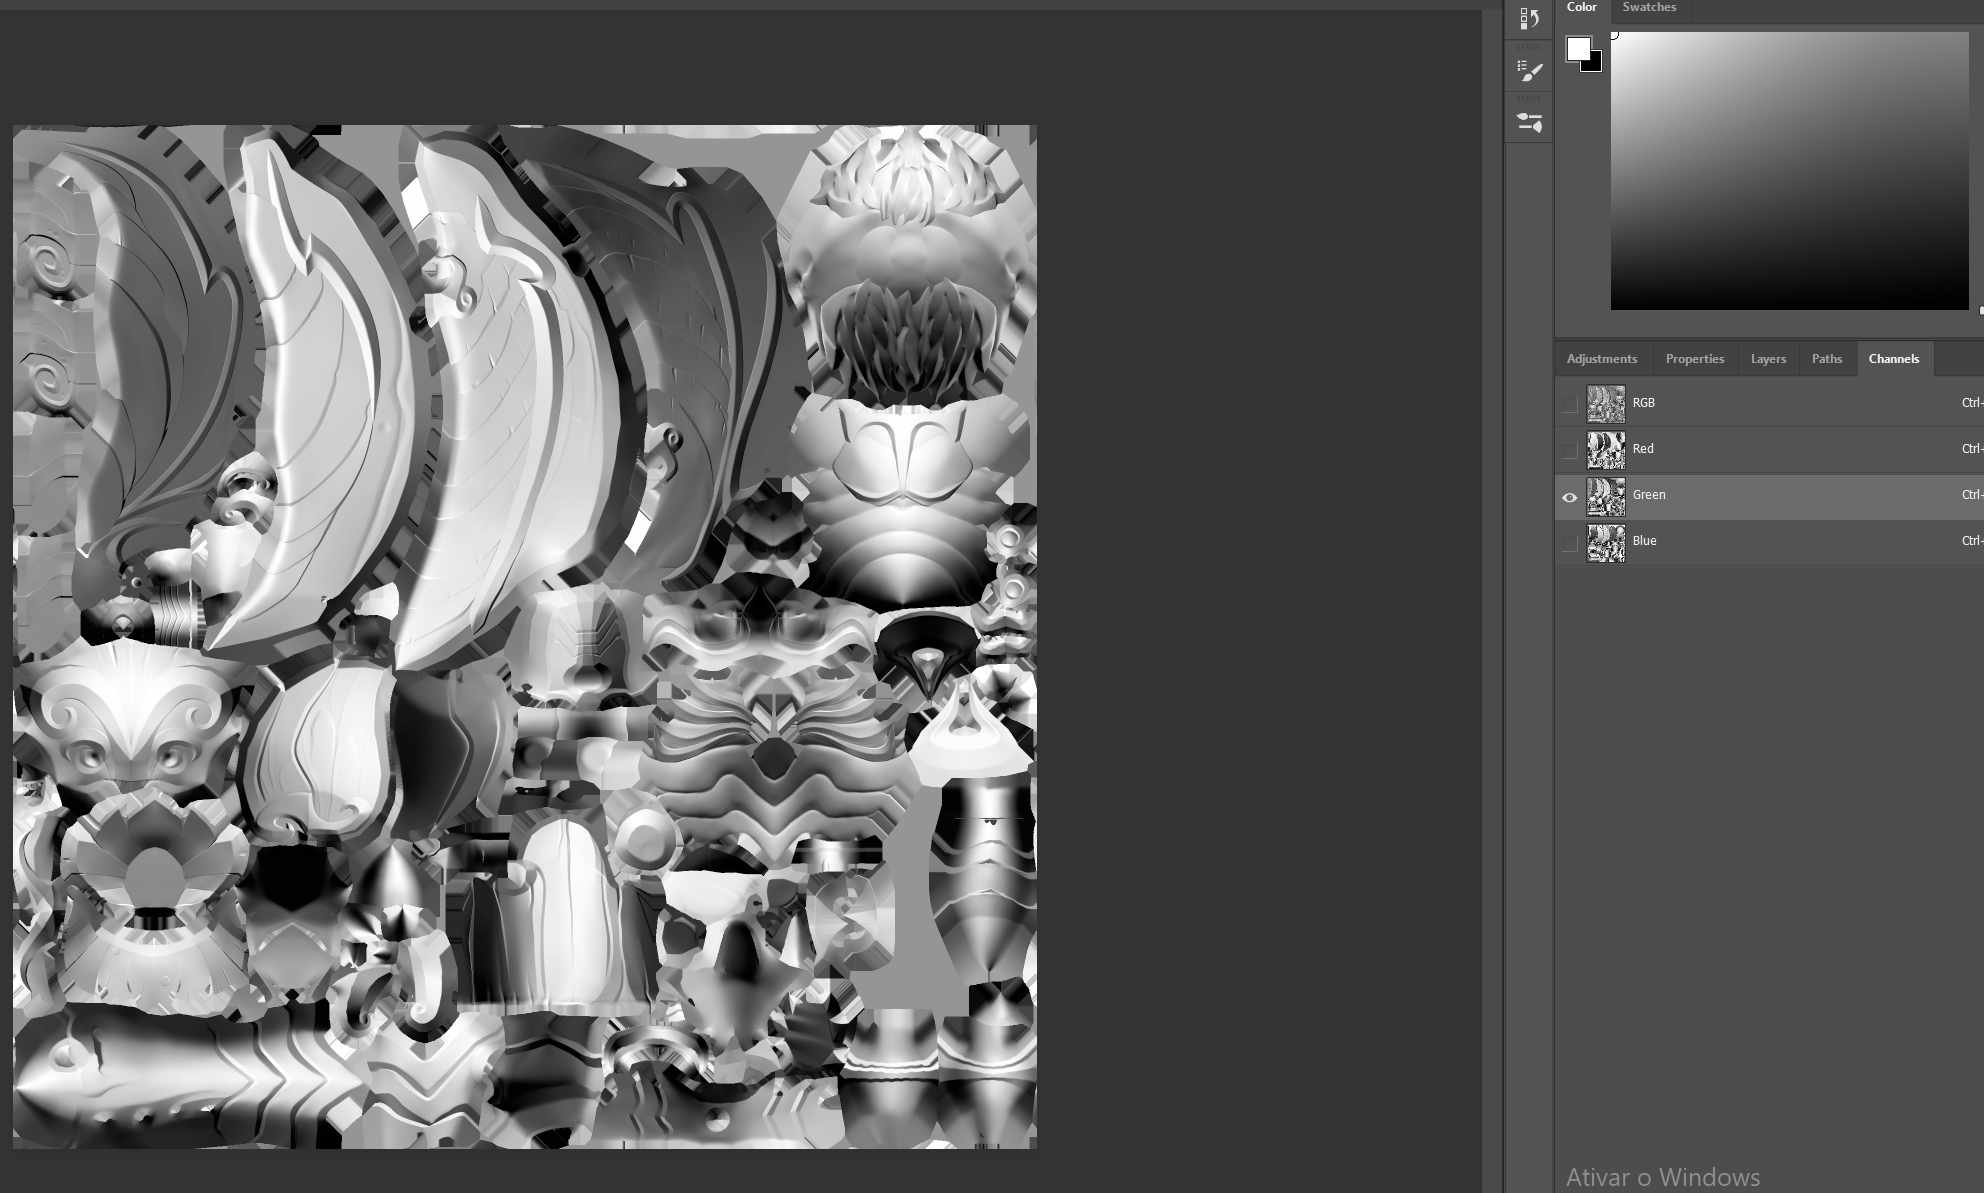
That’s the most fun part of all this! I work textures between 3D-Coat and Photoshop. My workflow for texture painting consists of first building a base texture if I have the properly baked maps. I use the vertex color map to serve as a mask color (to help me select everything that contains the same material), and also to serve as a color base. I usually use the AO as a multiply layer above everything. The curvature I use as an Overlay blend mode, in a layer above everything, but with a level of opacity that it is not too noticeable. And the G channel of the NormalOBJ is a really good start point to make light and shadow:
You can have complete access to this workflow in this video.
3D-Coat is a very cool software for painting, mainly because it has integration with Photoshop, which means you can paint in one software and update your texture in the other almost real-time. Also its tools work very similarly to Photoshop’s: you can select an area by color tolerance, copy a detail to paste it elsewhere, and blend mode calculations work exactly the same way!
After building that base texture I started to paint in layers above it:
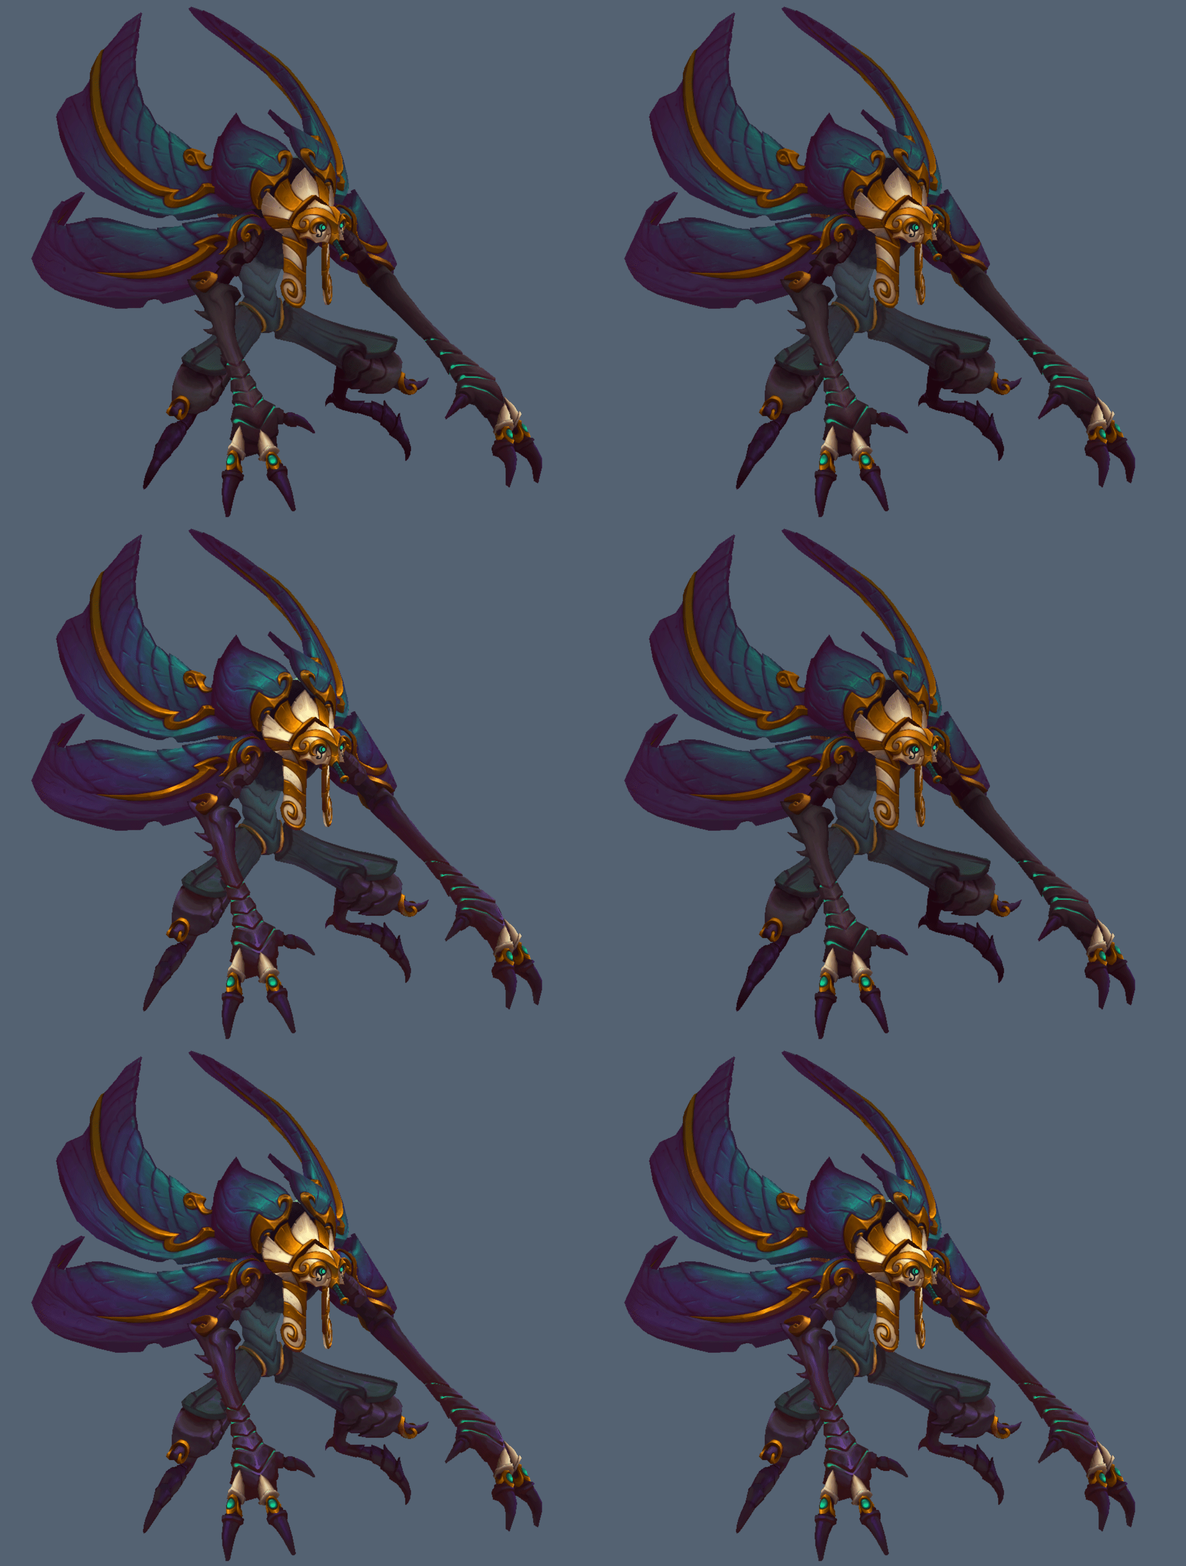
This was the first iteration I had. It was when I didn’t know what more I could do, but I was aware that something was bothering me a lot, something related to values in the darkest shadows. Some of the feedback I received was to work the materials better; in this early version, it seemed all the materials were behaving almost the same way. I should push the highlights a little bit more and differentiate each part better. So when it was time to merge all the layers I had painted, this time I used color pick instead of just blend modes.
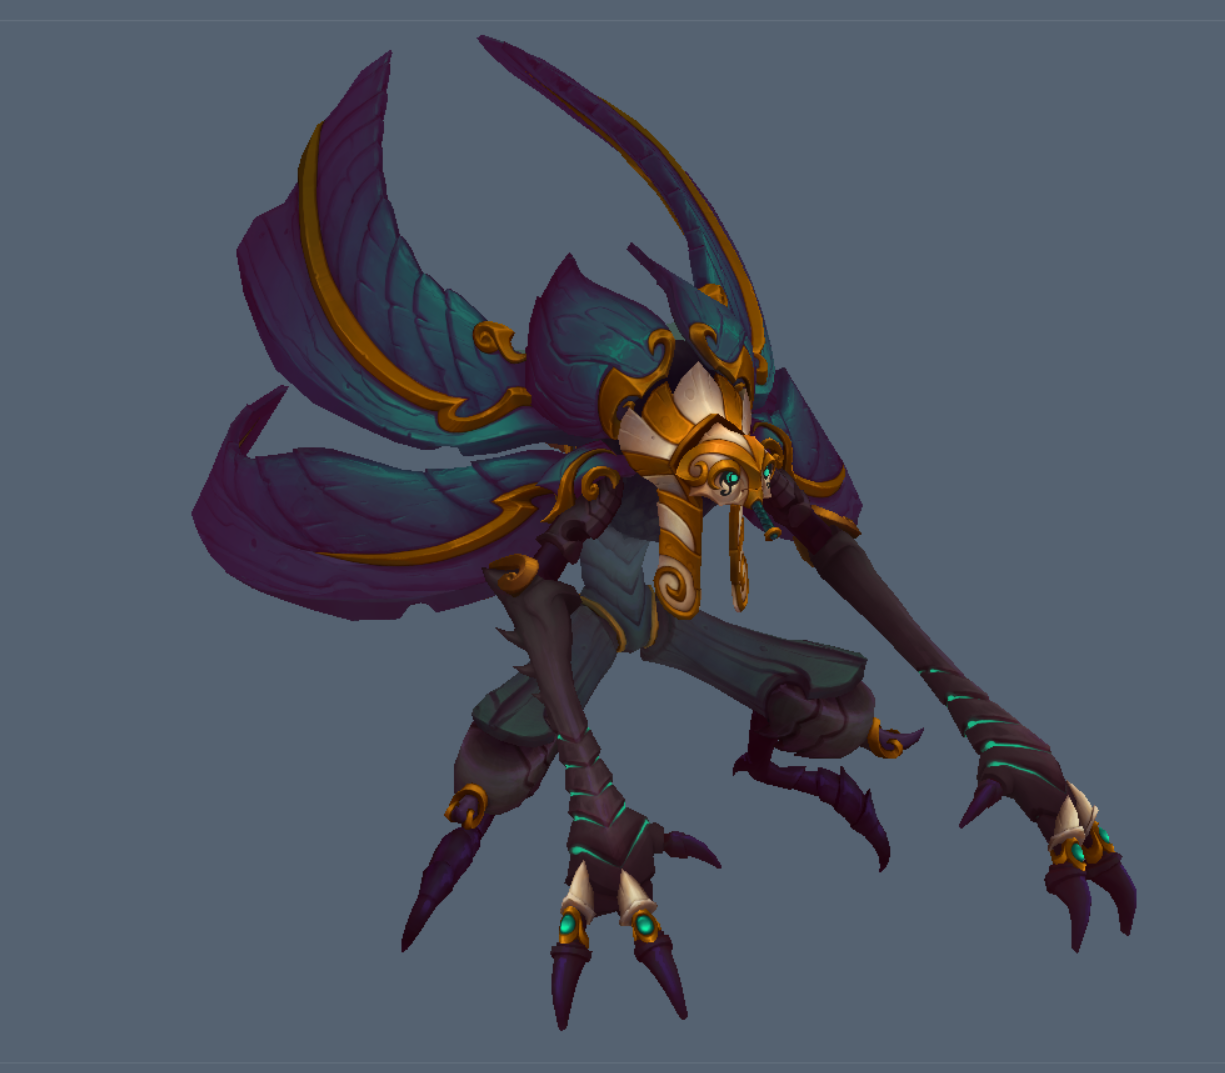
The final textures look like this:
- Khepri’s albedo
- Golden detail’s albedo
- Big ball’s albedo
- Little balls’ albedo
- Little balls’ opacity
Final presentation
To build the final presentation I also used Marmoset Toolbag! Besides being a great tool for baking, it is a really great tool for building a real-time presentation.
Marmoset allows me to upload a 3D viewer, but I thought that it would be better to have it on a platform like Sketchfab, where people can save it in collections, give feedback and share with others! I also think it helps to have the most 3D resources in one place, mainly for a portfolio.
One of the coolest features in Sketchfab materials is the refraction stuff—it helped to give a really cool glass effect to the little balls. And Sketchfab has an integration with ArtStation, which makes it very easy to upload it into a project there!
My intent was to see this interesting character alive, and Marlon Faria was the hero who made this happen! He rigged and animated this awesome idle you can see in the model. He also did an amazing breakdown of it with good technical info that you can find here.
