About me
Hi! My name is Jean Zoudi, I’m a 3D character artist based in Strasbourg, France. I’m currently working in a small indie games studio and I’m a freelance artist as well.
Recently a 3D art school in Strasbourg asked me if I wanted to teach a Substance Painter introduction class. Teaching has always been something I wanted to try out, as I love how the art community is always sharing knowledge and this was an opportunity for me to help future 3D artists in their journey!
Introduction
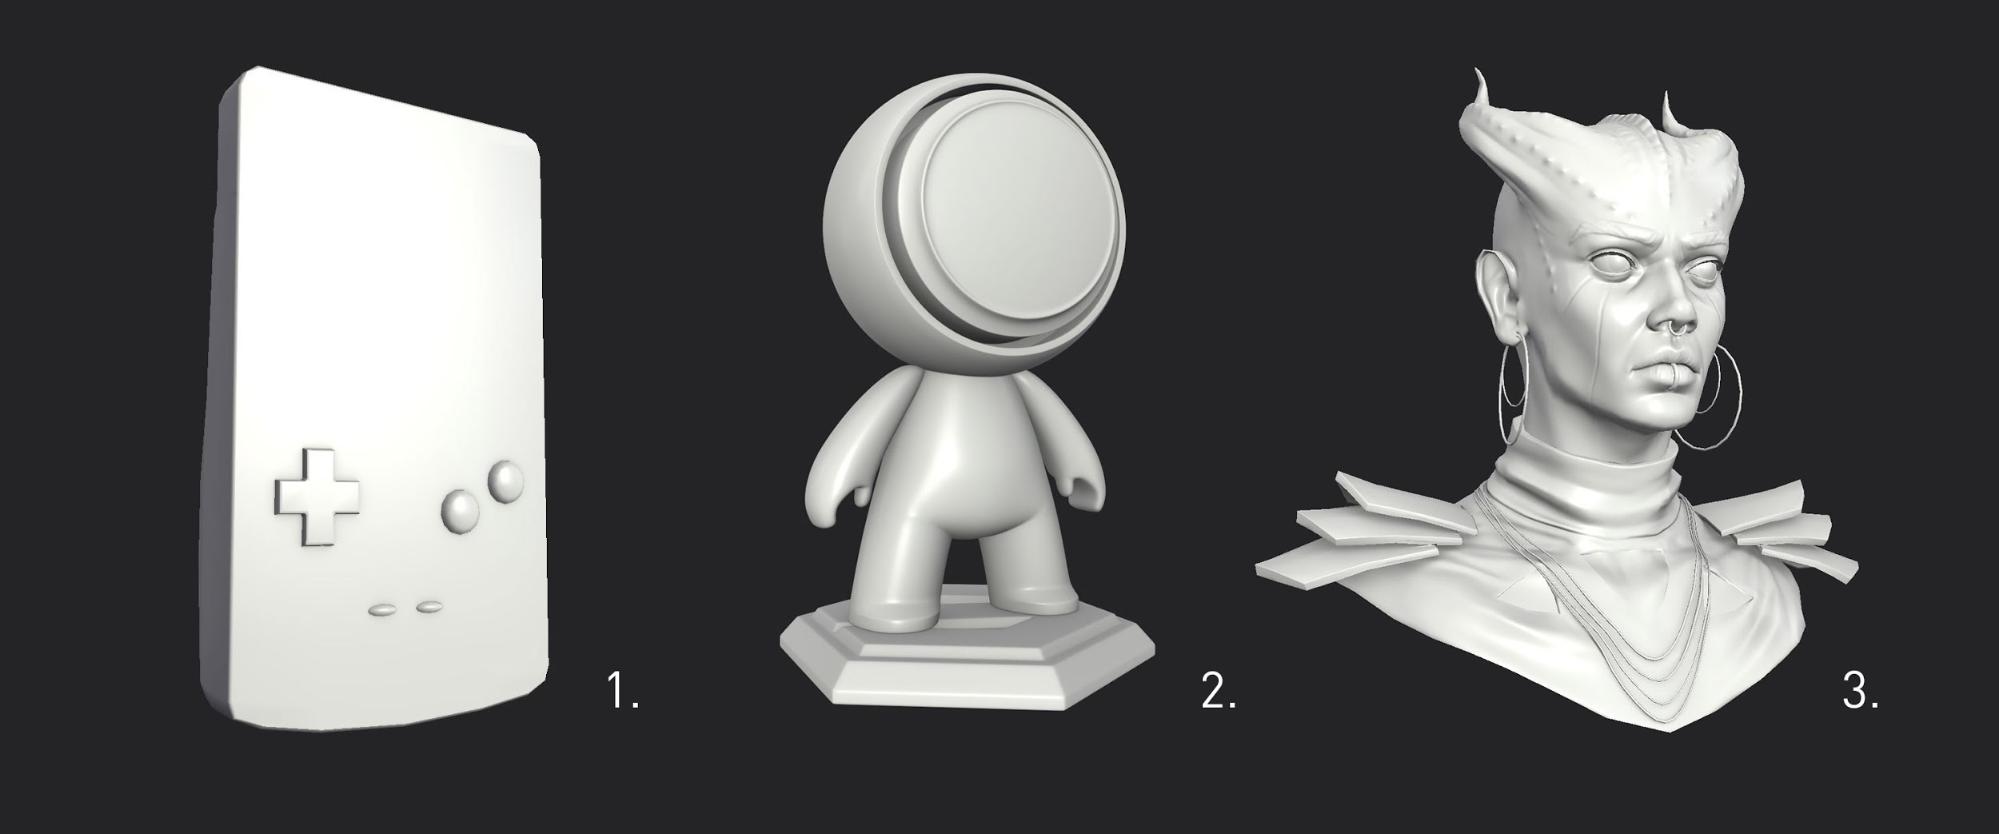
When working on the curriculum for this class, I decided to split it into 3 big projects after the students learned the basics of the software.
The first project would be the texturing of a Gameboy Color, a quite simple prop for which you can find many references, but that also offers a vast range of creative possibilities. The other one would be a MeetMAT challenge model with more freedom. And finally, the texturing of a character bust: Sophia.
The idea of Sophia
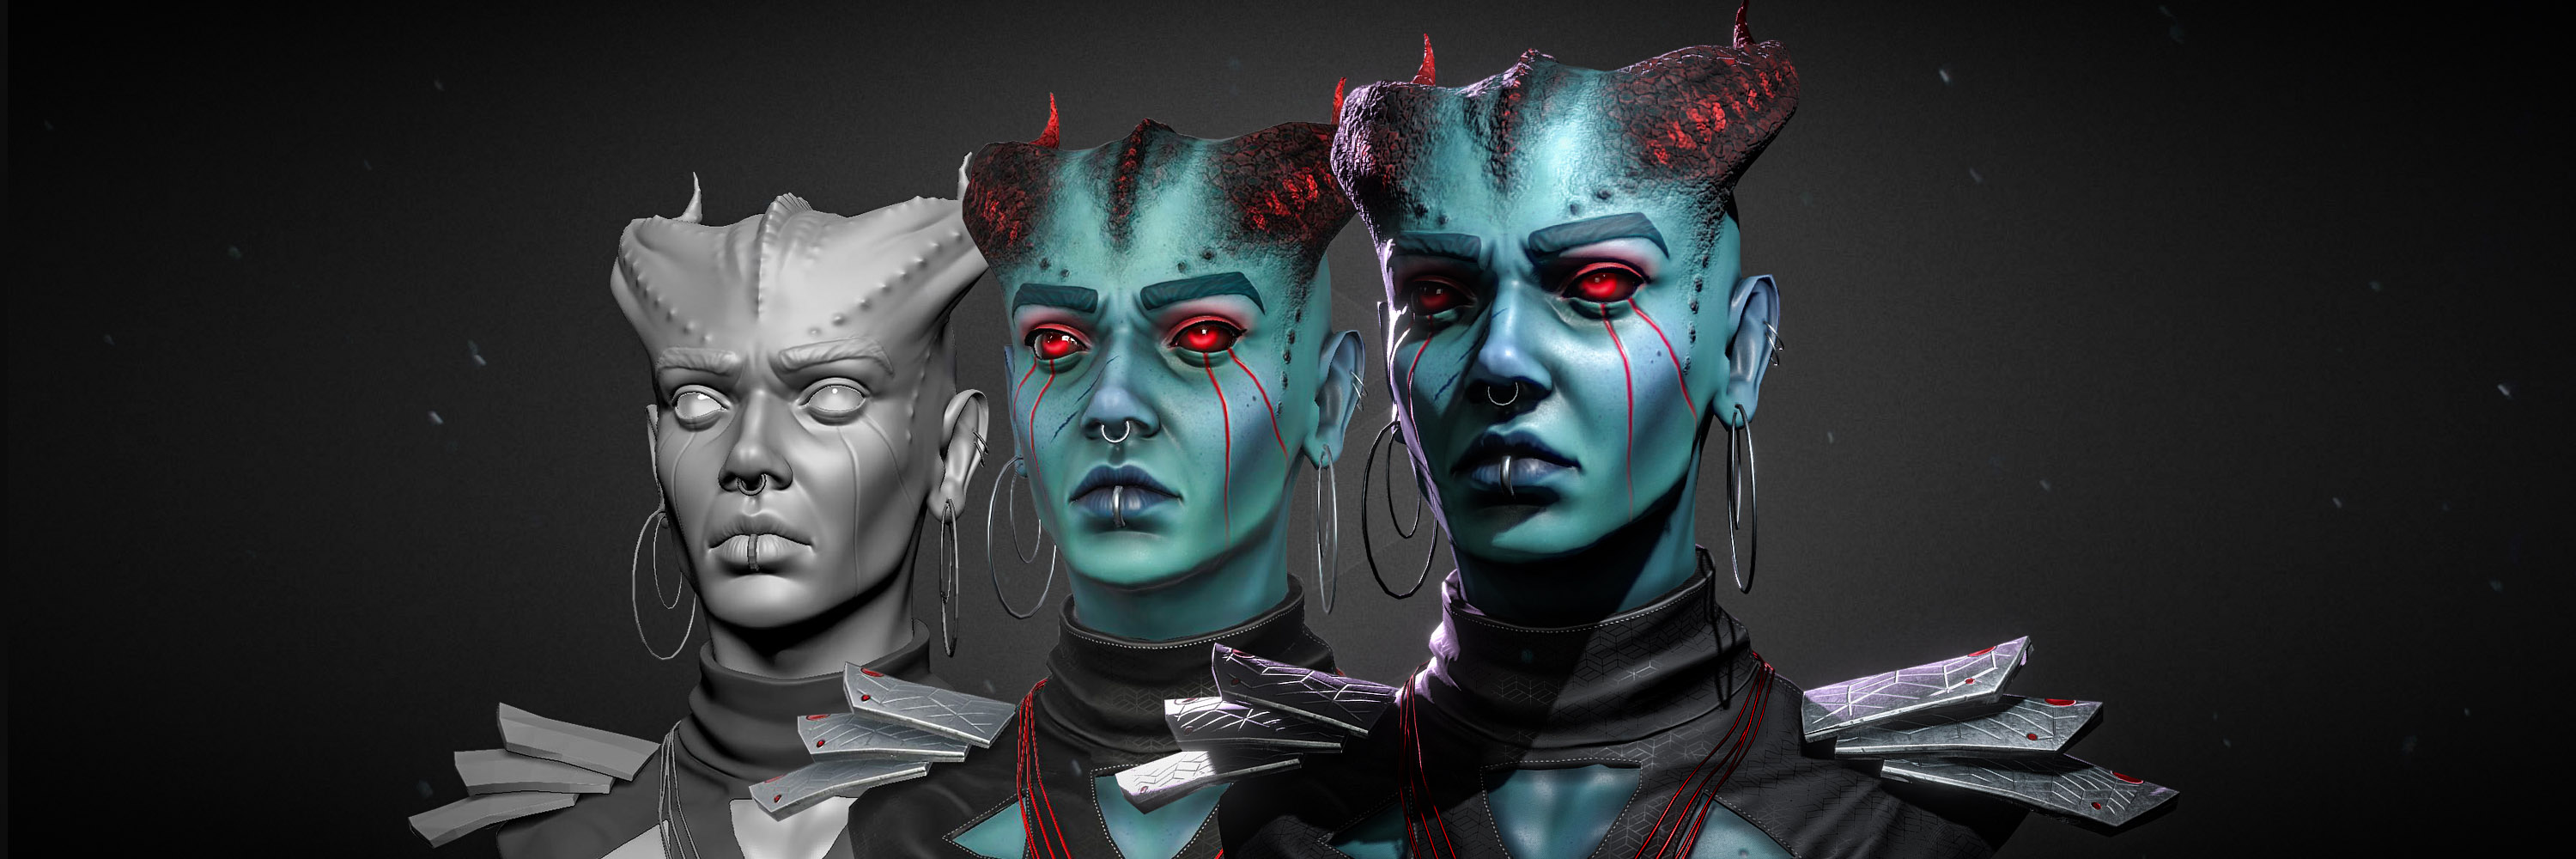
Organic texturing is a very important part of character art, so I wanted to give the students a character bust already modeled and unwrapped to focus only on textures. Realistic seemed a bit too ambitious and time-consuming for beginners, so I went for stylized. I couldn’t put more than 2-3 days of my free time toward creating it. Again, the main point was the possibility of having fun and being creative with the textures while learning new things like high-poly baking and subsurface scattering.
Sculpting
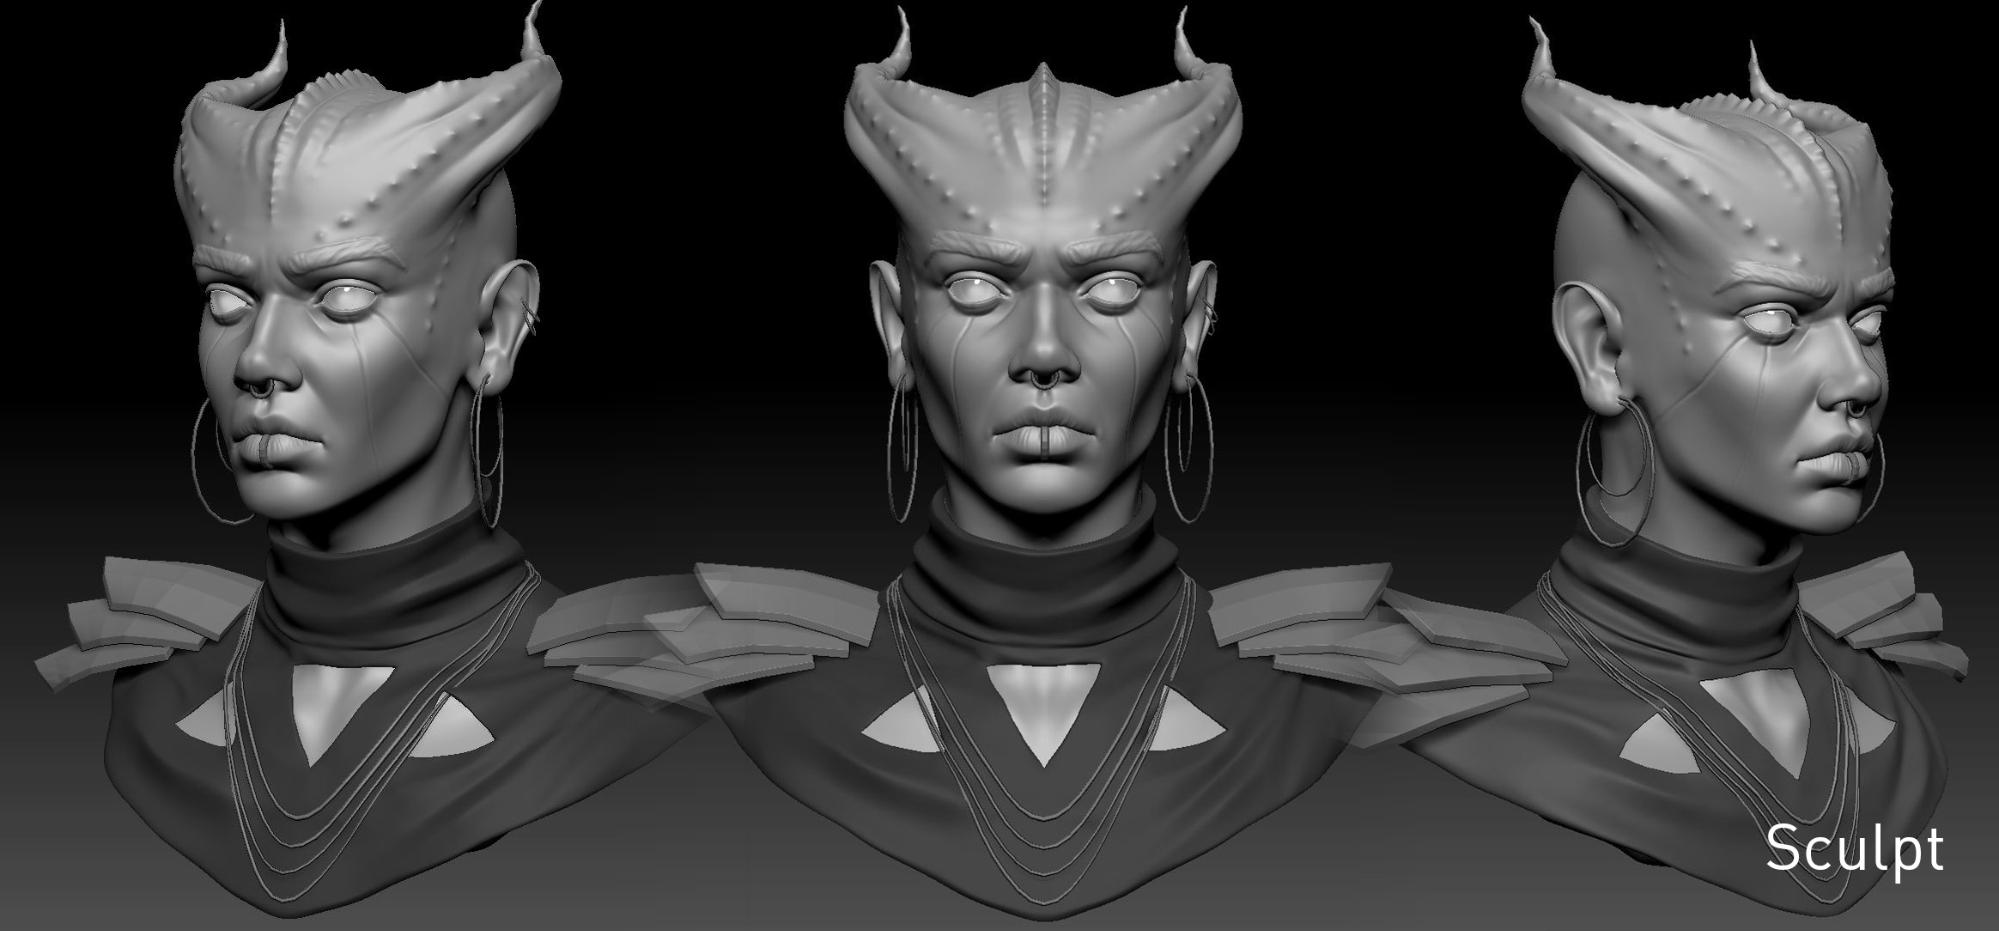
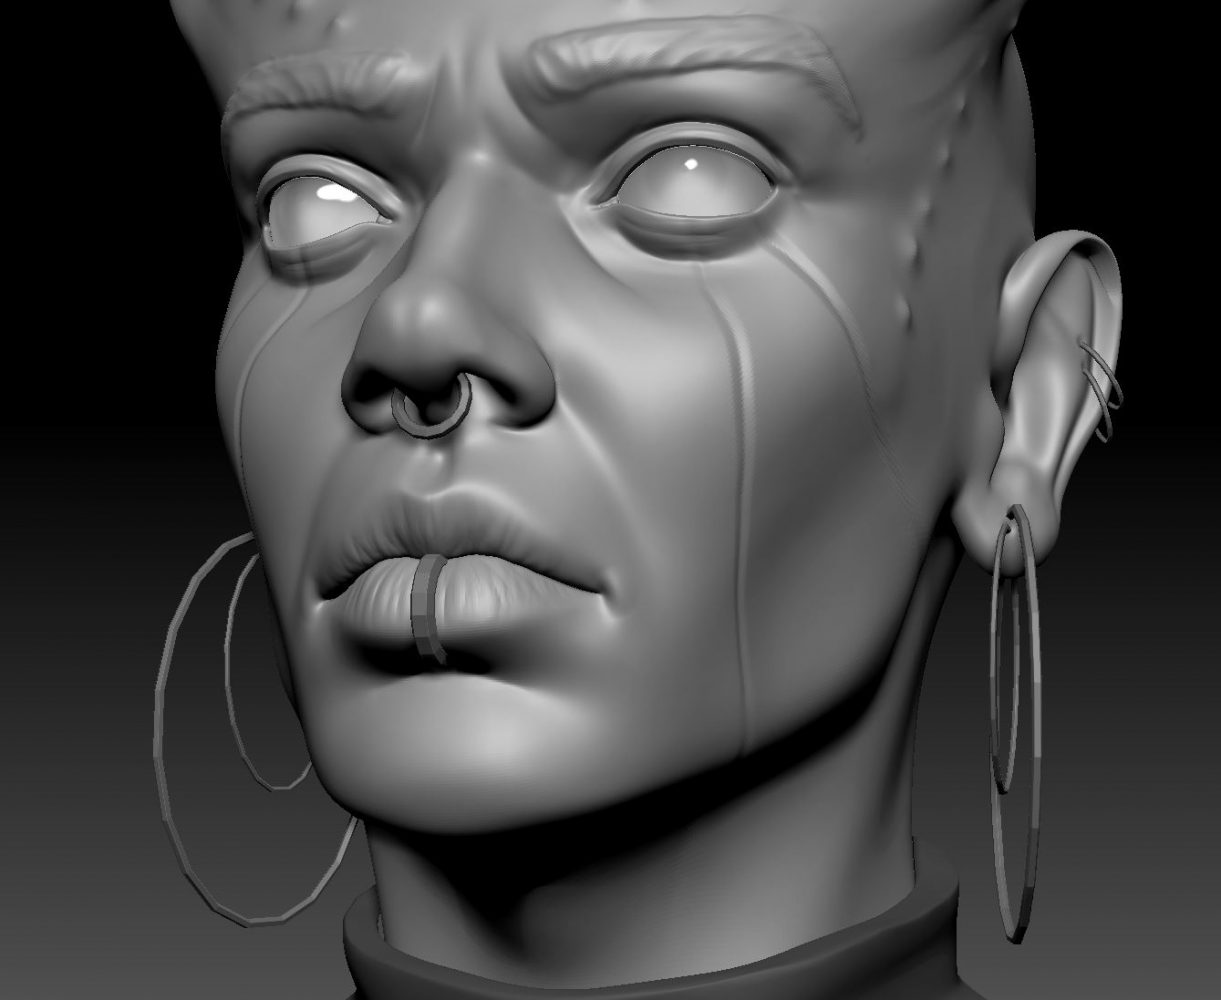
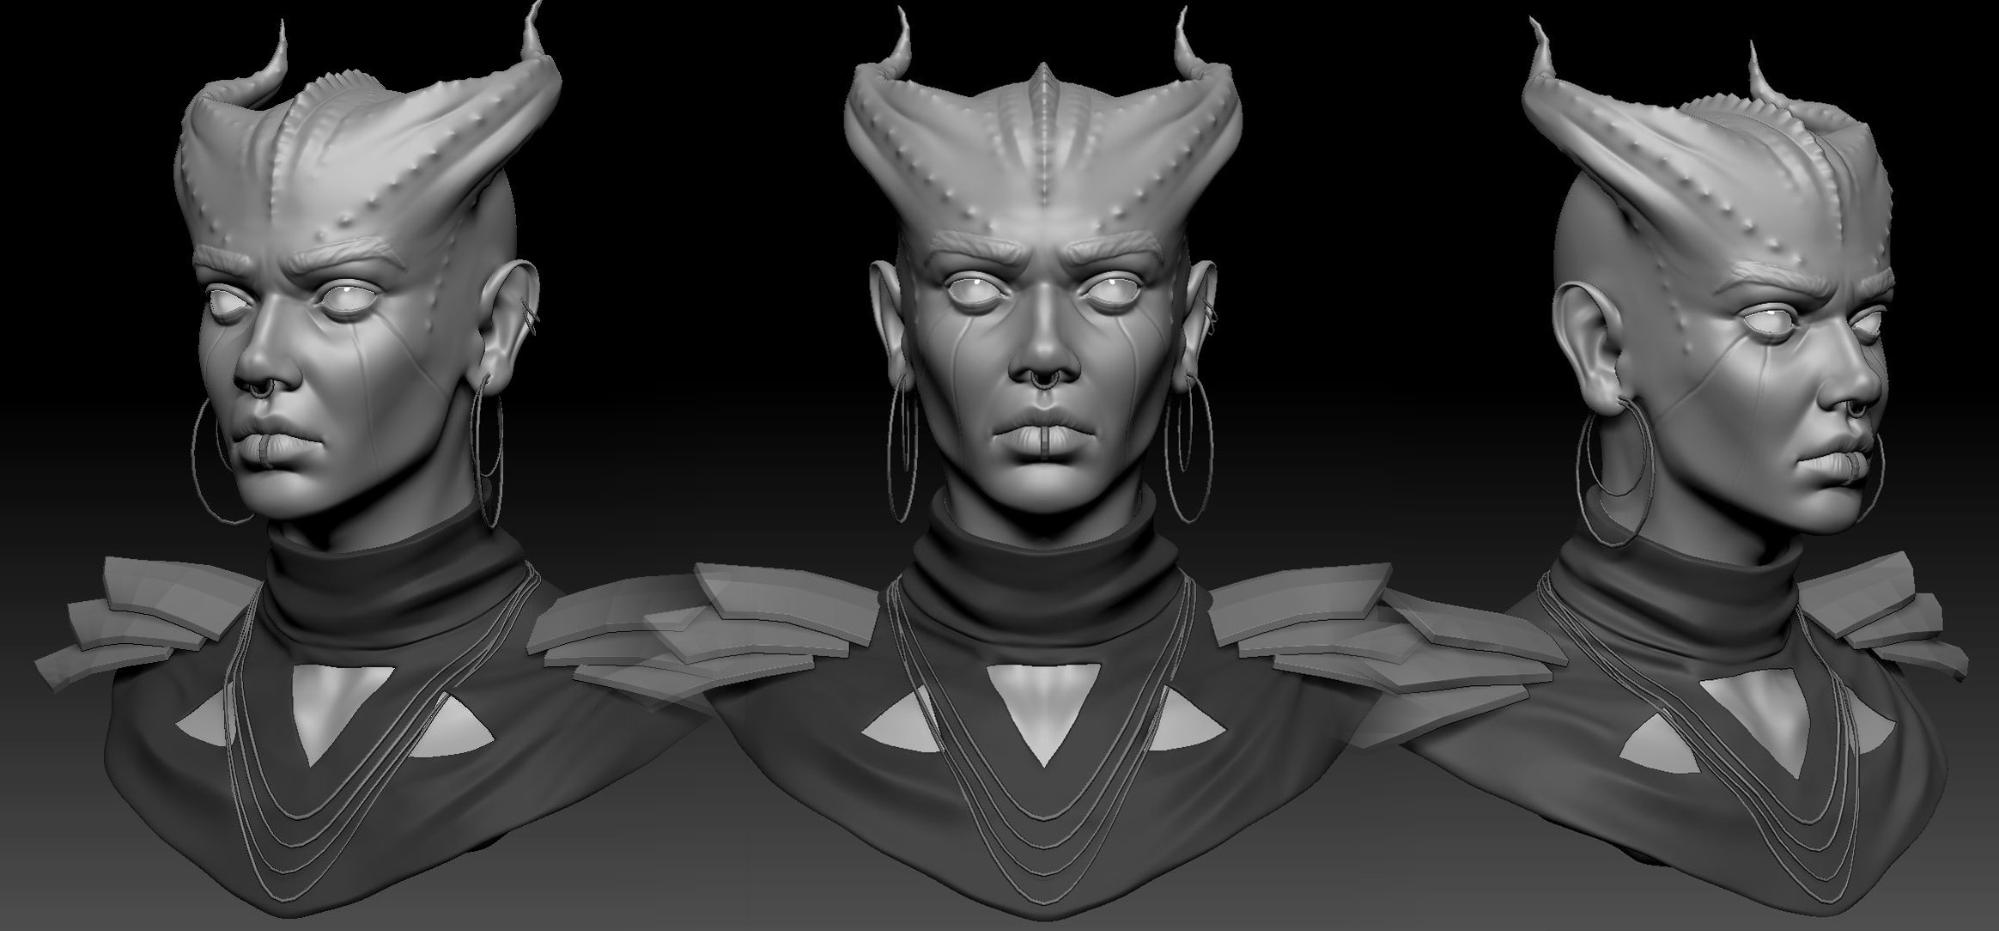
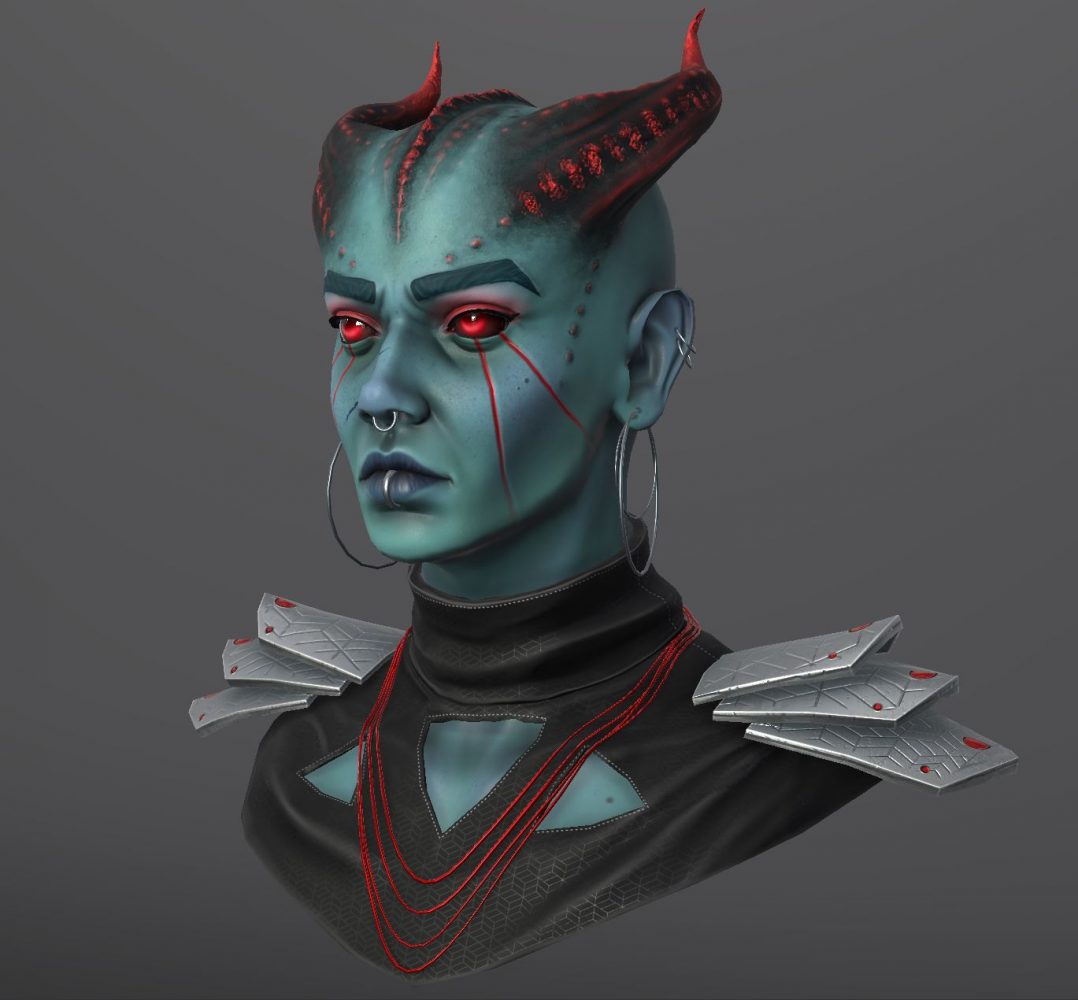
As I had a limited time window, I jump-started sculpting in ZBrush from a low-poly basemesh. The main challenge here was to sculpt a character bust that was appealing and that offered multiple texturing possibilities. That’s why I made a demon-type woman with horns, piercings, clothing, and armor pieces.
I usually put many details in my high poly sculpt, but I felt like it would be more interesting to leave the detailing part to the students directly in Substance. That’s why the sculpt is very smooth.
Texturing
After I unwrapped the low-poly in Maya, I imported it into Substance and started baking the high-poly. Everything seemed to work fine, so I could begin texturing.
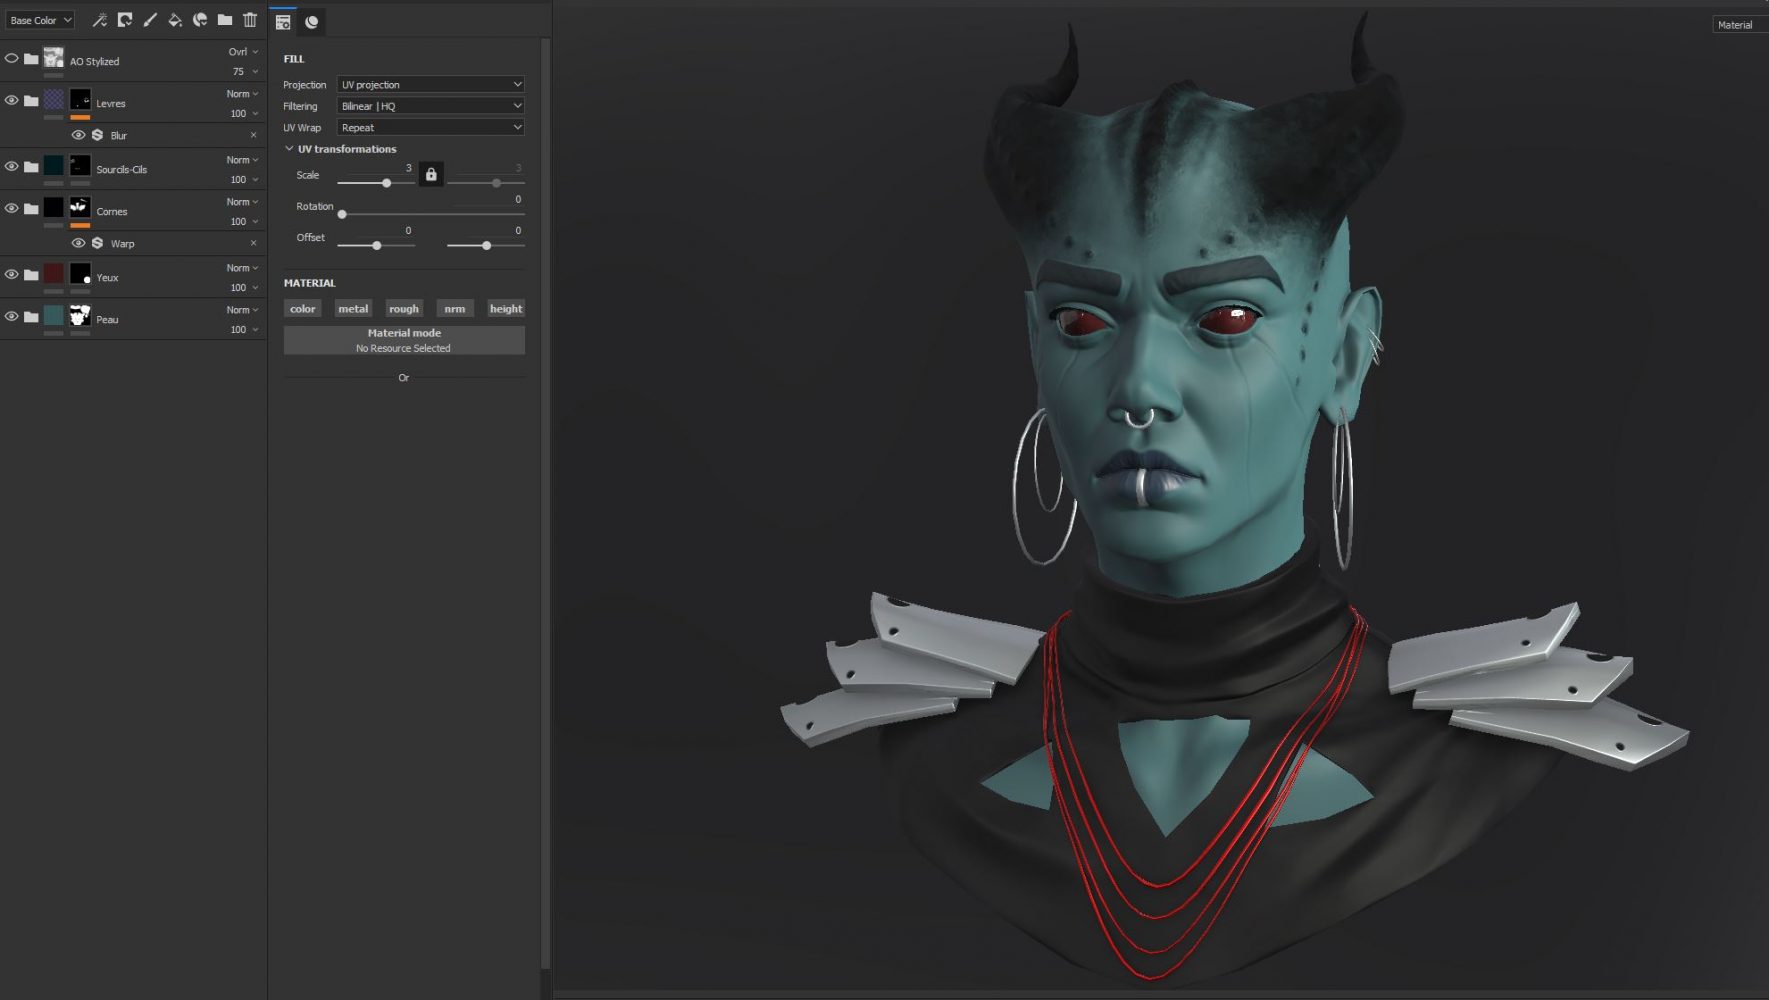
For stylized characters, I like to keep everything simple and organized, so I start by splitting my character into the different materials it will be made of, like skin, horns, eyes, etc. For each part, I create a fill layer in a separate folder with a mask. It helps define areas and give an idea of how the colors can work together.
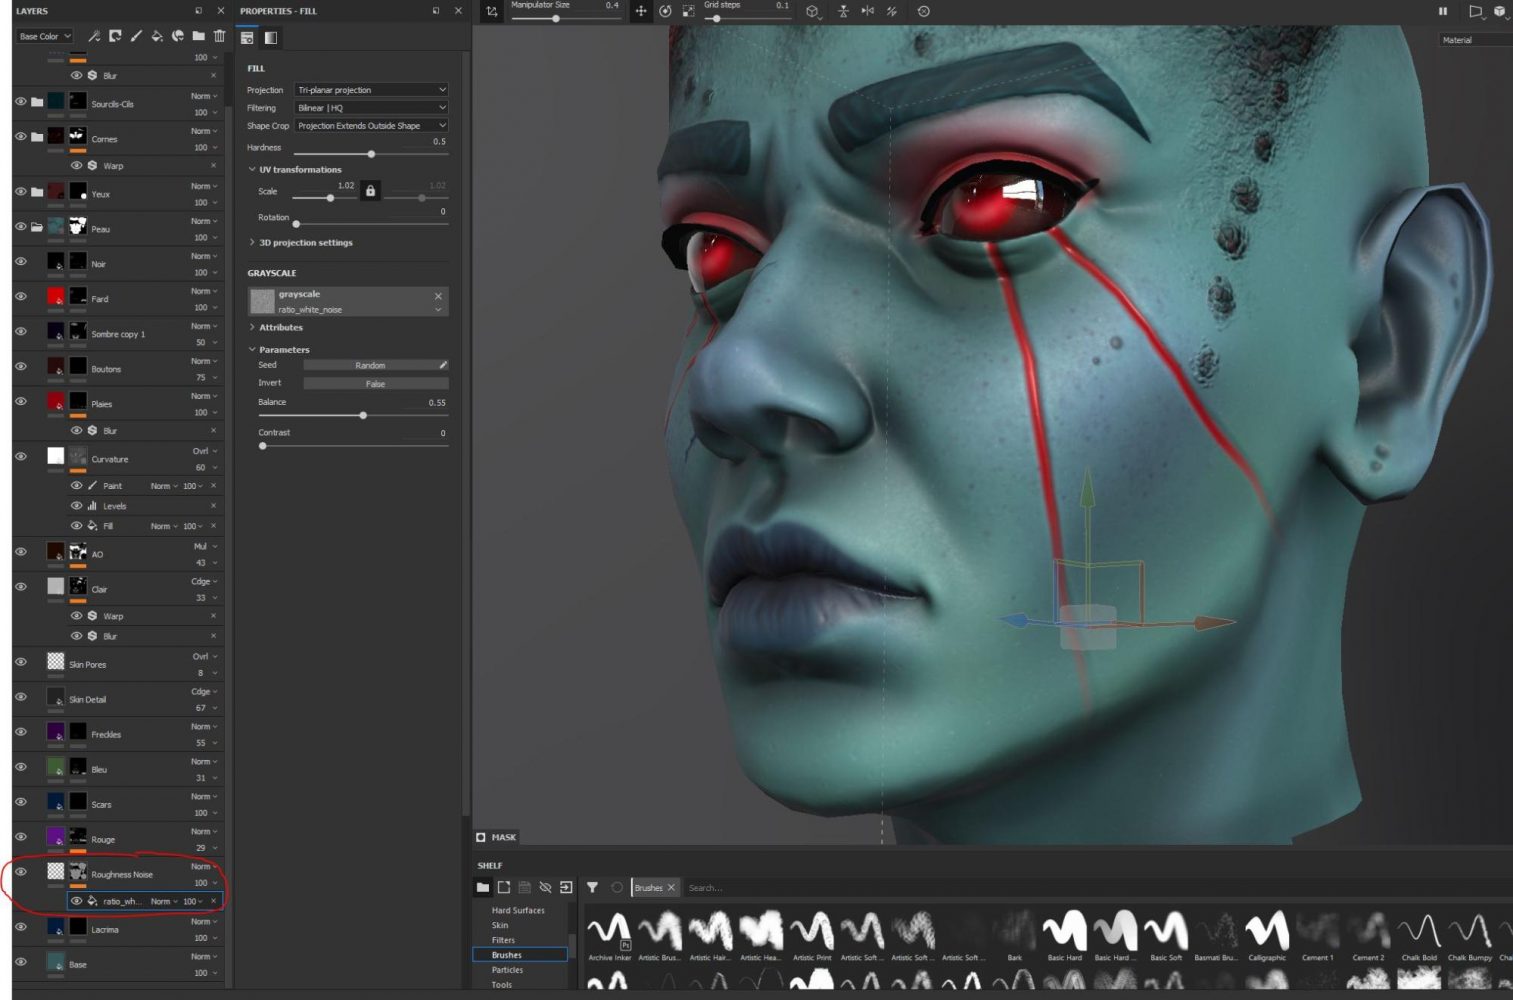
Then, I focus on each part individually, and build the material in a non-destructive way, mostly with fill layers and masks.
Realistic skin is complex but I like to try and mimic some of the characteristics of real skin on stylized, like a small noise on the roughness and some skin details on the height. It helps break the smoothness of 3d without losing the cartoonish style.
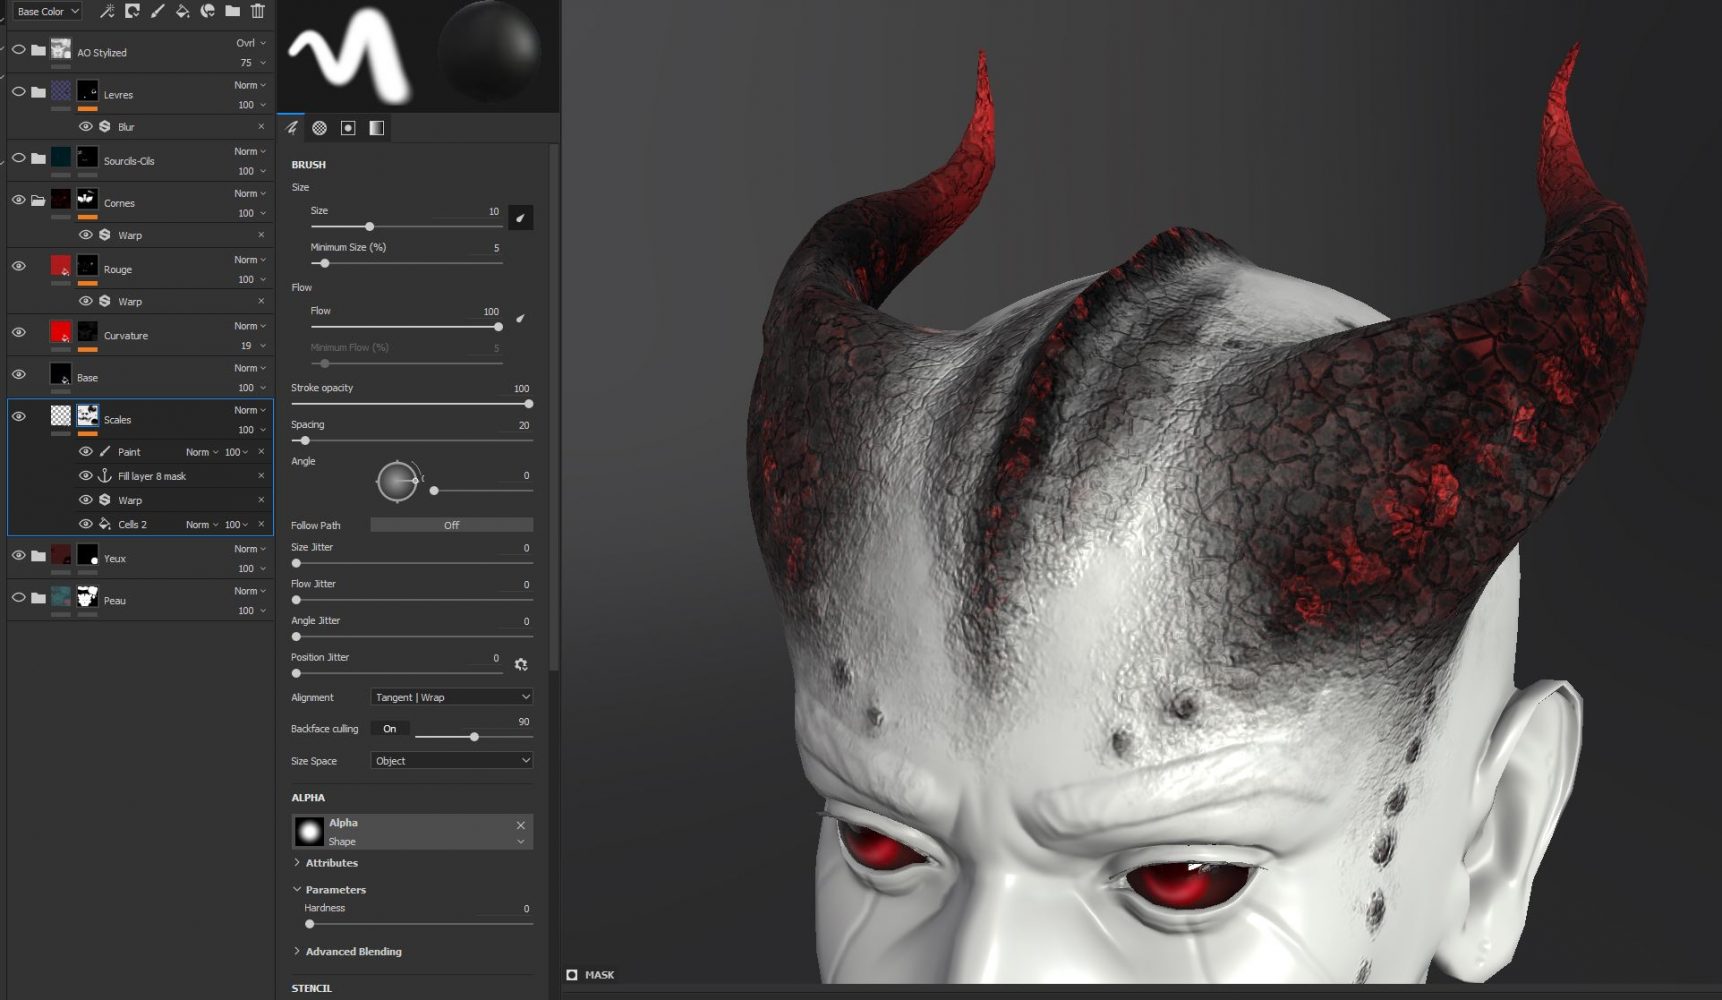
Another thing that works well for stylized 3D is using curvature as a mask on a colored fill layer to make it “pop” a bit more. Remember that Substance will only use information baked in the mesh maps. For example, I added a scales pattern and a rock-ish aspect to the horns in Substance. So when I added color variations on that area, it didn’t use these new height patterns for the scales’ edges. To fix this, I applied an anchor point on the layer with the scales pattern, and “told” the layer with color variations to use this anchor point.
It’s important in stylized work to find a balance between the detailed areas, where you want the eye to focus, and simpler areas to maintain readability everywhere.
Render in Sketchfab
After the maps were successfully exported from Substance with the handy Sketchfab preset, I thought that the students would need to understand how these textures apply to the model to get a nice render. I was searching for a fast and free rendering engine, and Sketchfab appeared to be the best choice.
Even better, I’d be able to review their results quickly thanks to the model inspector.
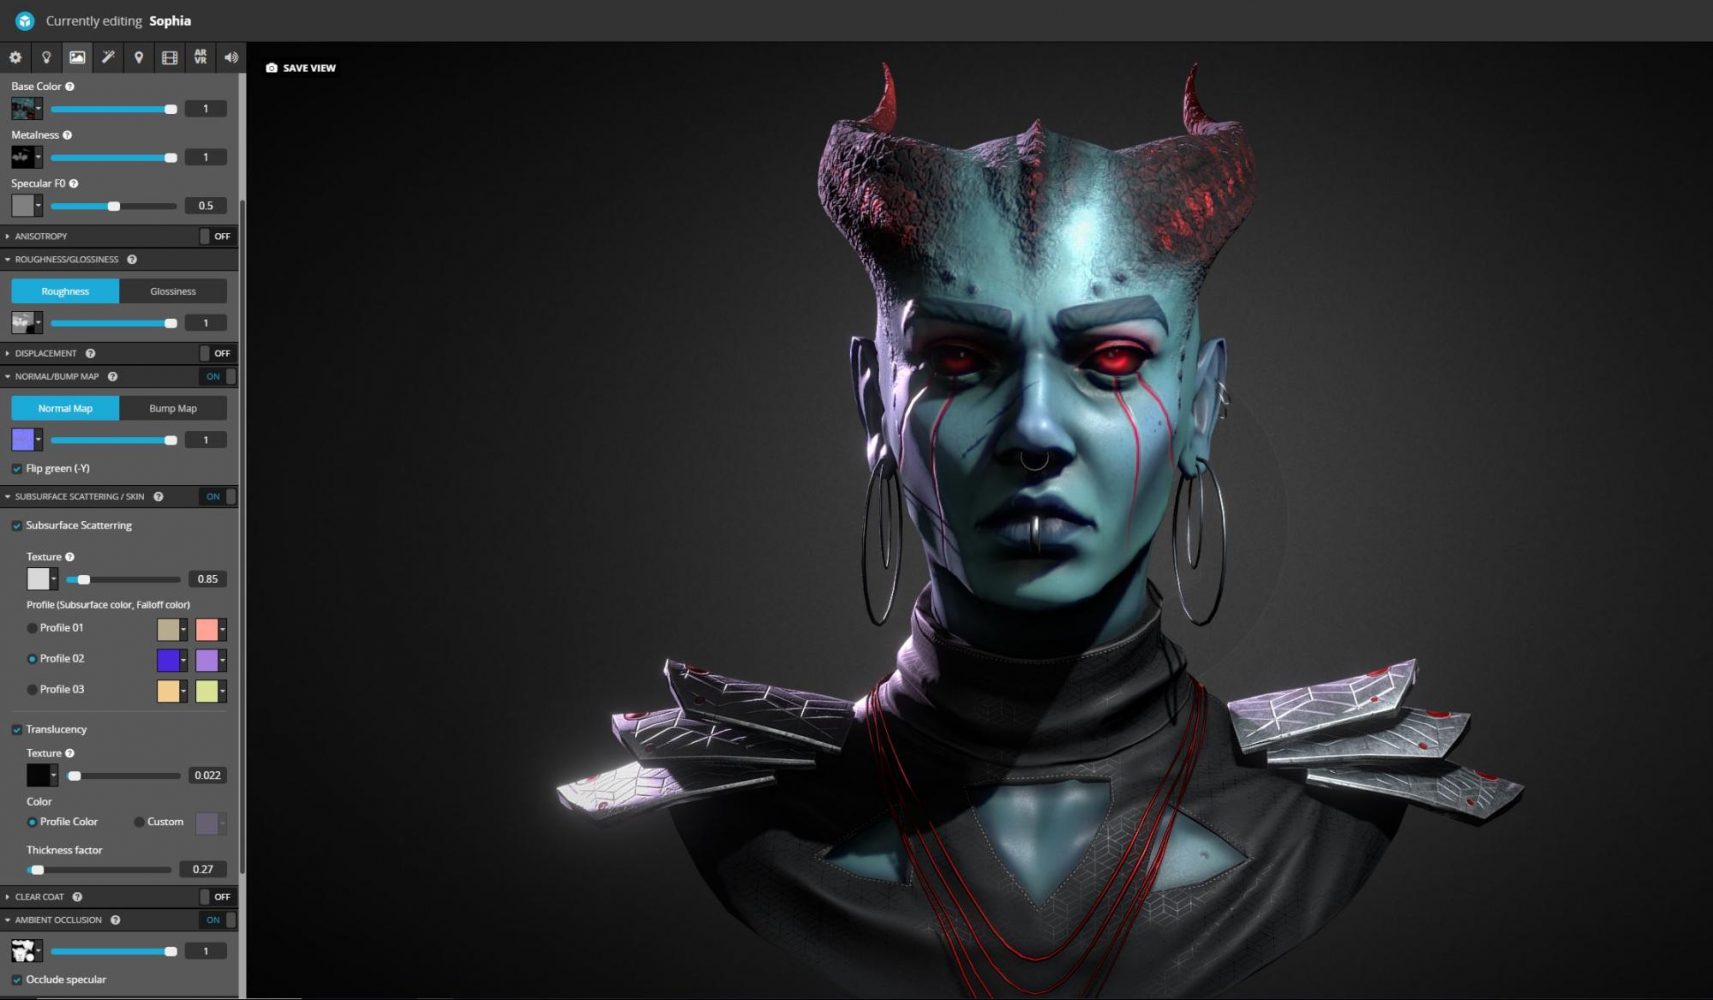
Anyway, in Sketchfab I just had to tweak some parameters to get a good render as the textures were automatically applied. I added some SSS, and used blue/purple colors to work with her skin.
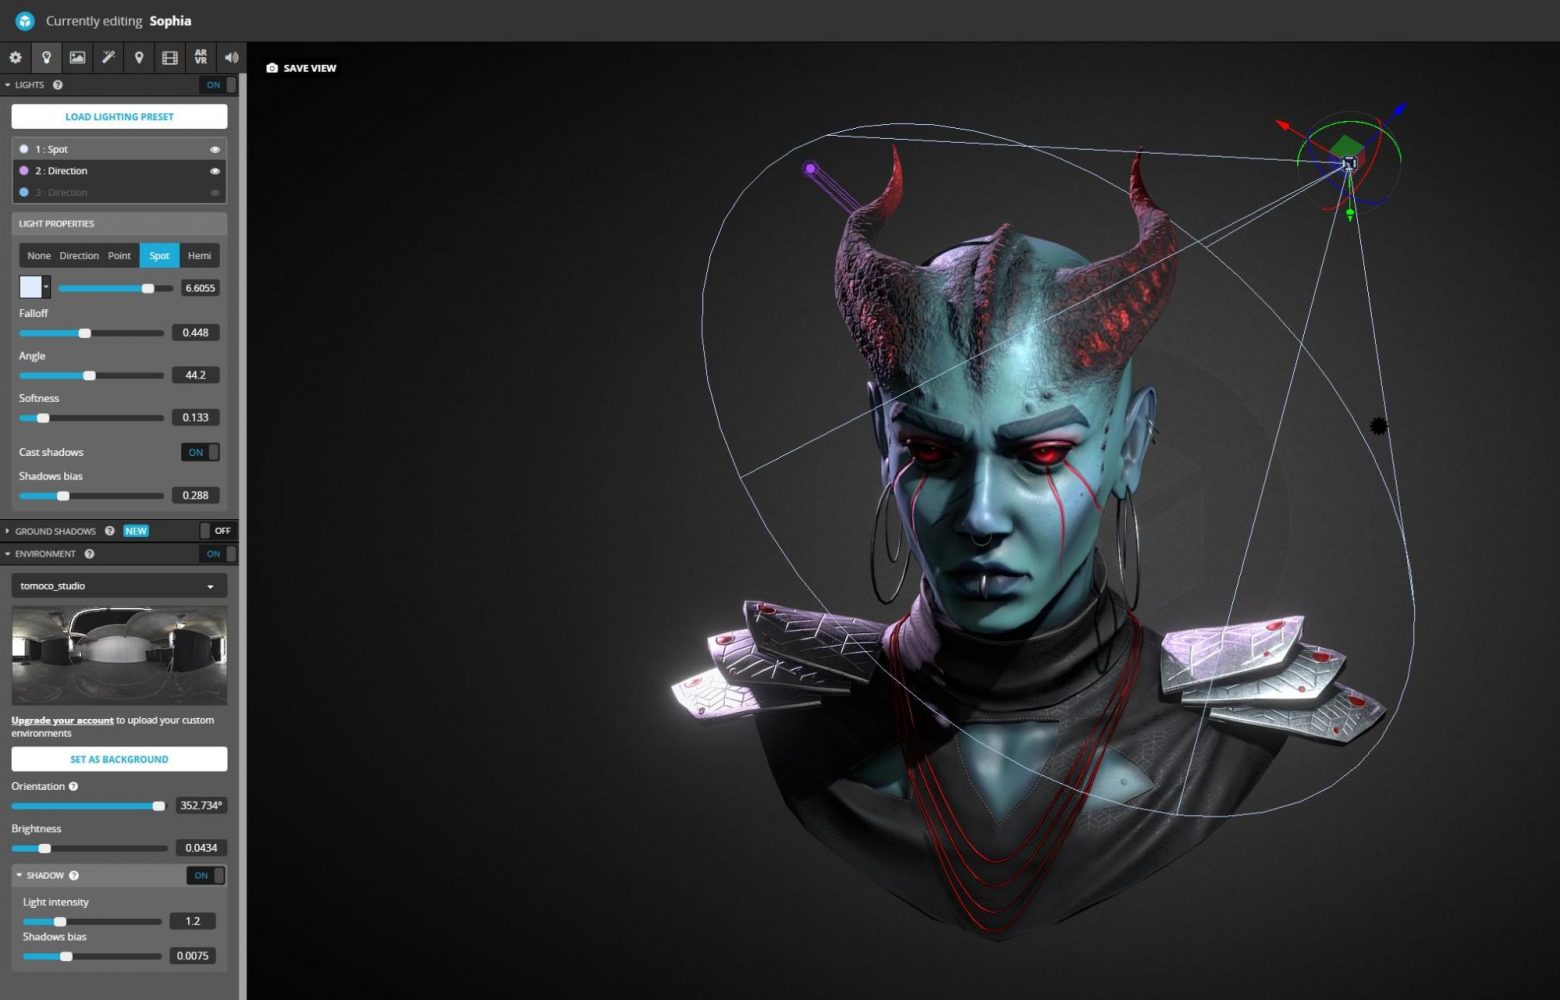
The lighting is simple—a cold key light, purple rim light, and an HDR to get some nice reflections and lighten the dark areas.
I didn’t want to go overboard with post-processing, just some slight vignette, bloom, and sharpness.
Thanks!
I hope you liked this character and the process behind it.
If you want to see more of my works, feel free to check my ArtStation or Instagram!
Thank you for reading and thanks, Sketchfab, for the Spotlight! 🙂
