About
Hi I’m Matthew, I’m a 3D artist who has been in the games industry on-and-off for about a decade. I live in Oslo where I work at Snowcastle Games as an environment and asset artist; occasionally doing lighting and miscellaneous technical stuff as the job requires.
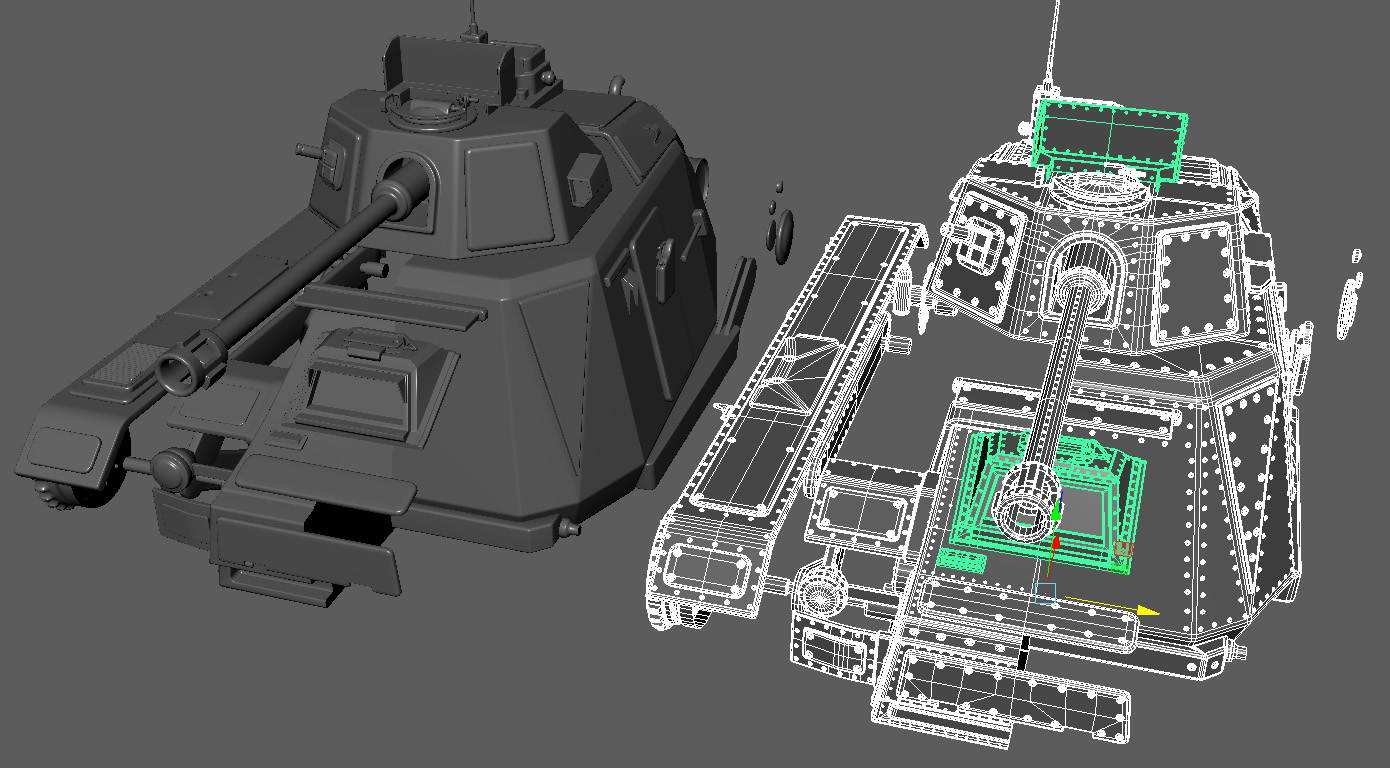
I made the tank about a decade ago in Maya 7.0 and rendered it in Mental Ray. The design was flawed: I wanted it to have an open-top turret, but I didn’t think about the recoil mechanism of the gun, and as many people pointed out, the recoil would simply rip the turret off of the hull.
This spring I was removing old stuff from my Artstation portfolio, and by now the tank looked pretty outdated. Let’s have a look at the old render, then we’ll talk about how I painted it blue and passed it off as new work.
The design is an awkward mixture of comedic and realistic. It has obviously silly design features like an open top turret and a driver’s seat that is completely exposed to the elements, but the overall proportions tend towards the realistic.
I’d wanted to make an Advance Wars tank, but then decided that actually, I really wanted to make a realistic tank, but also, I wanted it to look outlandish and cobbled together in a shed somewhere. I closely followed reference photos of a Challenger-II for the treads, but created a squat hull modelled on World War One designs . The radio on the top looks realistically proportioned but the bars that hold the shells to the hull look like they could have been lifted from an Advance Wars tank.
So the overall design then was kind of a mess, but it sort of hung together and there was a lot of high frequency surface detail that made it look reasonably impressive at the time. It was very high poly. The final model had a tri-count of 1.8 million tris.
Why not just make something new?
I wanted to perfect a workflow with Quixel. At work we’d been doing experiments with dDo to create stylised PBR shaders. At its heart dDo thinks that you want to make Gears of War, it wants to cover everything in grime and scratches and bits of rust. This means that you are fighting against it if you want to do something other than that.
But I felt that part of the problem was that I didn’t know how to use Quixel, I wanted to subvert it to do the stuff I wanted it to do, but I didn’t know the basics. If I could learn the program properly, then potentially I could learn how to do more advanced stuff with it.
The tank is a messy design, but it has quite a nice silhouette and if I fixed the topology I could quickly bake it down and I’d have a nice industrial model to rinse through dDo. Simple!
- Fix the topology
- Fix obviously weird design problems
- Bake down to a low triangle version with Normal maps
- Learn the Quixel dDo workflow
- Put on Sketchfab
Fix the topology
Straight away we see the problem when we look at the wireframe. The topology of the original model is a war crime. This wasn’t a matter of capping off a few ngons either: this model suffered from a massive overuse of the booleans tool and vast differences in triangle density between different sections of the model.
This refactoring of the topology extended the time this project took from my initial estimation of ‘a few weeks’ to ‘four months’ (I mean I was doing this on spare evenings, and I went on holiday in July and there was a new series of Westworld on HBO, but still.)
But eventually the model was refactored into a high triangle model with a consistent density of polygons and a low triangle version. The high triangle model was a muscular 1.69 million triangles whilst the low poly model was a lean-ish 380,800 Triangles. The tread sections take up most of that count.
Fix obviously weird design problems
I deleted most of the front cabin and replaced the open-top drivers seats with an armoured window, referenced from photos of the CASSPIR.
The old cabins and dashboards were poorly made and were based on iffy designs. I could have made new dashboards, new seats, maybe new roll cages. But this would have been too time consuming, and I was keen to keep to the original objective, which was to produce an acceptable low poly model with baked normal maps to put through dDo.
Further, the more I worked on this refactoring, the more I could see design flaws; bits of the model that just didn’t look very good or didn’t fit together very well. If I spent a lot of time re-doing the cabin, then I would end up getting sucked into re-doing other parts of the model, and I would end up re-making the whole thing bit by bit. Which of course begs the question: “Why not just make something new? It would have taken the same amount of time.” So this refactoring had to take less time than building a new and better designed tank from scratch, and therefore simple design solutions had to be found.
Bake down to a low triangle version with Normal maps
Right-oh. We have our high triangle version and our low triangle version. Let’s bake out some normal and AO maps.
To do this I used Marmoset. I divided the model into five sections that would have their own texture atlas: The front, hull, turret, boot and the treads.
The baking was done in a fairly manual sort of way. For each of the five atlas sections I created several bake groups, each with little sections of the model in it. This was so that the bake cages wouldn’t intersect each other.
I then toggled on each bake group one at a time, and baked the Normals and AO out into their own PSD files. The PSDs could then be amalgamated together in Photoshop.
By baking the tank in groups that don’t intersect each other, this obviously means that they don’t cast AO on each other and the AO is only generated for small details for things like rivets. To get a more holistic AO bake we take the complete low triangle model into 3DS max and do an AO bake. (This is because I prefer Max’s AO baking tools to those in Maya.)
This gives us two AO maps, a detail AO and a general AO which we can multiply onto each other in Photoshop. (I knock down the General AO to 70% opacity so that the map isn’t too dark).
Learn the Quixel dDo workflow.
Now for why I did all this. I found using dDO an enervating experience. The PC I used it on has about 16GB of RAM and a GTX 980 but the program was slow and making small changes took forever. It would lock up and I would sit there patiently waiting for it to update.
Eventually I generated the textures I wanted. It was like wringing blood from a rock. I guess I technically succeeded in learning the workflow, but honestly I can’t see myself using this on a daily basis. I would message friends on my phone while waiting for stuff to compute and they would say “wait, why are you bothering with dDo? Substance is the industry standard now. Learn that instead – Quixel is just for the MegaScans”
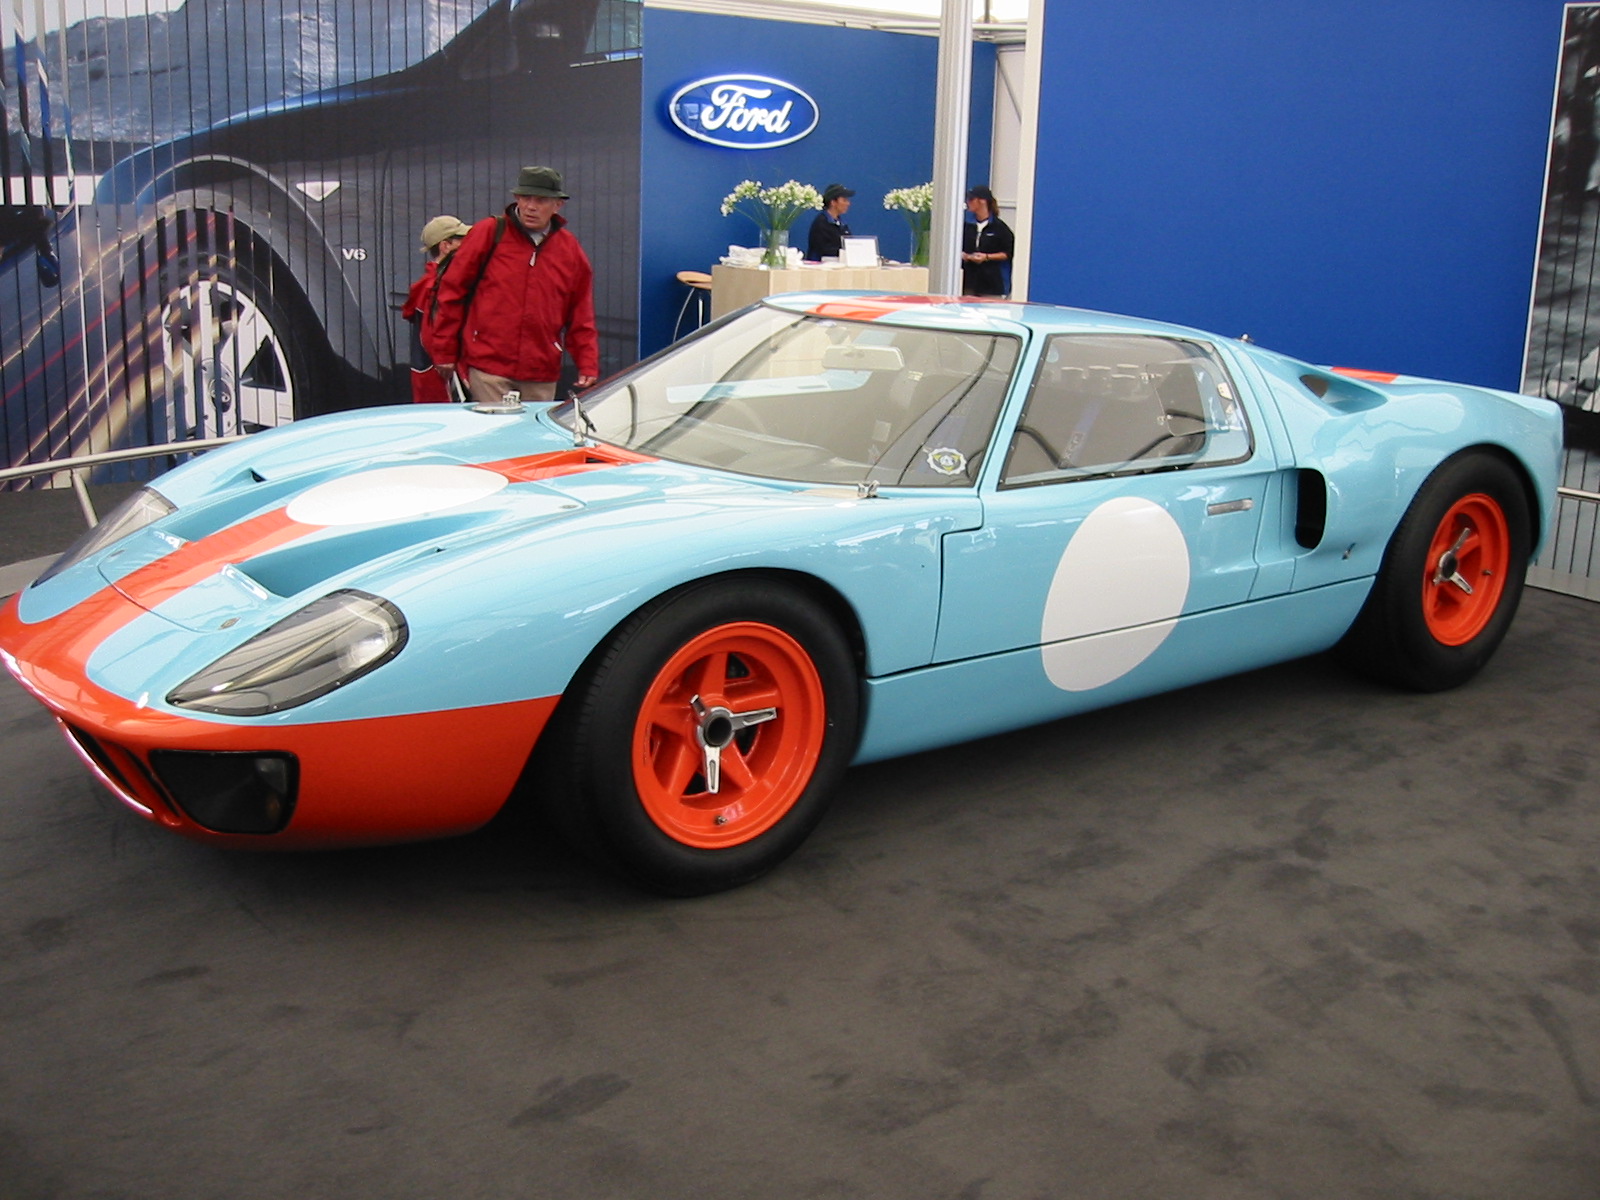
For the new version I wanted to go for a brighter more distinct colour scheme. There are a lot of tanks on Sketchfab and a lot of them are better than mine, so I thought, ‘well, at least it’ll stand out in a sea of gunmetal grey and olive green tanks.’ The colour scheme that I went with is loosely based on the old Gulf Petroleum Ford GT40 colour scheme from the seventies.
Put on Sketchfab
I use Sketchfab a few times a year and I’m always pleasantly surprised by the advancements made between my visits to the 3D settings. Sketchfab has matured into a very powerful and useful tool.
I use a metalness-roughness workflow for the shaders and tweaked the lights a bit in order to display the tank better, but I find that the default settings are pretty good if you just want to display an asset and aren’t trying to achieve a particular effect.
I tend to be quite sparing with the post processing effects that I use. Vignette is useful because it draws the eye to the centre of the composition. But other than that I tend to leave it as-is.
In the past I’ve used sharpen effects for models that I’ve posted on sketchfab, but I’ve gone off that a bit recently.
One piece of advice I’d give to artists is to play with the camera’s Field of View. By default Sketchfab sets it at 45 degrees. (The default used to be 60 degrees, but I think they changed it a few years ago.) Try bringing that down to 30 degrees – the effect is that it makes the model look slightly more boxy, but also more pleasing to navigate around, and it’s particularly good if you’re doing low poly stuff or models that in game would be viewed from a more top-down view.
At a FoV of 1 degree the model pops into an isometric mode, which is cool, but hurts a lot of people’s eyes, however you can set it to 20 degrees and have a ‘nearly-isometric’ mode that is more comfortable to pan around.
For the tank model though I set the FoV to 30 degrees.
Summary
The new version is better than the old, but some of the fundamental contradictions remain: it still sits uncomfortably between a ‘proper’ realistic design and a sort of comedic cartoonish design. The shells are held onto the side of the hull with a cartoonish metal basket, but the turret has intricate and properly proportioned intakes. But you a reach a stage where the quick-fix project is taking months and you gradually find yourself remaking everything ship-of-Theseus style and realise that the original point here was to learn the Quixel workflow and that maybe, it would be better to make a new and better model from scratch rather than try and fix this one.
In conclusion, your old work is much worse than you remember. Substance is a lot better than dDo. Make new stuff.


