Rhinoceros (also called just Rhino, or Rhino3D) is a commercial 3D computer graphics and CAD application software. Among many other use-cases, it is commonly used in jewelry design. Rhino deals primarily with NURBS, and may contain many different layers and groups. So, when preparing such files for Sketchfab, it’s important to clean up the model in various ways, convert polysurfaces to polygon meshes, and prepare materials in a convenient way for the Sketchfab 3D editor.
To get started, open your .3dm Rhino file.
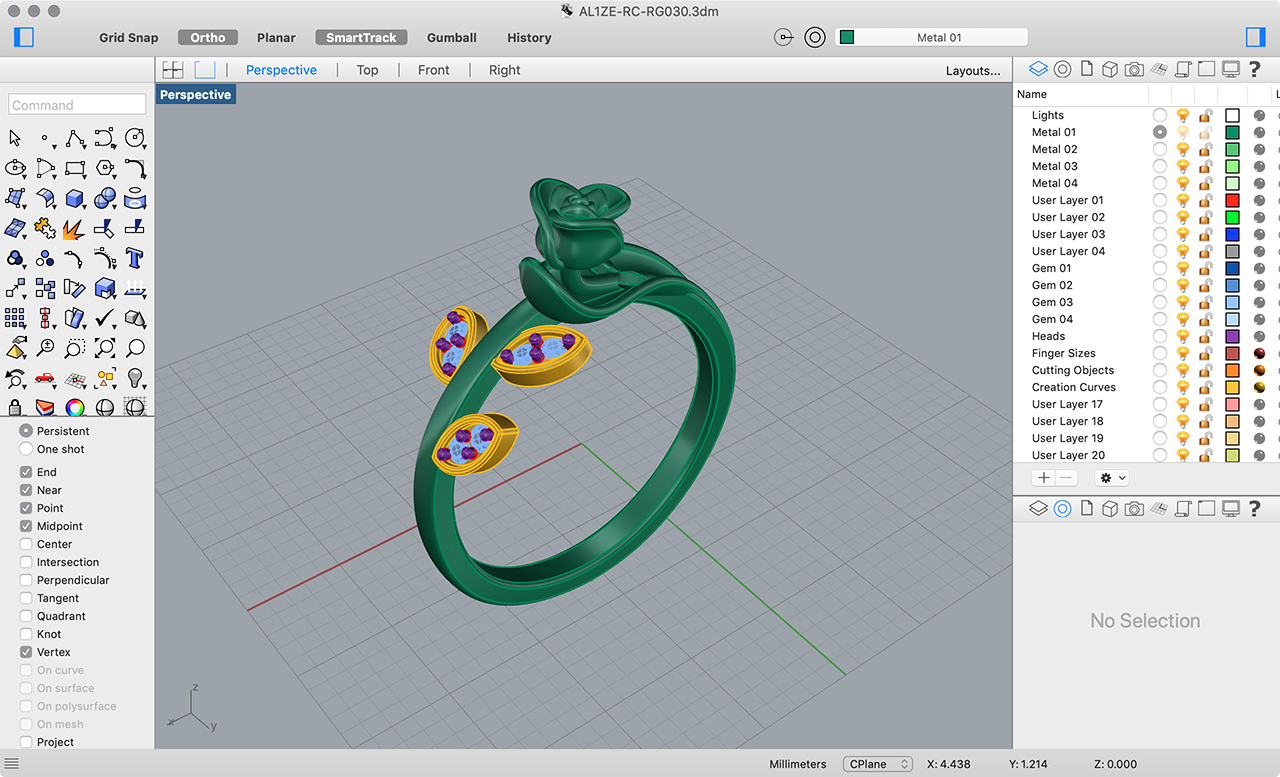
The first thing to do is remove any empty layers, layers with control objects, etc. so that we have as clean an interface as possible. A few more layers will be removed as we move on and start merging objects together.
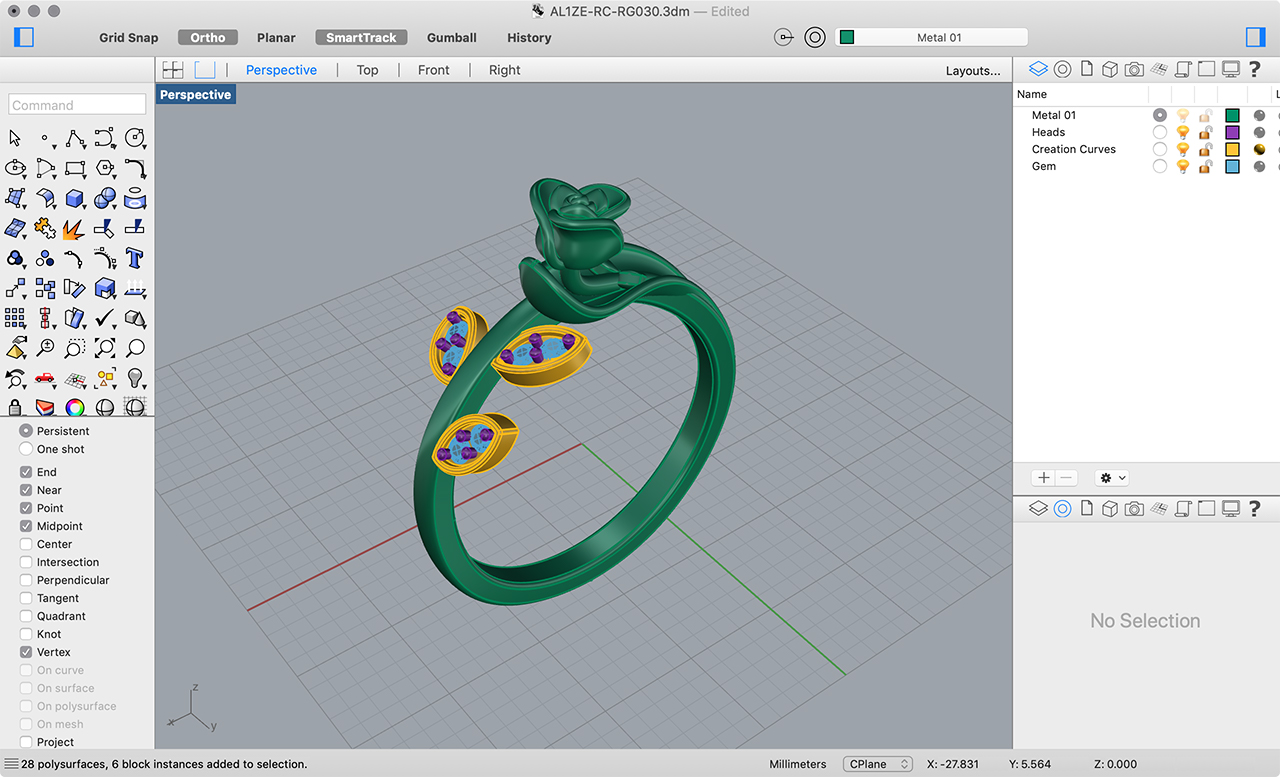
Delete any unneeded Lines, Polylines, etc. If there are Block Instances and Groups, keep selecting everything and Explode and/or Ungroup until you are left with only ungrouped polysurfaces.
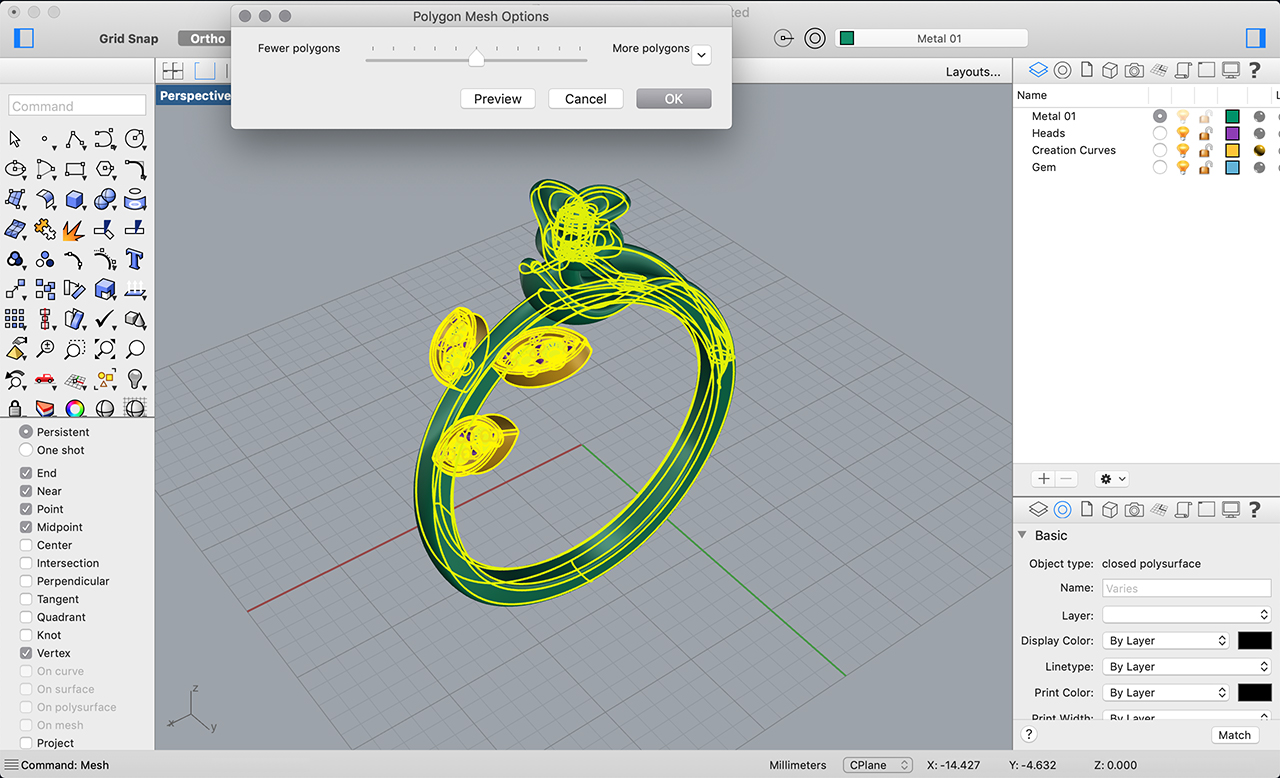
Select everything and convert them to meshes (the Mesh command). A medium number of polygons is usually sufficient. You can use the Preview to see if the final result looks reasonable. You can then Delete all the polysurfaces.
Select every mesh that shares the same material (e.g. all the metal parts), and Join them. If you had them separated into different layers during the design process, it should be straightforward. Repeat this for each other material (e.g. the gems). In this example, you should be left with two meshes. You can clean up layers again as needed.


Due to the way vertex normals work in polygon meshes, we should adjust them here for the best results. The metal parts are mostly organic curves, so we want them to be smooth shaded. Select the metal mesh, and go to Mesh → Mesh Edit Tools → Weld and click Done or press Enter. The default Angle Tolerance is usually fine. Alternatively, select and Hide the gems mesh, go to Mesh → Mesh Edit Tools → Weld Selected Vertices, select everything, and press Enter.
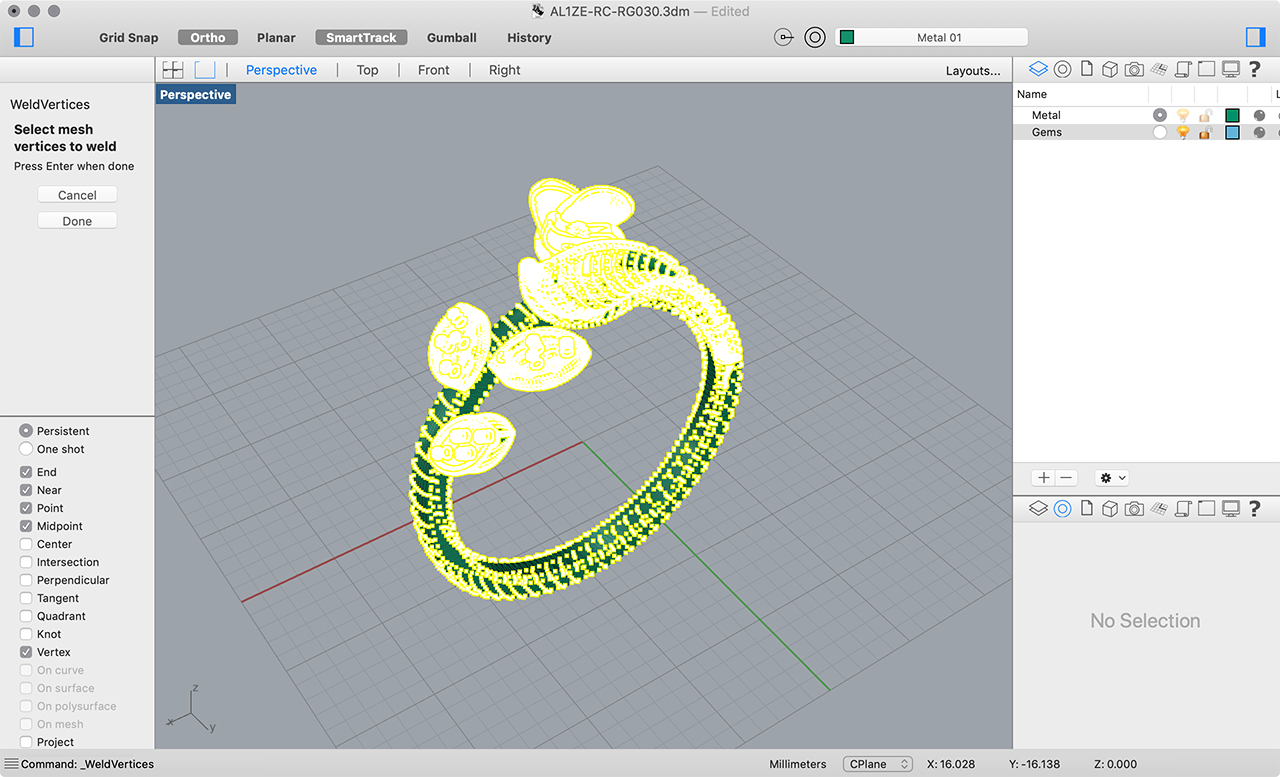
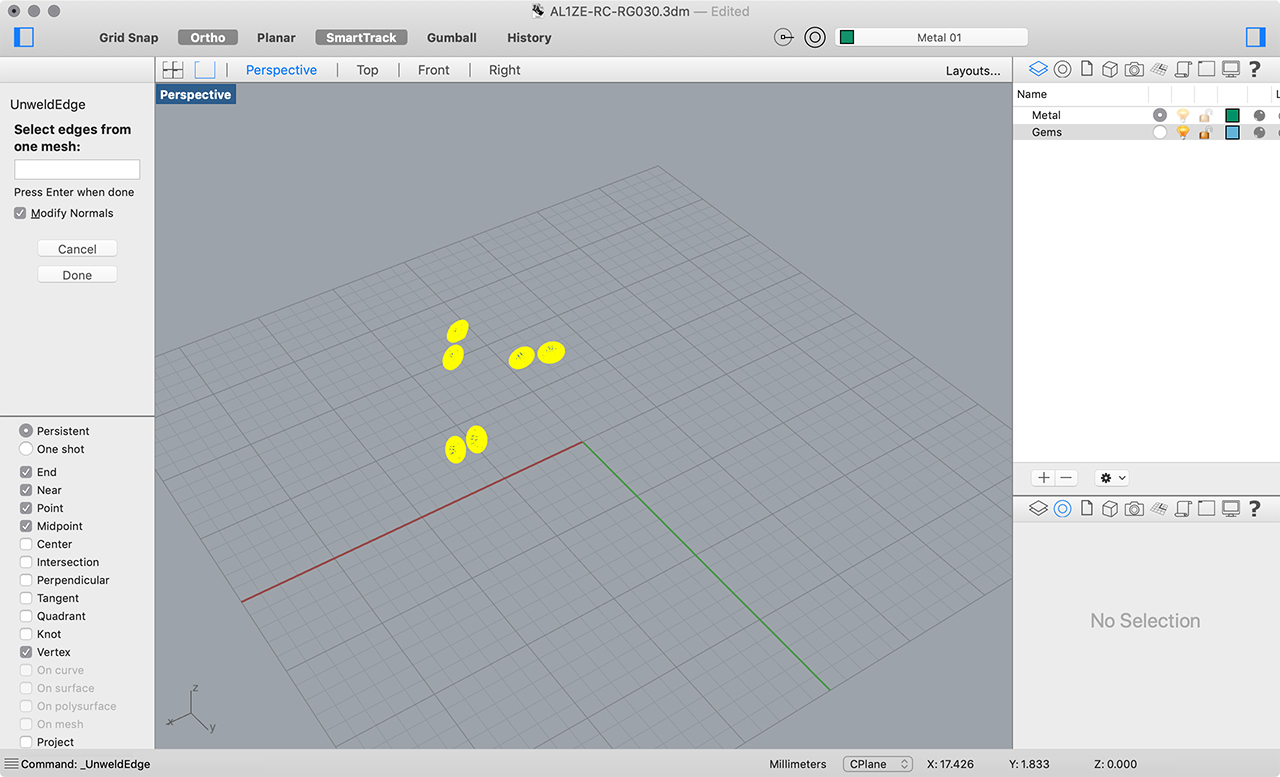
The gems, on the other hand, have sharp edges, so we want to do the opposite. Show the gems, then select and Hide the metal. Go to Mesh → Mesh Edit Tools → Unweld Selected Edges. Select everything, make sure Modify Normals is enabled, and press Enter.
Show everything again. Select all and set Material to Assign By Object.
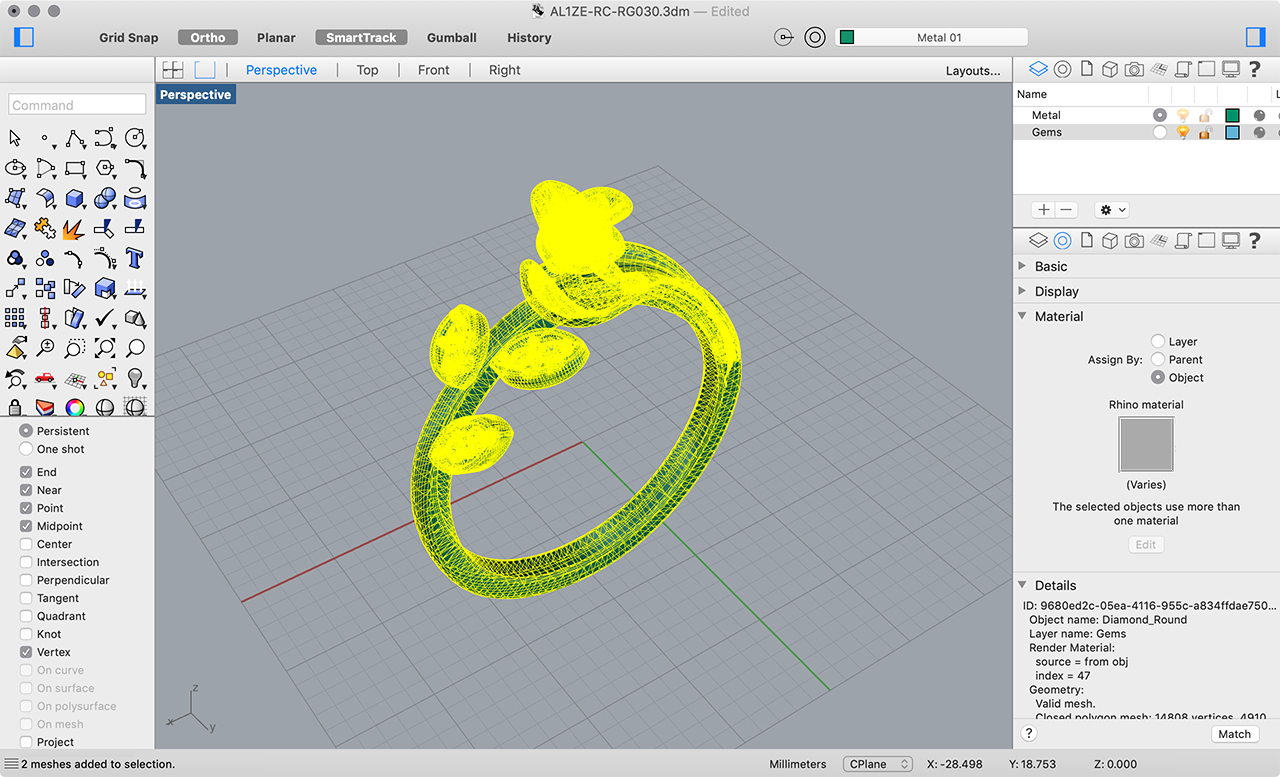
Select one of the objects and click Edit in the Material tab. This should open Rhino’s Material Editor. Delete any extra unused materials. Create (or modify) a uniquely-named material for each object – in this case, “Metal” and “Gems”. Apply each material to the appropriate object.
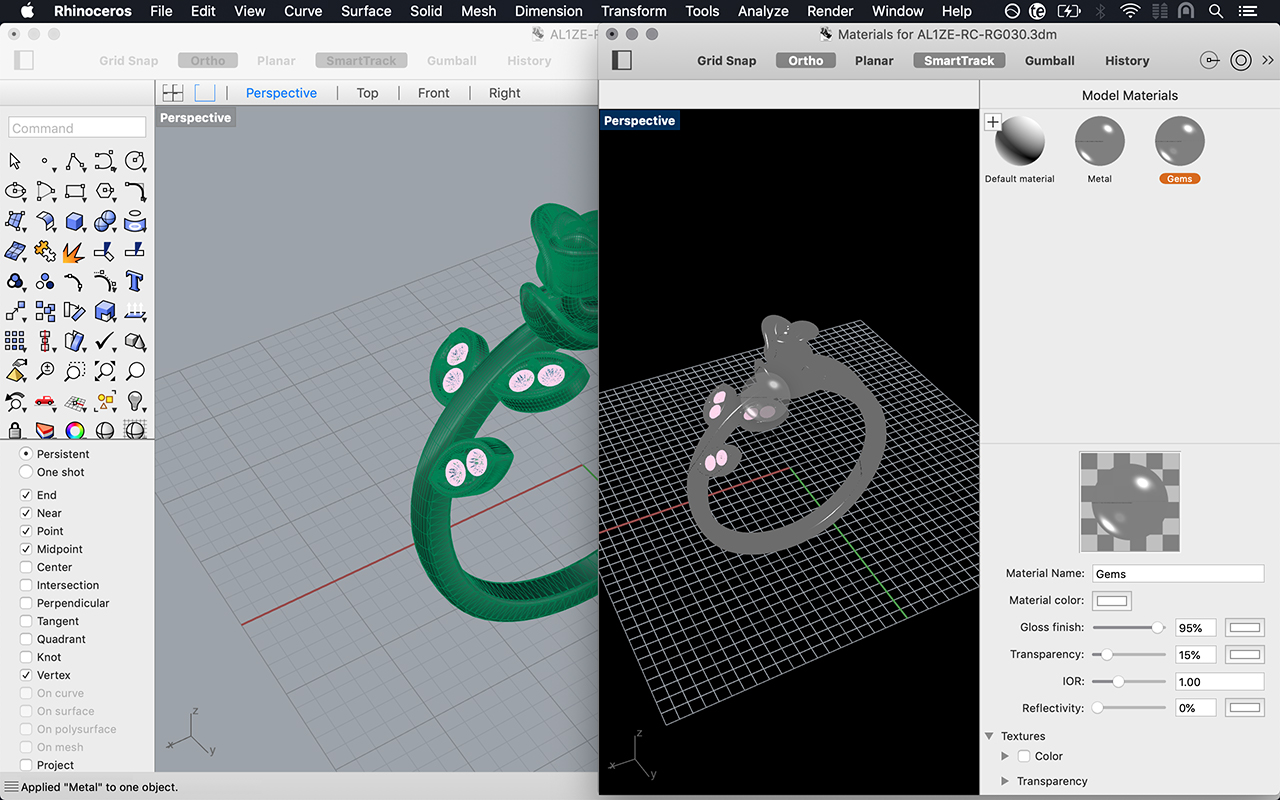
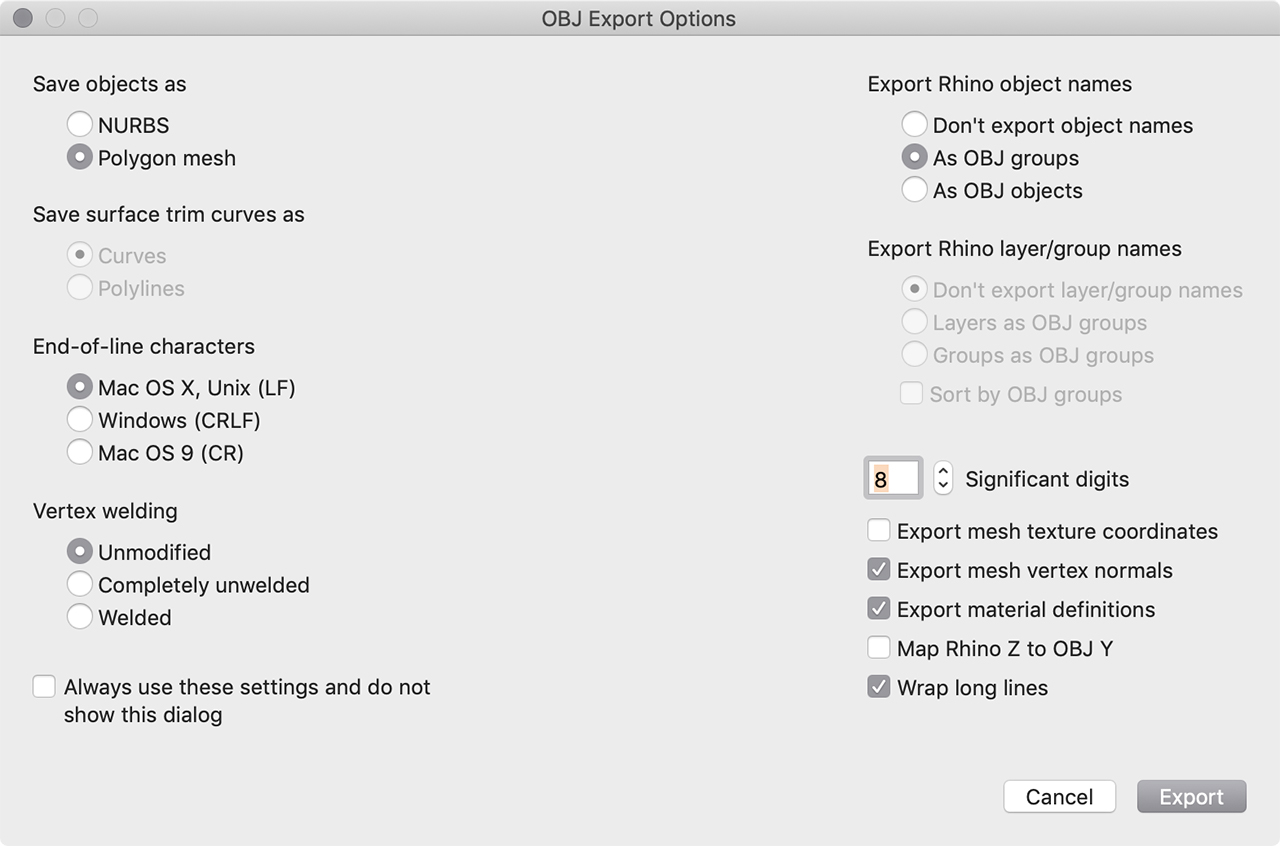
Close the Material Editor. Export All in OBJ format. In the export options, make sure Export mesh vertex normals and Export material definitions are enabled. You should now have an OBJ file and an MTL file.
Upload them together to your Sketchfab account. The model will initially have no material information. That’s ok as we will edit the materials directly in Sketchfab’s 3D Settings.
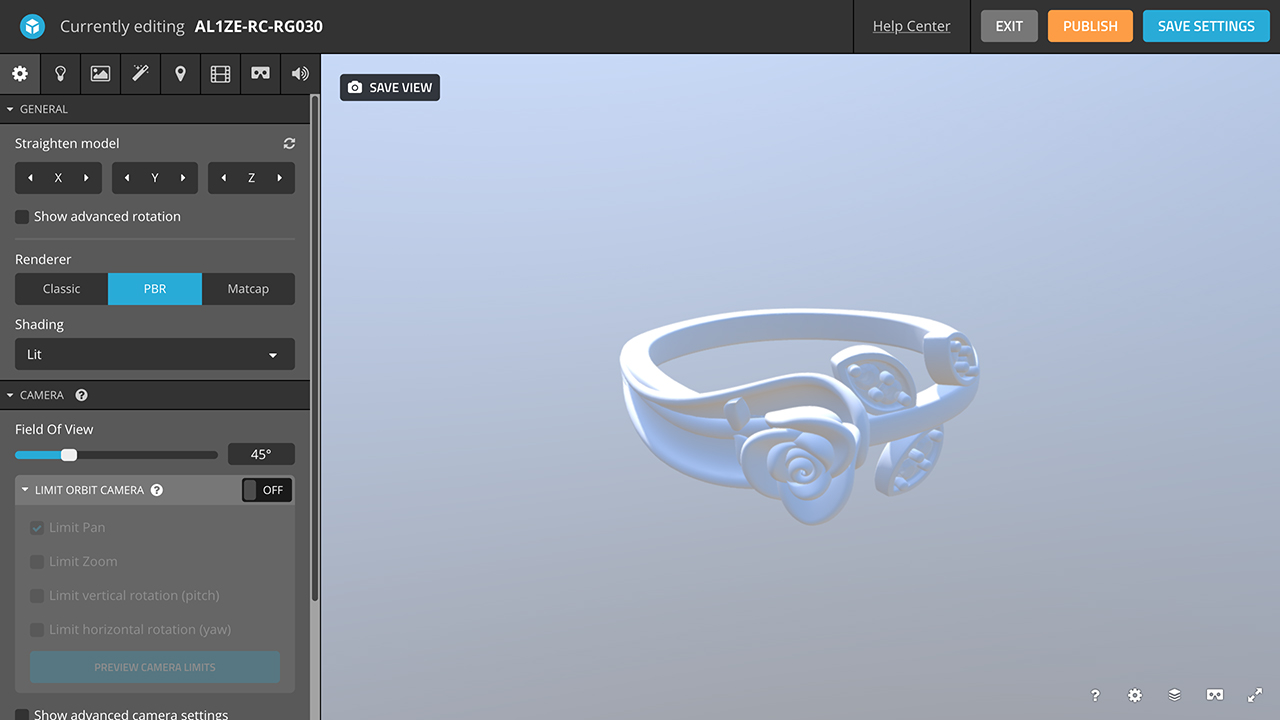
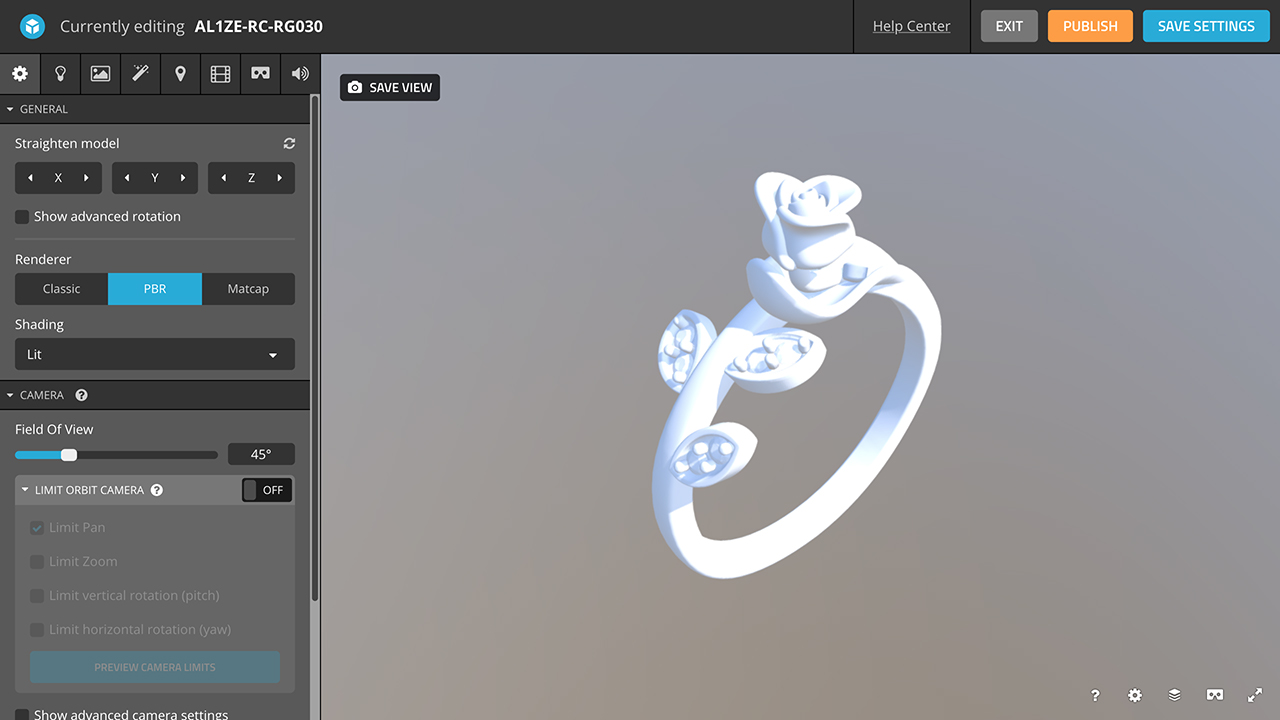
You will probably need to adjust the camera orientation to your liking.
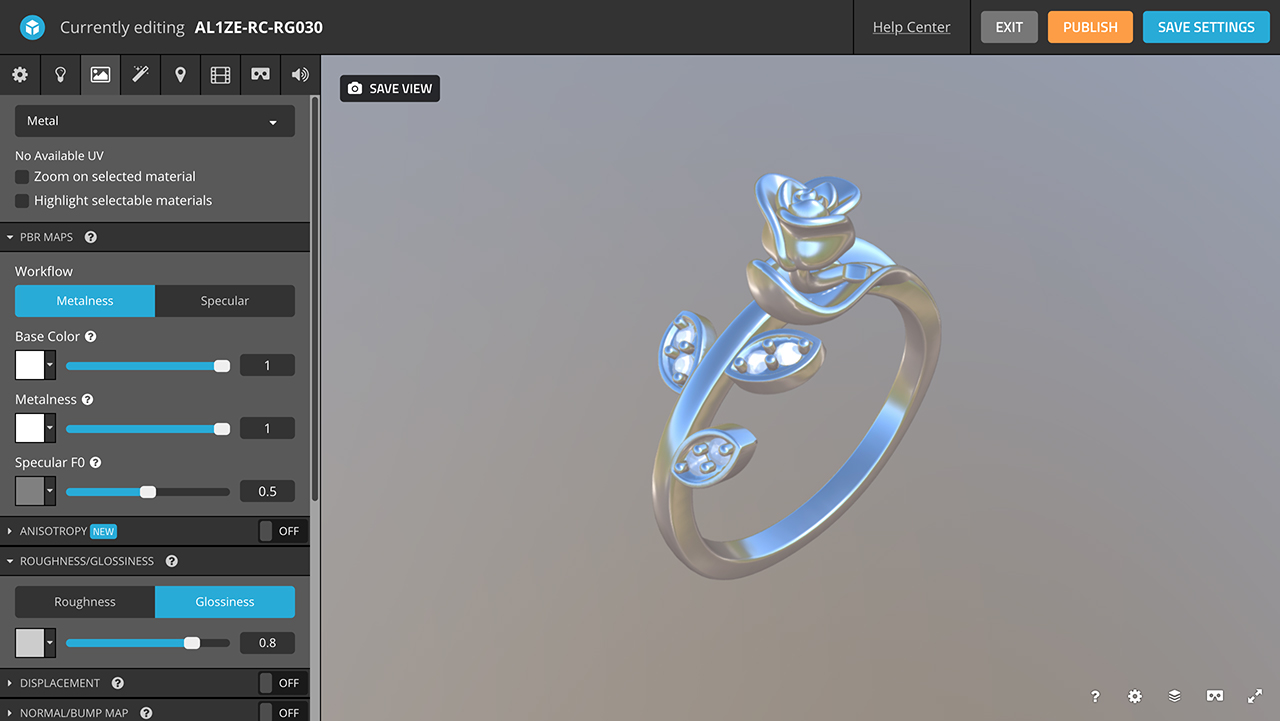
Go to the Materials tab and open the settings for the Metal material. Physically-Based Rendering (PBR) methodology is outside the scope of this tutorial, but there are tons of resources out there, as well as reference charts for different metals and other materials. We’ll just emulate silver here with a white Base Color, 100% Metalness, and ~80% Glossiness.
Switch to the Gems material. This one will be a bit more complicated than the Metal material. Set the Base Color to white, the Metalness to 0%, the Specular F0 to 100%, and the Glossiness to 100%.
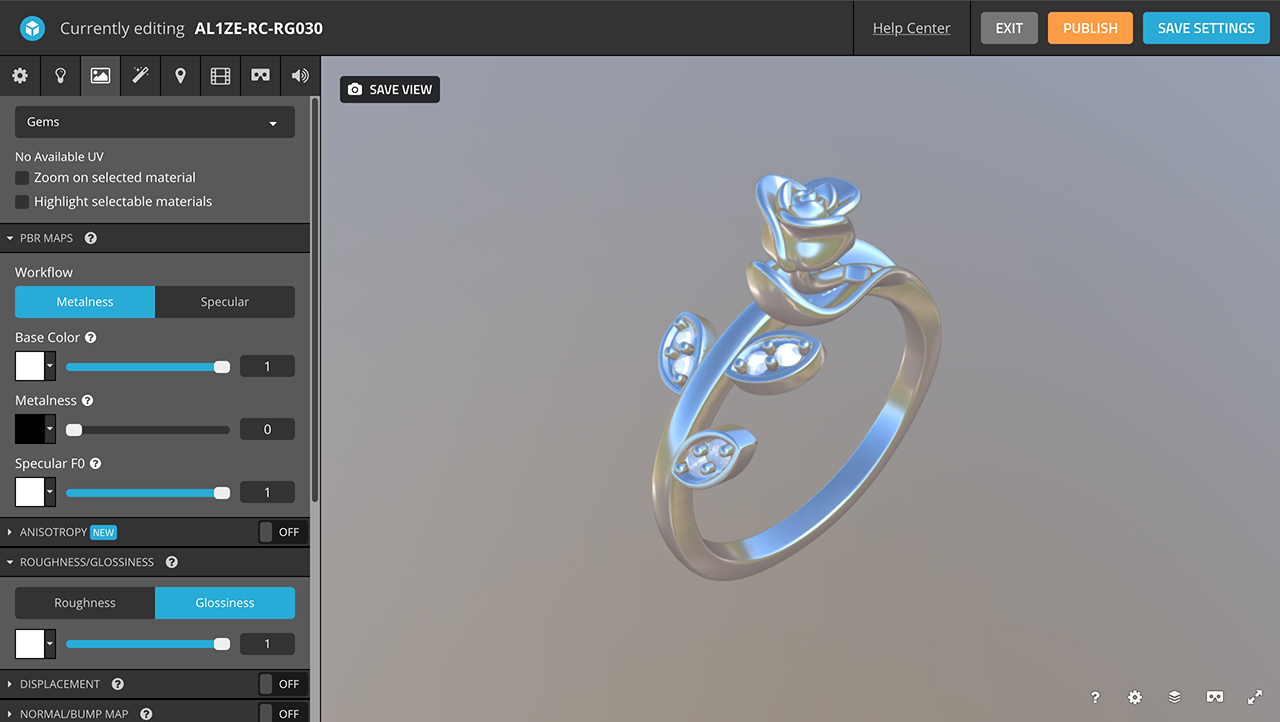
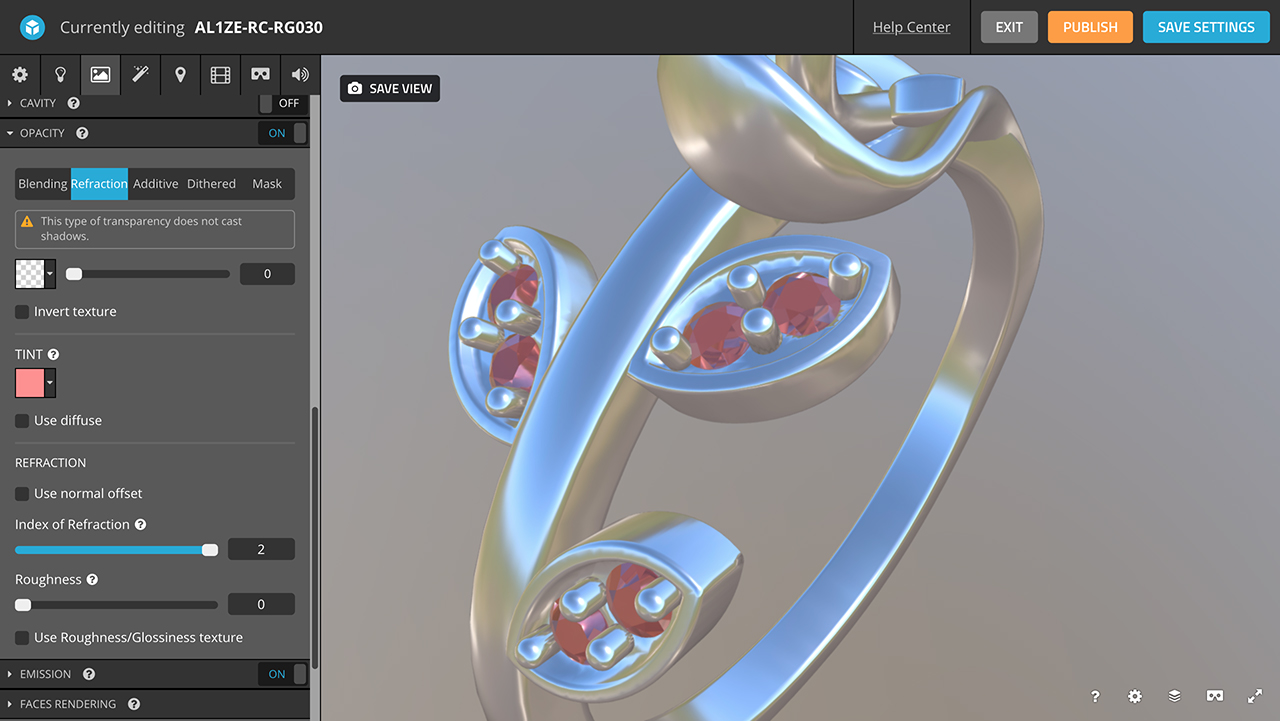
Then, scroll down to the Opacity channel. Switch the mode to Refraction, set the value to 0%, add a Tint if your gems are colored, and maximize the Index of Refraction (IOR). In reality, diamonds and other gems have an IOR higher than 2, but that’s the current maximum on Sketchfab. Keep in mind that Refraction on Sketchfab has several limitations, so it’s very difficult to perfectly replicate the real world behavior of gemstones.
Finally, adjust the lighting. An environment with more neutral tones is usually best for this use-case.
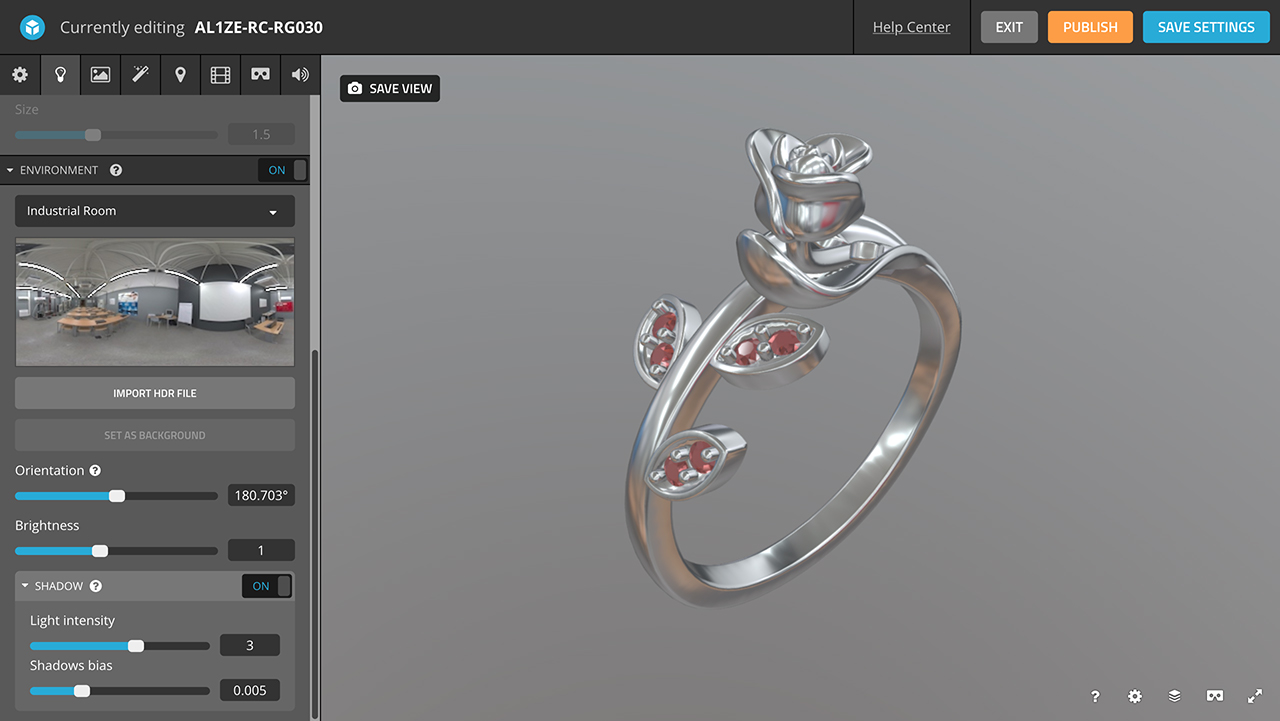
Re-center the model and adjust the orientation as needed, and Save View / Save Settings.
Here’s the result!


