About Me
Hello everyone! My name is Sergey Lakhadynov, and I am a 3D artist from Minsk, Belarus.
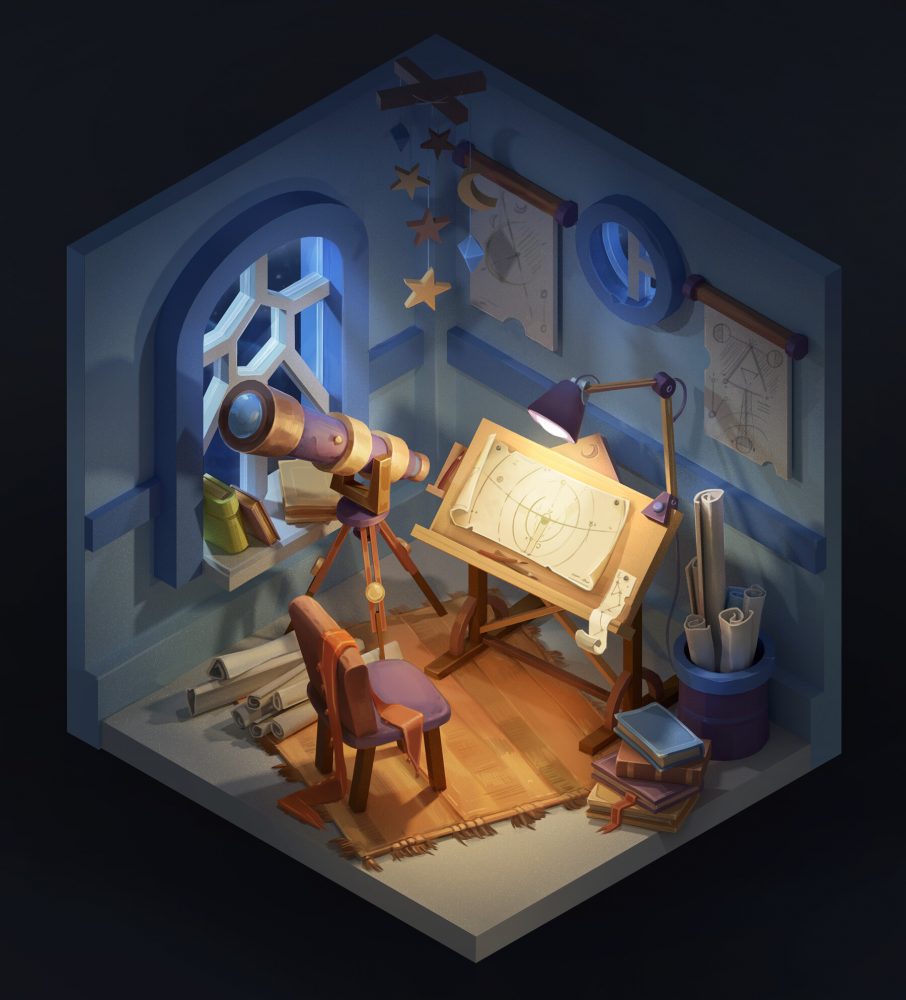
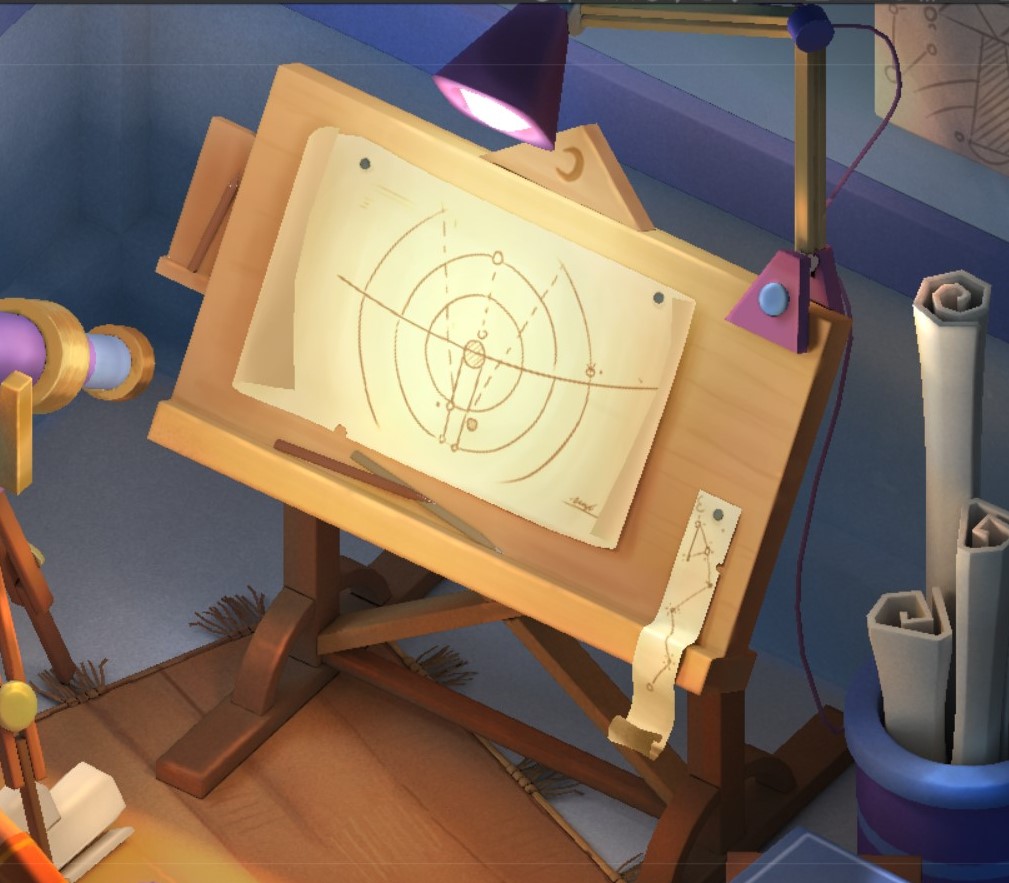
I have always been interested in computer games and 3D technologies. The idea of creating new exciting worlds attracted me as well, so I decided to become a 3D environment artist. I like how technology and the artist’s imagination complement each other in this profession and inspire you to work at your best. I created Astrologer’s Chambers as a senior project on the 3D Environment Artist course under the guidance of Kirill Gorenitsyn, the teacher from FUNGI Studio.
Inspiration
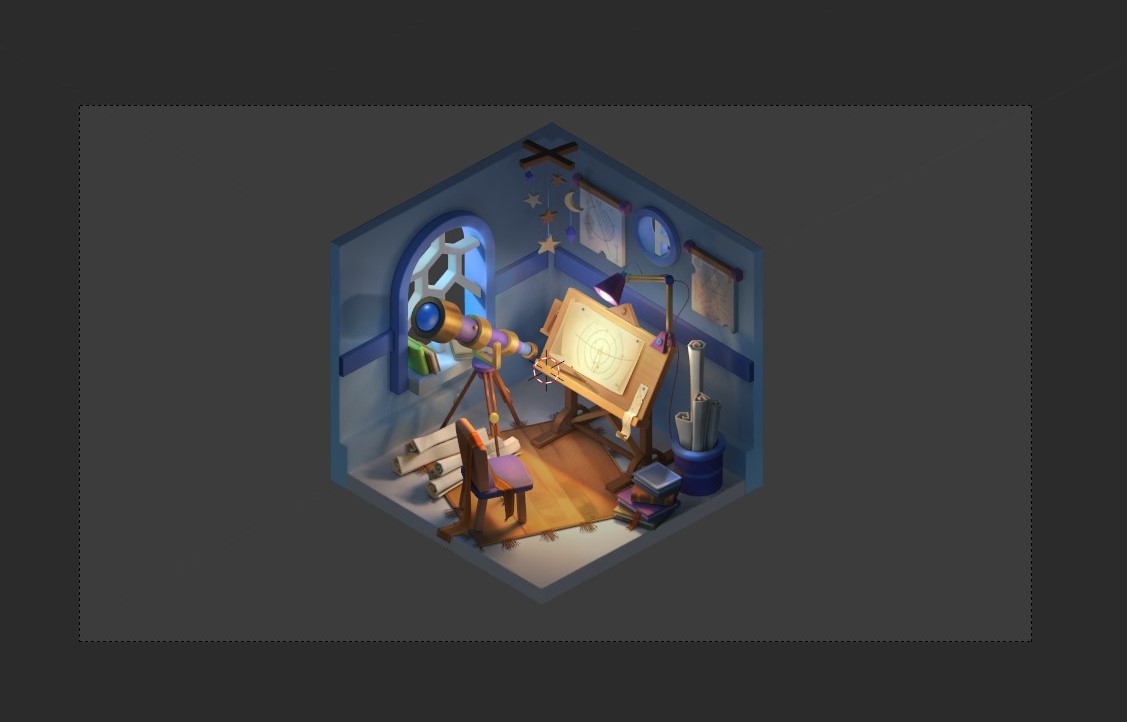
For my senior project, I wanted to choose something cozy and whimsical, perhaps a little bit magical, so that the audience could feel the dreamy atmosphere. “Little Astronomer’s Room” by the amazing Alexandra Vasileva immediately impressed me. I liked this work for its details and warm, cozy mood. It feels like a little astronomer is about to walk into the room, sit down at the desk, and continue studying the stars. I realized that this is exactly what I needed.
Tools Used
- Blender – modeling and baking the base light
- 3D-Coat and Photoshop – texturing
Modeling and unwrapping
The artist perfectly managed to capture the atmosphere and the design of the room. So I decided to keep the original idea, lighting, and object proportions because I didn’t want to disturb the illustration’s balance.
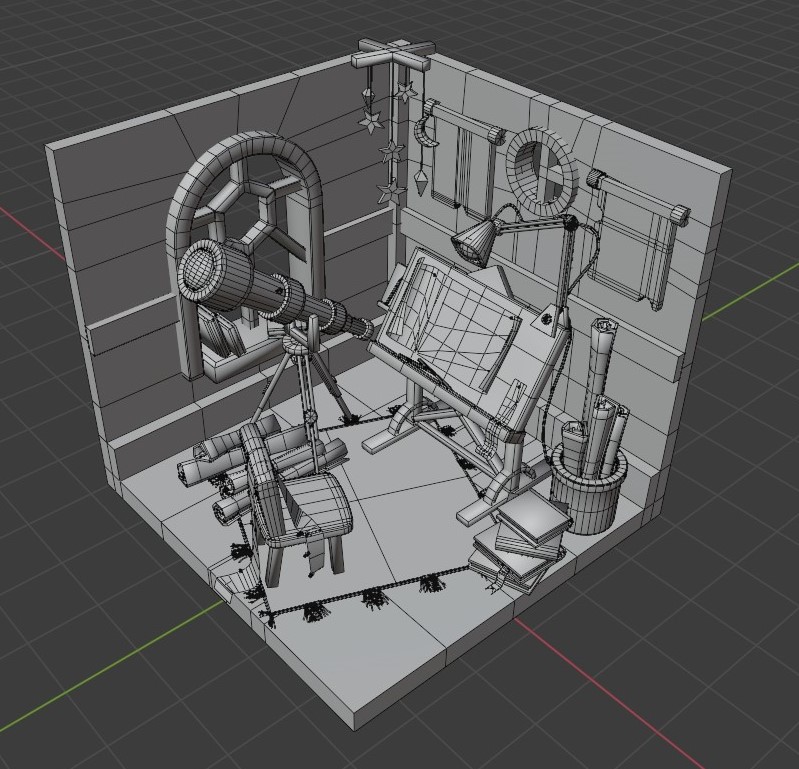
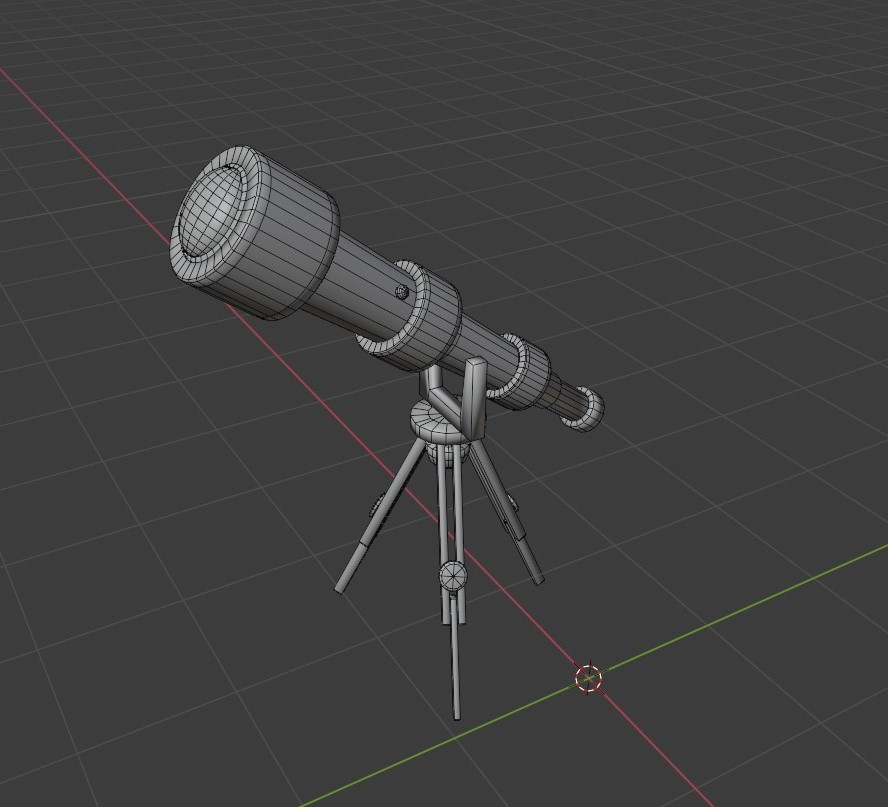
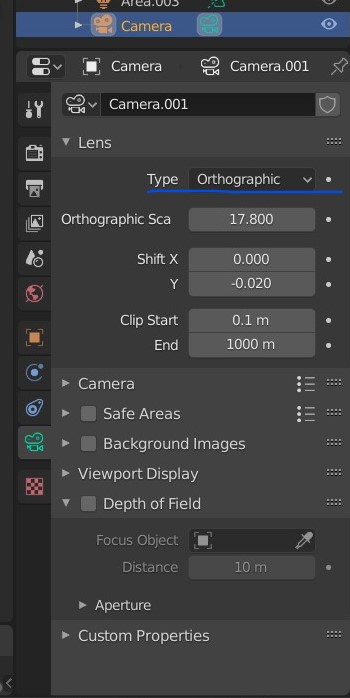
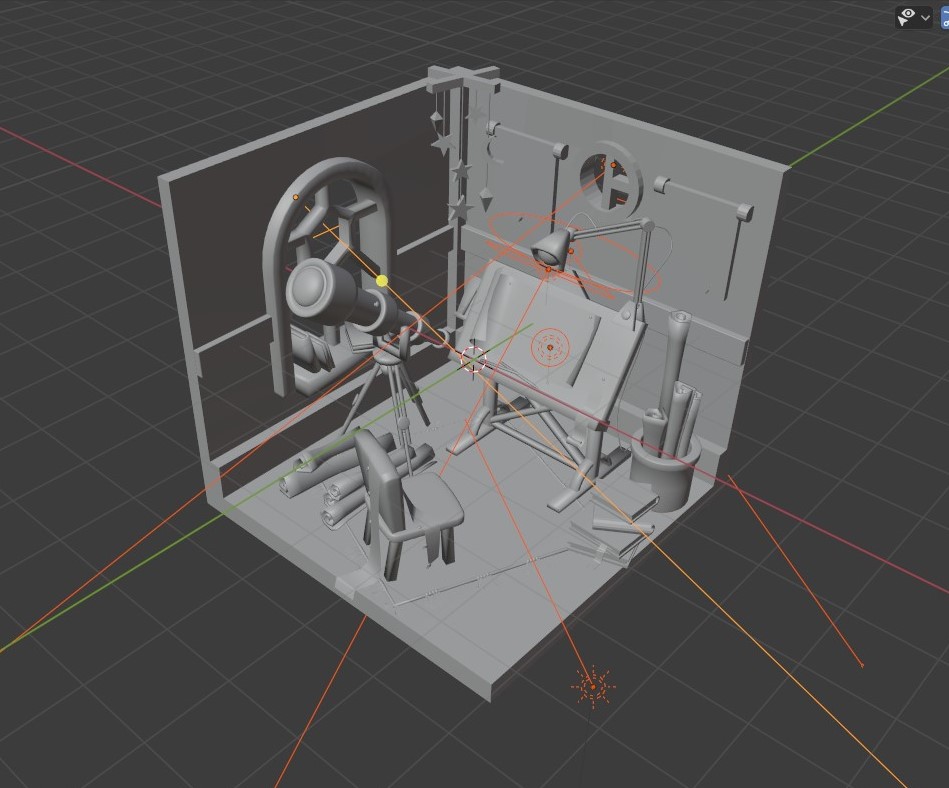
I modeled all the objects and scenery in Blender. I used standard modeling tools and kept checking the model in orthographic camera mode to convey the isometric illustration as closely as possible. It was a test and a good exercise in creating precise object proportions. To keep the proportions, I first created the walls and the largest objects (windows, a table, a chair, and a telescope), then measured the size and the position of the other objects.
I created an additional camera and set the desired angle so that it was easier to control the final shape results.
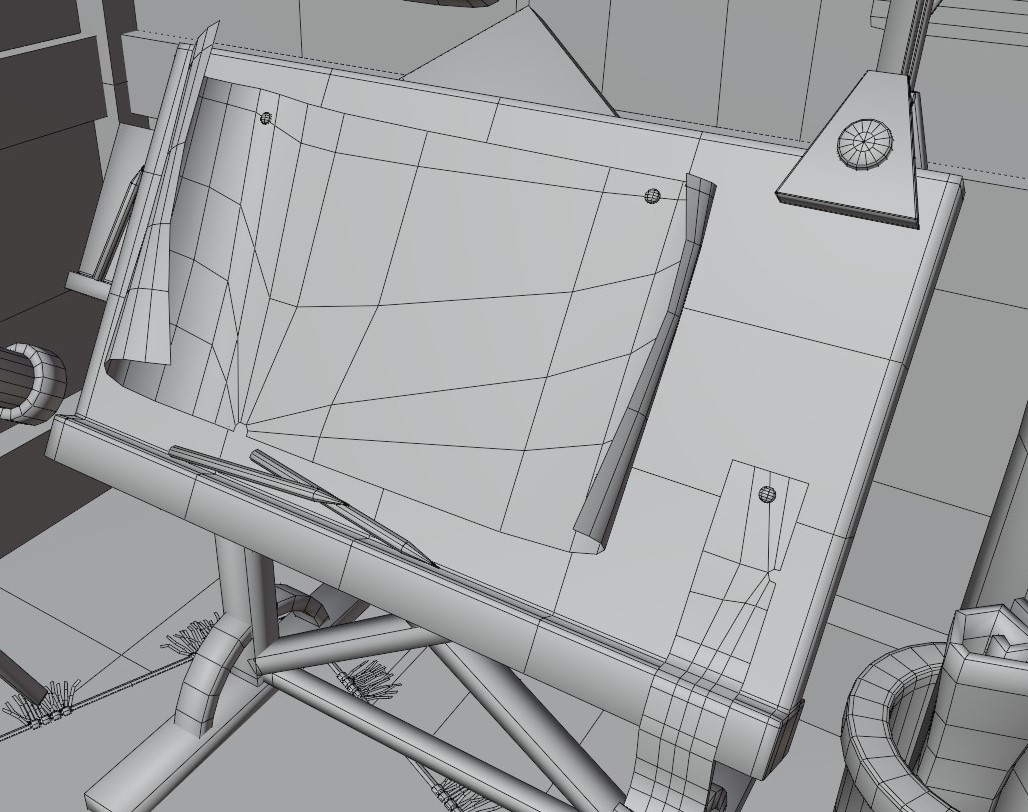
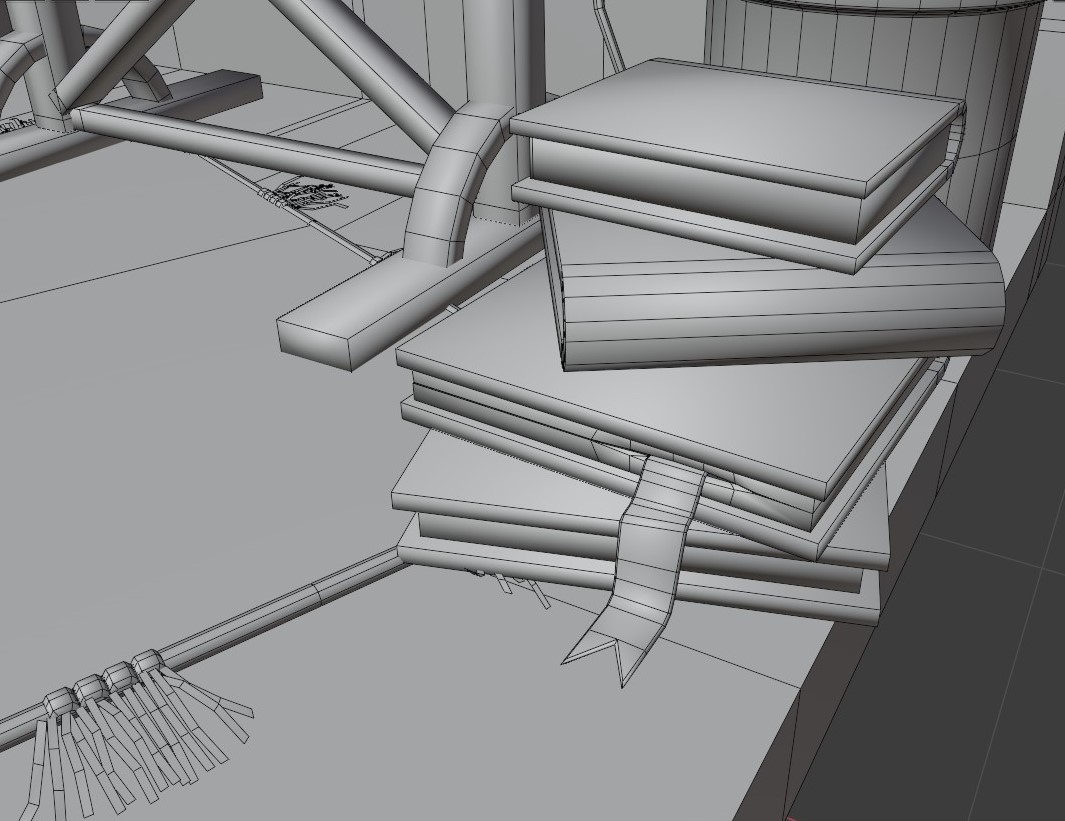
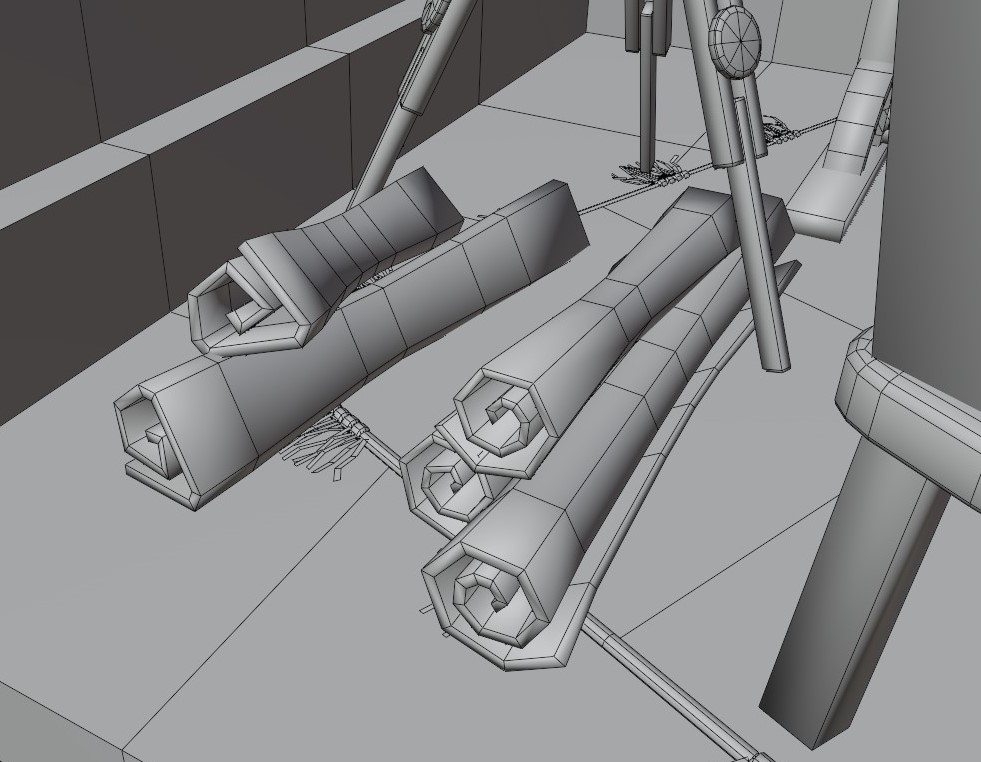
When I determined that all the objects were of the correct shape and size, I spent some time improving the grid. I removed unnecessary polygons, especially those that were invisible, and made a more thought-out grid.
I did the unwrapping with standard tools in Blender.
Texturing
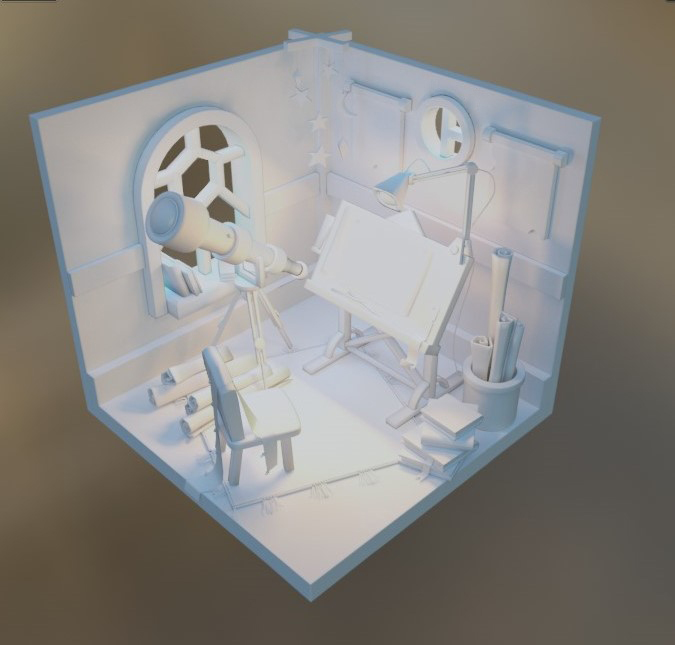
Proper lighting is the most important thing in this work. It was the light that created the atmosphere of coziness and magic I needed. I added several warm light sources in Blender to convey soft light inside the room and two cold light sources to convey the moonlight from the windows. Additionally, I needed an additional source of fill light to remove sharp shadows and highlight the edges of the wall and the floor.
I filled the objects with base colors, then turned on the light to check if the lighting was close to what I intended to get. Then I disabled the object colors because I decided to create a separate lightmap without them and make the painting process easier. I baked the lighting in Blender. This process is how the lightmap without the object colors was made.
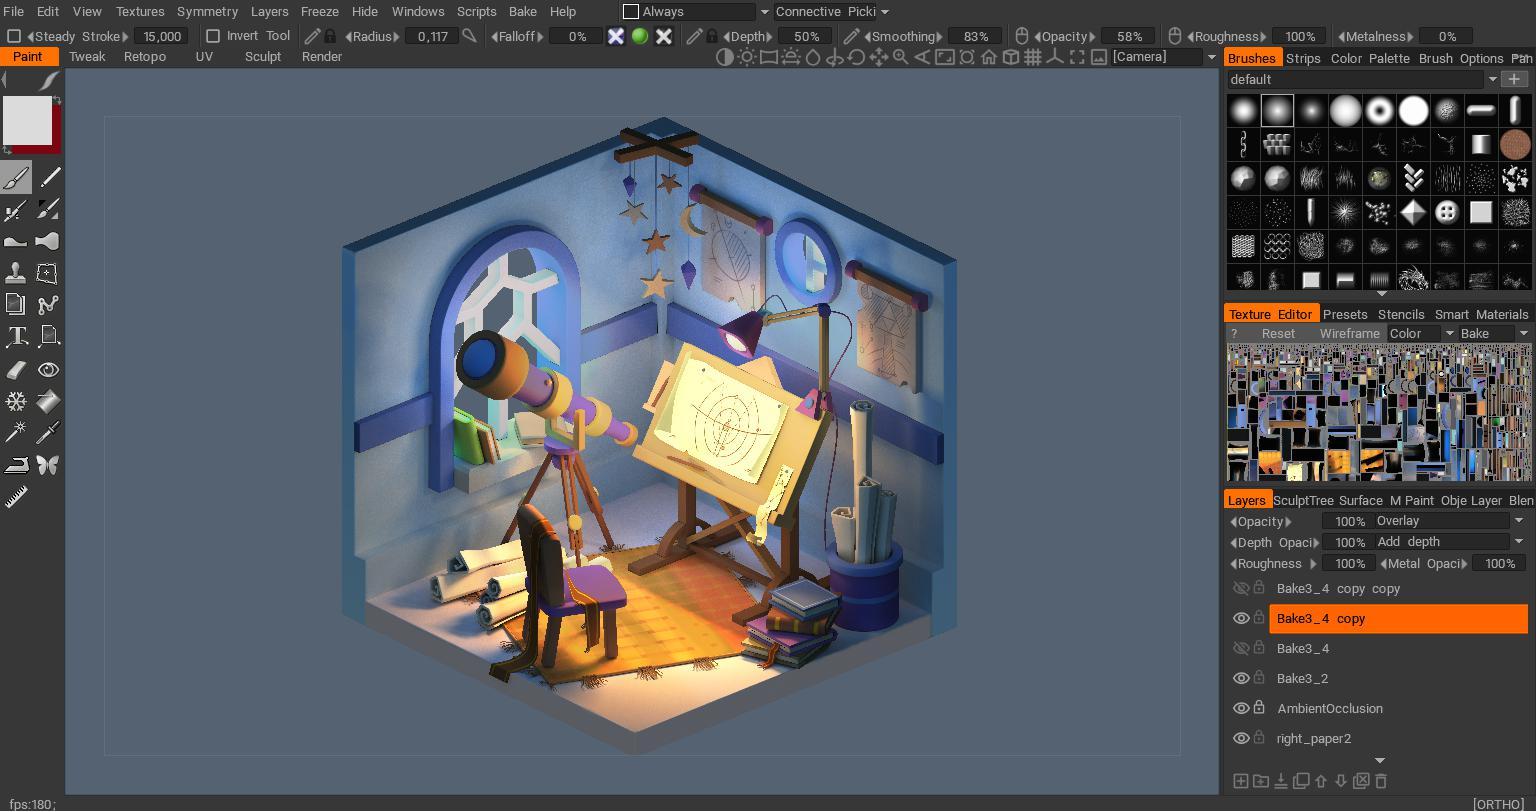
I imported the model into 3D-Coat and added a lightmap to it. I made a basic color fill for all objects and layered the lightmap with Overlay on the separate layers.
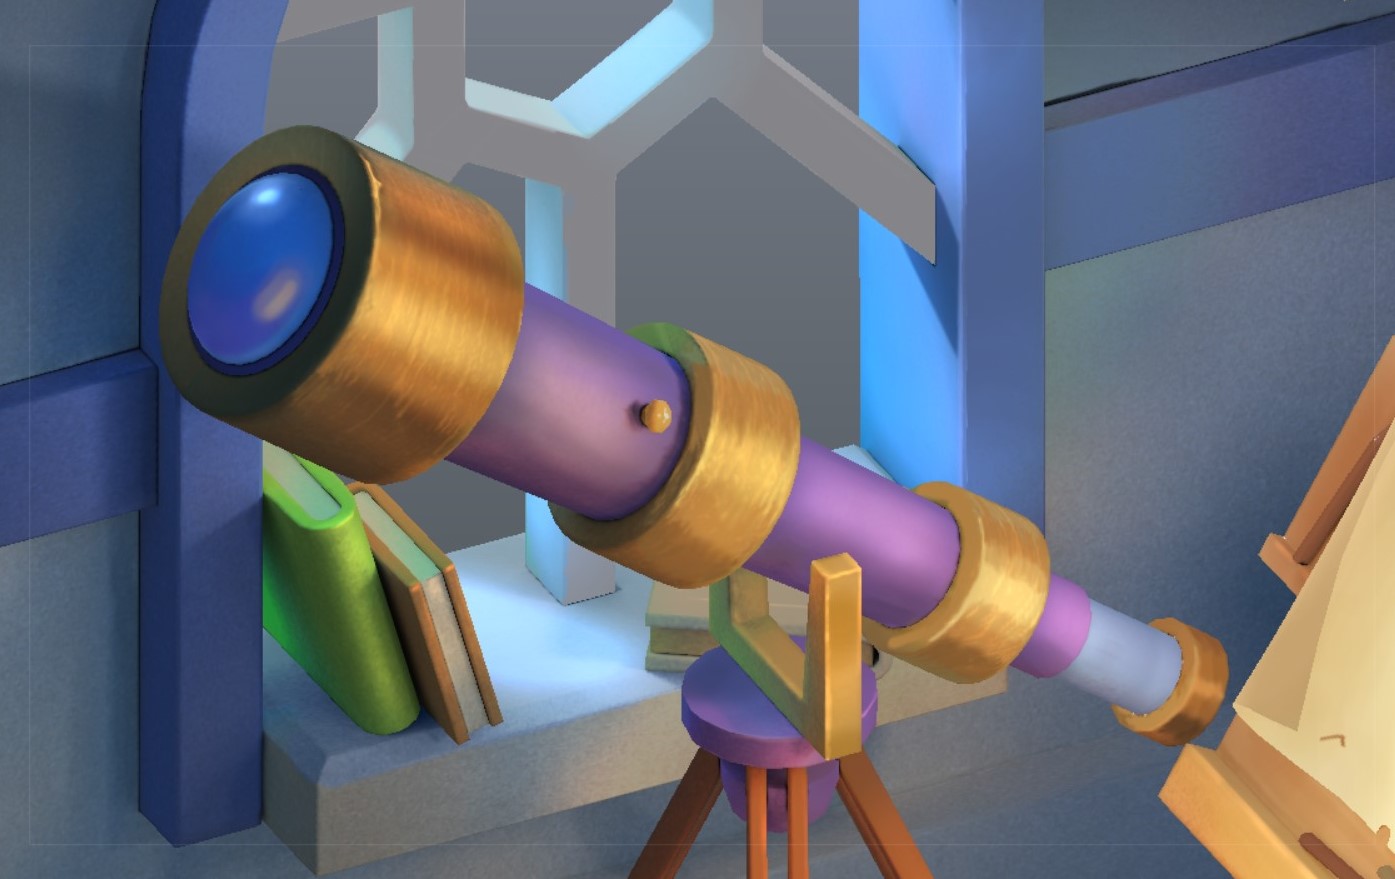
Overlay mode adds brightness and saturation to the illustration, which is not always correct. But it was very suitable for this casual and cartoonish work. I also layered the Ambient Occlusion map using Multiply mode and a bit of opacity to add depth to the shadows. I drew the carpet and papyri separately in Photoshop and applied them using the projection tool in 3D-Coat. I then used drawing tools to add small details and textures. I used Overlay and Soft Light modes to add shades to lighting on the additional layers so that the colors looked more appealing and vivid.
Sketchfab settings
When uploading my work to Sketchfab, I saw a lot of available import settings. It is possible to upload the project exactly as it was created and to add additional post effects that will make the work even better.
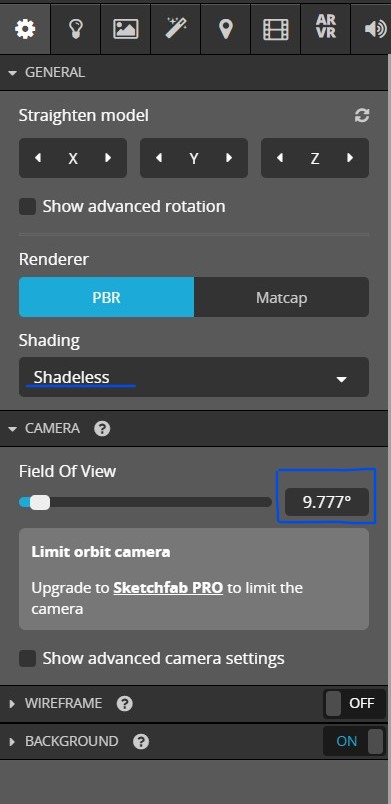
Since my work is isometric, the first thing I changed in the camera settings was “Field of View”. I set the value to about 10°, which gave the object an isometric view.
After that, I chose the “Shadeless” option in the “Shading” settings. In my case, I already had all the light on the texture, so this was the best option for me.
As a background, I used a dark blue fill and added a “Vignette” post effect, which allowed me to darken the background corners by adding a gradient.
In “Post Processing Filters“, it is possible to add lots of interesting effects and improve your work. For example, I added a bit of “Bloom” to make the light more appealing.

