About me
Hi, my name is JuanCarlos CR. I am a 3D artist from Madrid, Spain.
As a kid, I grew up having a lot of exposure to art. Digital painting became an important part of my life when I was a teenager and it defined the foundation of my art career. For the last four years as a freelance artist, I’ve been telling stories through animation, VR experiences, and video games.
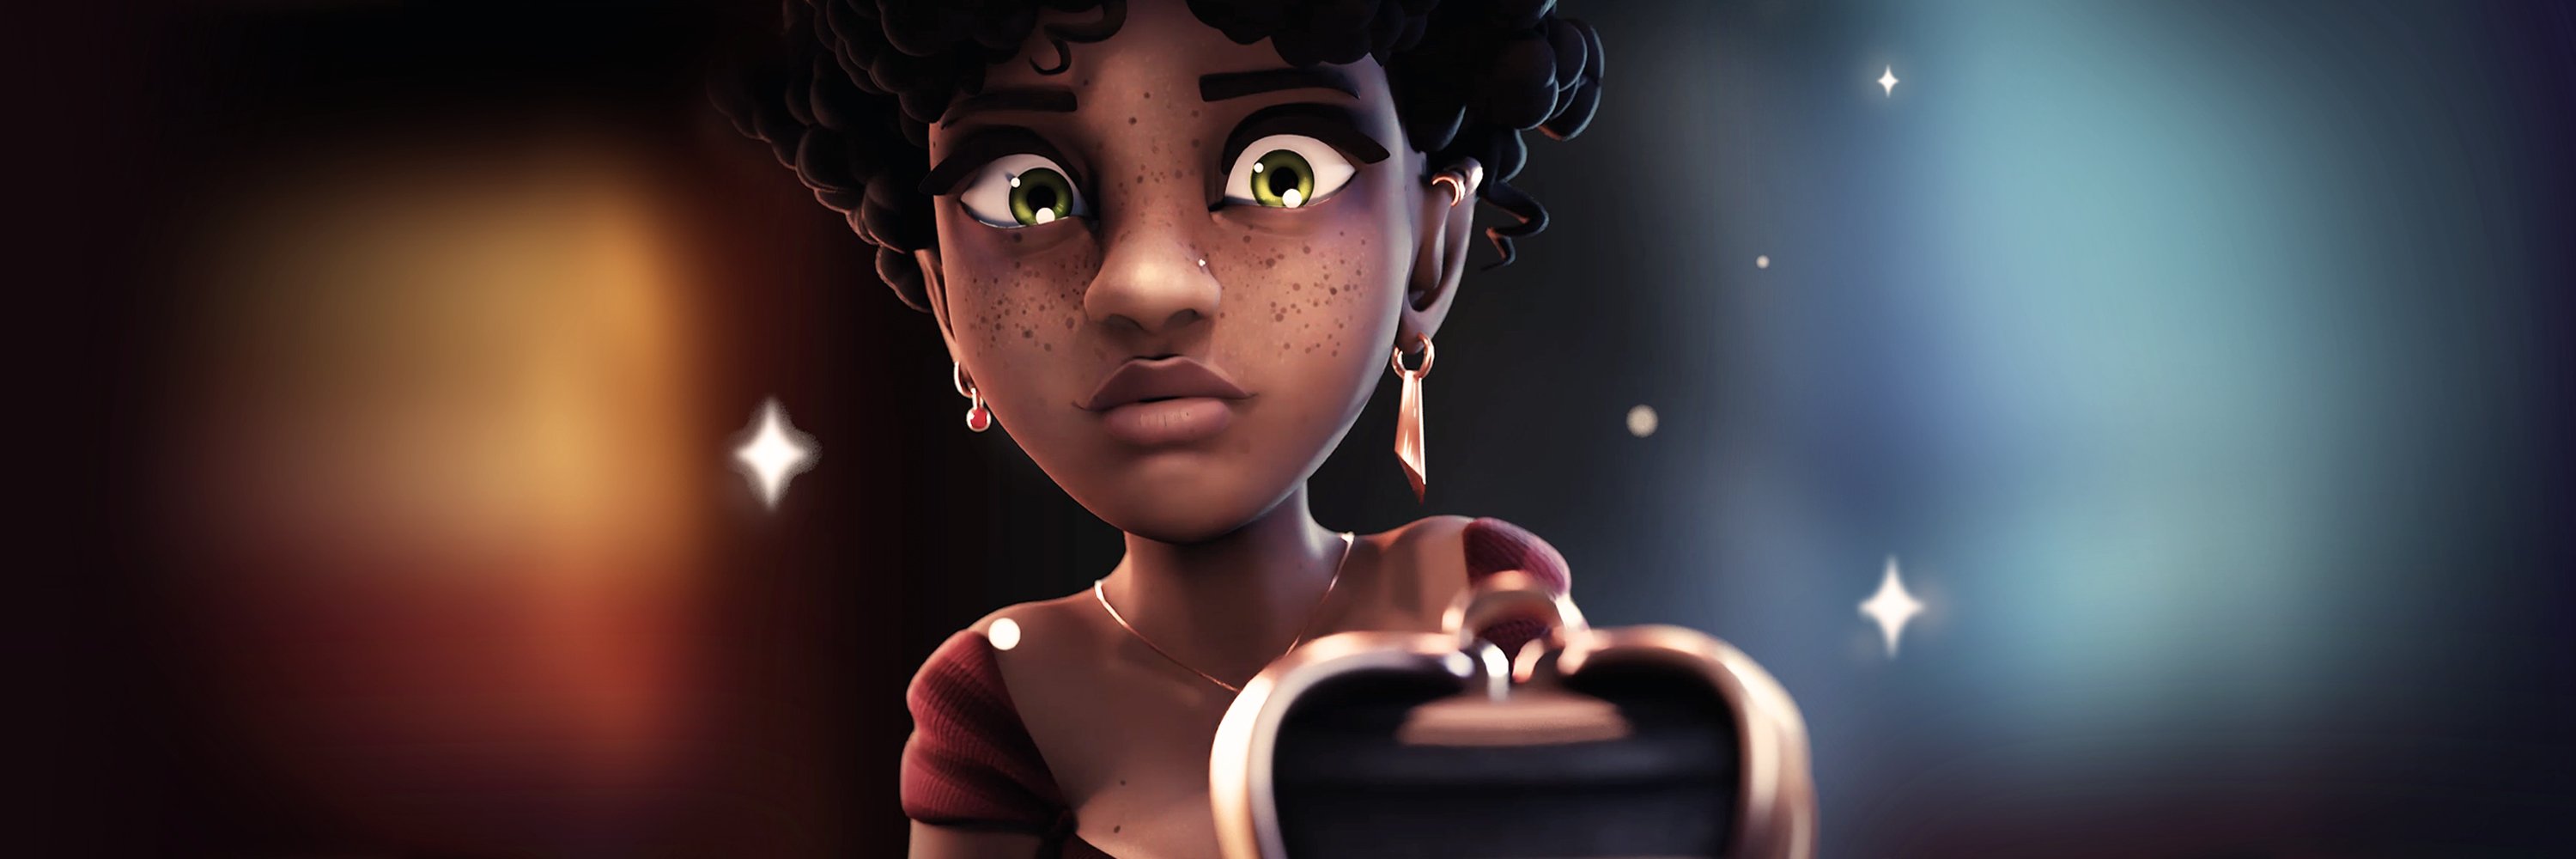
I’m currently working on a personal project called Atlas, focusing on the human side of the characters in a way I never did before.
I want to thank the Sketchfab team for inviting me to talk about my creation process. This is a great opportunity to show you my workflow and the tools I use.
Inspo
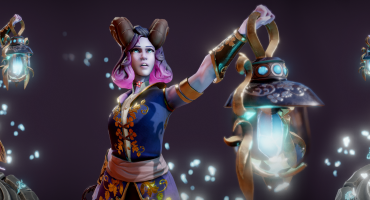
The inspiration for this project came from multiple sources. The main Atlas character was inspired by Sam Levinson’s last film Malcolm & Marie. I like mixing different concepts and ideas, for example, Prof. Croco was inspired by the combination of the characters in Journey to the Center of the Earth (Jules Verne) and Sean Connery’s costume in The Last Crusade (Joanna Johnston / Anthony Powell – Indiana Jones and the Last Crusade costume designers).
Creation process
VR Block out
I consider myself a big user of virtual reality. I like to start my projects immersed in Gravity Sketch. Since I first tried this app back in 2019 It has become an essential tool in my workflow.
I think being able to block out the model with basic geometry while sharing the same virtual space is key and makes the process flow really well.
Modeling process
Modeling is, for me, the most relevant step and definitely the one I enjoy the most. When I start a new model I always take clean topology seriously. Since I started creating my first models, I have always kept the poly count in mind.
Relying on the main block out, which I import directly into Blender, I gradually repeat the same steps until I reach the final result:
I start with a subdivided cube, slowly extruding the faces and moving the vertices with the help of the sculpting tools.
Sometimes the process takes time, but seeing the final result with a clean simple topology is a beautiful and rewarding moment for me. I always record time-lapses of the process, which is a helpful way to learn from my mistakes and then improve in the next project.
Texturing
There is something about seeing a clay render that makes me feel calm. I think the way the light reflects off the surface without any textures is just beautiful. However, I consider texturing a necessary step to make the models be themselves.
I texture my models in Substance Painter after unwrapping them in Blender. The first thing I do is paint the base color, hiding the rest of the PBR material. I add layers of colors in a non-destructive way using masks.
Once I’m pleased with the result, I finish with the rest of the PBR channels. Before exporting the textures to Blender, I set the lighting in the scene. This way I don’t get surprised by unexpected color changes or reflections.
Rigging and animation
Watching these characters move is what brings them to life. I don’t consider myself an animator at all but I think that a good rig—and a small demonstration of what it is capable of—adds value to the project and the character.
For this task, I like to use Blender’s armor tool and Rigify bones depending on the occasion.
Whenever a character wears clothes, I use the weight transfer tool. It provides good results really fast. In the end, I simply animate the characters by using keyframes. I try to avoid using key shapes because I want maximum compatibility with other software in the pipeline such as Unreal or Unity.
Render and sharing my work
I make the final renders with Cycles and compose the final videos in Premiere. I usually make work-in-progress posts on Instagram and Blender Artists. Finally, I upload the high-res animation to YouTube.
Sketchfab upload
Sketchfab’s XR visualization mode is a really powerful tool. It has become the best way to share my models in VR with my audience.
The first thing I do when I upload a new scene is to make sure the scale is right. In the Sketchfab XR properties panel, I set the world size depending on how I want to tell the story.
As I don’t want the floor to be visible, I always uncheck the Teleport option. I find the annotation system cleaner for navigating larger scenes. I also uncheck Depth of Field and Grain in the Post-processing panel when optimizing for VR.
ATLAS | Project presentation:
ATLAS | Prof. Croco:
Final Note and Portfolio links
You can visit my portfolio on ArtStation. I post regular updates on Instagram, too.
Again, I want to thank the Sketchfab team for such a great opportunity. Also big thanks to my family and friends for your feedback ?✌️


