About me
Hello Sketchfab Community! My name is Wesley Vanroose.
I am a Dutch 3D artist living near Amsterdam. I studied at the Sae Institute for game art & 3D animation, where I learned how to think in 3D and understand techniques for 3D art and animation. After a few years working in the industry, I started to create my own workflow, using 3ds Max, ZBrush, Photoshop, and Substance Painter.
In my free time, I create my own 3D projects, just to keep my skill level up and learn new things. This was the perfect project to unleash my creativity on.
Starting a New Project
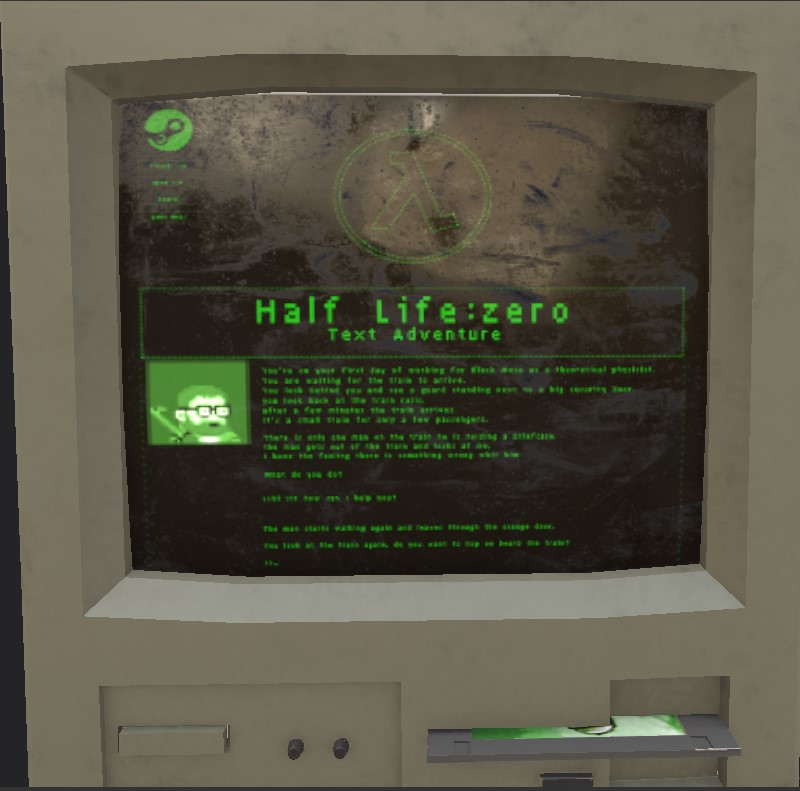
With this project, I asked myself how Half-Life would have looked, if it had come out for the Apple II or an old IBM PC. I also wanted to add some things from the Half-Life universe into the scene, like the headcrab “Lamarr”. When you look at Half-Life 2, a lot takes place in abandoned buildings, with a very industrial feel to them. I wanted to recreate that feeling in my project.
For this project I will use the following tools:
- 3ds Max for the modeling of the PC and the rest of the scene and blocking out the headcrab;
- ZBrush to give the headcrab more details, like the muscles and skin details;
- Substance Painter for texturing.
When I start a new project, I always make a moodboard to get a feel for the scene. I want to capture the atmosphere of it.
When I’m satisfied with the feel and look of the moodboard, I start blocking out the basic shapes of the scene in 3ds Max so I can get a feel for how it will look in 3D and easily change the setup if I want to.
When I’m done with the blocking out stage and I’m satisfied with the layout, I move on to the real modeling part.
Modeling and Making the UVs
I start with the PC model, because that is the main focal point of the scene, besides the headcrab, of course.
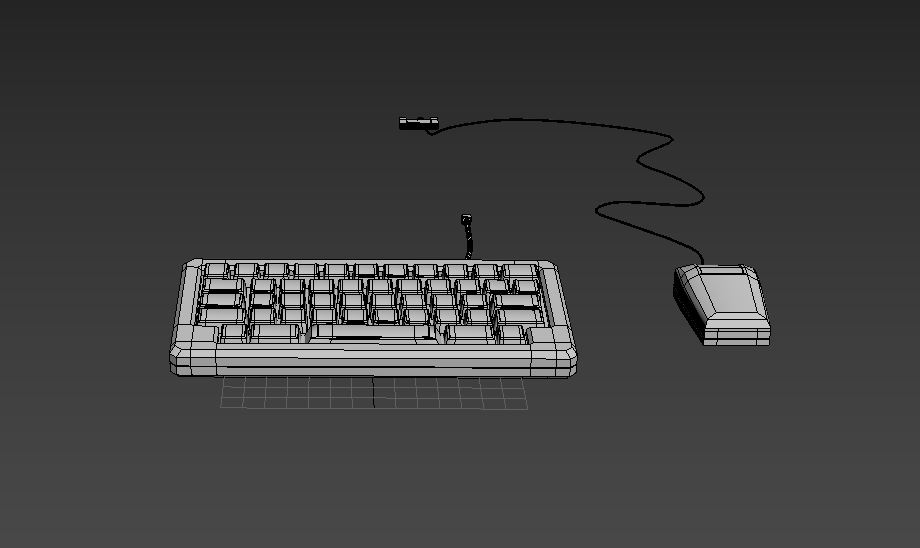
I want the PC to be a mix between Apple II and my own design. I start with blocking out the PC shape and adding more details, like adding small chamfer to give it that hard surface look. Then I add panels to the base mesh to give it a more a robust feel. It also makes it easier to add more details to it and to UV unwrap it.
When all the parts on the base of the 3D model of the PC are assembled, I work on the keyboard and mouse.
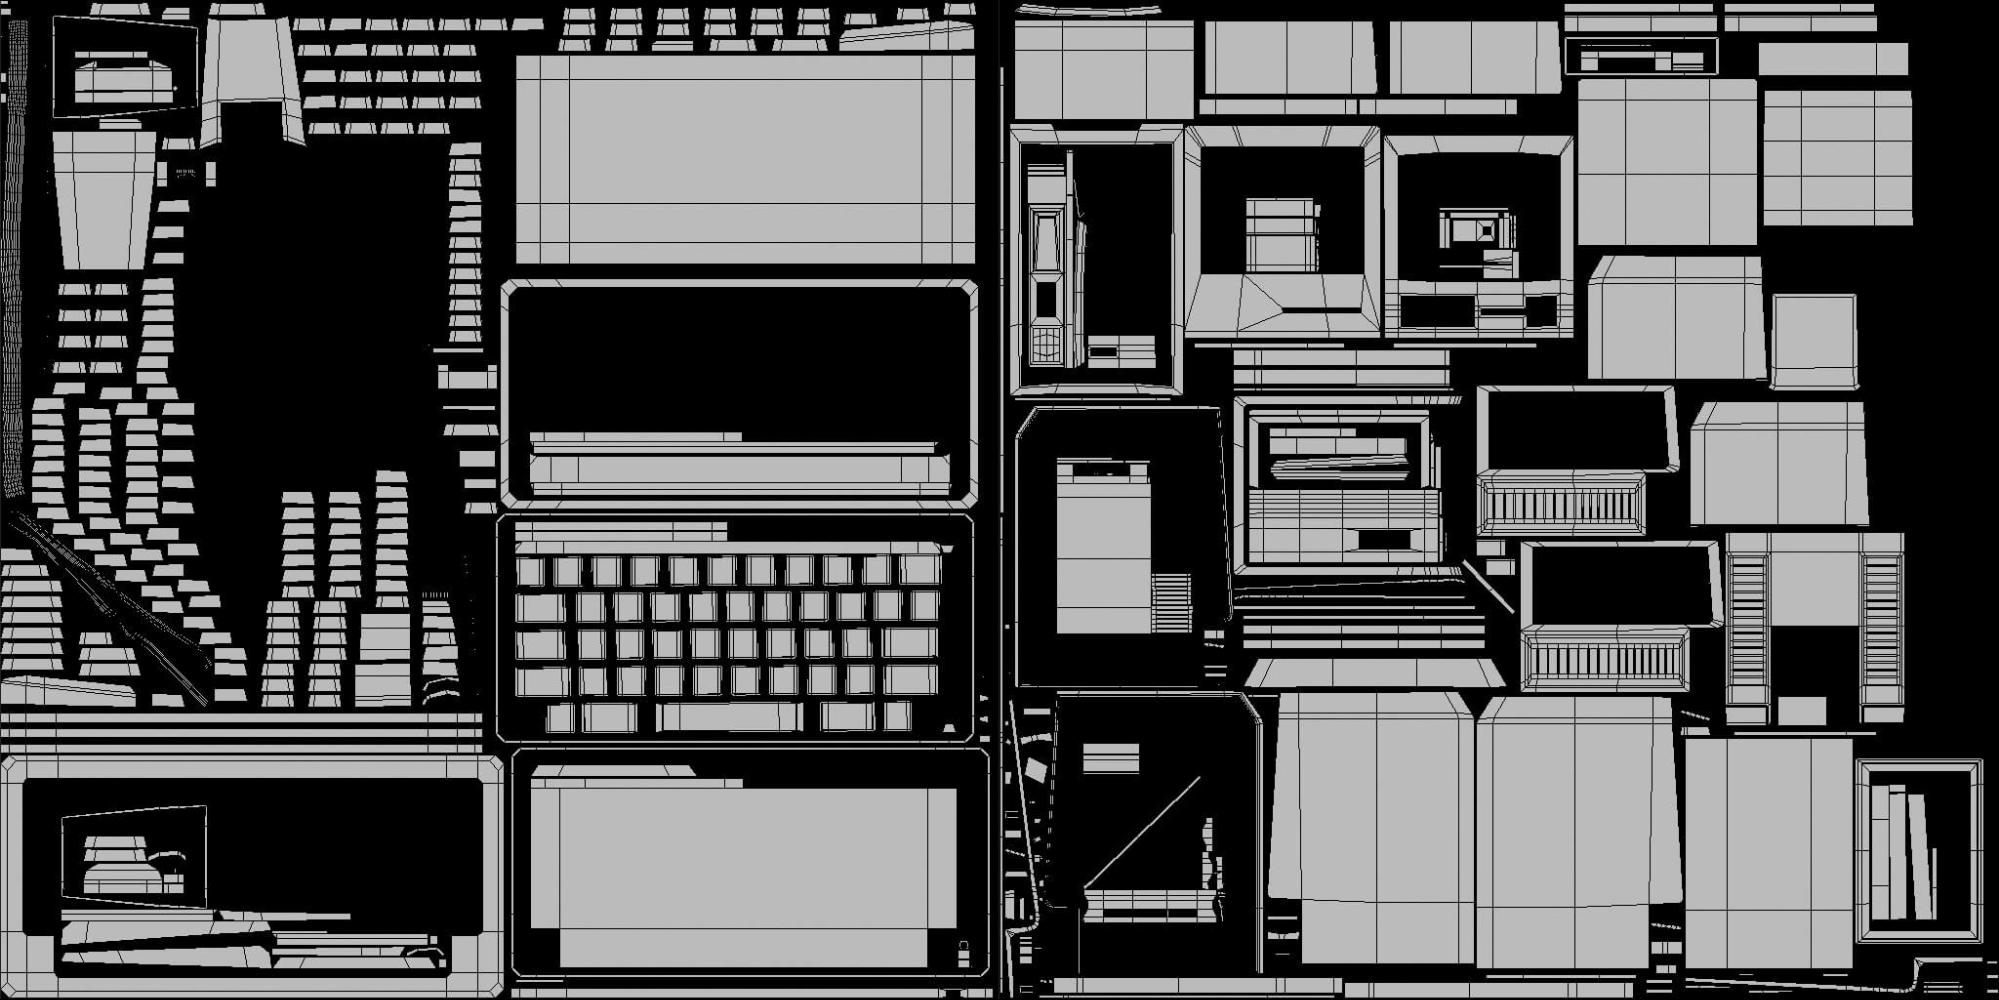
Then I made UVs for the PC, keyboard and mouse.
After that I start modeling the headcrab.
I want to create a realistic looking headcrab and I found a good reference photo upon which to base my headcrab.
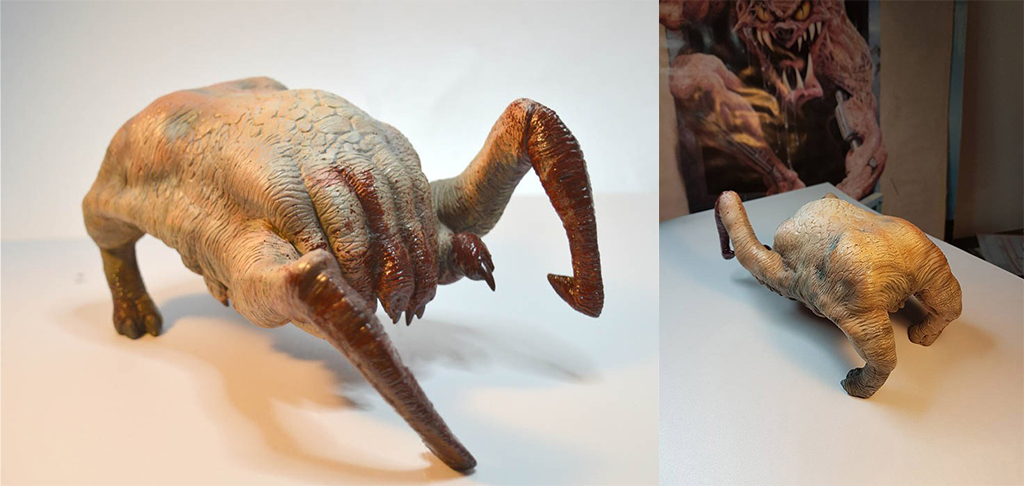 Made by Michel de Klein – Dutch Outcast
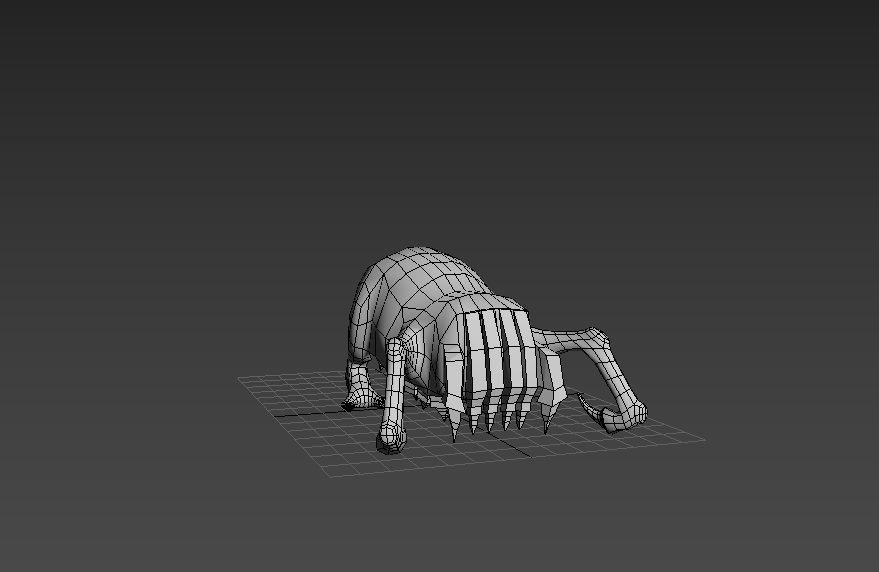
First I start blocking out the basic shape of the headcrab.
Then I start out using a box and shaping up the basic form of the headcrab.
When I have the basics worked out, I put a turbosmooth modifier to it, giving it more details.
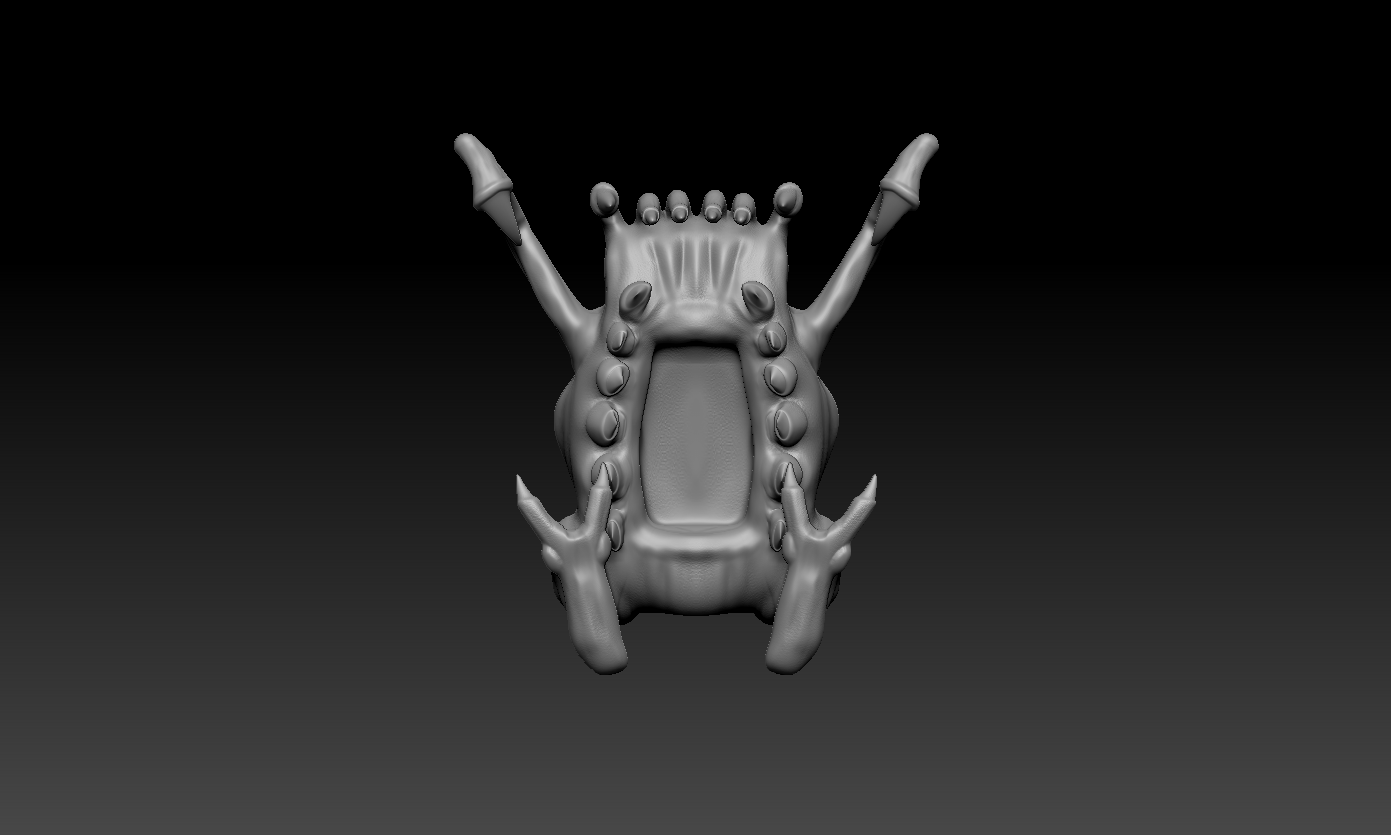
Now that the model has more details, it becomes easier for me to get closer to the shape of the headcrab that I had in mind. I also add the mouth tentacles of the headcrab.
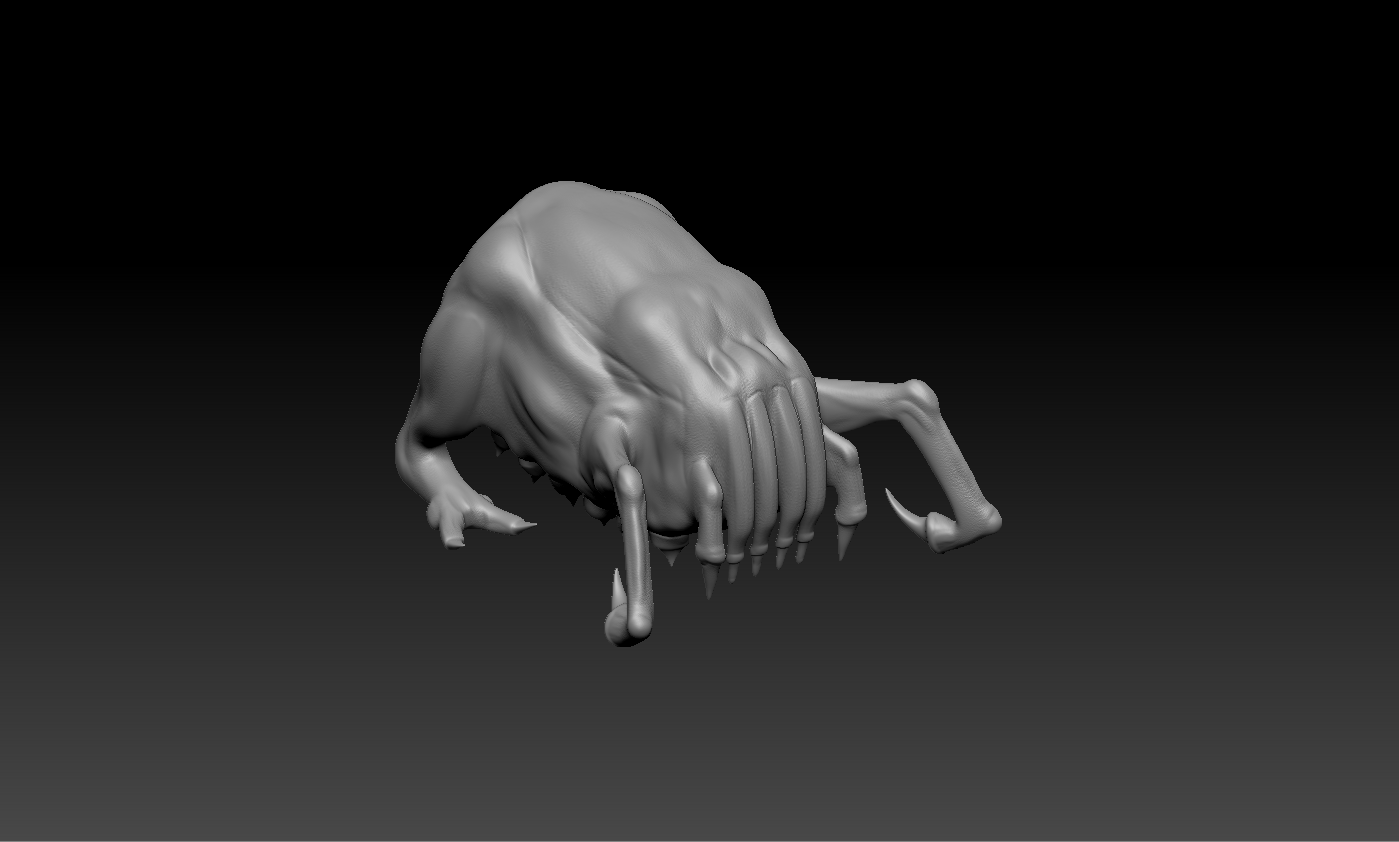
Then, when I have finished blocking out the model, it is time to move on to ZBrush, where I can add the muscles and the tentacles on the headcrab’s belly.
Then, I retopologize the high poly model from ZBrush in 3ds Max, so I can UV map it and, later on, rig it. After making the UVs, I extract the normal map from the high polygon model with xNormal, a great program for making normal maps and other bakes.
After adding the rest of the objects to the scene, and making UVs for them, it is time to move on to making the textures for it.
Texturing
For my texturing I always use Substance Painter; I just love the way Painter works, giving me the freedom to create the textures I want.
For this project, I create most of the materials myself in Substance Painter. Some I get from Substance Share, a great website where Substance users upload their materials, so others can use them for free.
Because I want to create the headcrab separate from the rest, I start with that first. The first layer I use is for the normal and Ambient Occlusion map.
Then, I add other layers like the skin base and muscles, and extra details like blood and the nails.
I want to give the PC an old and dirty feel, like it had been used for years.
The text on the keyboard I add later on in Photoshop.
The screen is created in Photoshop first, and later added to Substance Painter. I use a roughness map on the screen, to give it a dusty look, like someone used his fingers to wipe the dust off the screen.
Rigging a Headcrab
For the rig of the headcrab, I only use the bone tools from 3ds Max.
Sketchfab
After all this is ready, it is time to upload it to Sketchfab.
When I plug in all the textures, I start with the lighting setup in Sketchfab.
After fiddling with the post processing settings, I come up with these settings:
Now it is time to add the audio, which I made with Ambient-Mixer.
This is the end result:
Last but not least, I want to thank Sketchfab for the opportunity to share my process of “Half life, the text adventure” with all of you.
I hope this breakdown and insight into my working process was helpful to you :). Feel free to reach out to me if you have further questions about this project.
You can find me on ArtStation and Instagram.


