About me
My name is Matías Gárate, I am an astrophysicist at the Max Planck Institute for Astronomy in Heidelberg, where I research the process of planet formation.
I started learning 3D art after watching the short movie Sintel while I was at university. From there on I took Blender courses online, watched a lot of tutorials, and tried to learn as much as I could.
Last year I got really excited about impossible geometry artworks, and decided to give it a try. It turns out that it was also the perfect way to combine my math, programming, and art skills into several projects. Now I am doing my best to develop this style.
You can see more of my work on my ArtStation and Behance websites, and also on my Twitter, where I post my experiments and WIPs.
Inspiration and tools
My main inspiration is Monument Valley, an amazing game that combines puzzles, impossible geometry, and beautiful artwork. It was after playing it that I decided to develop the Paradox Toolkit add-on for Blender, which I use as a starting point for all my impossible geometry scenes (you can download the add-on for free from GitHub).
I also take a lot of inspiration from the artwork of M.C. Escher, Oskar Reutersvard, and the artists featured in Impossible World. For this piece, in particular, I used the artwork of Anatoly Konenko as reference; it shows impossible figures with animals around them.
Process
The most important thing when creating impossible geometry in 3D is to give the “illusion of continuity”—the appearance that parts that are not connected in the 3D space, are connected from the camera perspective.
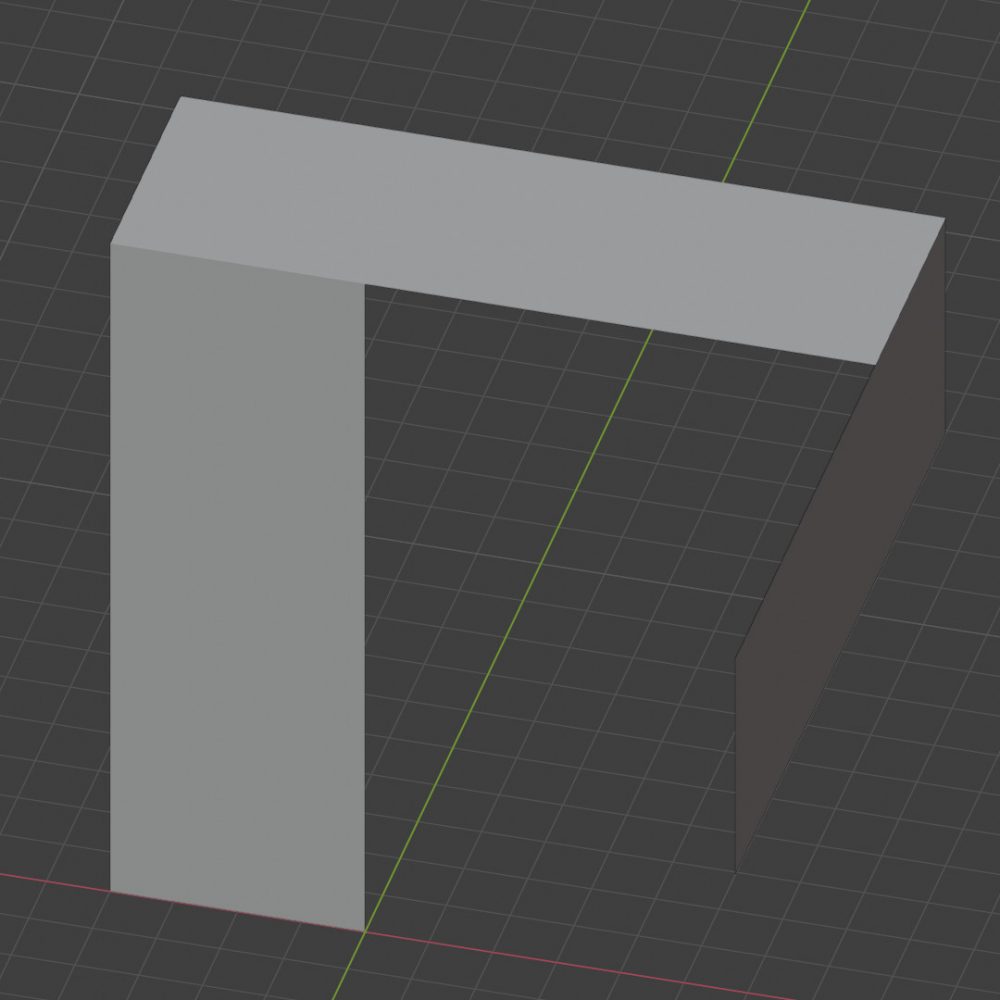
For this scene, I used my Paradox Toolkit add-on to create the base mesh of the optical illusion (that can be viewed using an isometric camera). Here, I used a variant of the Penrose Triangle made of three simple planes.
I used Solidify and Bevel modifiers to transform the planes into planks, and the Boolean modifier to cut the hole in the middle.
I then added a frame for the hole, adjusted the length of the planks, and included the metal joints as decoration.
I blocked out the shape and thickness of the body using a curve object, and I recycled an old base mesh for the snake head. The eye is just a scaled sphere.
The scales on the body are fully procedural. I shaped a plane into an oval-like shape, then added Solidify, Bevel, and Subdivision modifiers to give them a smooth surface with sharp edges. I modeled two variations, a rounded one for the bulk of the body, and a sharper one to place around the eyes.
To place the scales around the body I used two sets of array/curve modifiers, one to arrange them in a circle, and another to follow the body curve. For the head and the tip of the tail, I placed the scales manually, following the lines of the base mesh (yeah, this took awhile and I had to struggle a lot with the snapping tools).
Color
For this scene, I had actually intended to make only a colored version, but while playing with the filters of my phone I found that desaturating all the colors except for the snake created a really nice contrast. I was very happy with the results after incorporating the effect into the Blender compositor. I didn’t use any textures or any particular feature for the materials.
Sketchfab
Originally, I intended the image to be only a still render, but I’m super happy with how it translated to Sketchfab.
The first thing I did was to set the camera field of view to 1°, which is very close to the look of an orthographic camera (which is a requirement for this type of optical illusion). I used directional lamps for the key and rim lights, and an HDRI to fill in the shadows.
For the post-processing, I used a strong Ambient Occlusion to add the shadows between the scales, and a Vignette to guide the viewer towards the center of the image. I also increased the sharpness to emphasize the contours of the scales, and added a little grain to make the snake pop out.
I liked that the post-processing filters in Sketchfab were very quick and intuitive to use. The setup is much simpler than the one I used for the still render, but I think the results are just as good, with the added plus that the viewer can now see how the illusion is crafted.


