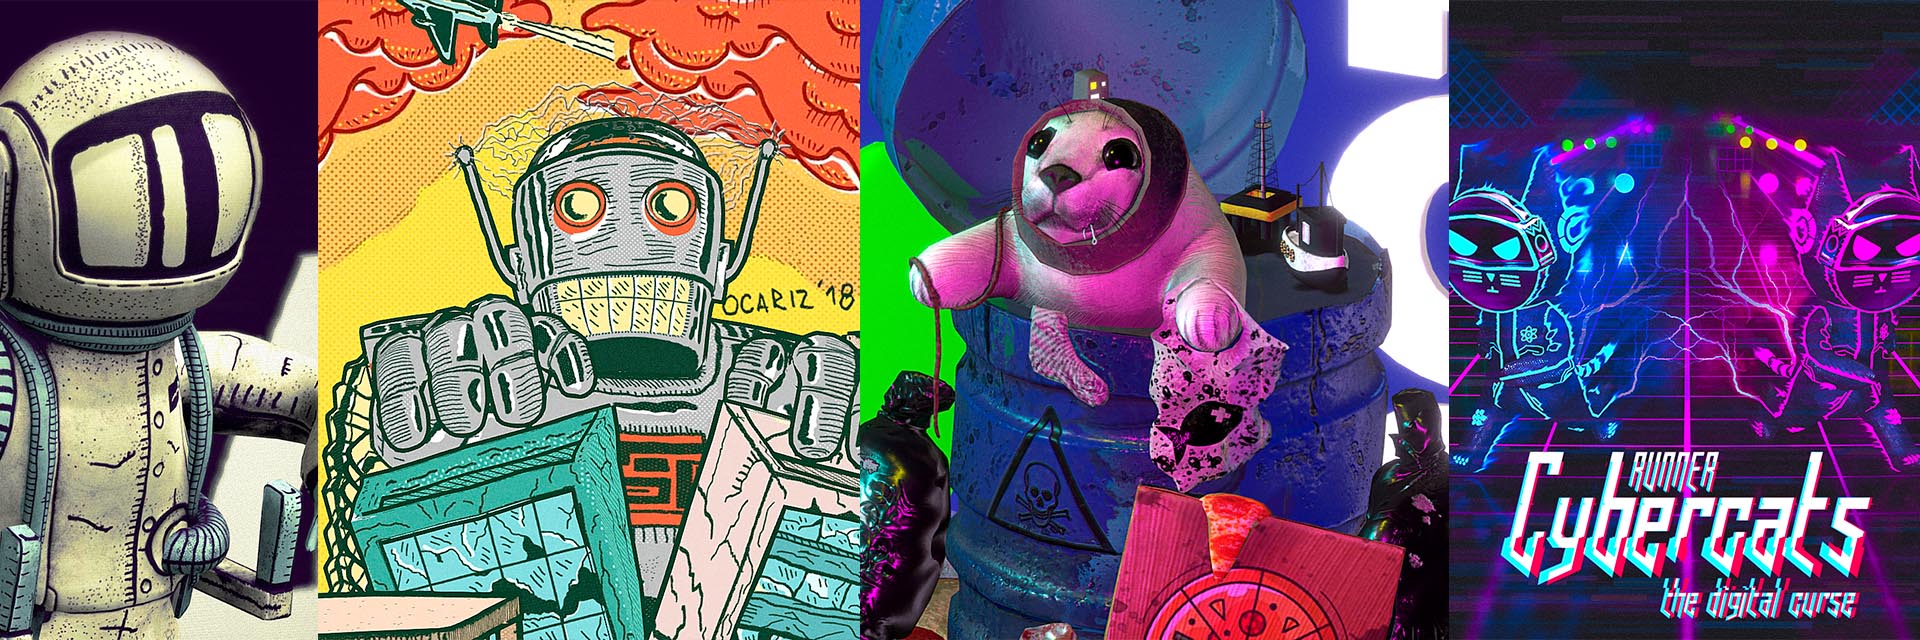
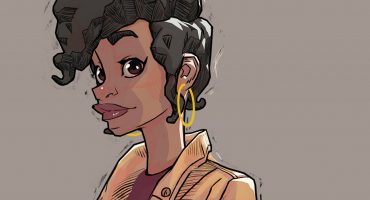
Hello! My name is Gabriel, a Multimedia & UX UI Designer from Buenos Aires, and I am currently based in Barcelona. I can be found on most social media platforms as gabrielgonzalezdm (Instagram | Behance | ArtStation | Reel).
My approach to 3D Design
I am a multimedia designer graduated from the Da Vinci school in Buenos Aires. During my studies I had my first experiences with the 3D world, animation and video game design. As I am a nonconformist and self-taught person, I like learning new programs, techniques, and also watching tutorials and keeping updated about the latest news in technology. I don’t officially work in the 3D world, but I spend a lot of my free time doing things that I enjoy. I am currently working on developing an indie game, Runner Cybercats.
Inspired by Pablo Ilustrado
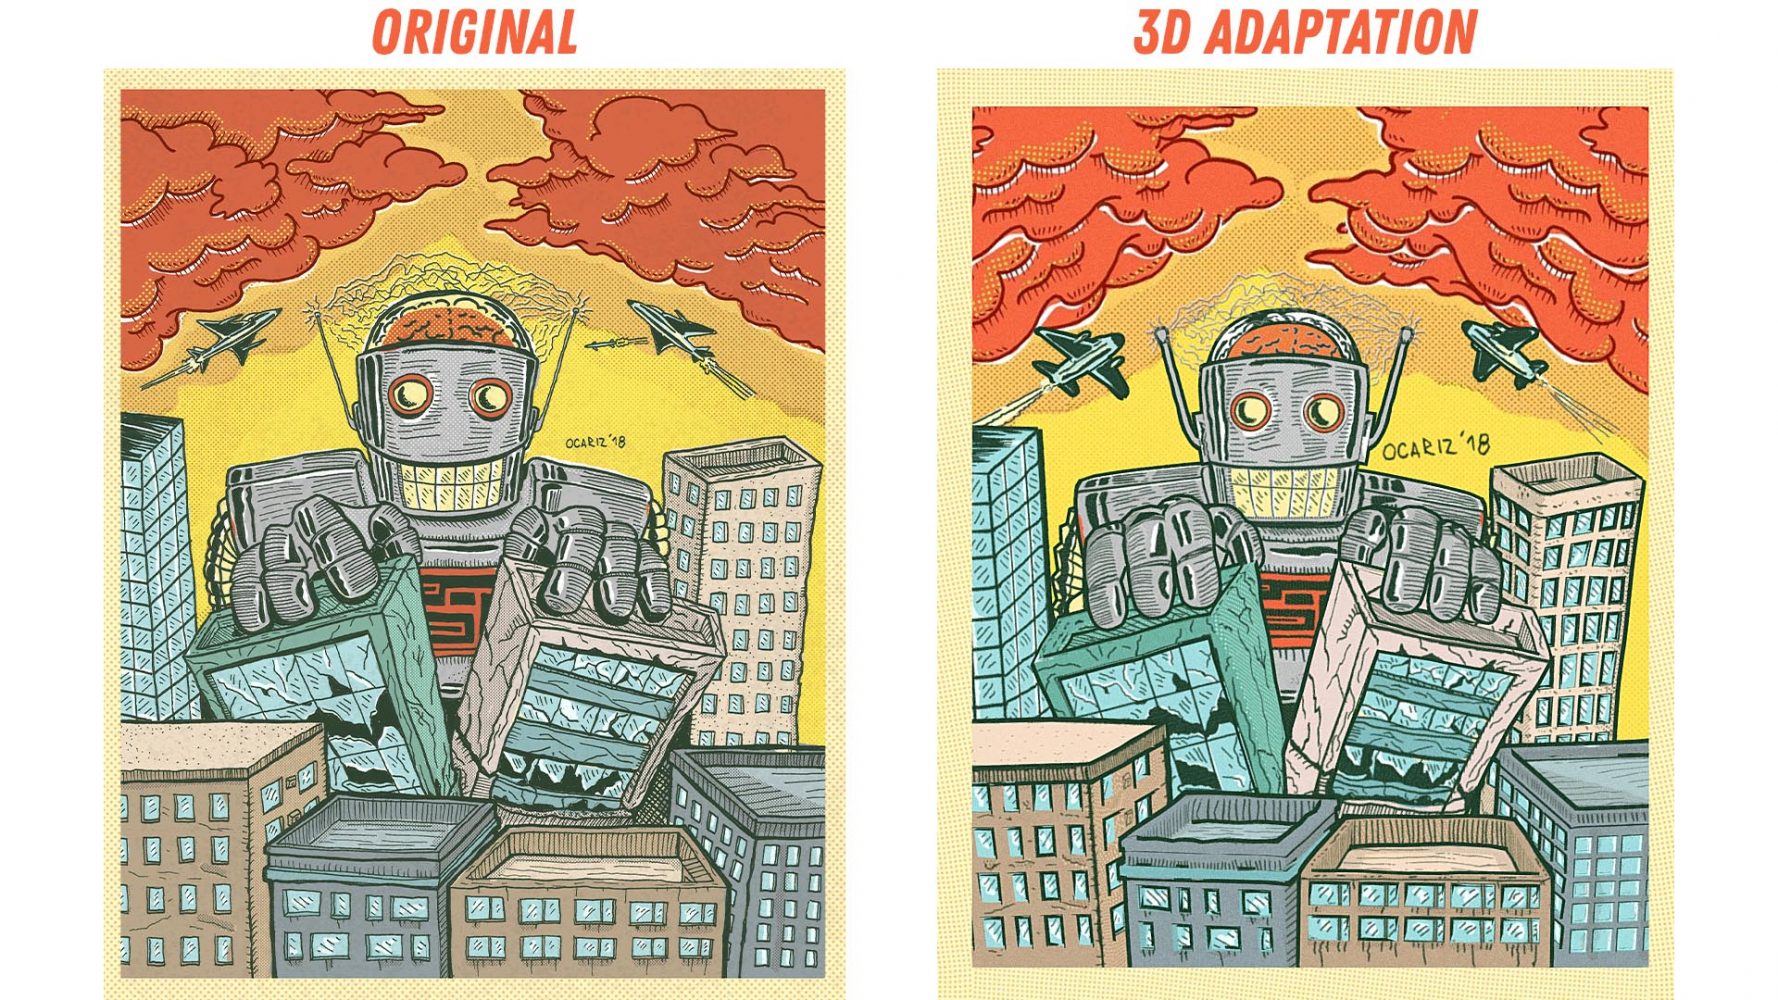
Pablo Ocariz is a great illustrator and graphic designer from Avellaneda, Buenos Aires. He is also my friend, and I was very lucky to work with him in a design team. Inspired by the Sketchfab community, I set out to bring one of his works to life, taking one of his illustrations from the 2D world to the 3D world, with the challenge of making the final product as faithful as possible to the original illustration.
I had previously worked on Starman, another illustration by Pablo, which in that case was a 3D reinterpretation without seeking complete fidelity to the original.
My Process
I aimed to be as true to the original as possible. The challenge was that I didn’t have the technical knowledge to carry out the project, so it was an opportunity to learn new techniques. The process was completely “handmade and by intuition”.
Modeling
The modeling took place in ZBrush.
To copy the illustration and achieve the 2D effect, I turned off the perspective option. As a reference, I used a semi-transparent texture image and I started modeling on top of it. The most difficult thing was modeling the “hidden parts of the illustration”, imagining their depth, and how the robot or buildings would look. I used some references from Superman (animated series 1940).
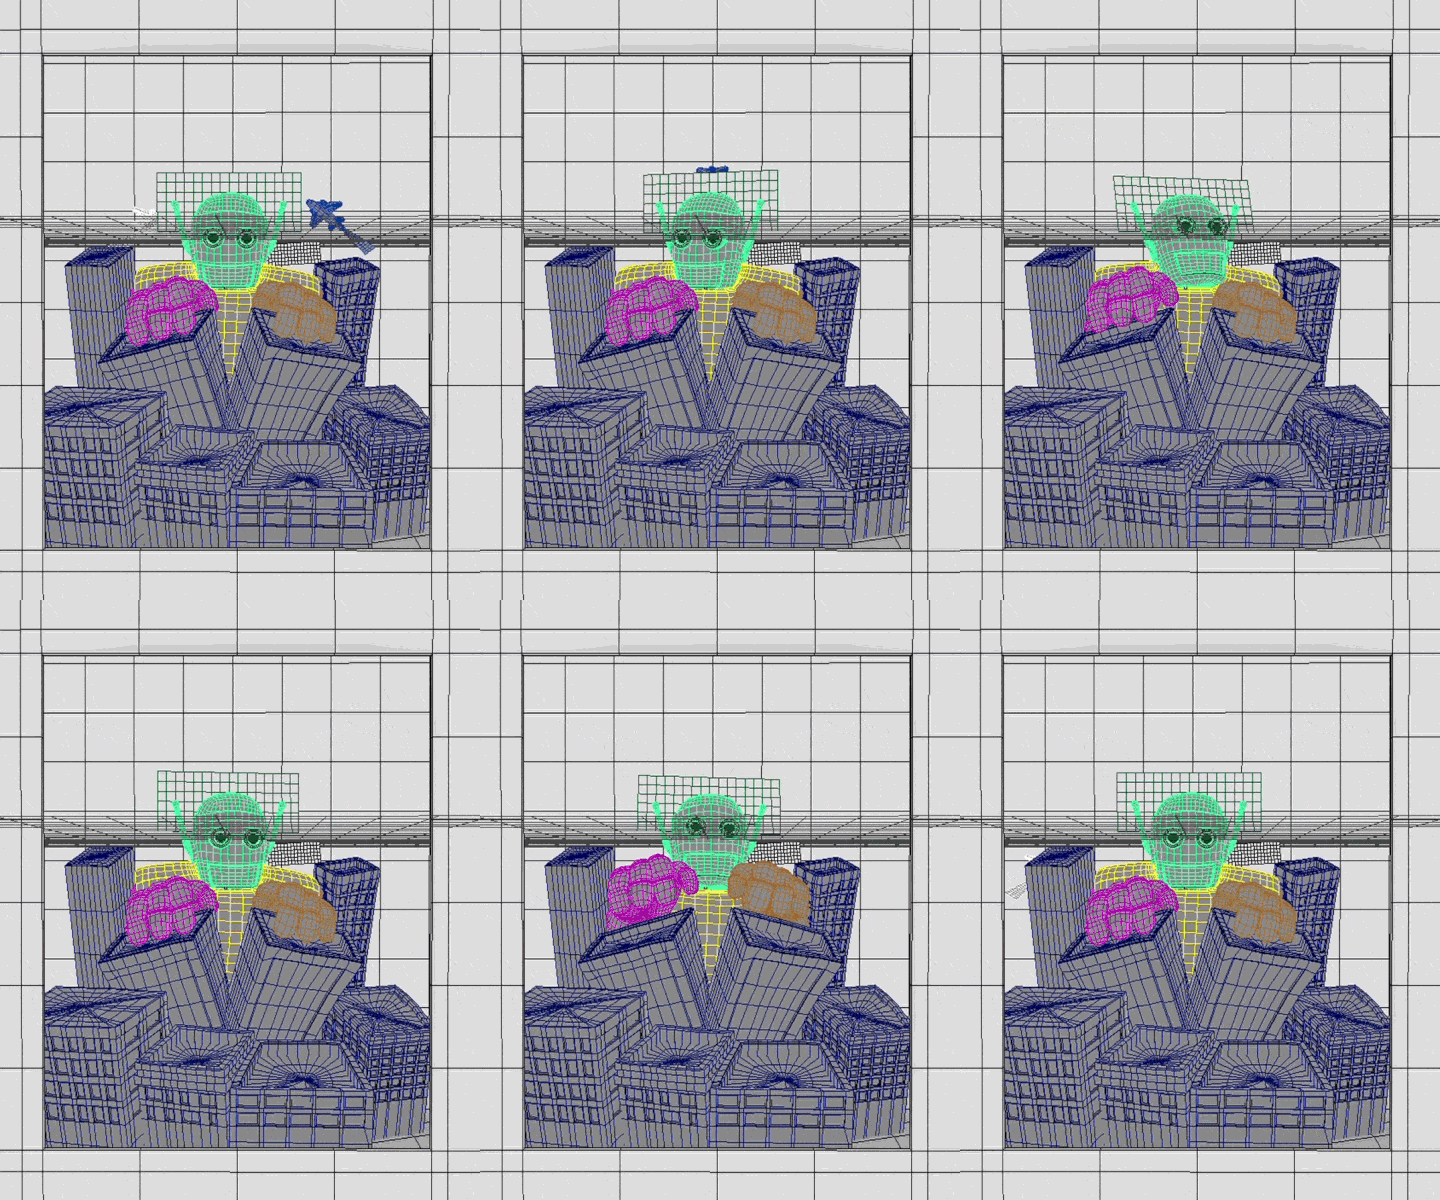
As I was going to animate it just for this platform, I decided to make each part of the robot as a different subtool. This way, I avoided rigging in Maya, since I only animated the parts separately.
Outline
Here it became quite complex. I had never done the outline effect that we see in some jobs on this platform. How did I solve it? Well, doing a little research, and knowing which parts should be animated and which ones not. For example, I made a separate outline for each piece that would be animated, like the arms, head, planes, and torso. I duplicated the full model, piece by piece, and with the “ZRemesher” tool (QMesh), I selected all the polygons and extruded them. Then, I selected the result and inverted the normals with the “display properties – invert” option. Here is a good tutorial.
UV Maps
Piece by piece, I generated UV Maps automatically with the “ZPlugin – UV Master” option, activating the brush to protect the areas that I didn’t want to be deformed. Luckily, I didn’t need to bake the textures so I didn’t have to deal with a low and a high poly version.
Finally, I exported the file in FBX, and the most difficult thing came next… the challenge of the textures.
Texturing
The texturing took place in Substance Painter.
The big challenge was to imitate the handmade technique using Substance. It took many hours to achieve a result that made me happy. I don’t have a Wacom, so I had to paint it line by line with the mouse, looking at the illustration on my smartphone as a reference. Yes, what you’ve read, LINE BY LINE. I also had to simulate the halftone applied in the illustration using textures. Again, I had to invent the textures in the hidden parts of the robot and the buildings. I’m quite happy with the results! :P
Animation
The animation took place in Maya
Previously, I had modeled the pieces separately, which made my job easier since I didn’t have to rig it in order to animate the Leviatan.
Sketchfab viewer settings
- Renderer Shadeless
- Field of view 1º, because I needed the camera to not have any perspective deformation to generate the 2D effect.
- Just a plain background color.
- Lights, shadows and environment off.
- Only base color applied. For transparent parts opacity maps were applied.
- Only grain and sharpness effects applied.
Thanks to the community and the Sketchfab team for the opportunity to write this article. I hope it helps and inspires someone! If you have any questions, you can contact me.
Regards!

