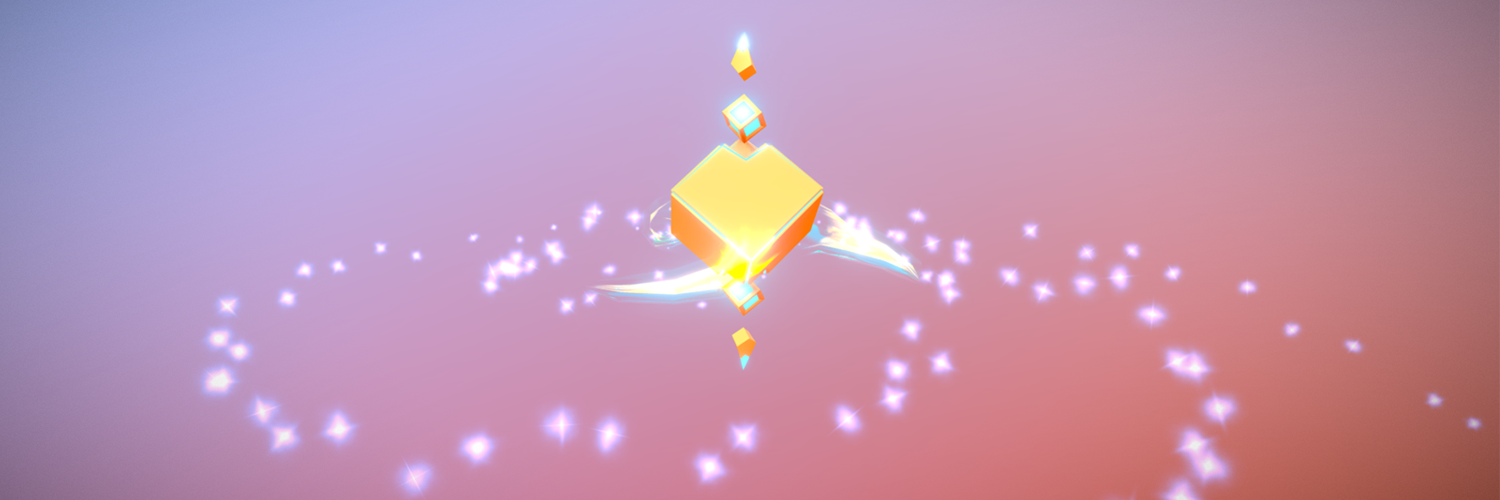
Hi there, fellow Sketchfab members! I’m Simon Kratz and this is my third issue of the particle baking tutorials. You can also find the Blender and Maya edition on the Sketchfab blog, in case you missed it :)
3ds max is the first piece of 3D software I spent a lot of time with and while it’s integrated system Particle Flow is quite a couple of years old, it’s still a powerful system. In this tutorial I will show you how to use Particle Flow to create basic particle effects and prepare them to be exported to Sketchfab.
Let’s get started!
General approach
The general approach here is similar to the one from my Maya and Blender tutorials. Particles can’t be exported as they are so we have to convert them to regular objects while still keeping the particle motion intact. Also, before creating your effect, remember that special particle-exclusive properties like color over lifetime can’t be baked to regular objects and thus won’t be exported.
Creating your particle effect
In 3ds Max you can find all of the particle systems in the Geometry tab, inside the “Particle Systems” dropdown menu. There are a variety of different systems but the most powerful is Particle Flow, labeled “PF Source”. You can create your first PF Source object by dragging it into the scene. After that open the Particle View window (found under Graph Editors -> Particle View).

Here’s a quick explanation of how Particle Flow works: Particle Flow is a node and event-based system. This means the look of your particle effect is created using a selection of various pre-defined graph elements. All of the elements are placed inside event blocks and executed each frame (from top to bottom). As an example:

The PF Source object I placed inside the scene enters Event 001. It does the following in this order:
- Spawn Particles
- Position them on the PF Source object icon
- Accelerate them
- Use a reference object from within the scene as a particle shape
And now, based on the particle’s age, it will either enter Event 002 and delete the particle or stay in Event 001 and display the particle.
These node events really make the system pretty powerful. I could add more nodes below the Age Test node to get a more complex behaviour or do something completely different in Event 002. This way you can build more advanced behaviours using a combination of the various nodes. You can find all of the nodes at the bottom of the Particle View window. The Space Warps of 3ds Max can be used natively, too. And for even more functionality there are also commercial plugins to extend the system by a couple of nodes.
After this small introduction let’s get back to what we actually want to do here :)
Preparing your effect for baking
Before you can bake your effect make sure you use the Shape Instance node in your PF graph to reference an object from your scene as particle (similar to what I did in the example earlier). This is important to make sure we will definitely get meshes that can properly be exported.

Apart from that you should be good to go.
Now we will use a script known as PFlow Baker, created by Ofer Zelichover. With this we will be able to bake each of our particles into a separate object. You can get it here.
This script can be executed from anywhere on your computer but for convenience it should be placed inside your 3ds Max’s scripts folder, e.g.:
C:\Program Files\Autodesk\3ds Max 2016\scripts
You can run the script using “Run Script” found in the “Scripting” dropdown menu of the 3ds Max top UI bar.

This will open the PFlow Baker window where you can bake one particle system at a time:

The settings here a pretty self-explanatory. Apart from un-checking “Animate Visibility”, hitting the Bake button with the default settings should be fine in most cases :)
Now you should see a lot of new objects in your hierarchy, one for each particle you baked. The last step remaining is uploading your creation to Sketchfab. You could even use the 3ds max Sketchfab plugin to save a couple of more clicks.
Keep in mind that due to the powerful nature of the system there might be things that can’t be baked or exported, depending on the complexity of your event sequences. In case you’re running into such an issue you might want to simplify your graph and split it into multiple, less complex Particle Flow graphs to workaround the problem.
Aaaaand it’s done!
Pretty simple, wasn’t it? :) Compared to the baking workflow in Blender and Maya, the 3ds Max script feels quite a bit more intuitive for me. It has a great UI, performs fast and saves a couple of cleanup clicks I had to do in Blender and Maya, like disabling the original particle system. I hope this helps Max users to bring their particle-animated models and vfx to Sketchfab. Thanks for reading and happy particle baking! :)
Here is how well some subtle particle motion can add to a scene:


