3D capture is easier than ever, making it simple to digitize all kinds of objects and spaces in 3D. This article will give you some tips on how to make your 3D scans look their best on Sketchfab.
The following is suggested advice to achieve a good ‘neutral’ look for your scans, but feel free to get creative with your data preparation and 3D settings if you are trying to achieve a more artistic look. Let us know your own tips and tricks in the comments!
If you’re new to 3D scanning, you might want to take a look at these beginner and advanced photogrammetry articles.
Quick links:
Optimise your scan before uploading
Even before you upload your 3D scan to Sketchfab, there are things you can do to help more people discover your work; optimising your 3D scan files will mean faster download times and better viewer performance on older and mobile devices. If you know for sure that your target audience will be using high-end devices via a good internet connection you may not need to optimise your 3D scans as much.
Cropping
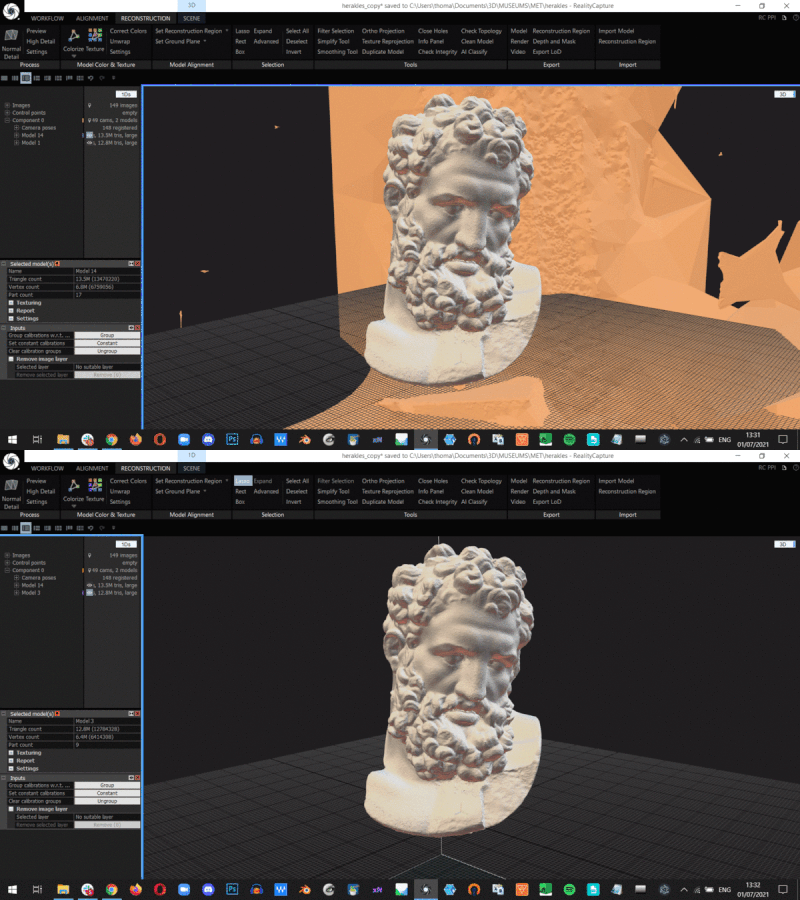
Start by cropping your 3D data to remove any and all unwanted or irrelevant points and faces. Most 3D capture apps have built-in cropping tools or you can throw your scan into a 3D editing app (e.g., Blender) if you want more control.
Face count
How much you decimate or simplify a 3D mesh depends a lot on the scan subject as well as your intended audience. As a very general guide, we suggest optimising a 3D scan to under a million faces to help it load faster and perform better on mobile and older devices.
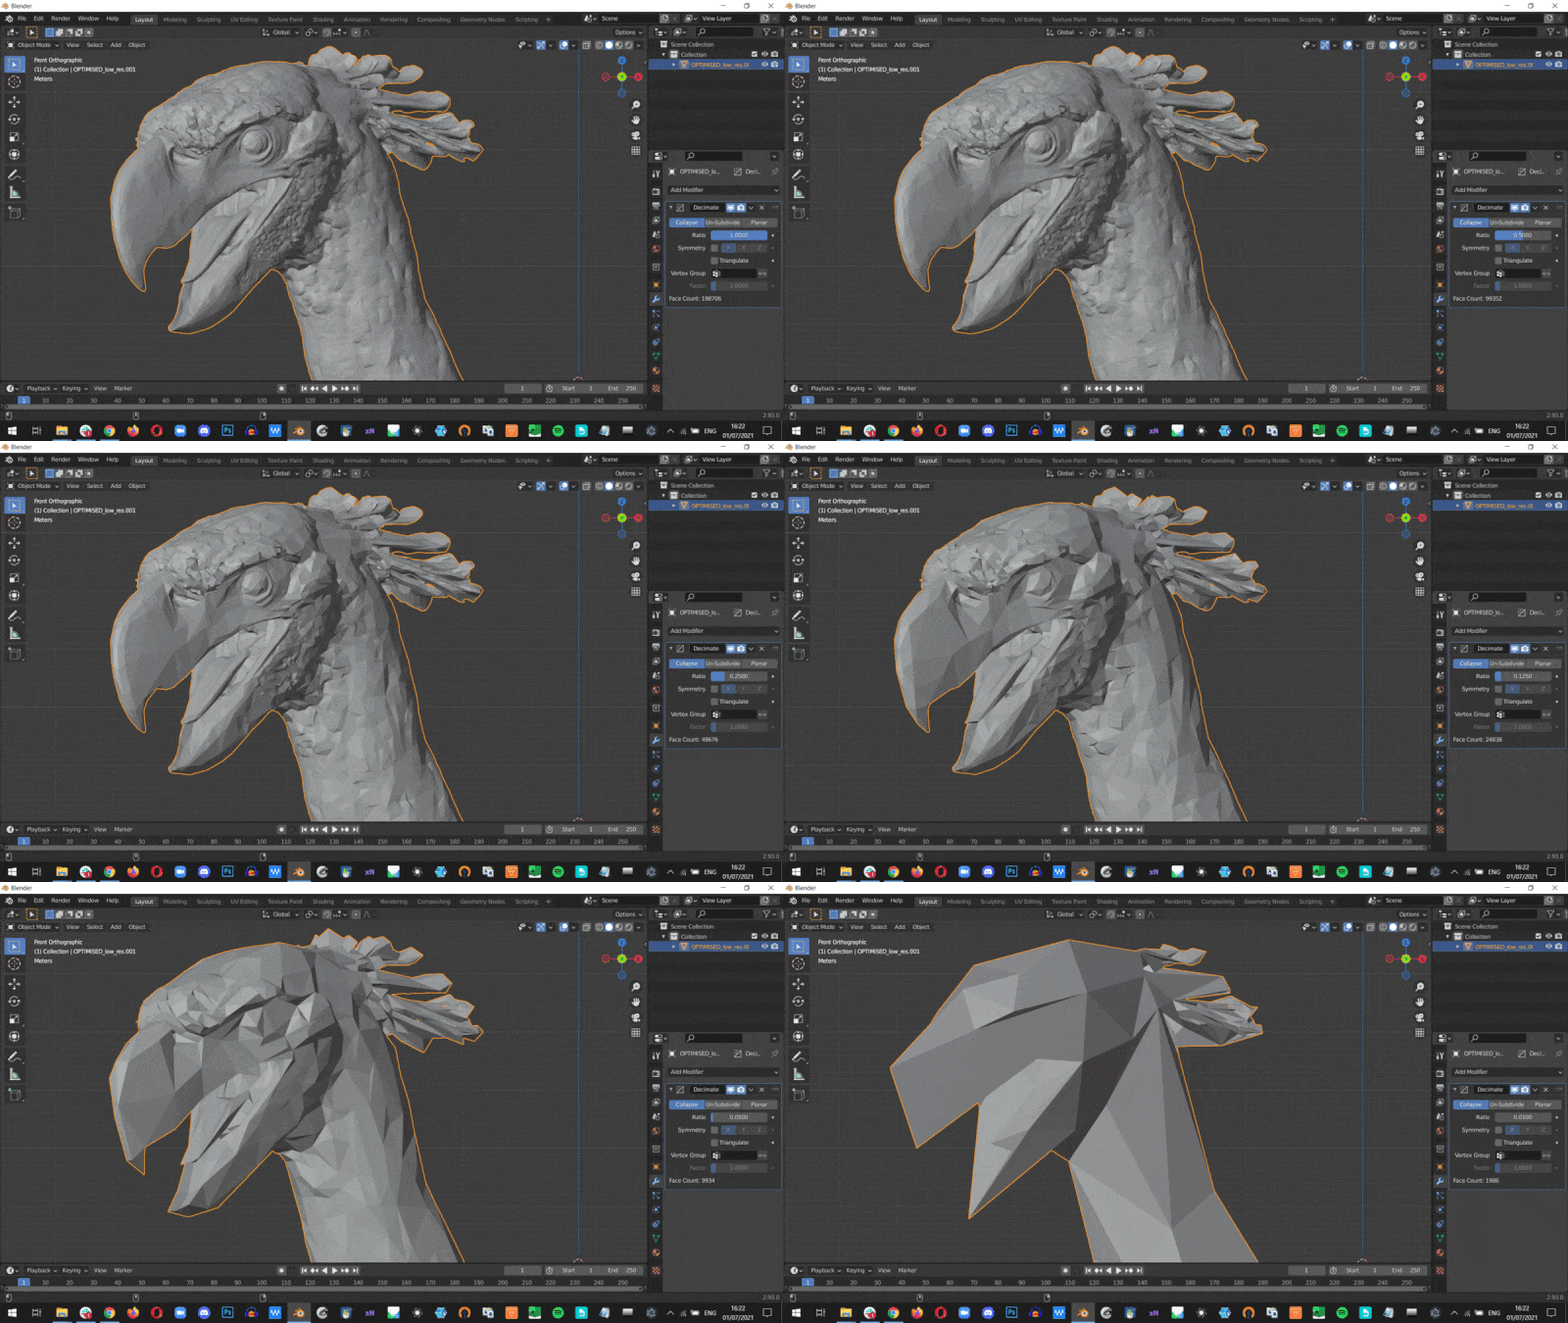 Reducing the face count of a 3D model using Blender’s Decimation modifier—as you can see, it is possible to take optimization too far! Featured model: Terror-bird by Natural History Museum Vienna, licensed under CC-BY-NC.
Textures
Again, how far you want to take texture optimization depends on your digitization workflow, what you are sharing in 3D, and with whom. As a very basic rule, we suggest only creating and uploading a single texture map per material channel (e.g., color, normal, roughness, ambient occlusion) at 8k image resolution (8192×8192 pixels) in JPG or PNG file formats. More information.
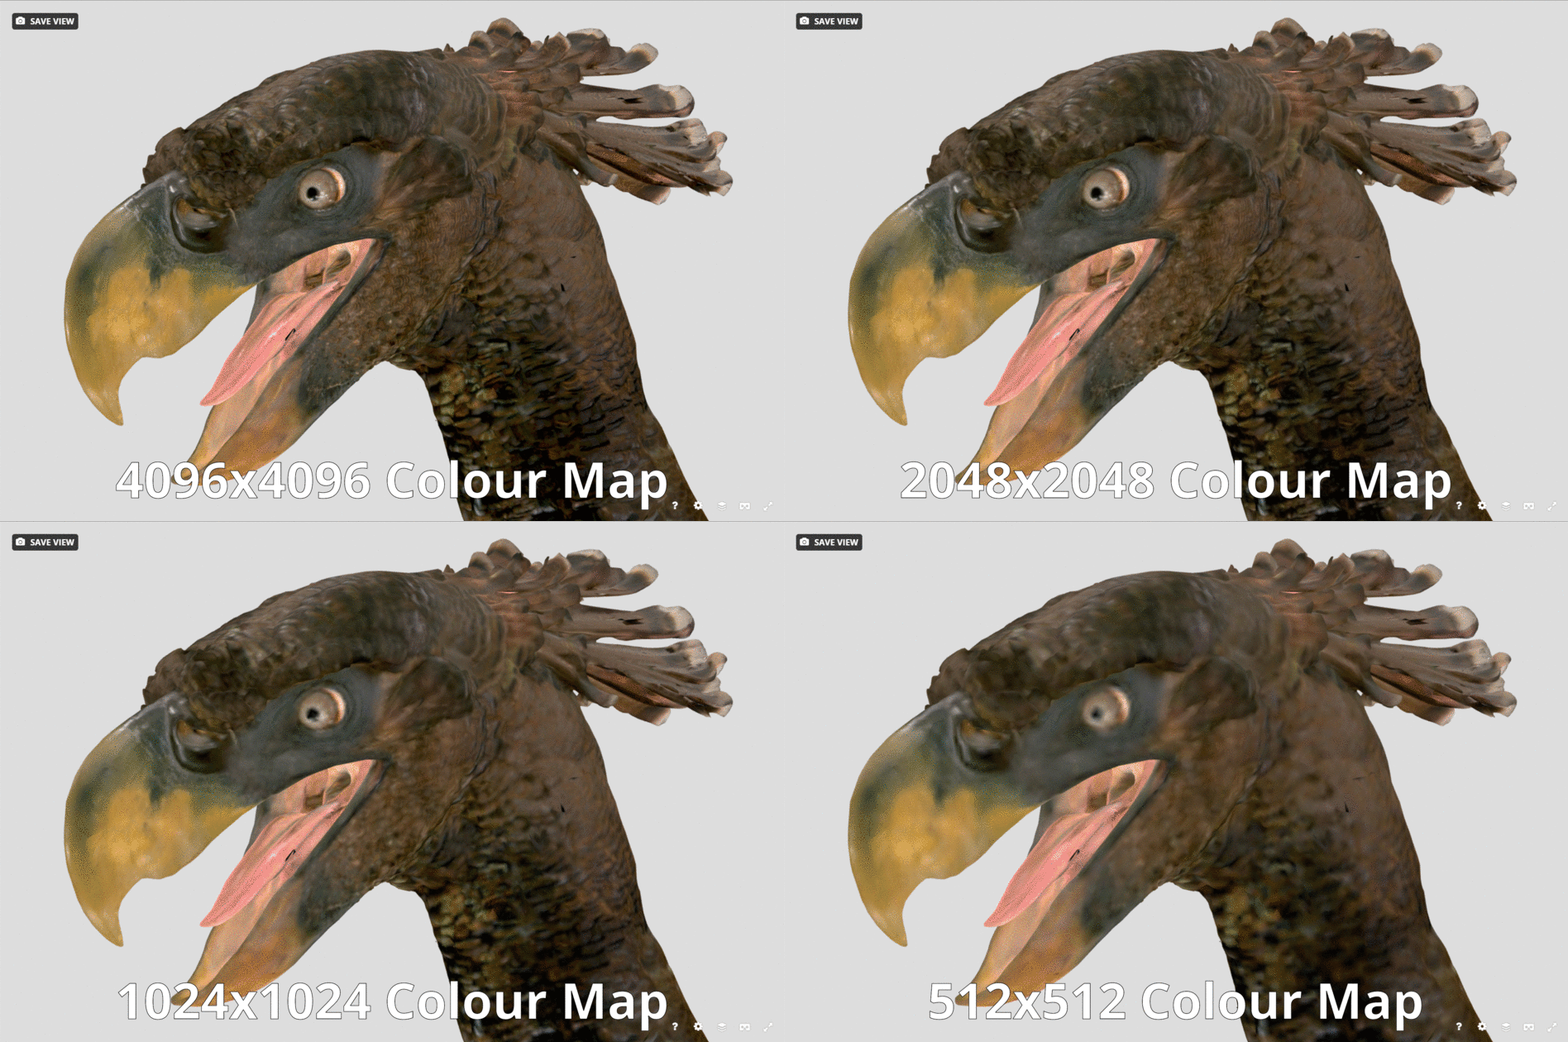
See how far you can optimise a texture map before upload. Featured model: Terror-bird by Natural History Museum Vienna, licensed under CC-BY-NC.
If you can, we definitely recommend generating normal and ambient occlusion texture maps for your optimised mesh. These can often be generated by your scanning software, or you can use a 3D editing app to generate them.
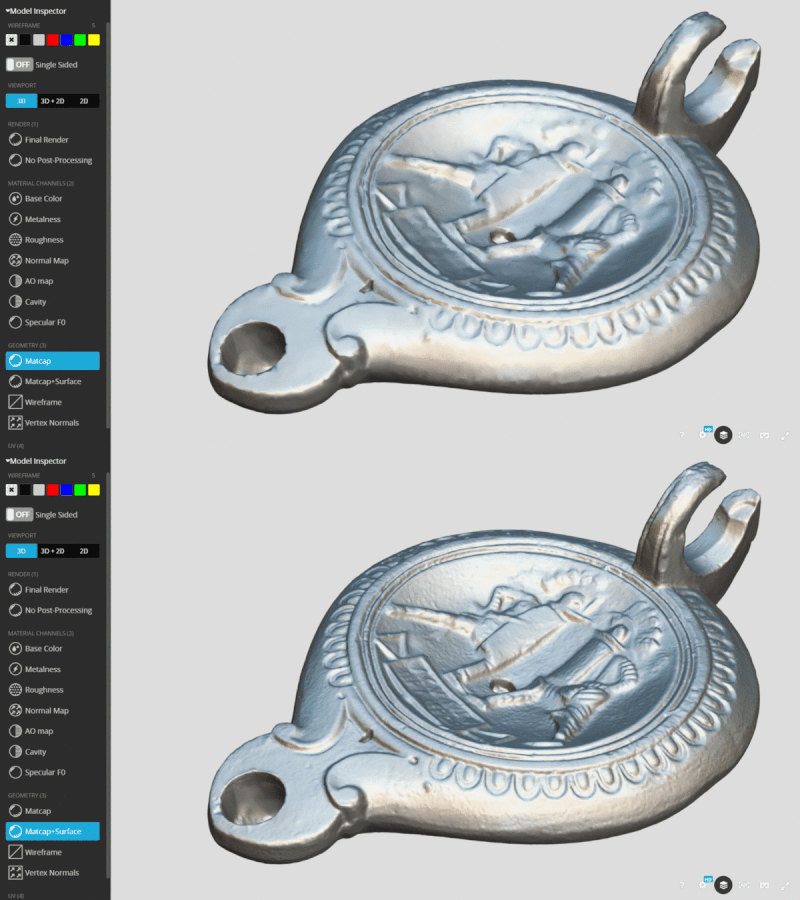
Demonstarting the visual difference between using a normal map (Matcap+Surface) and not (Matcap) with Sketchfab’s Model Inspector. Featured 3D model based on: Lamp, Roman by The British Museum, licensed under CC-BY-NC-SA.
If you’re finding it difficult to optimise your 3D scan yourself, you might want to try out an automated service like rapidcompact.com, which can do all of the above work for you and—even better—has a free usage tier so it won’t cost you anything.
Further Reading
If you’re looking for some more information on optimising your 3D scans, check out these other articles on the blog:
- Decimating a Mesh in Agisoft PhotoScan
- How to Retopologize 3D scans into Low Poly Game Assets
- How to Create Materials and Textures for Photogrammetry
3D Settings
OK! Now you have a nicely optimised 3D scan uploaded to Sketchfab—let’s make it look even more ? with Sketchfab’s 3D Editor settings. For general advice, check out the Help Center for articles on setting up your model’s properties and scene.
We’ll be going through the 3D Editor tabs from left to right.
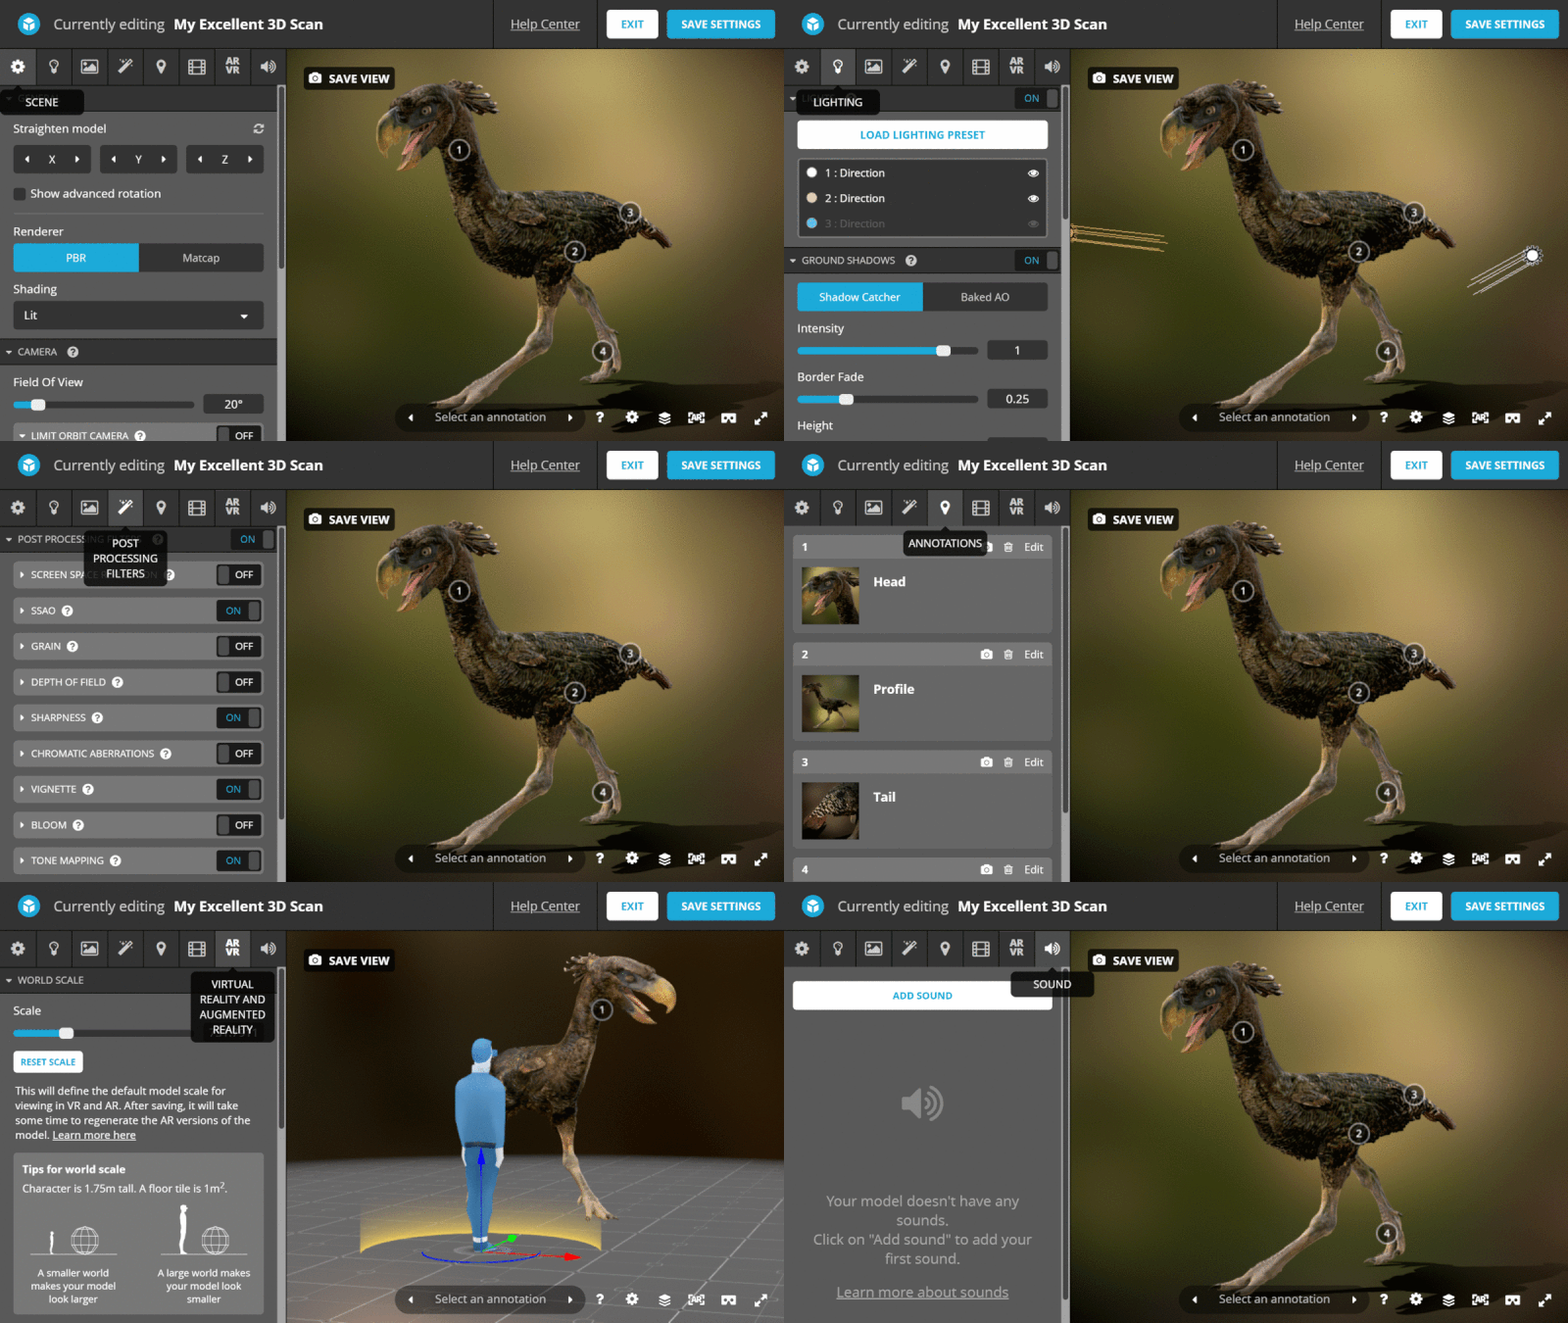
Sketchfab 3D Editor Tabs
General
Orientation
Always check model orientation and update if necessary—an incorrect or awkward setting can make it tricky to admire and explore your work!
Use the ‘axis flip’ buttons to rotate your model by 90° increments or enable ‘Advanced Rotation’ to make finer adjustments. More information.
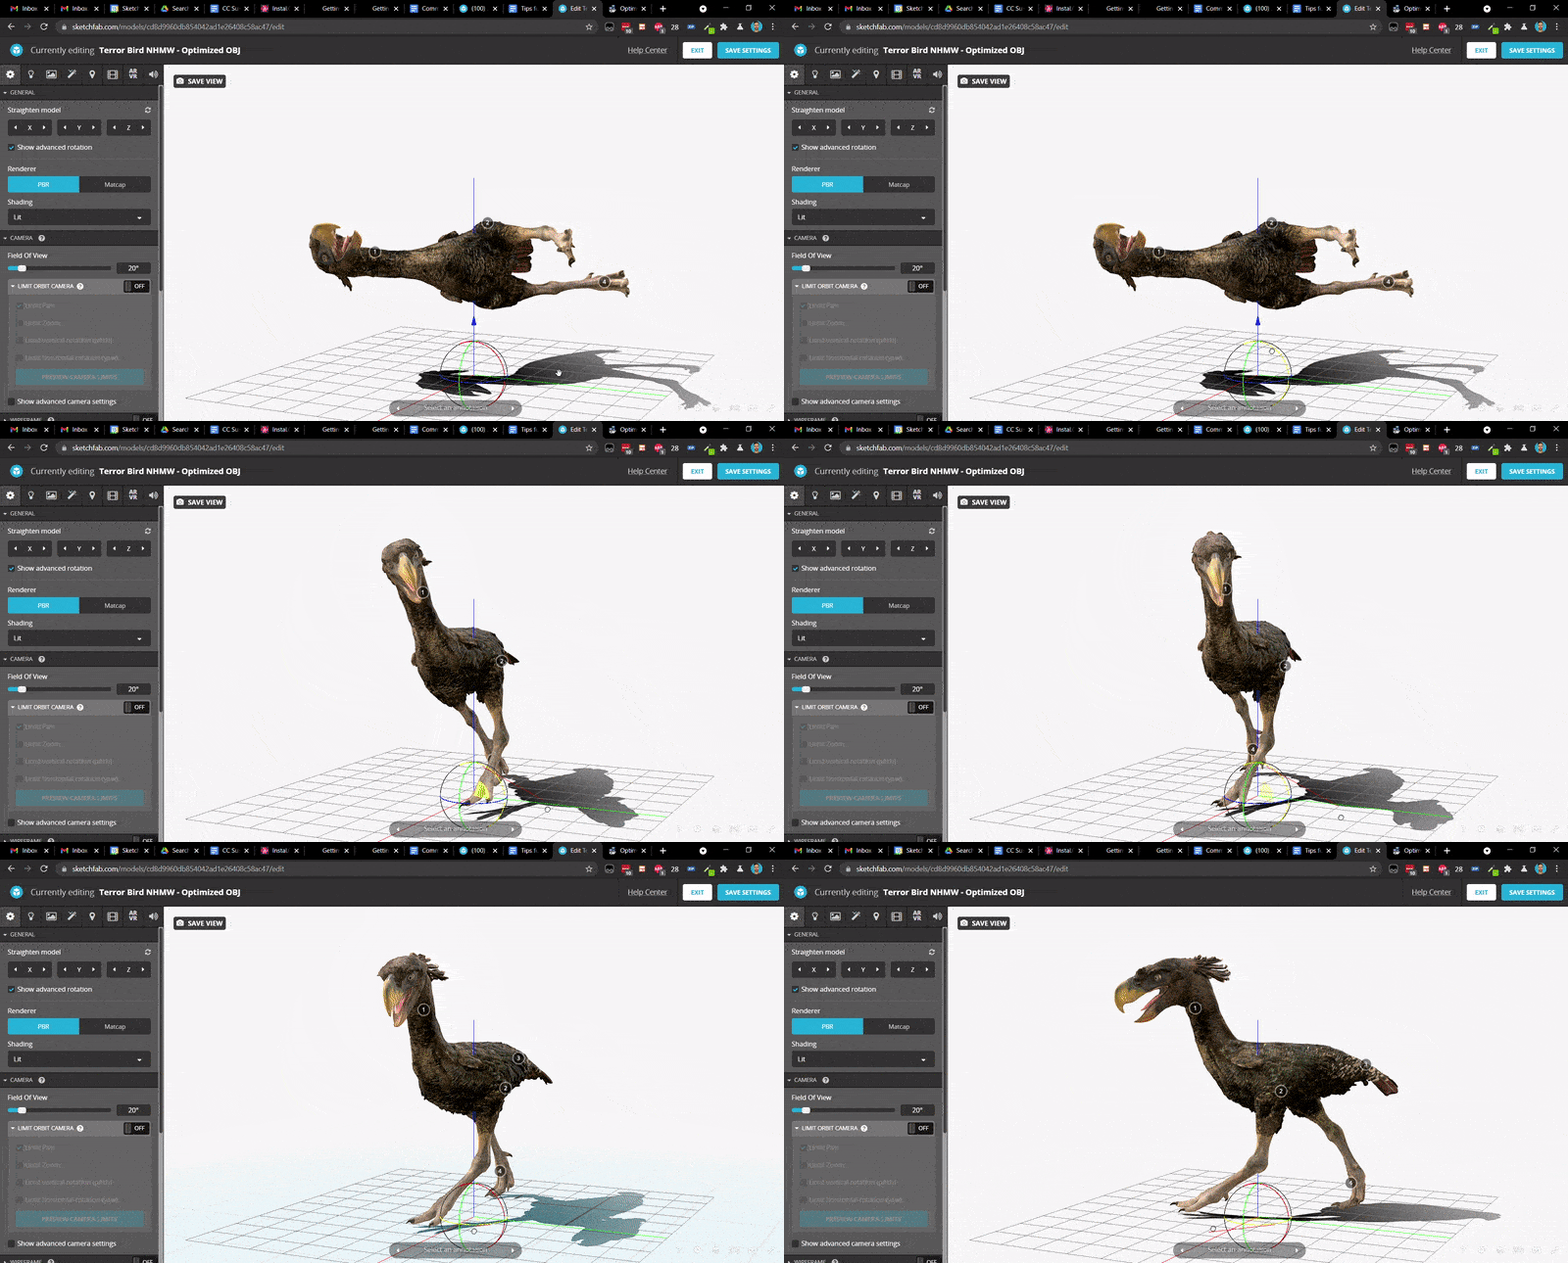
Updating a model’s orientation with the 3D Editor
Disable Vertex Colors
If your model has vertex colors encoded into the mesh data and a color texture map, disable the vertex coloring so that you are not doubling up on color information and making your scan appear darker than it is meant to be. More information.
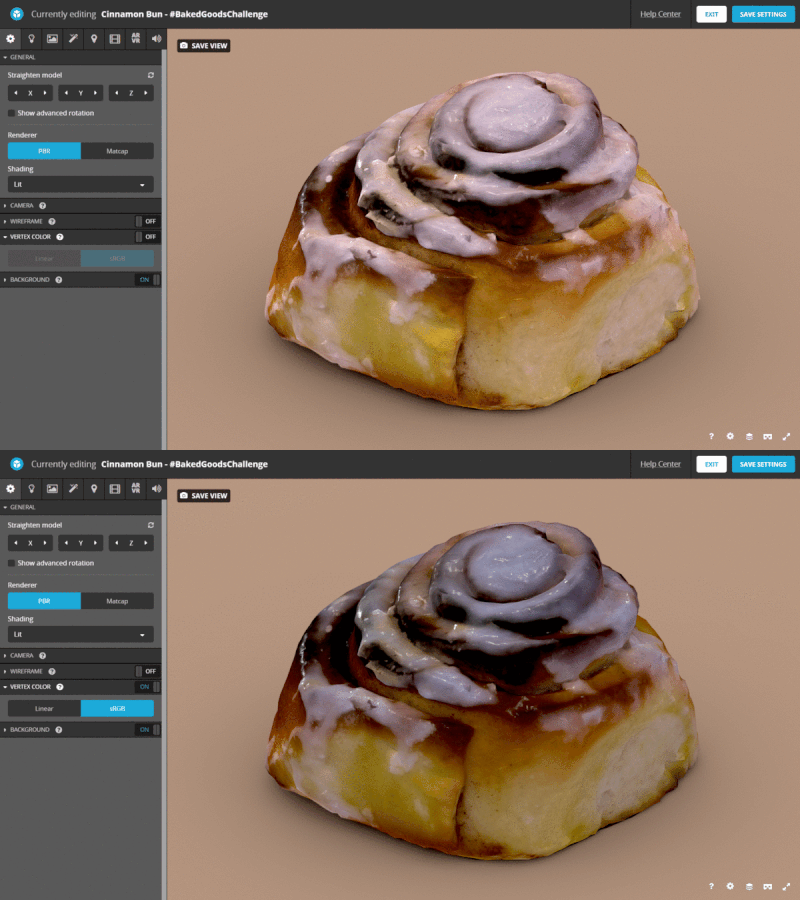
Toggling vertex colors on and off in the 3D Editor.
Add Camera Limits (Pro+ feature)
Camera limits are useful if you have an incomplete 3D scan or prefer to hide a section of your scan from view. The pan, zoom, and rotation adjustments let you focus your audience’s attention on what matters. More information.
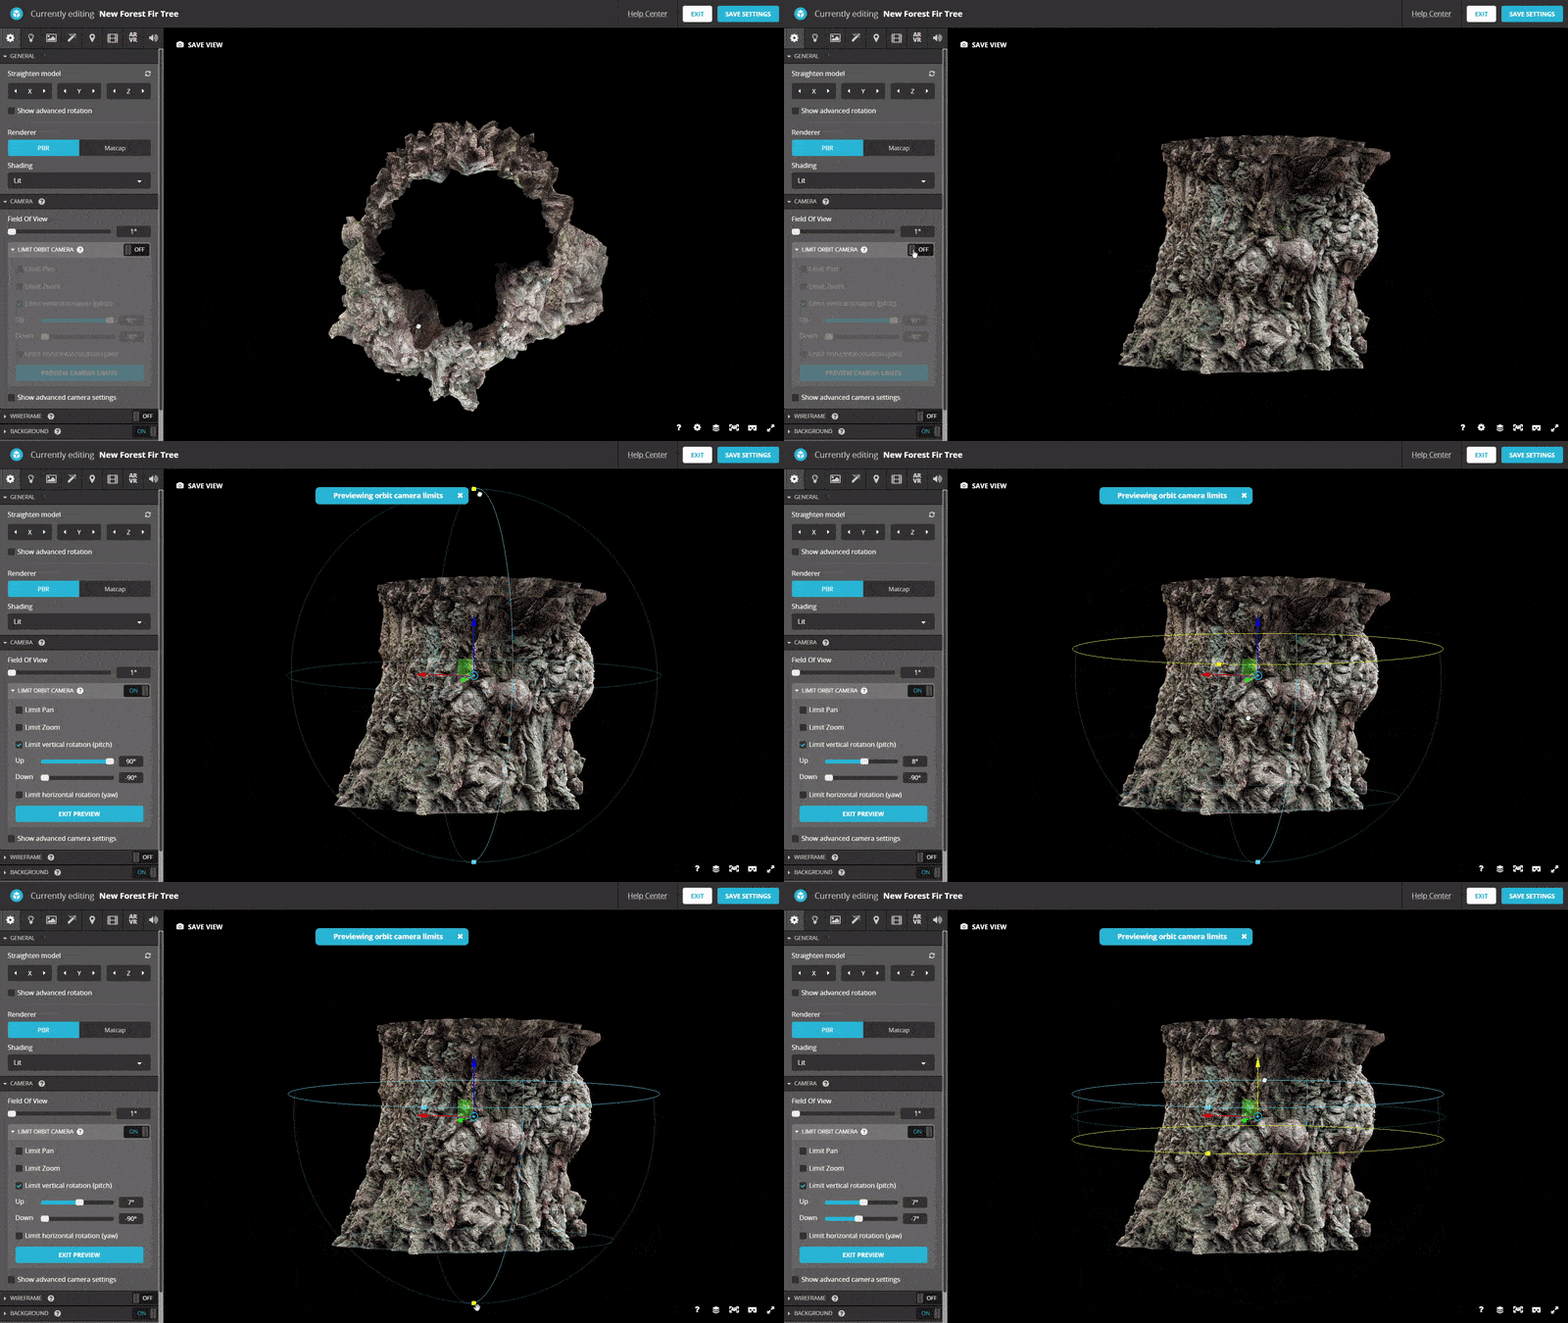
Adding camera limits in the 3D Editor
Adjust the camera Field of View (FoV)
This setting defines how much of your 3D scan is visible from a given camera position. Setting a higher FoV works well when you want to reveal more of a scene (e.g., a location or interior scan); setting a lower value can improve your audience’s perception of a scan subject’s proportions. More information.
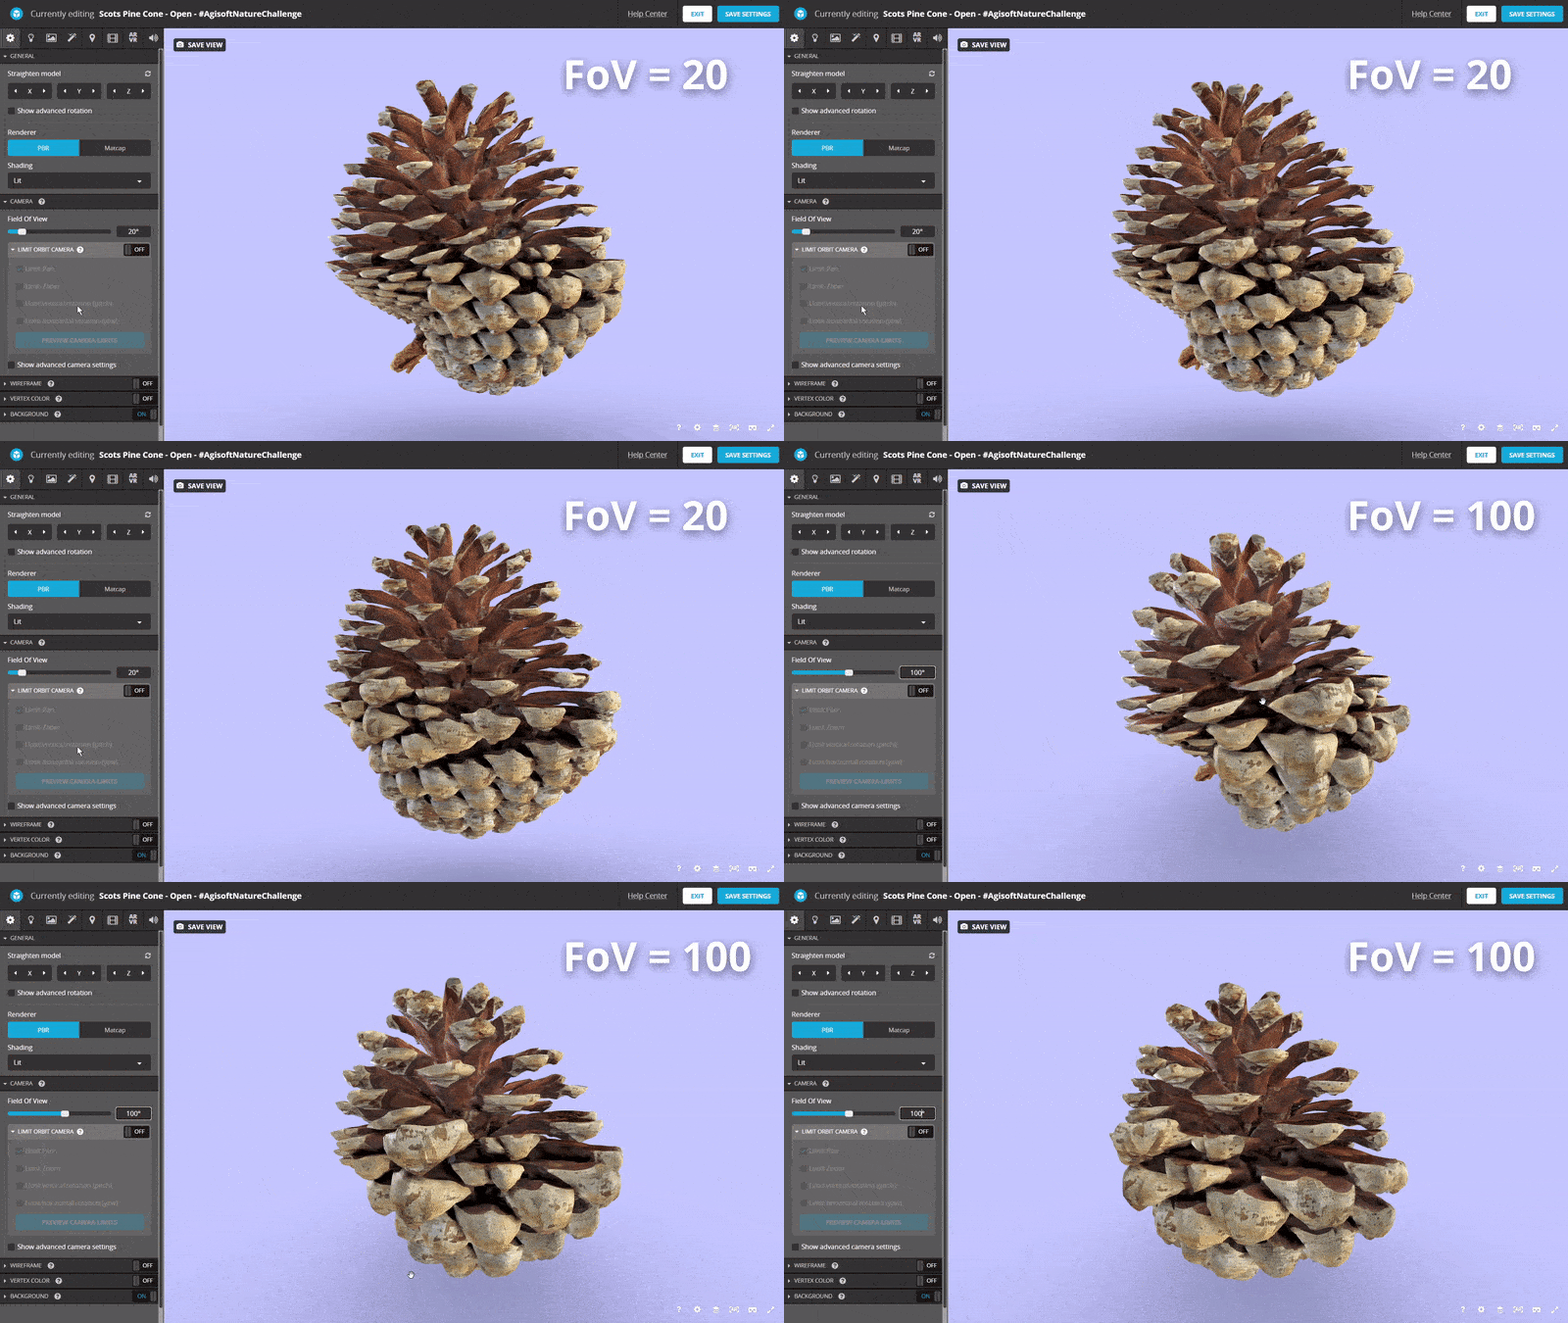
Illustrating the difference Camera Field of View (FoV) makes to how your 3D model looks.
Lighting
Try shadeless mode
When you capture a 3D scan of something, you also capture the local lighting in the form of shadows and highlights in the base color texture map.
This ‘baked in’ light data is often enough and can avoid your scan looking washed out or ‘chalky’ when using environment and dynamic lighting. Try viewing your scan in both ‘lit’ and ‘shadeless’ mode to see which you prefer.
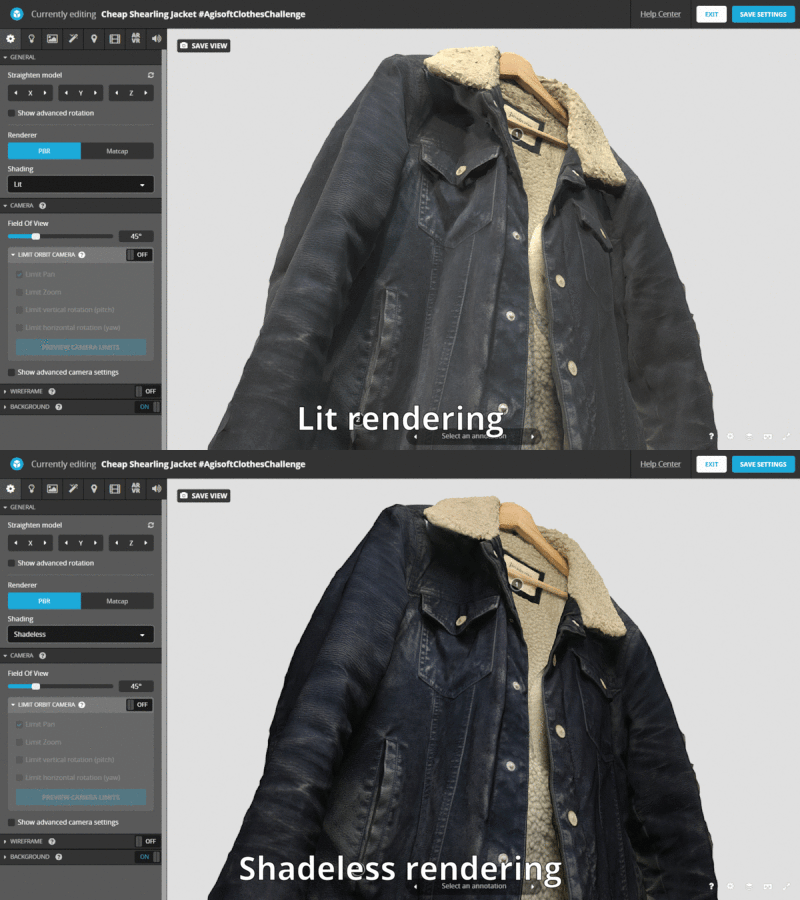
Switching between Lit and Shadeless rendering in the 3D Editor
If you do use lights…
If your 3D scan is ‘de-lit’ or you feel that scene lighting makes your scan look better—go for it!
Just make sure that:
- Your environment lighting is not too bright (this can ‘bleach’ out the brighter parts of your model).
- Any lights you add compliment any ‘baked in’ lighting in your scans colour texture map
- if you add dynamic lights, make sure you change the light colour to white/#FFFFFF unless you wish to intentionally tint the appearance of your scan.
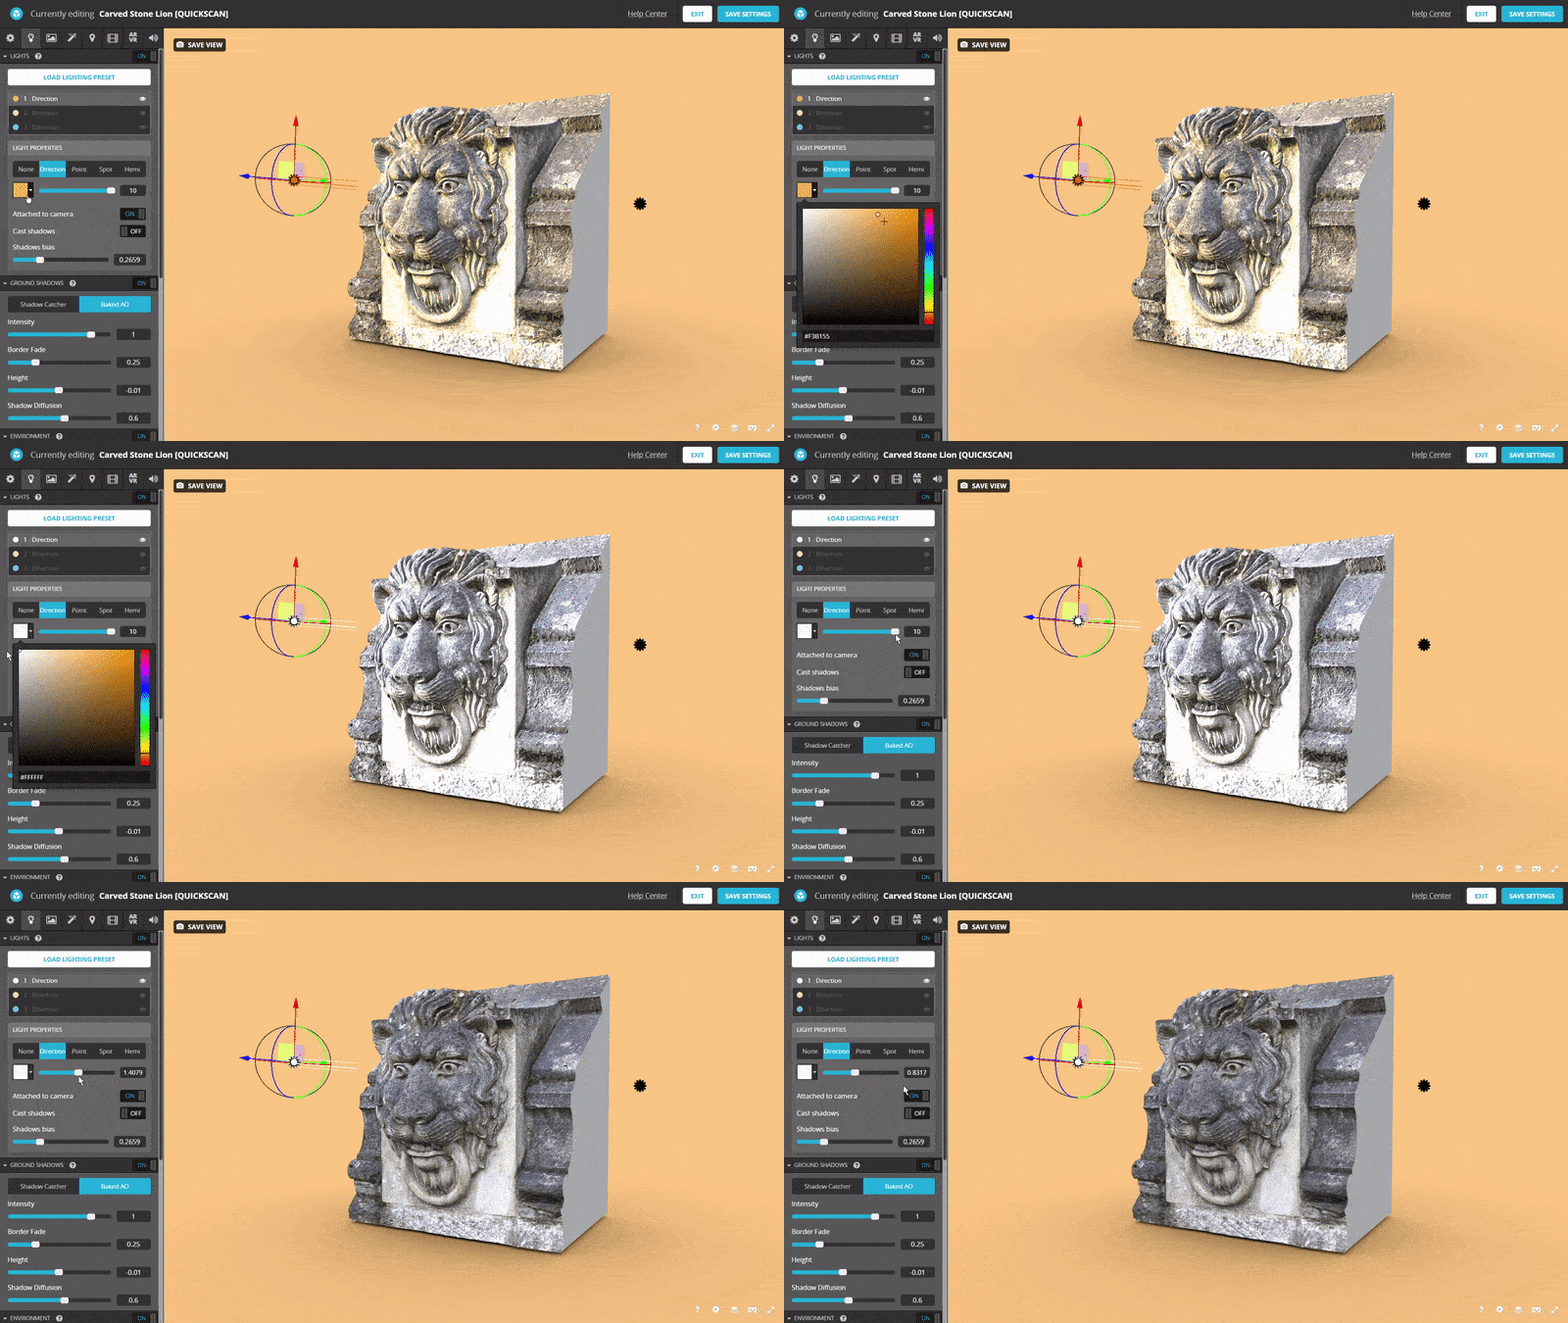
Adjusting light color and intensity in the 3D Editor
You can learn about different techniques to de-light 3D scans in these bog articles:
Add a Ground Shadow
Adding a ground shadow—either Shadow Catcher or Ambient Occlusion—can really add some perceived ‘weight’ to a 3D scan, saving it from floating free in 3D space. Ground shadows are especially effective on object scans.
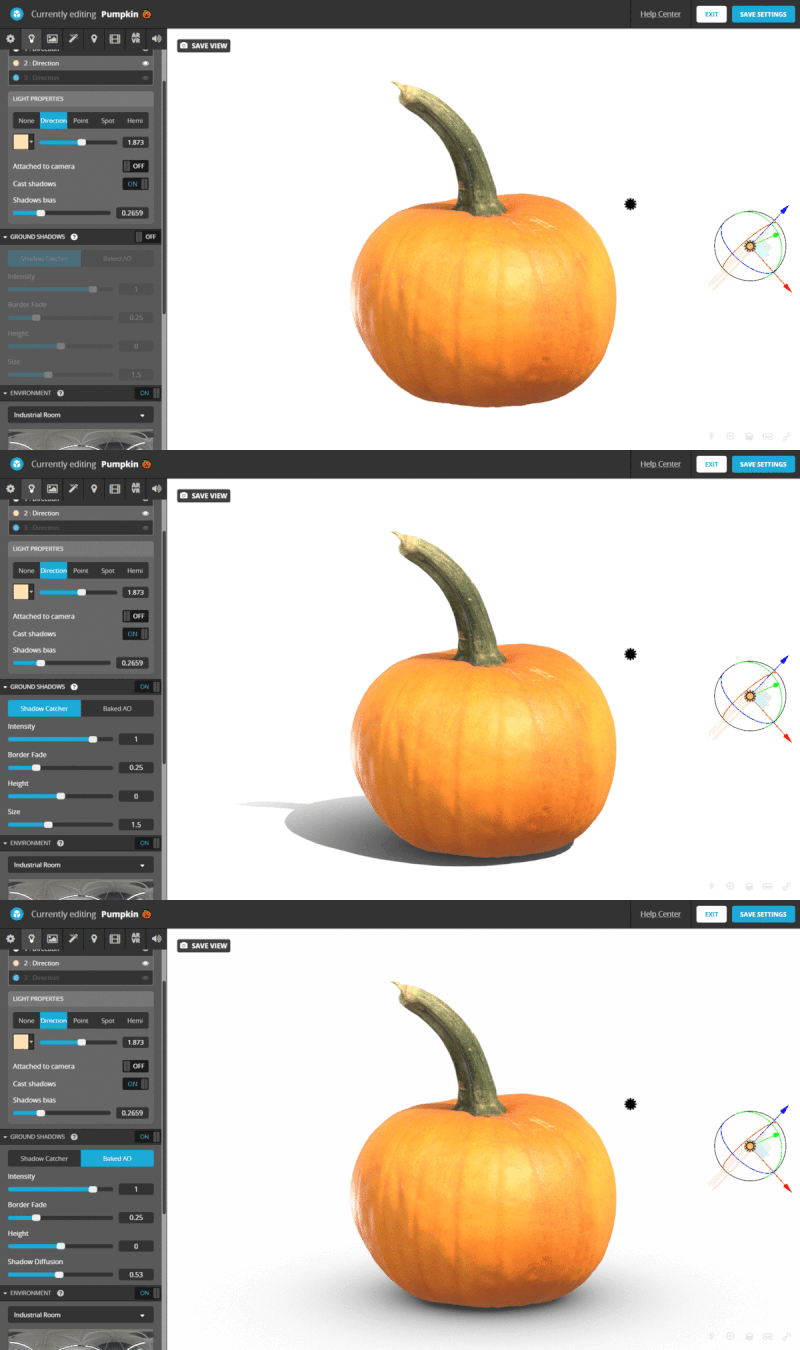
Adding Shadow Catcher and Baked Ambient Occlusion Ground Shadows in the 3D Editor
Materials
You can learn about general material settings in the Sketchfab Help Center, but here are some quick material tips relevant to 3D scans:
- If present, check that the normal map is assigned properly and uses the correct ‘y flip’ setting. Different 3D apps output differently formatted normal maps, so toggle the setting to make sure things look right for your scan.
- If you uploaded an ambient occlusion map, check that it was assigned properly, too.
- If you don’t have a normal map, try setting the colour texture as the bump map for a little extra surface detail (this only works in ‘Lit’ rendering mode).
- Similarly, you can experiment with setting the colour map as the Ambient Occlusion and/or Cavity map to change the look of the model’s details.
- Adjust Metalness, Specular, and Roughness/Glossiness to match the predominant material of the space or object that you scanned.
Post-Processing
As with many things in life, ‘less is more’—feel free to dial up settings as you like but remember not to overdo things. Subtle use of just a few post-processing effects can greatly enhance your 3D scan’s appearance.
Ambient Occlusion
This post processing filter simulates the natural darkness that exists in the nooks and crannies of a 3D form. Experiment with Screen Space Ambient Occlusion (SSAO) to help better define your scan’s 3D form (also great for un-textured scan data).
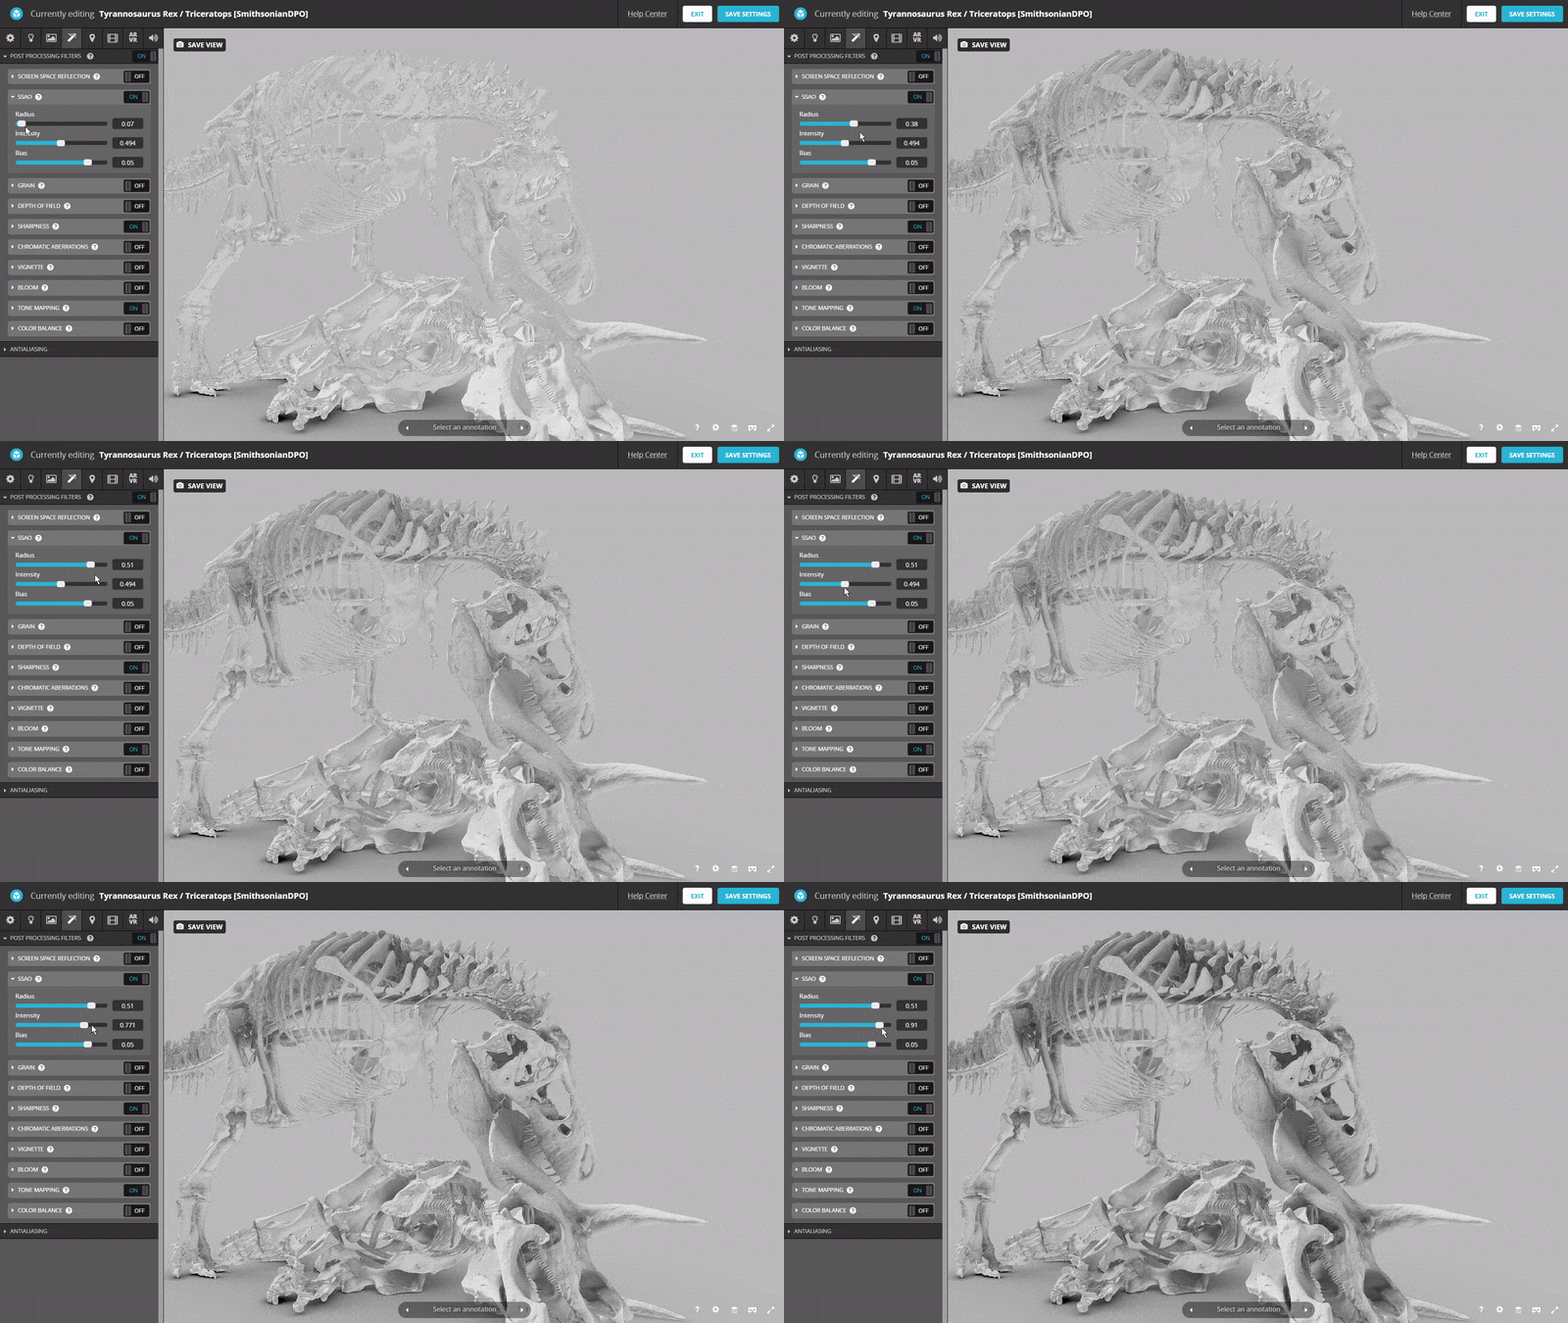
Adding and adjusting the SSAO Post Processing filter in the 3D Editor.
Sharpness
Turn on the Sharpness filter—you won’t need to go much above 0.1 or 0.2 to enhance the appearance of your texture maps. It makes a subtle but noticeable difference.
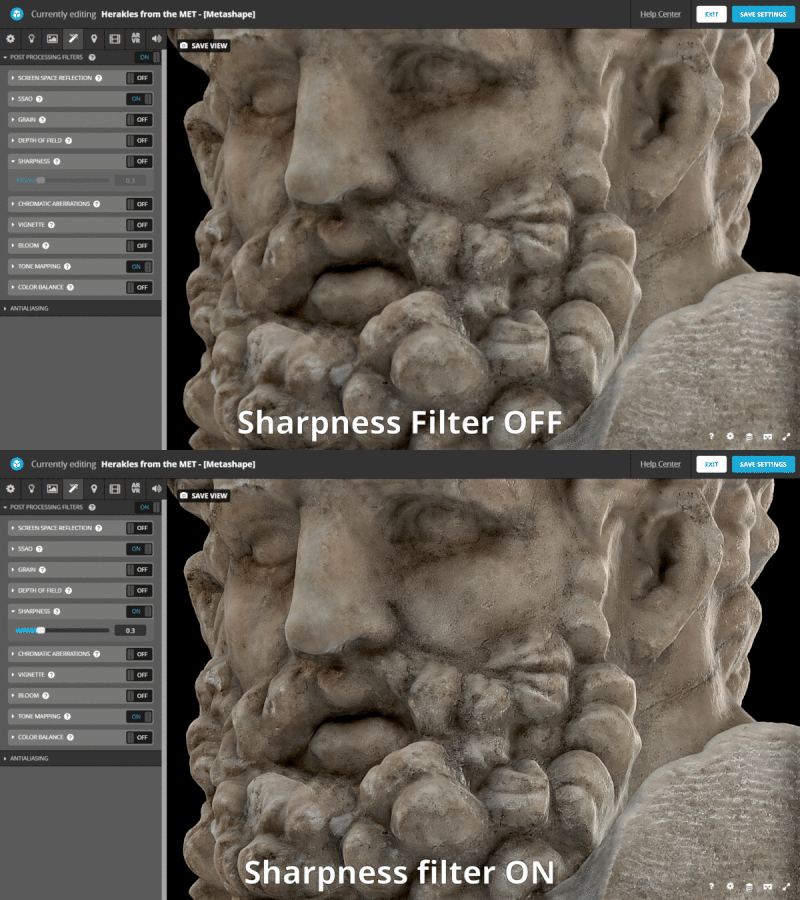
Toggling the Sharpness Post Processing filter in the 3D Editor
Tone Mapping
Turn on Tone Mapping and bump up the Contrast setting very slightly, e.g., to 0.02. Tweak exposure, brightness, & saturation to taste.
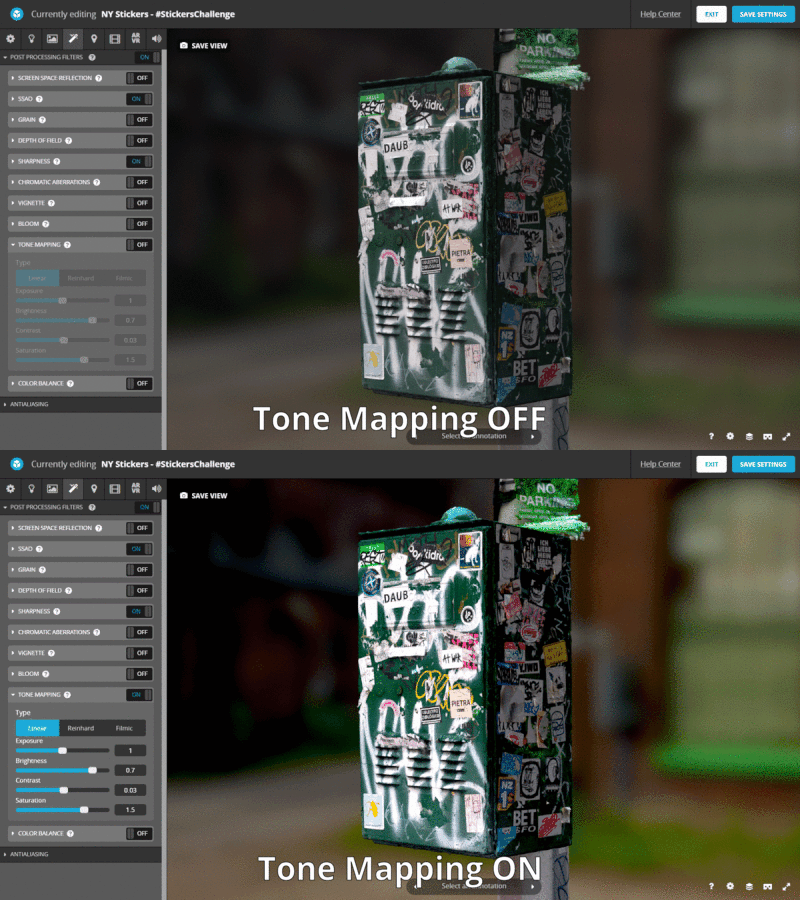
Toggling the Tone Mapping filter in 3D Settings
Annotations
3D annotations offer a lot of storytelling potential and are a great way to create a virtual guided tour of a scene or object. They are especially effective if the object or scene you have scanned contains interesting details or views that you don’t want your audience to miss.
Annotations by Thomas Flynn on Sketchfab
VR/AR
It’s easy to set up the real-world scale and position of your object or scene using the VR/AR tab of the 3D Editor. It’s very simple, too: just set the scale, initial viewing position, and floor, and people will be able to jump into your scene in VR or drop it into their own environment with AR.
Models to try in AR and VR by Thomas Flynn on Sketchfab
Sound
⚠️ As of July 2021, we are conducting a legal review of the use of sound on Sketchfab, and have to temporarily disable sound on all models. We hope to bring back sound soon and will notify Sketchfab members when this happens. In the meantime, please accept our apologies for the inconvenience and thanks for your understanding! ?
Adding relevant and high-quality sound to your scene can bring a scan to life. Consider recording some ambient sound at the real-world location of your scanned object or try creating a voiceover track to describe what a viewer is seeing. Just be sure that you have the rights or permissions to any audio files that you upload.
Sound and Audio by Thomas Flynn on Sketchfab
Conclusion
That’s it for now! We hope this has given you some ideas to try with your 3D scans on Sketchfab – let us know what we’ve overlooked by sharing your own tips in the comments.
